Pekka Jacket

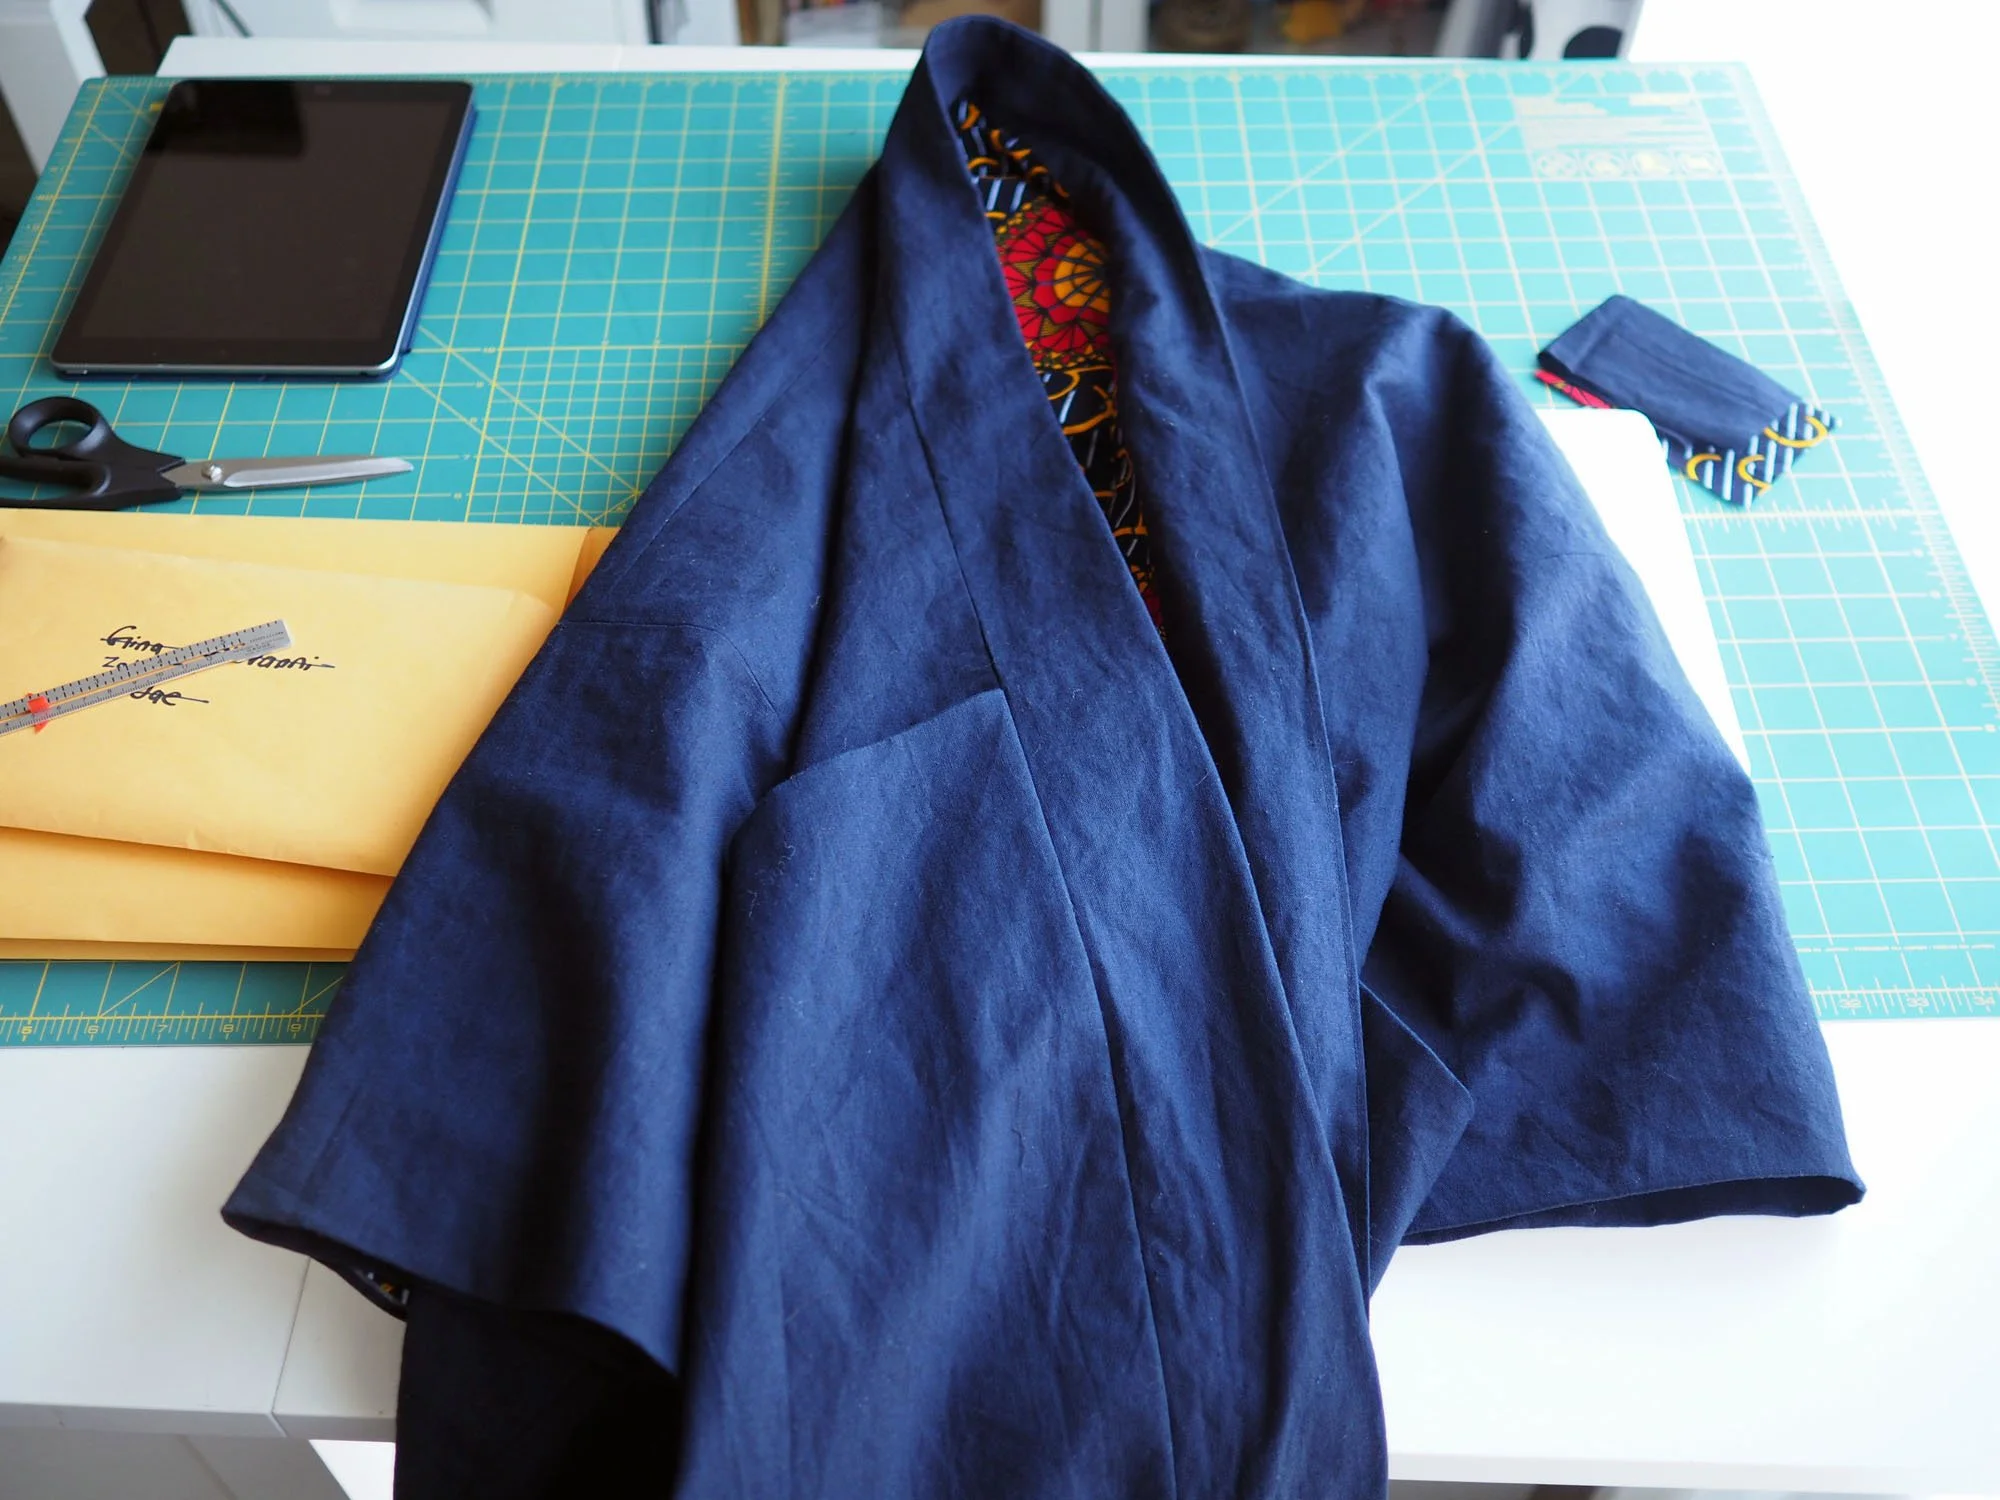
Pattern/Technique: Pekka Jacket by Ready to Sew in size 50, view A (narrow collar, non-folded sleeves)

Modifications: n/a

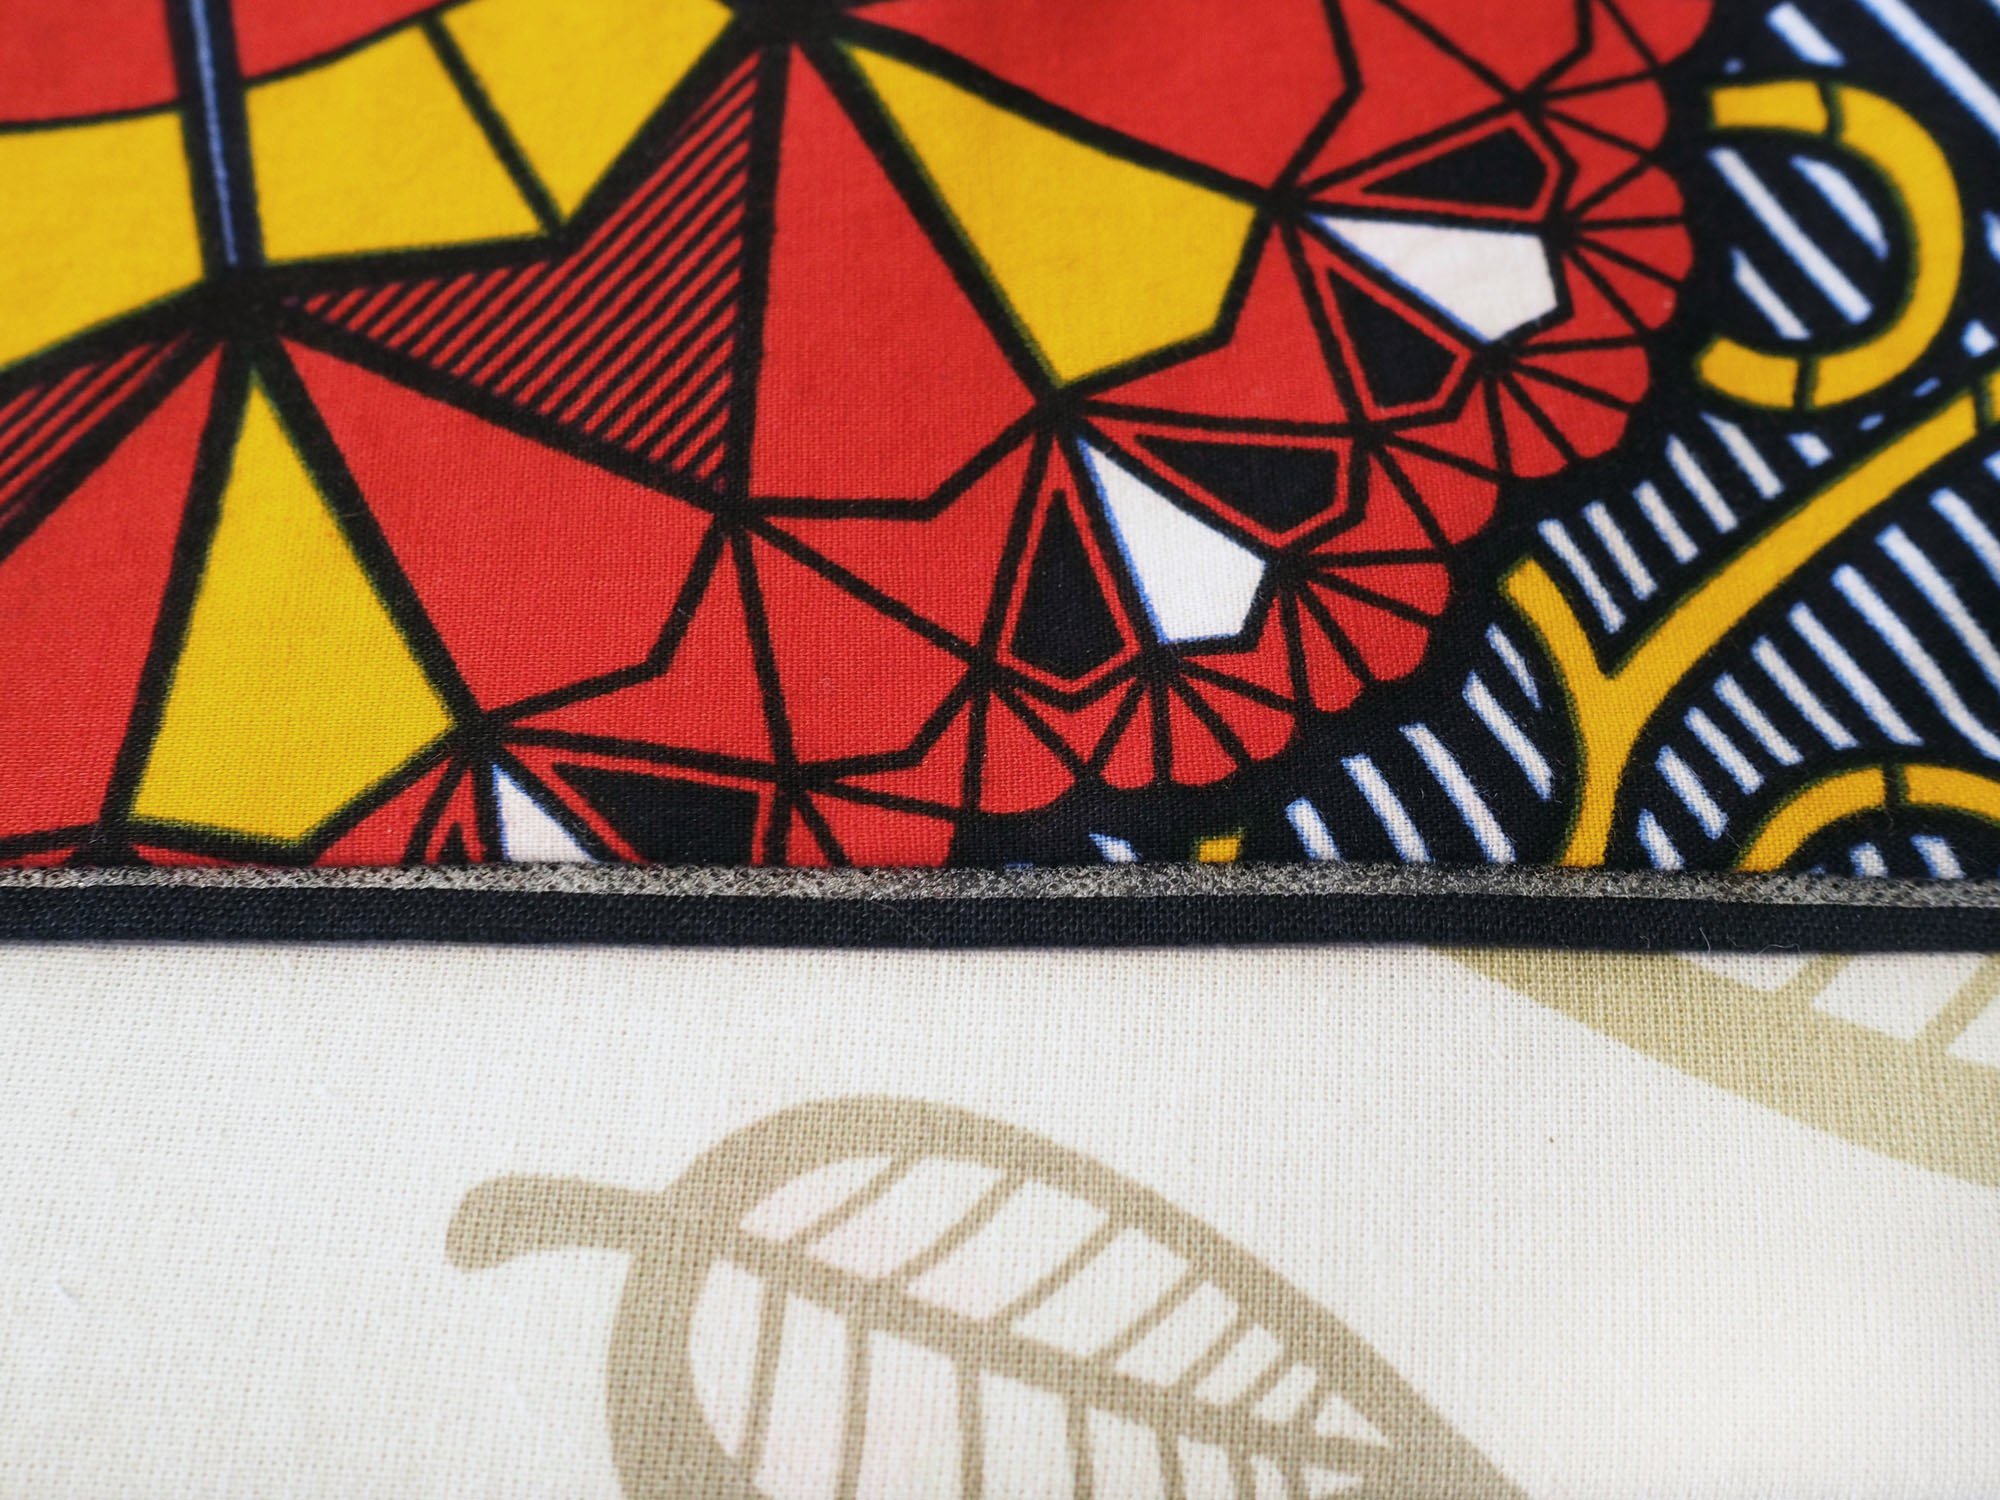
Materials: 2.75 yds Kaufman Essex (cotton linen blend) in Navy for exterior. 3 yds Ankara cloth for lining (cut on cross-grain to have large rosettes at the bottom of the jacket lining).

New skills: bagging a jacket lining

Lessons: I think because I used two different types of fabric (cotton/linen exterior and cotton lining) and cut the lining fabric on the cross-grain, I ended up with the exterior fabric growing and being larger than the lining at the sleeve hems and bottom hem of the jacket. I cheated the sleeve hems and made a small pleat in the exterior fabric to make it match the lining. The remedy for the bottom hem was more extensive:

  • Steamed the exterior fabric (cotton/linen essex) to tighten up the fabric weave.

  • Aligned the lining with the bottom hem and folded under excess fabric to prevent the lining from relaxing below the exterior fabric. (I had this happen with the black & white Unfolding Jacket I made where I cut the mariners cloth lining on the cross-grain.)

  • Basted and stabilized the lining & main fabrics using Wonder Tape.

  • Hand sewed the seam using a blind stitch.

Hand sewing through Wonder Tape was horrible. The moisture on my hands activated the adhesive so I had sticky fingers and a sticky needle. I ended up removing the piece hanging out of the steam 2/3 of the way through hand sewing for sanity. Next time I’ll be more careful with my placement to make sure I’m not stitching through the Wonder Tape.

Thread gloss is a boon for preventing knots in thread while hand sewing.

What I'd do differently: Next time I’ll cut the lining on the grain so that I can compensate for the exterior fabric stretching using the cross-grain stretch of the lining fabric.

Care: Machine wash cold, lay flat to dry.

Summer Bear Jacket 02

P2220077.JPG
PXL_20210216_191843566.MP.jpg

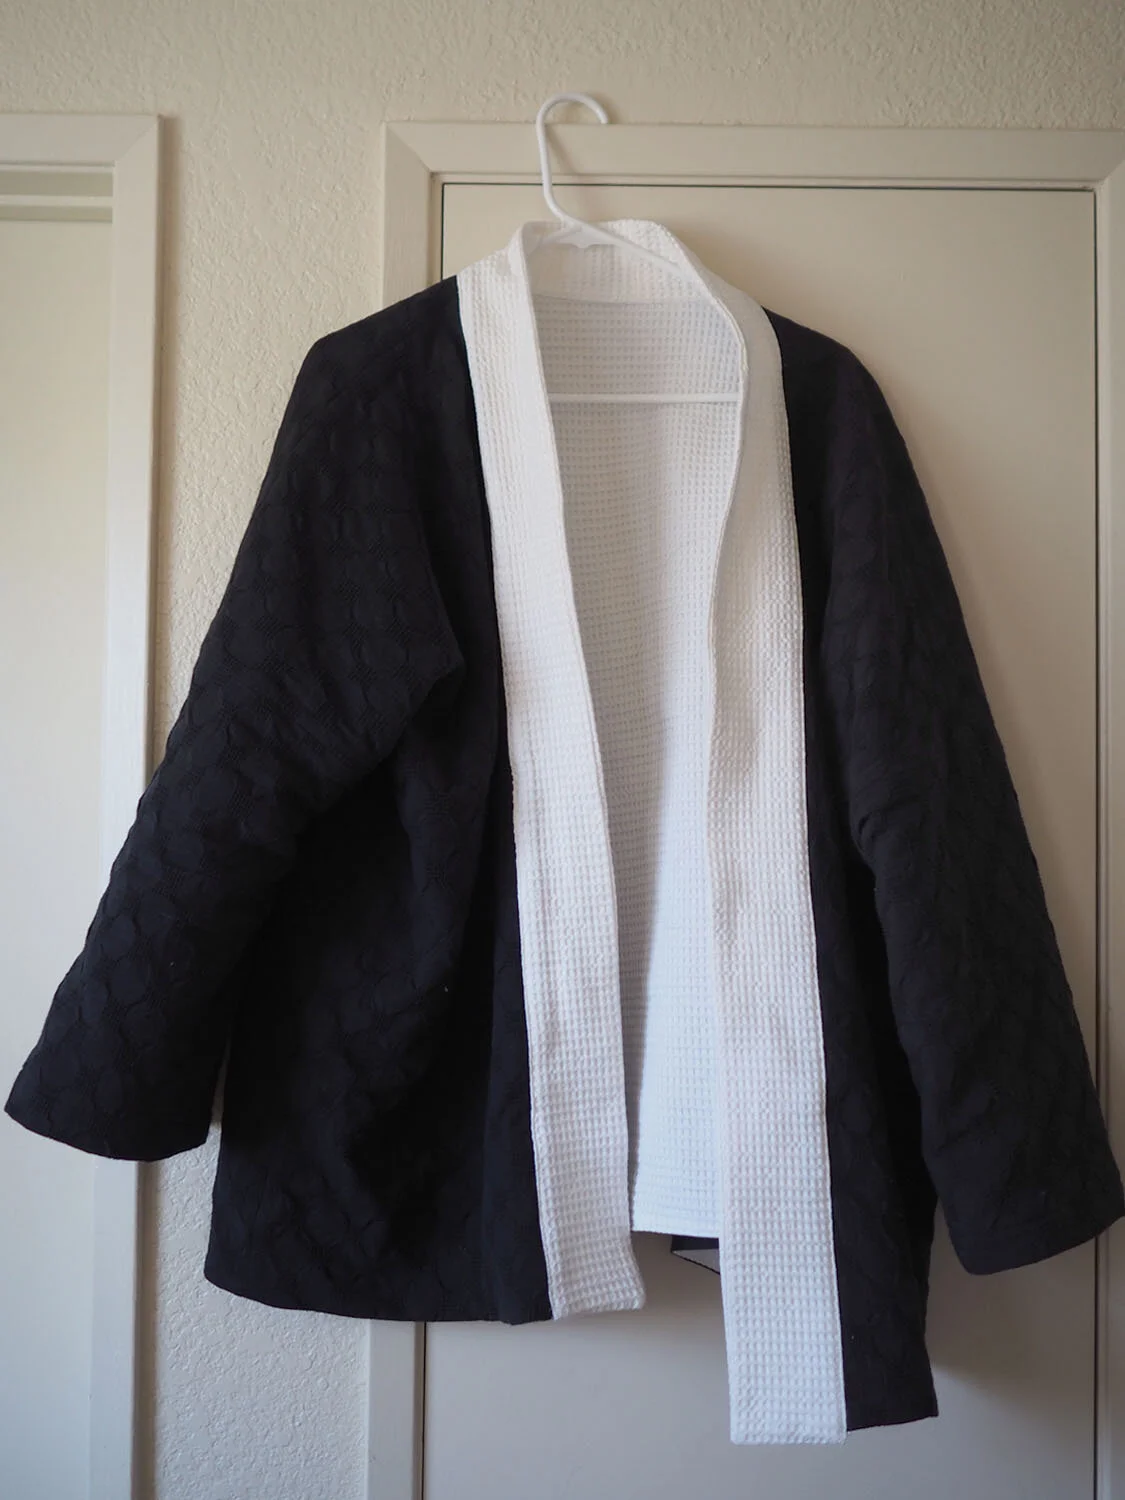
Pattern/Technique: Wiksten Jacket in size XL (mid length)

Modifications:

  • Made the collar half the width specified by the pattern

  • Left out the fusible interfacing called for by the pattern, since the lining fabric was a structured waffle-knit cotton

Materials:

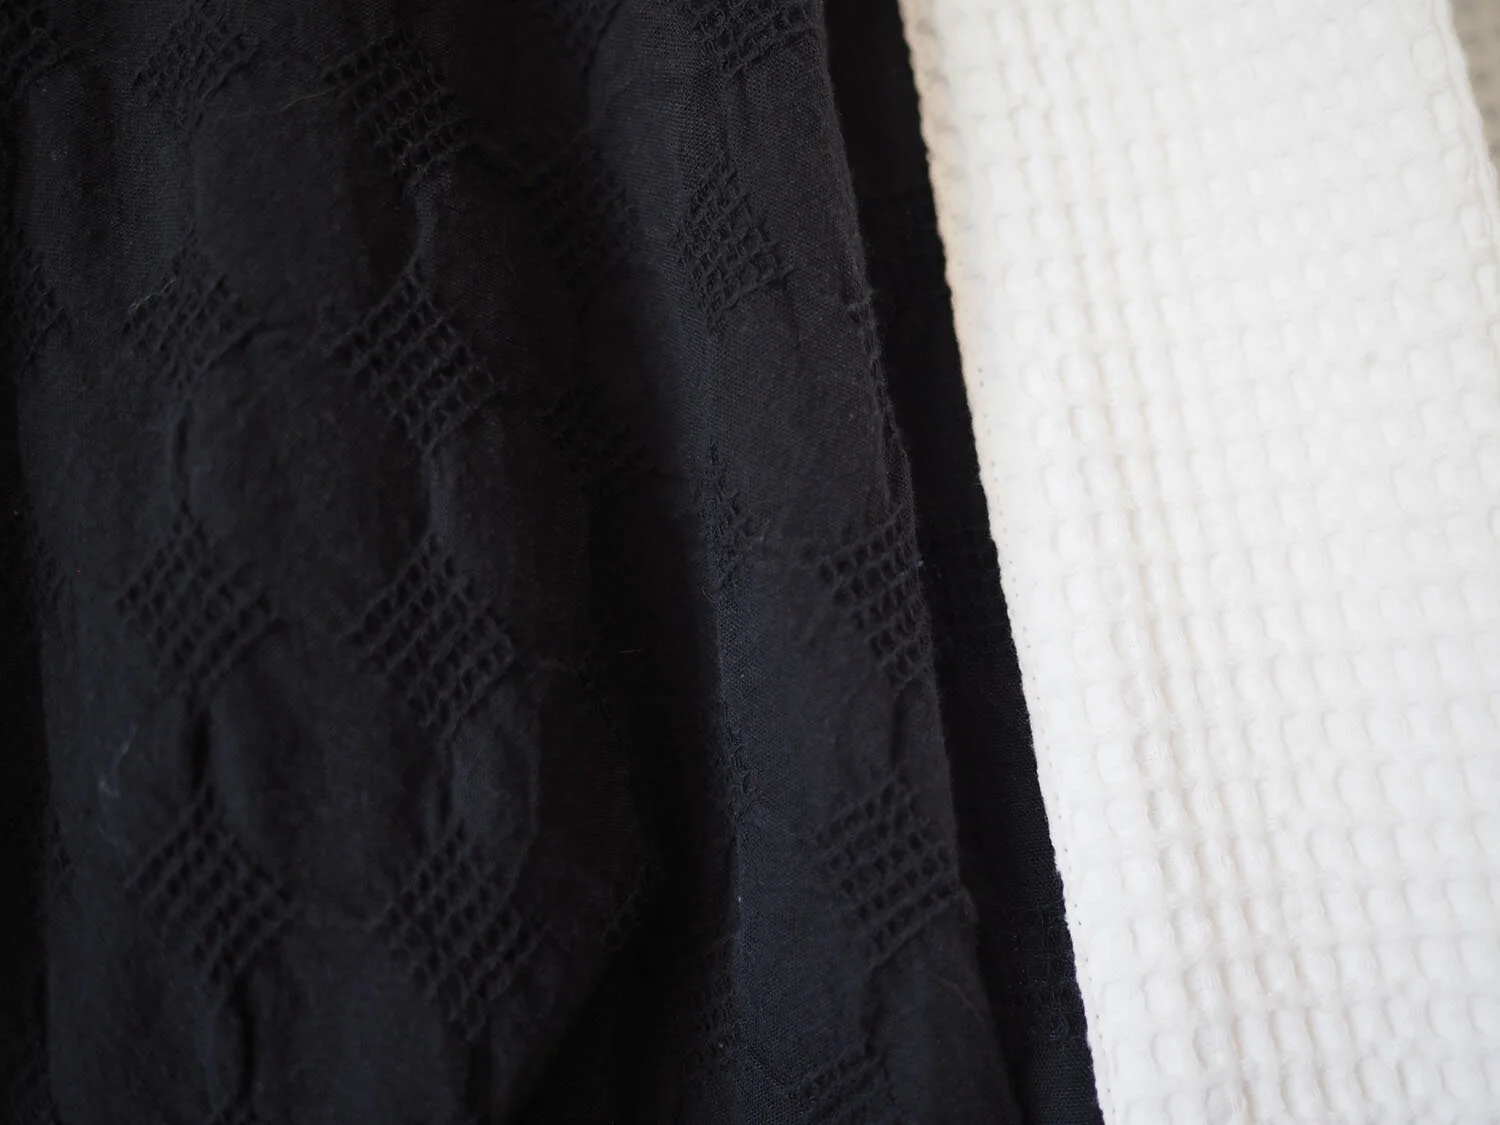
  • Black Japanese Cotton Dobby (main material) - 3 yds (45"). Purchased from Stonemountain Fabrics

  • White waffled cotton (lining) - 3 yds (56"). Purchased from Stonemountain Fabrics

  • Aurifil 50wt in Natural White & Black

New skills: n/a

Lessons: I sewed the lining/main fabric together around the edge of the jacket before attaching the collar, which was the right call. The layers were nice and stable when I sewed on the collar.

Using a different top / bobbin thread is a great way to match both sides of the garment when sewing layers of high contrast fabric. However, given the finicky bobbin tension on my machine, it's important to test the thread tension so that neither thread is visible.

While sewing the collar, I wanted really clean lines, so I took care to press the hem along the grid of the waffled material (making slight adjustments with my fingers where necessary). I think I was offset by one square but I made the transition at the back of the neck where it wouldn't be noticeable.

It's a lot easier to pattern match using a fabric with a small/medium repeating motif, because small errors are less noticeable.

This is the first time I've remade a pattern I've previously sewn. I was pleasantly surprised that the process was much smoother this time around.

Marking notches is always worth the effort.

What I'd do differently: I tried to do a color blocking thing (inspired by this Stonemountain sewist post) but with the narrow collar and super high contrast colors, it isn’t quite working for me. I'm probably going to dye the lining (maybe to a charcoal grey or black) to make it a little more neutral.

Care: Hand wash, lay flat to dryl.

P2220079.JPG