Pattern/Technique: French Link Stitch Book Kit from Clever Hands
Modifications: n/a
Materials: French Link Stitch Book Kit from Clever Hands
New skills: French link stitch, creating book covers, book assembly, preparing & stitching signatures
Lessons/Notes: This kit was a ton of fun - despite a few issues from misreading instructions (or failing to read far enough ahead) that required some improvised fixes.
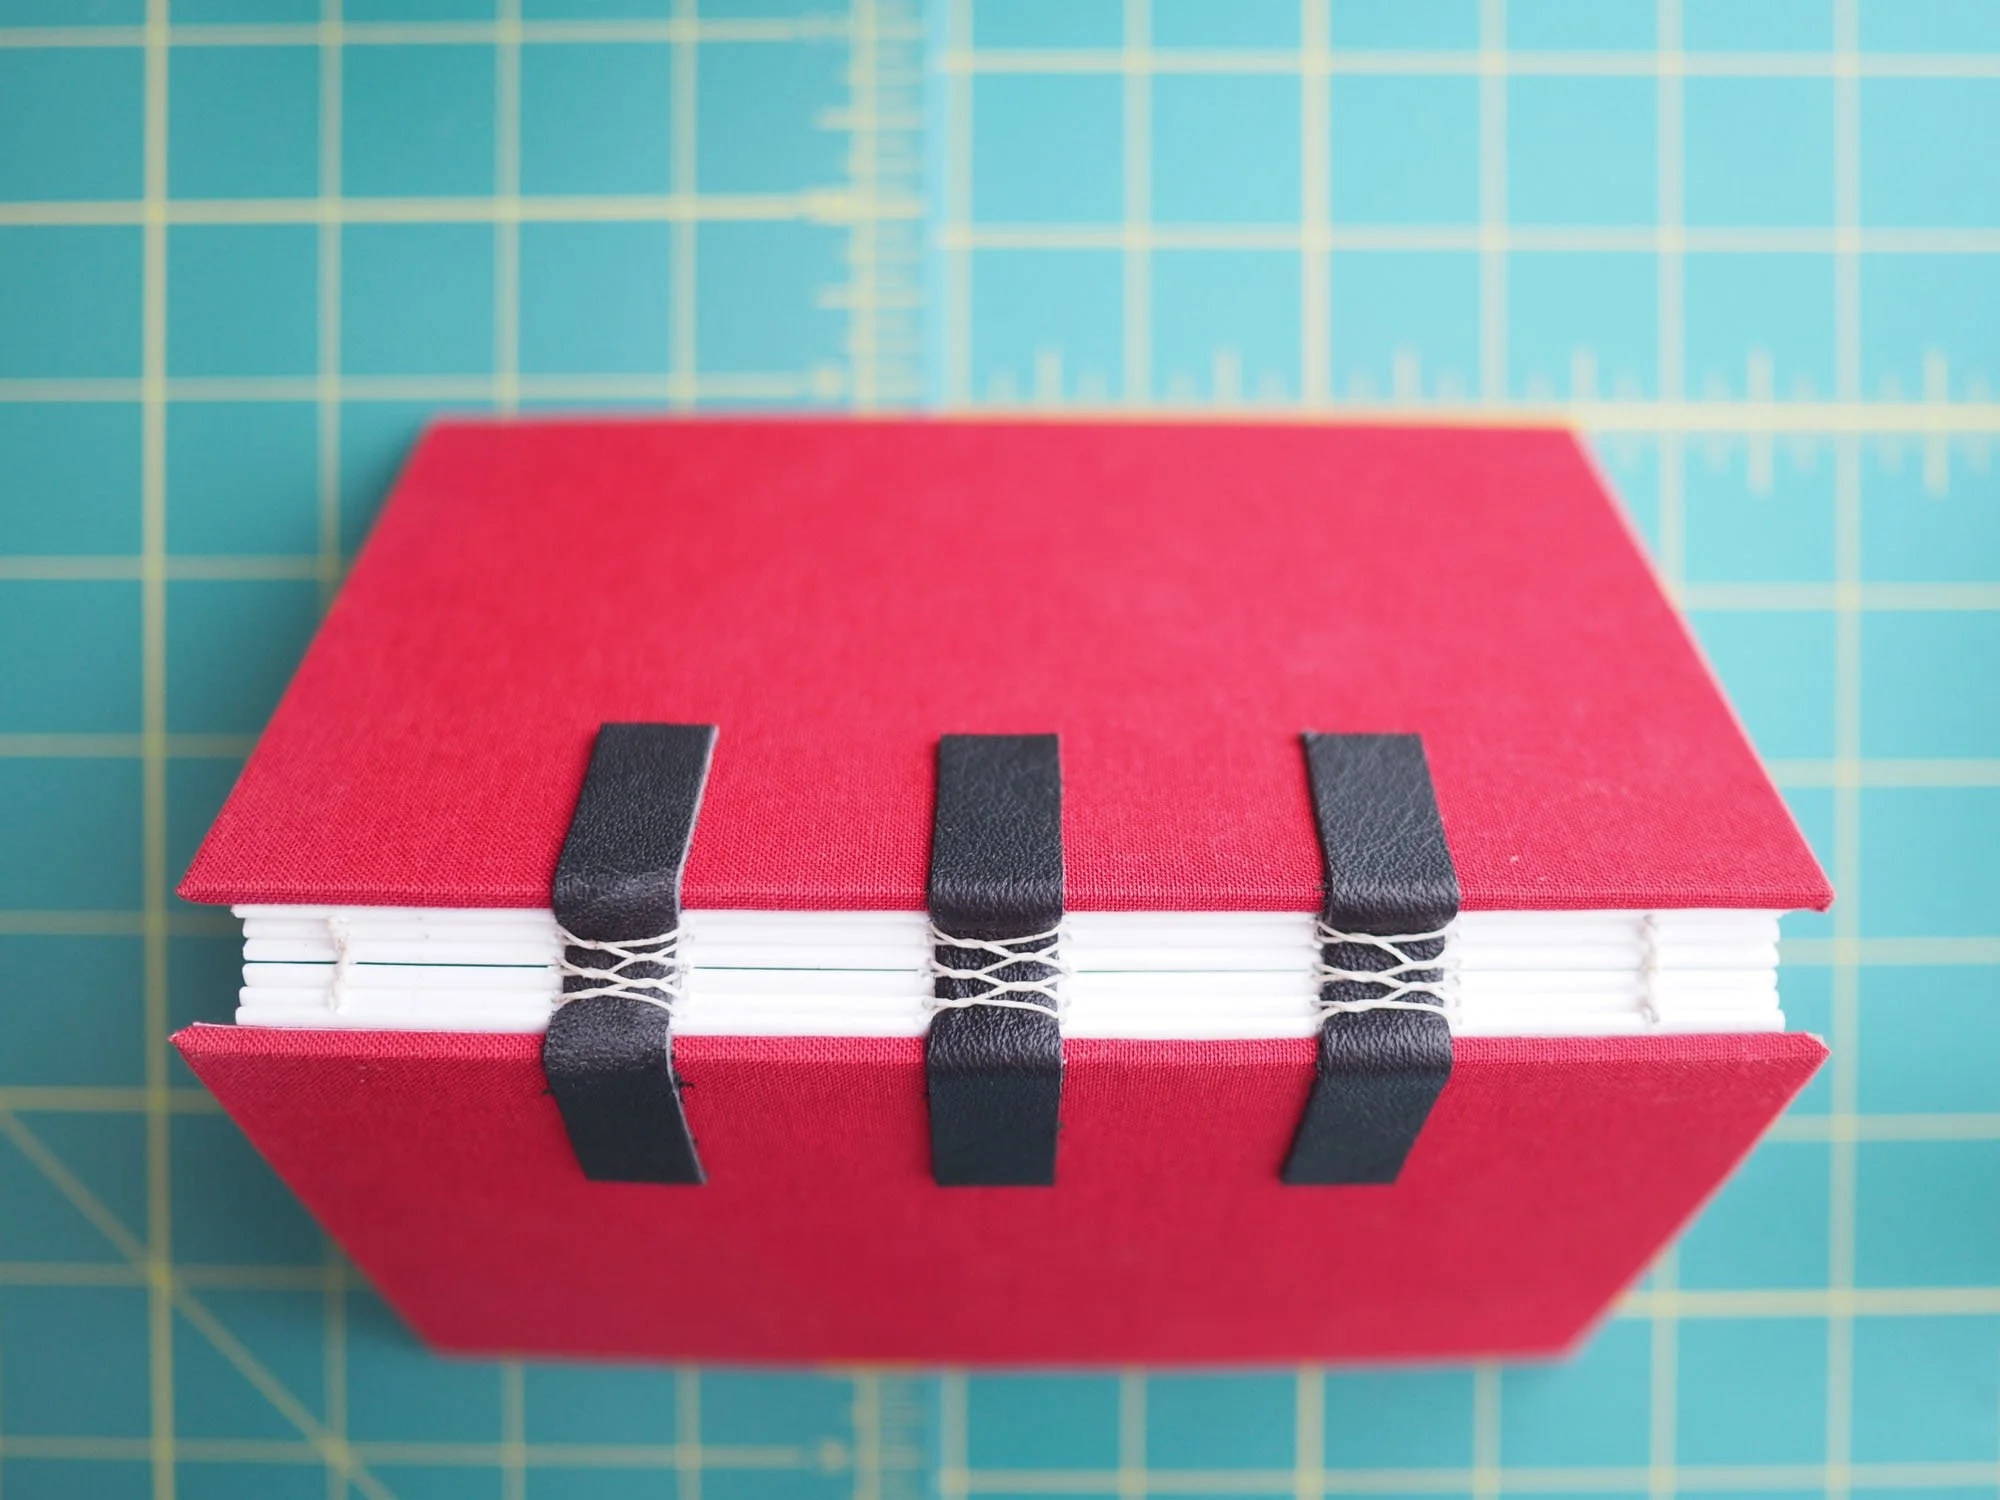
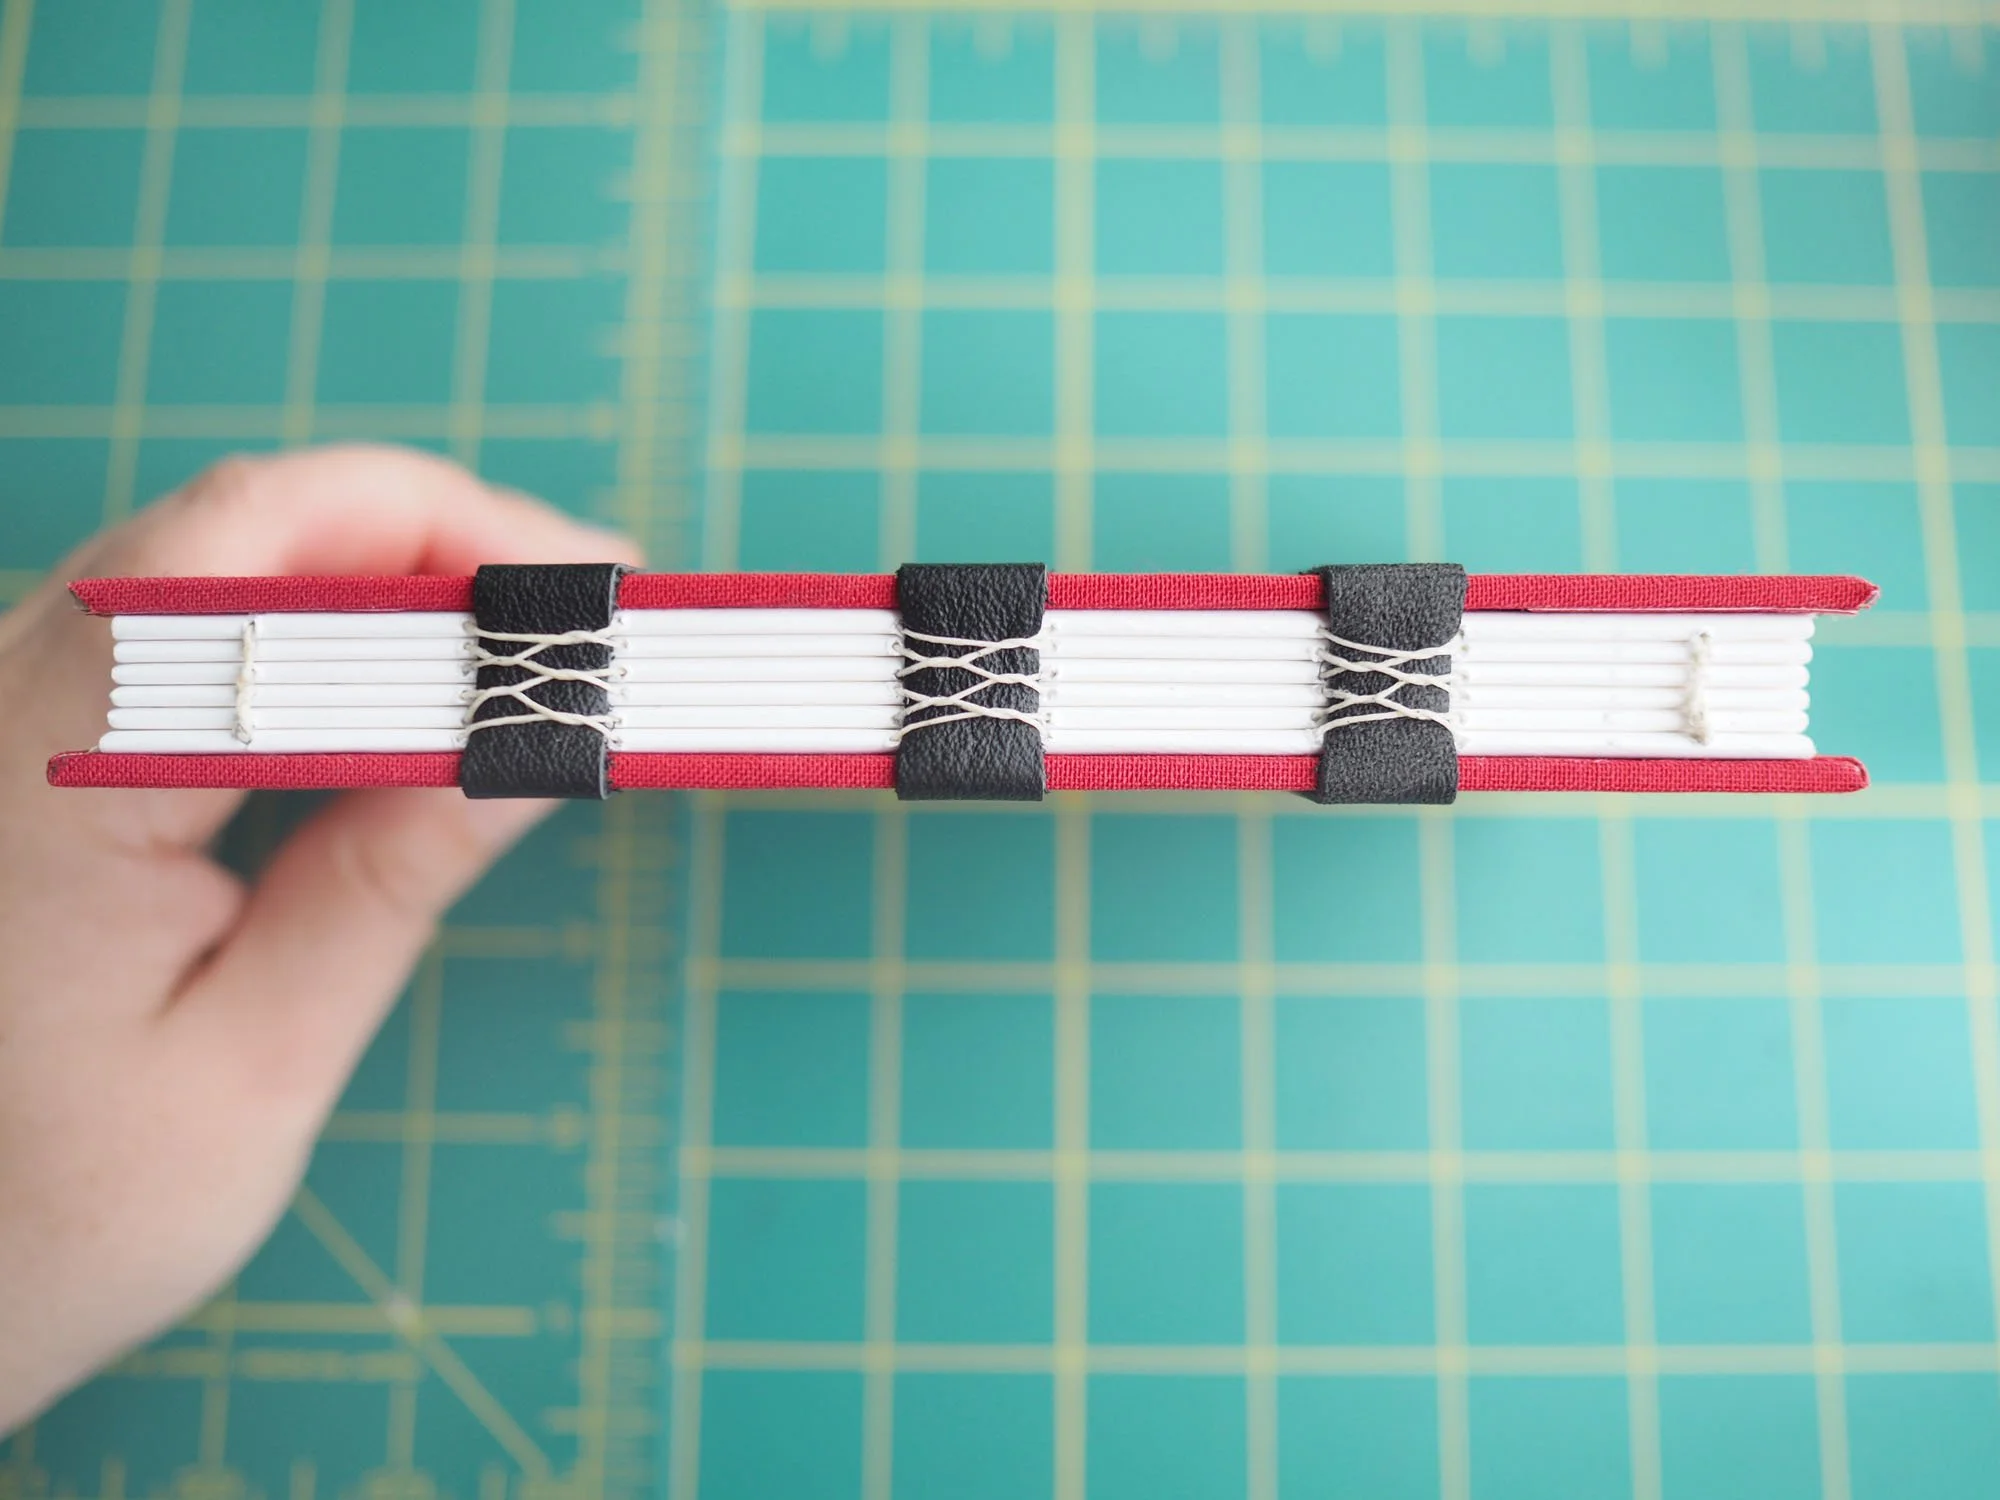
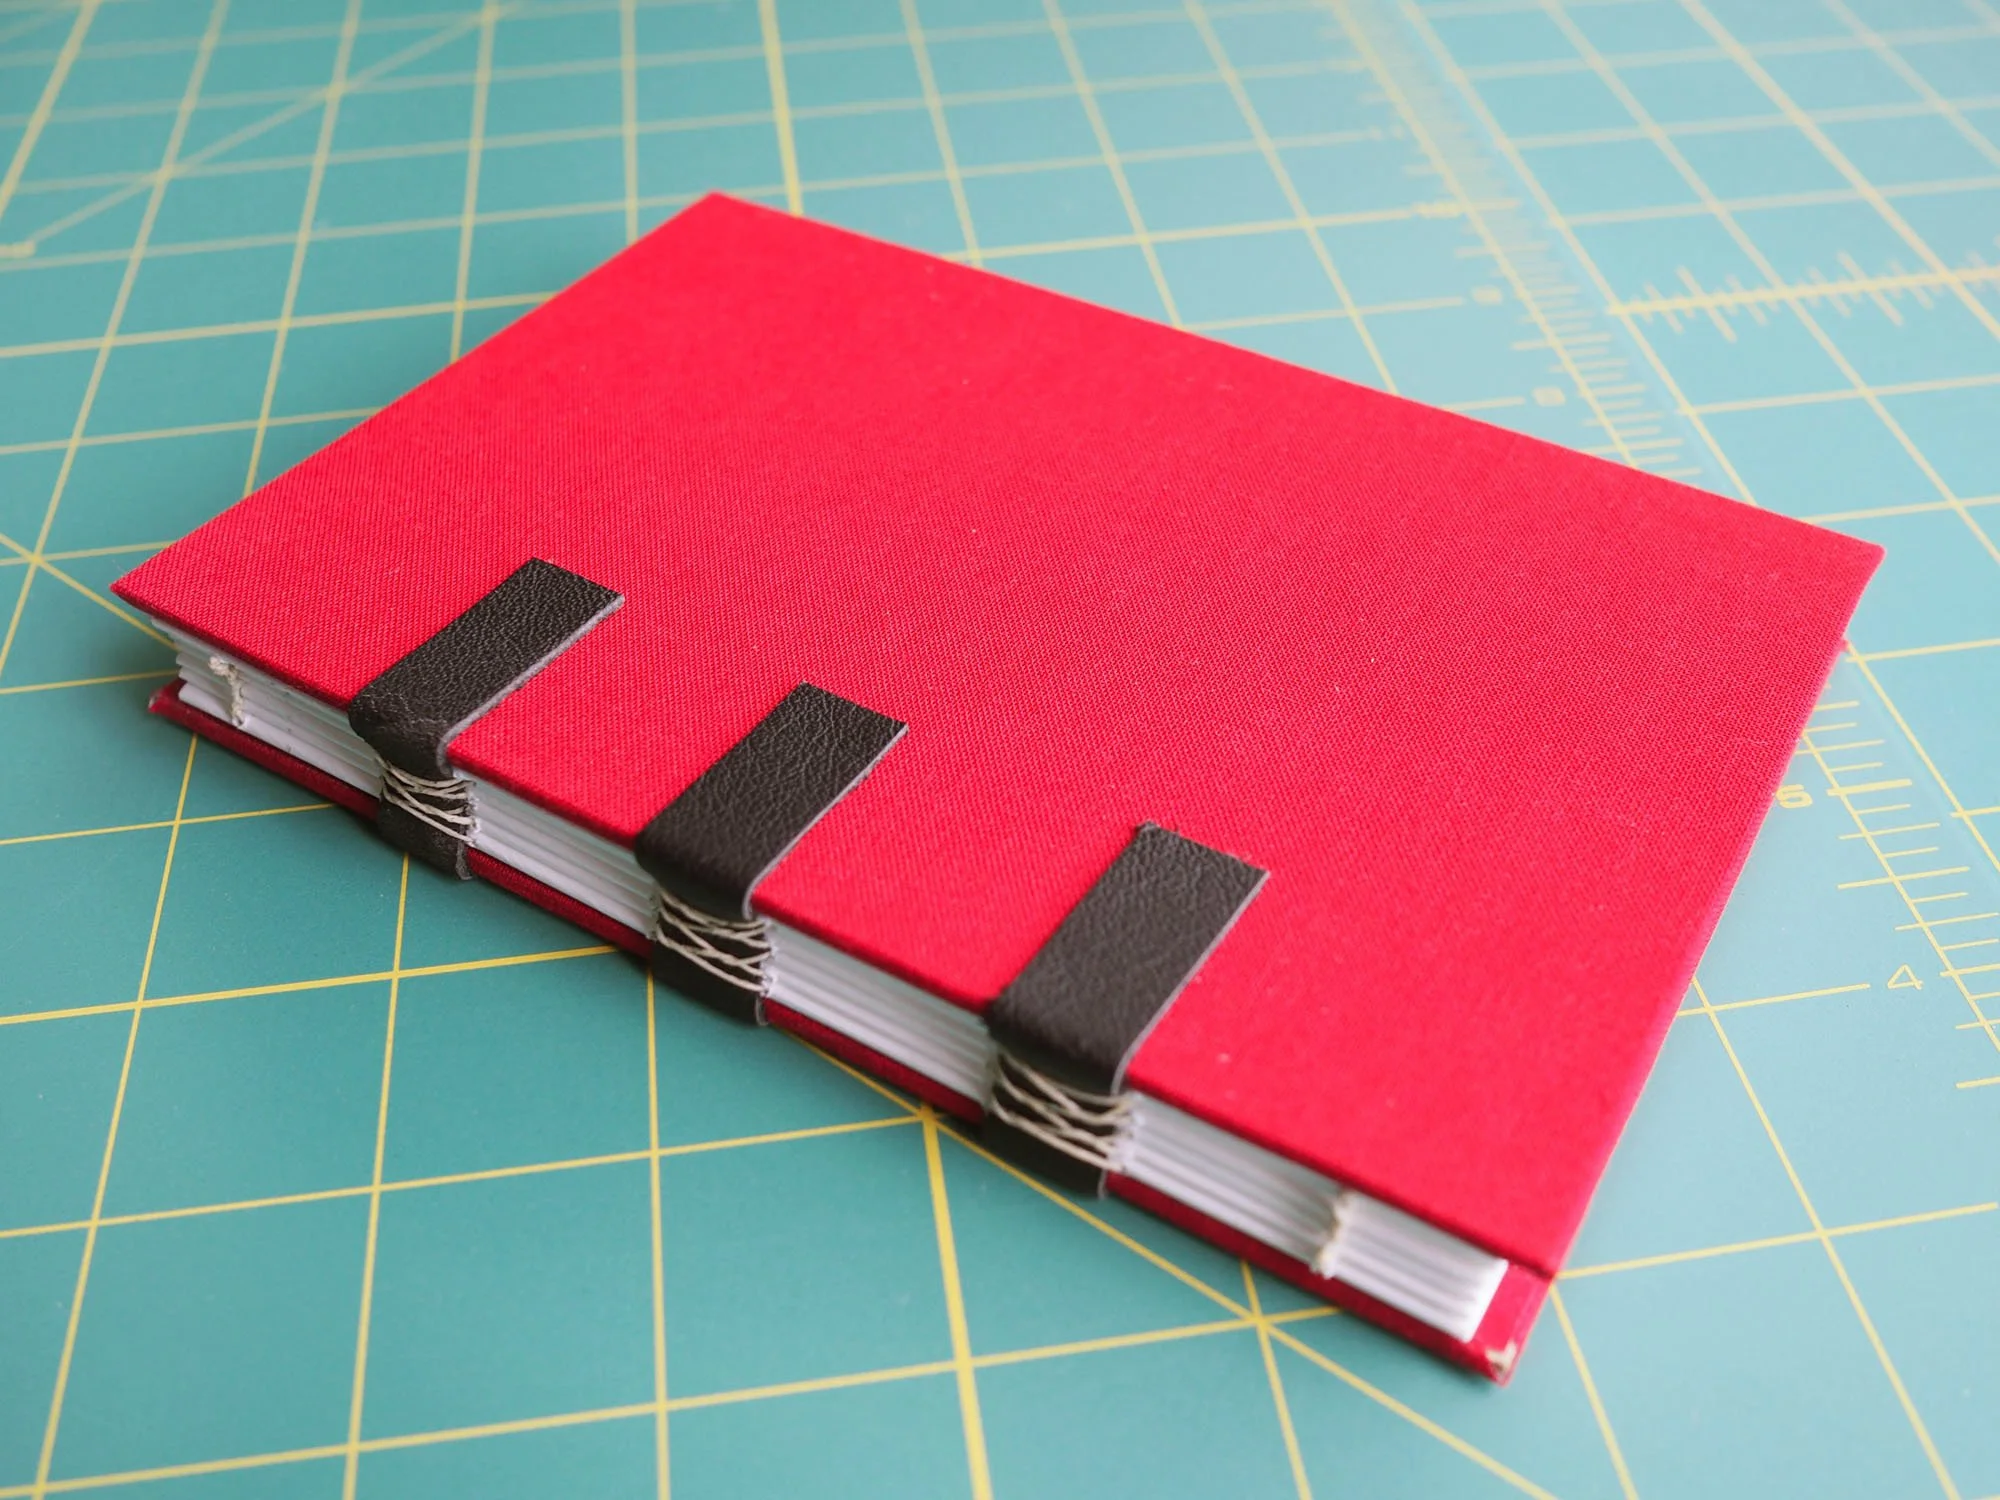
I assembled the book in the opposite direction than specified in the directions, but the orientation of the kettle stitch was easy to switch, and the finished kettle stitch is so pretty (despite some wonky tension on my part). I also forgot to do the french link stitch on the last hole of each signature, but I winged it by doing a series of pseudo-link stitches after all the signatures were attached.
When using binder clips to hold the signatures in place for stitching, placing a little piece of paper beneath the binder clip will prevent the paper from getting bruised. Also, when clipping the guide in place for punching the stitching holes in the signatures, the instructions specify using one binder clip, but the guide and signature paper would shift a bit when holding open the signature, causing the awl holes to be off center. Using 2 binder clips to even the force eliminated this shifting.
Using a thin layer of glue and working quickly was a huge help.
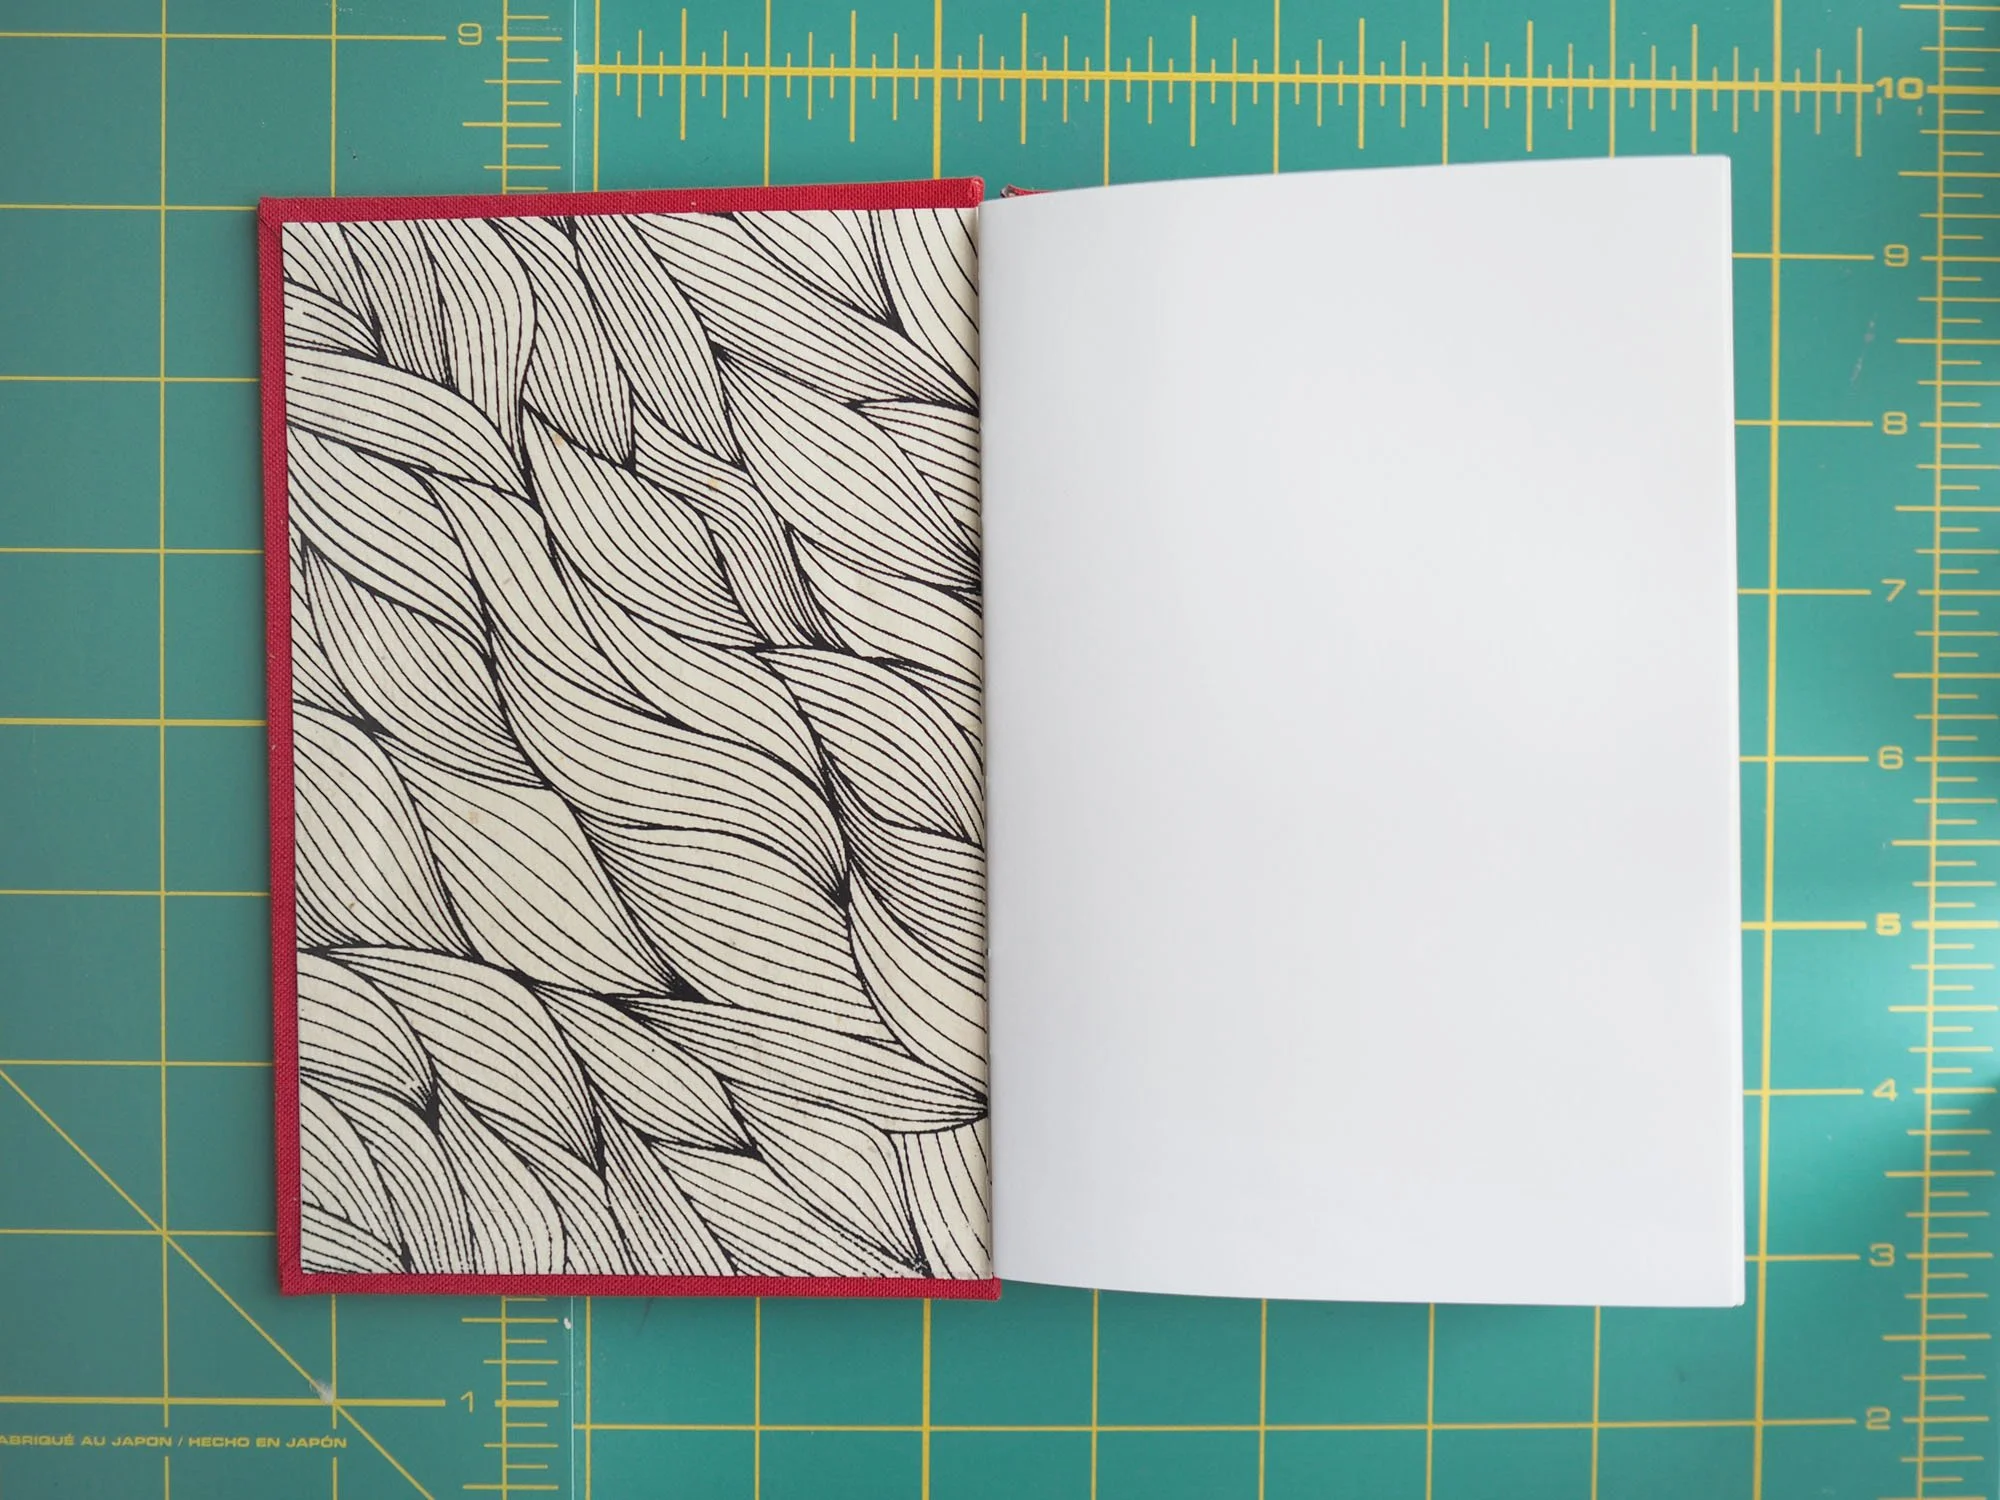
When cutting out the bookcloth, I didn’t read the instructions correctly that you should leave a 4mm gap between the corner of the book board and the 45 degree cut, which meant that I had little gaps at all of the corners on one of my covers. I glued the cut triangles in the corners of the inner cover and used this as the back cover so it isn’t terribly visible but I’m still a little bummed about the error.
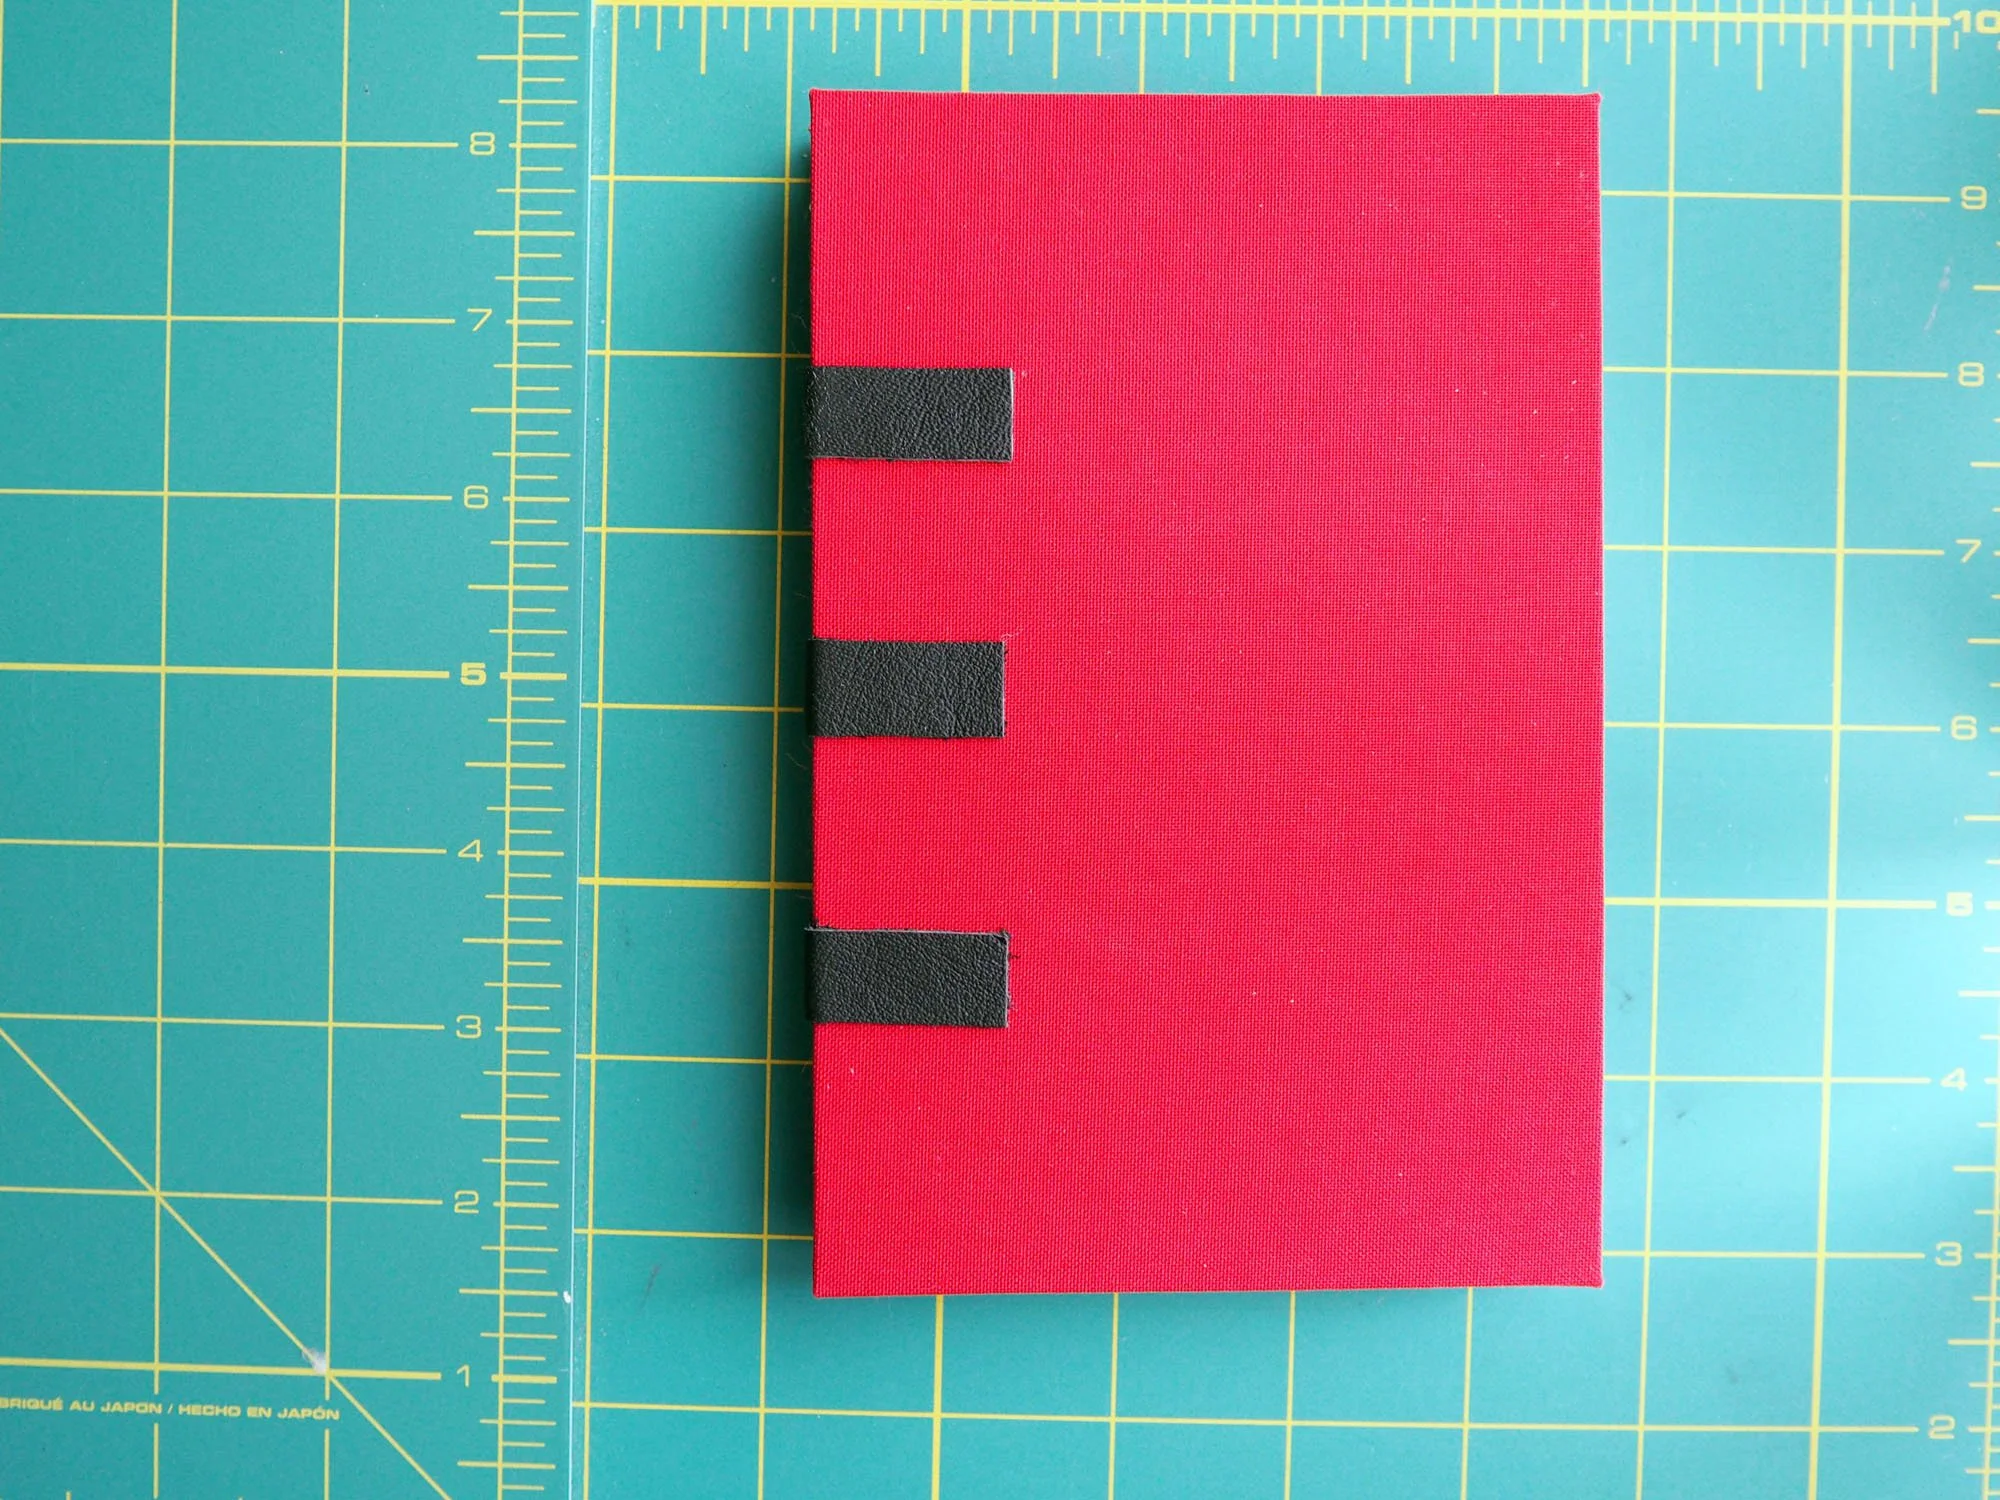
I trimmed the leather strips to 2 inches because I didn’t want them to be super long, but It ended up looking a little oddly proportioned, so I ended up trimming them down to 1 inch which looked better (IMO).
What I'd do differently: Do the french link stitches at the last hole in each signature. Leave the leather strips at their original length and only trim to even them up. Leave the gap between the corner of the book board and the 45 degree cut on the book cloth.


