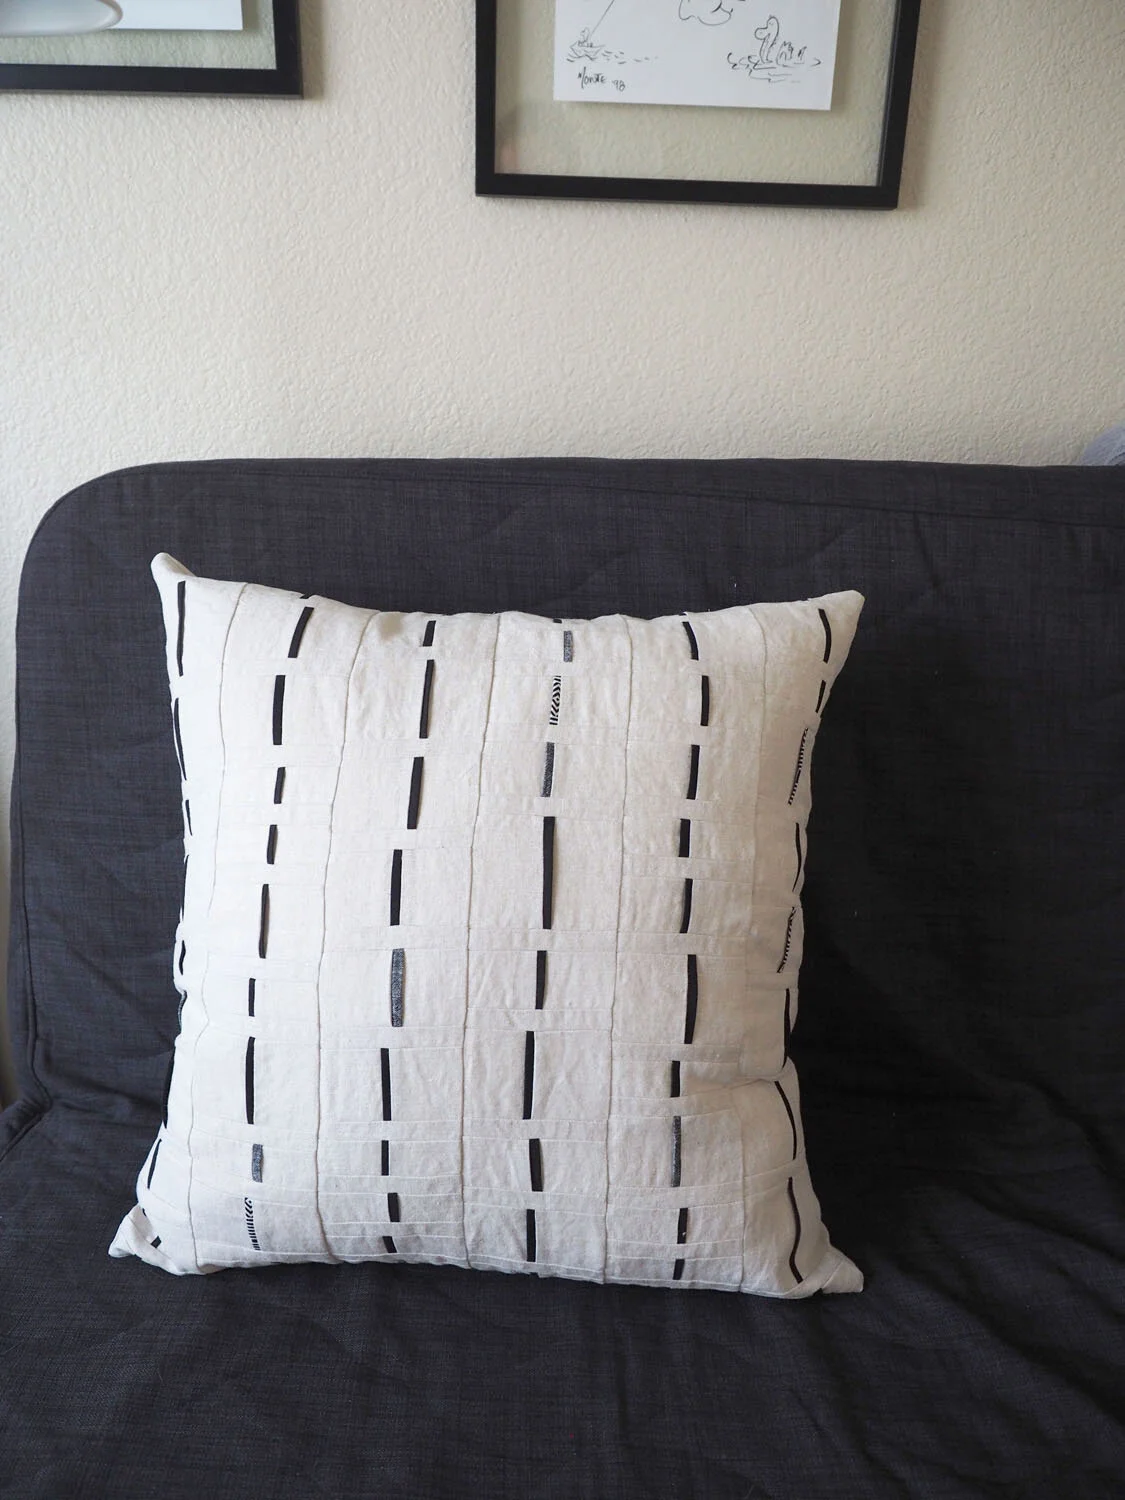
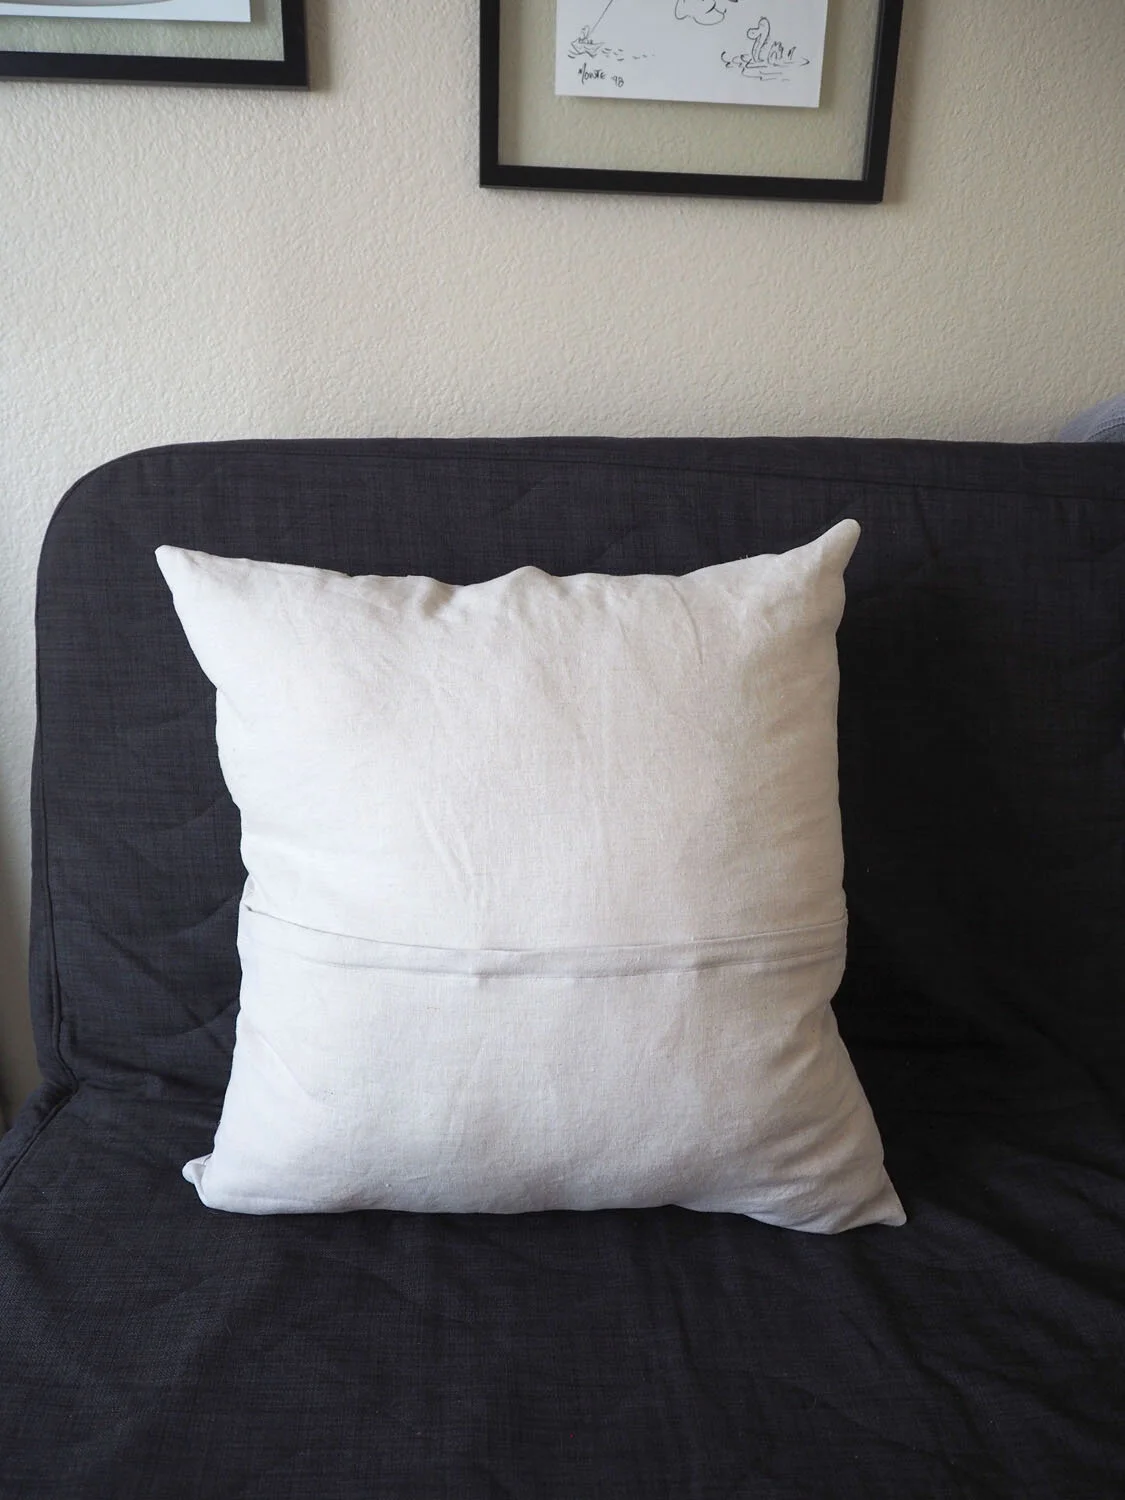
Over the holidays I revisited the Pathway Pillow and added in a zipper. The shape is actually square now (!!) and the project provided a nice opportunity to practice using my zipper foot.
Pattern: Covered zipper pillow tutorial by Lisa Bongean (h/t to Gloria H. for sharing this with me). After disassembling the pillow, I repurposed the back panels and trimmed them to the dimensions recommended in the tutorial (15” x 26” - I think the linen relaxed a bit since I’d first made the pillow, so the front panel was 26” x 26” when I measured it).
New skills: Sewing a lapped / covered zipper
Lessons: The back linen panels shifted and relaxed a lot while I was sewing in the zipper. I ended up with about an extra inch of fabric despite the panel width being even with the zipper tape when I was pinning.
Setting the stitch width at 3 mm positions the needle evenly with the edge of the zipper foot.
Despite the fact that the tutorial recommends a zipper much longer than the width of the pillow, I used a 24 inch zipper and achieved good results.
What I’d do differently: Because the zipper was folded in its package, it still had a slight kink when I sewed it to the pillow back, so the seam isn’t perfectly flat. Next time I sew in a long zipper I’ll take care to iron it (carefully if it’s made of a synthetic material) so it lays flat.

