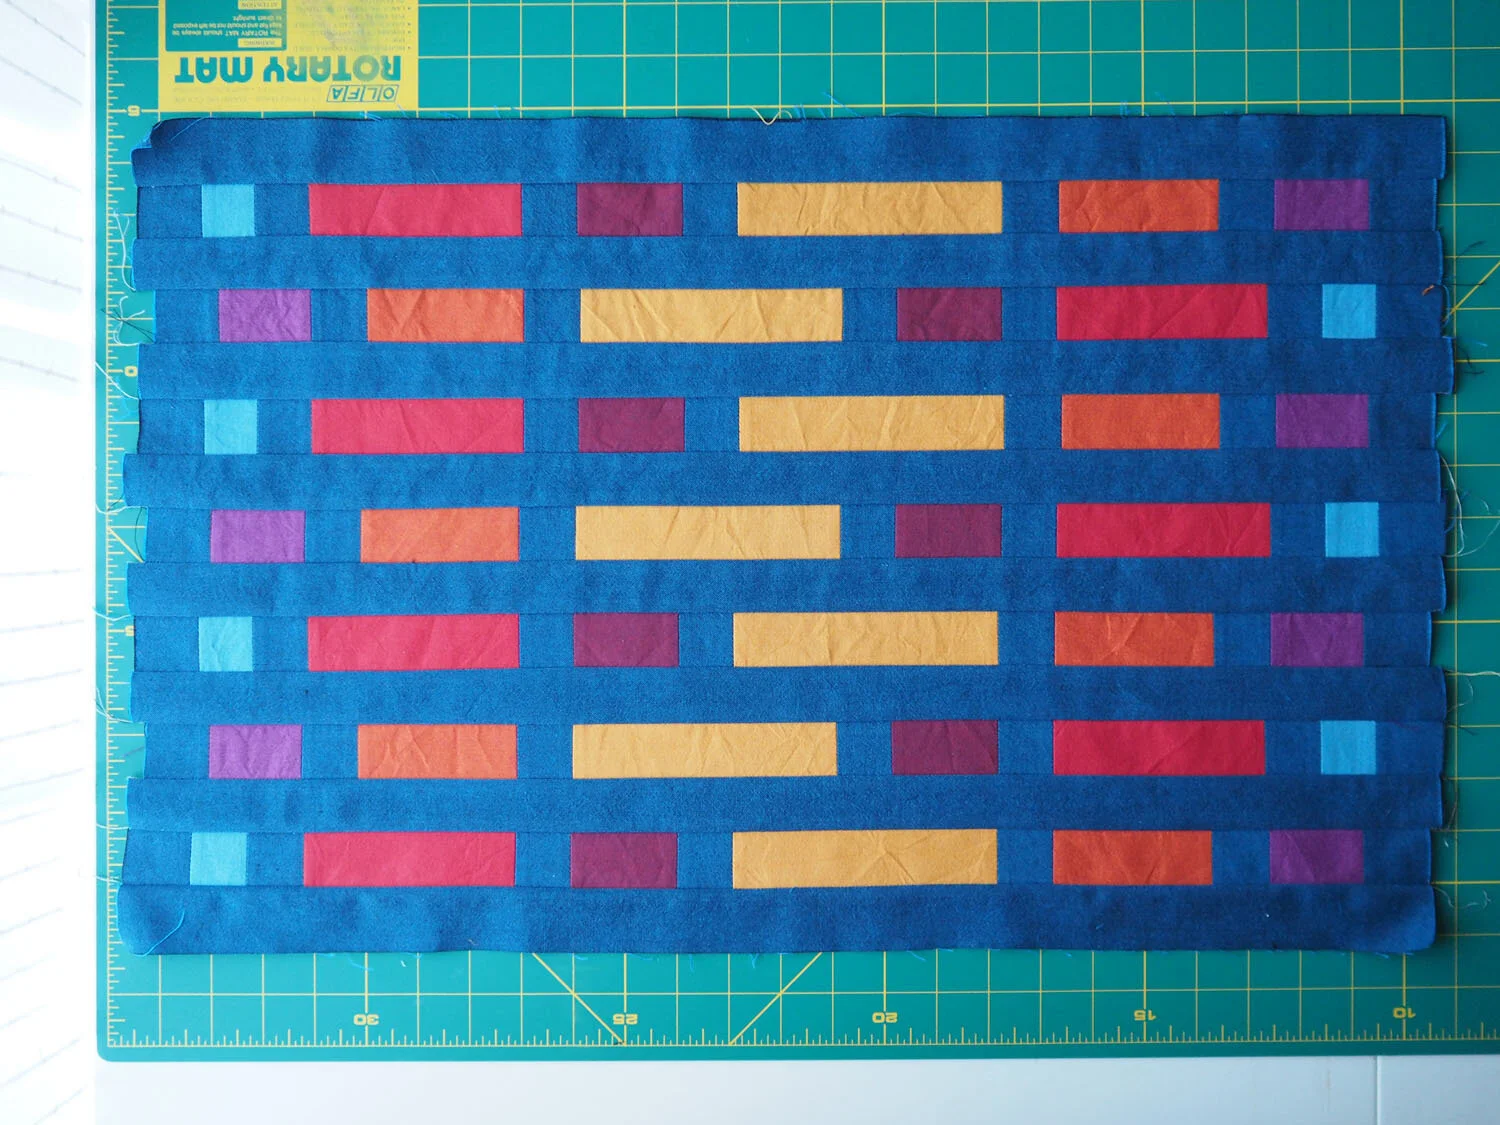
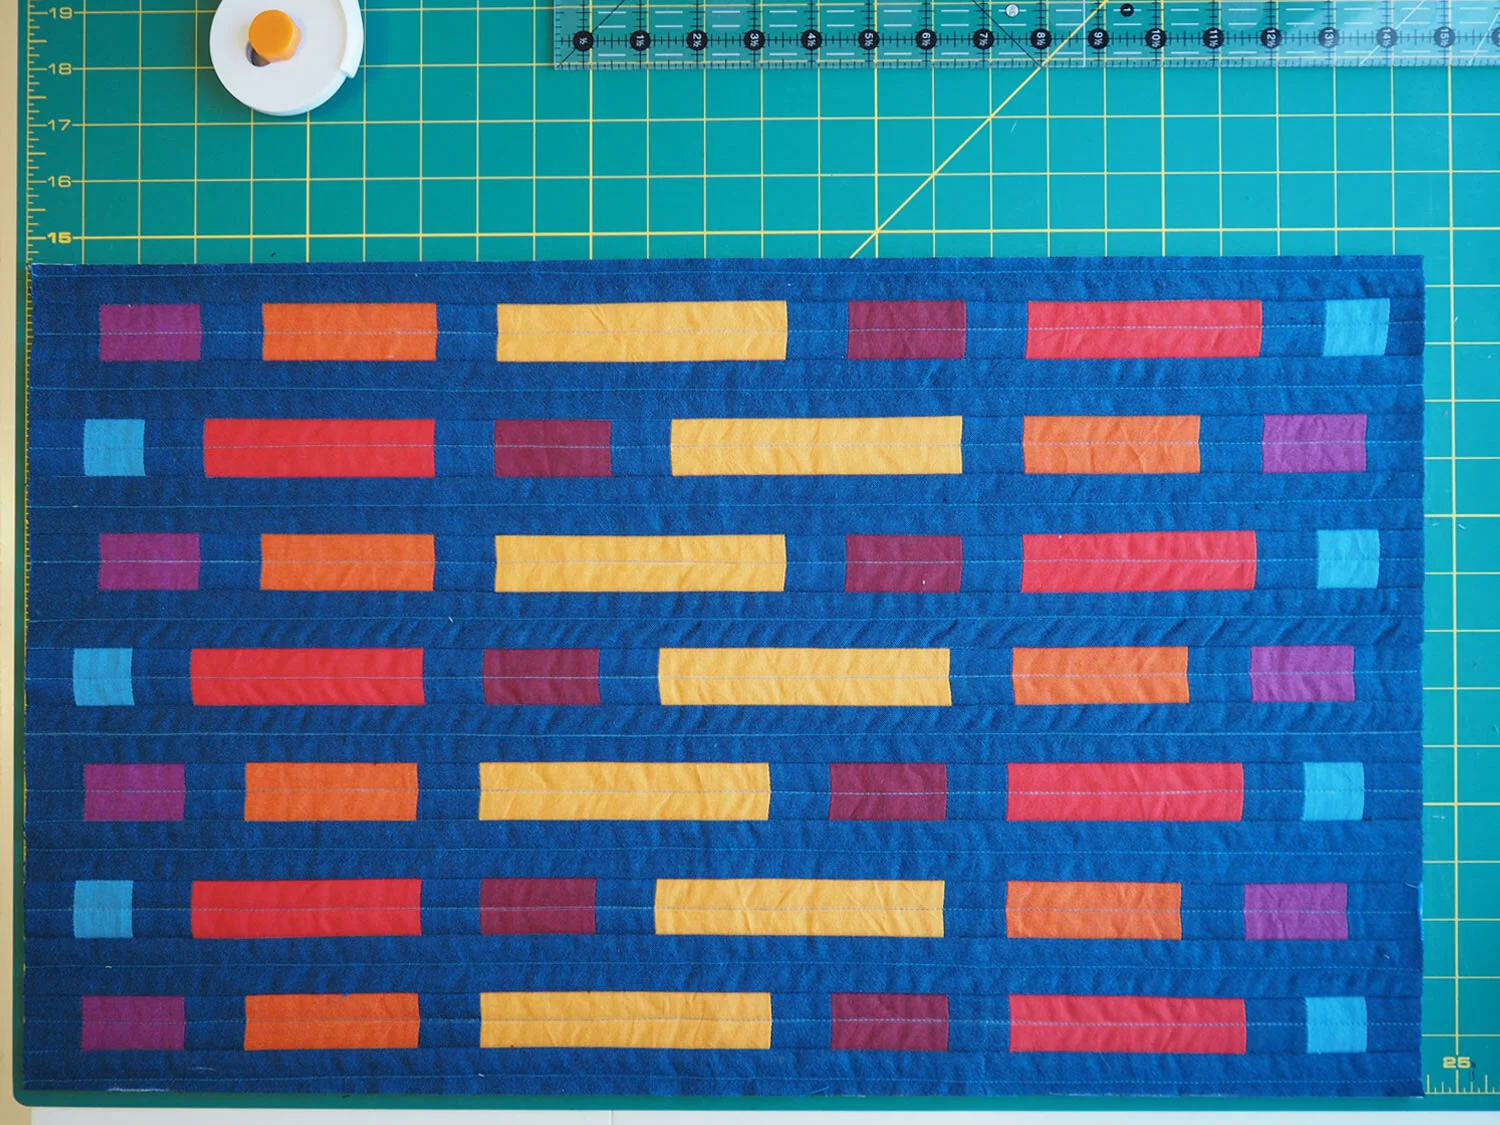
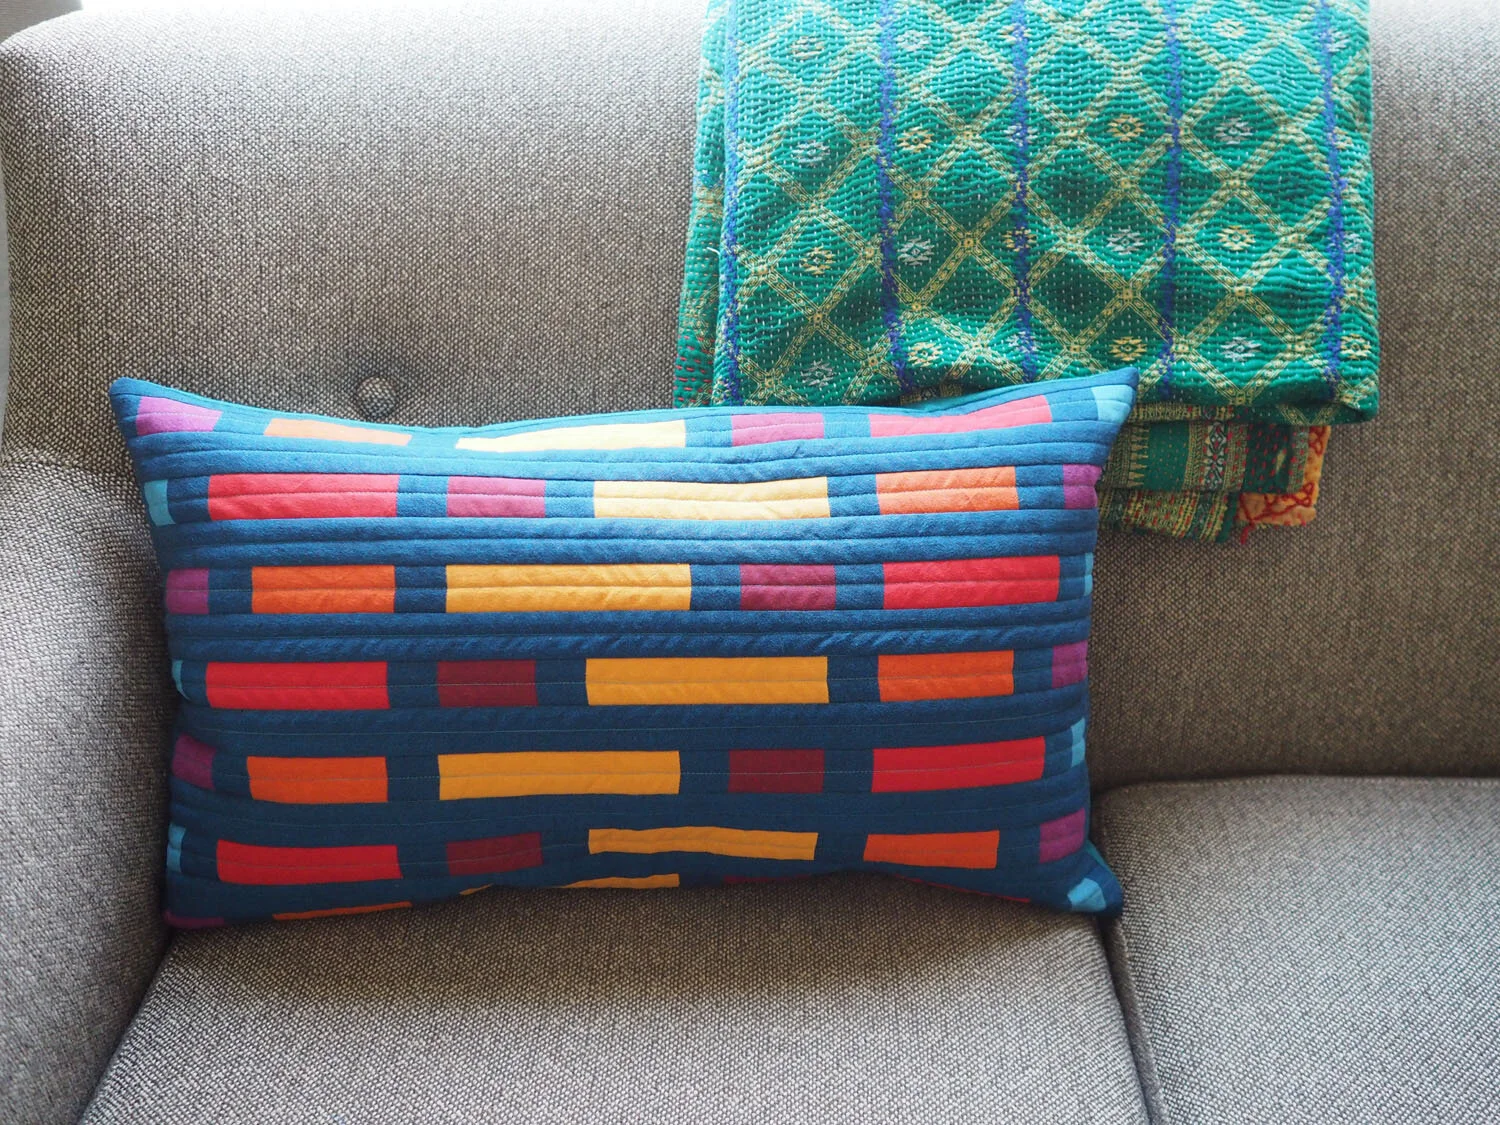
Pattern/Technique: Kalaloch Pillow from Simple Geometric Quilting by Laura Preston
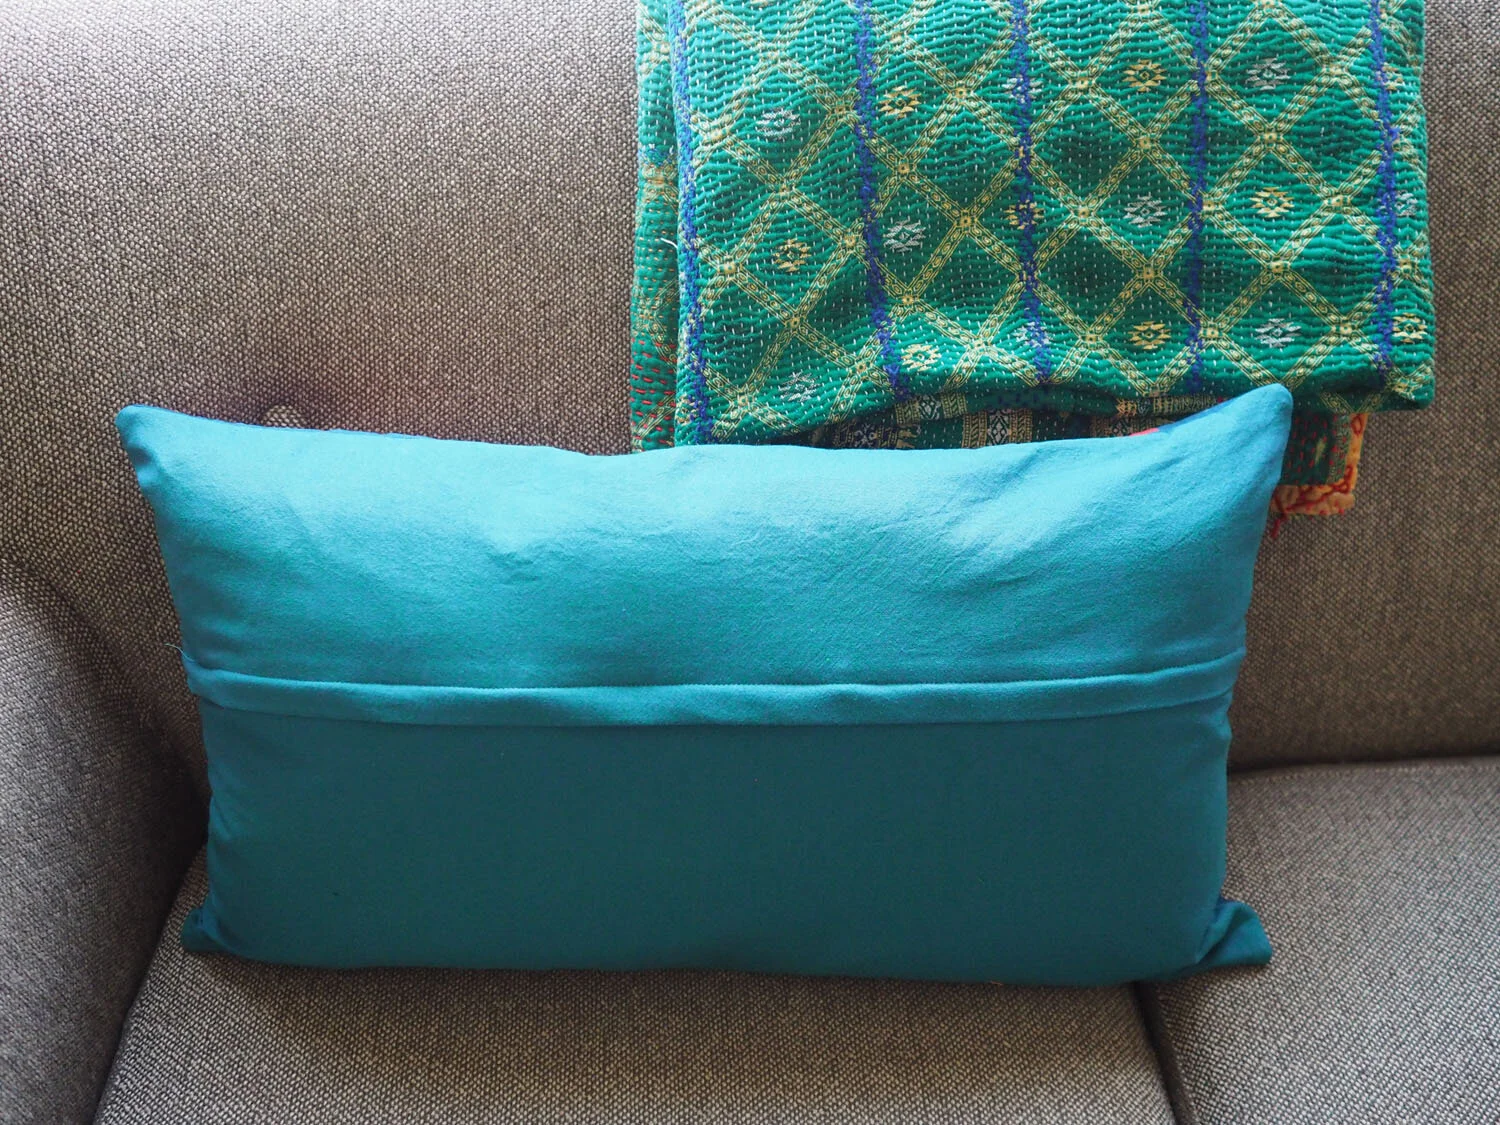
Added zipper using Covered zipper pillow tutorial by Lisa Bongean
Materials:
Fat quarters: Peppered Cottons Garnet 26, Saffron 25, Paprika 32, Flame 16, Magenta 42, Parrish Blue 67
1/2 yd Peppered Cottons Ink 45
3/4 yd Peppered Cottons Marine Blue 11
Aurifil 50 wt color no. 4182
Quilters Dream select cotton batting
1/2 yd Kona cotton natural (for backing of quilted panel)
Fabric purchased from Cottoneer, Shot & Pepper
New skills: strip quilting
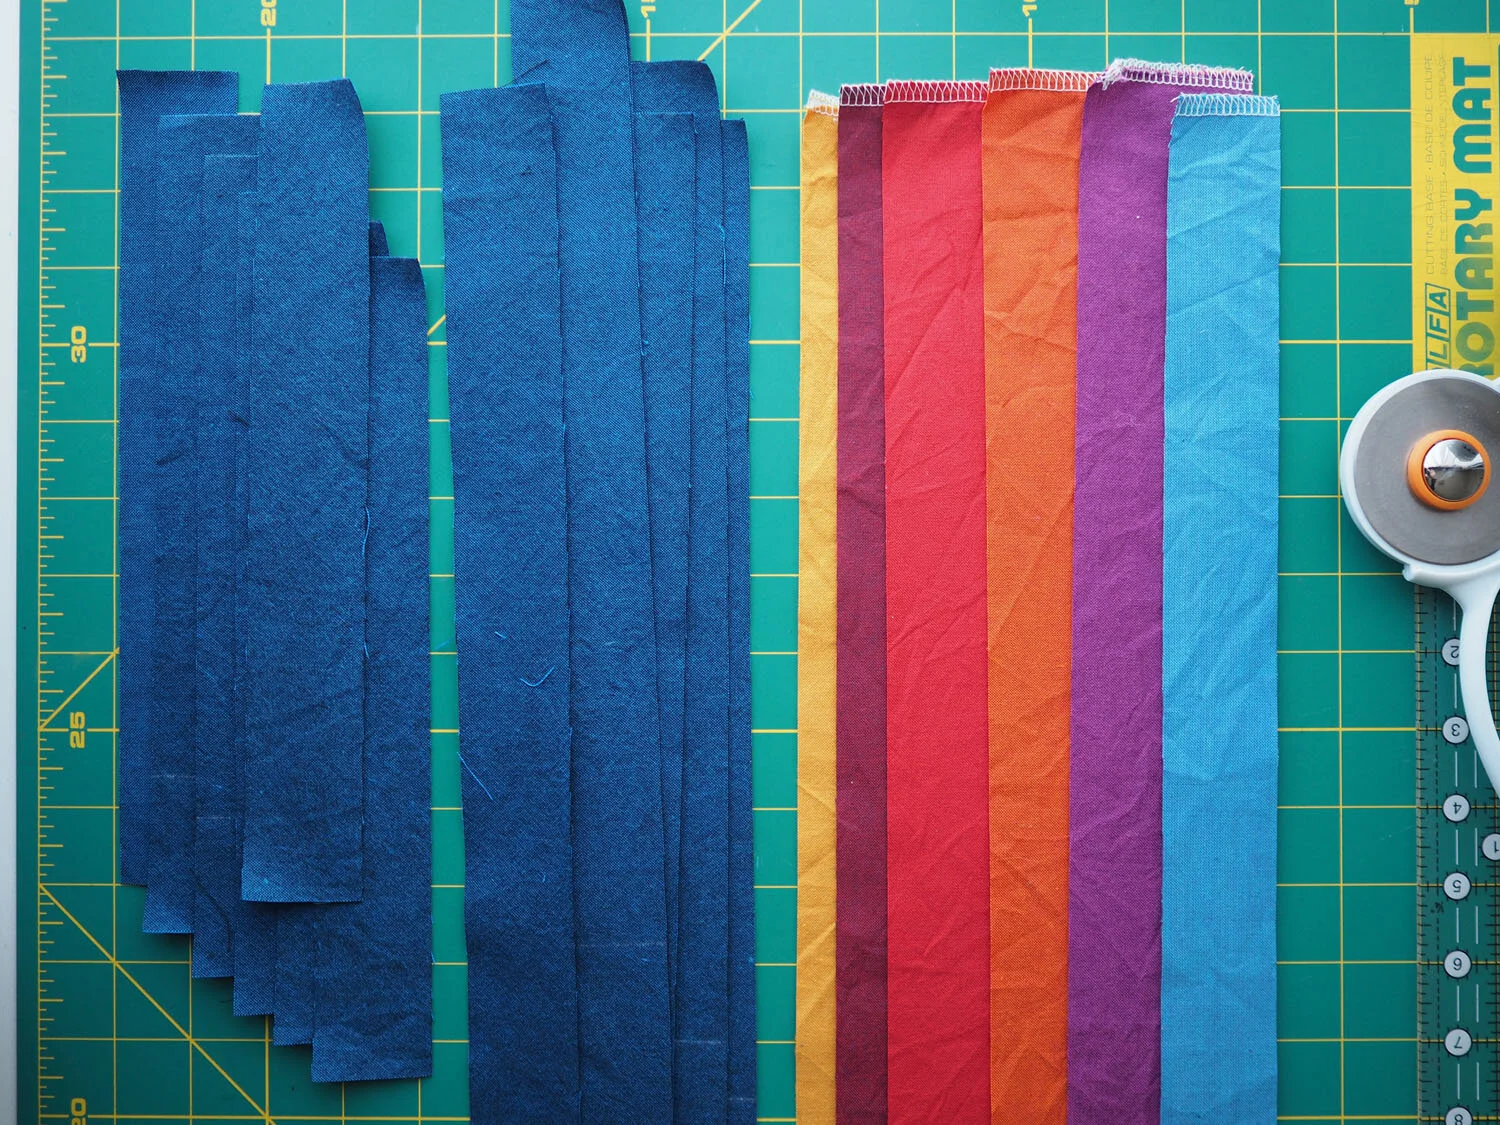
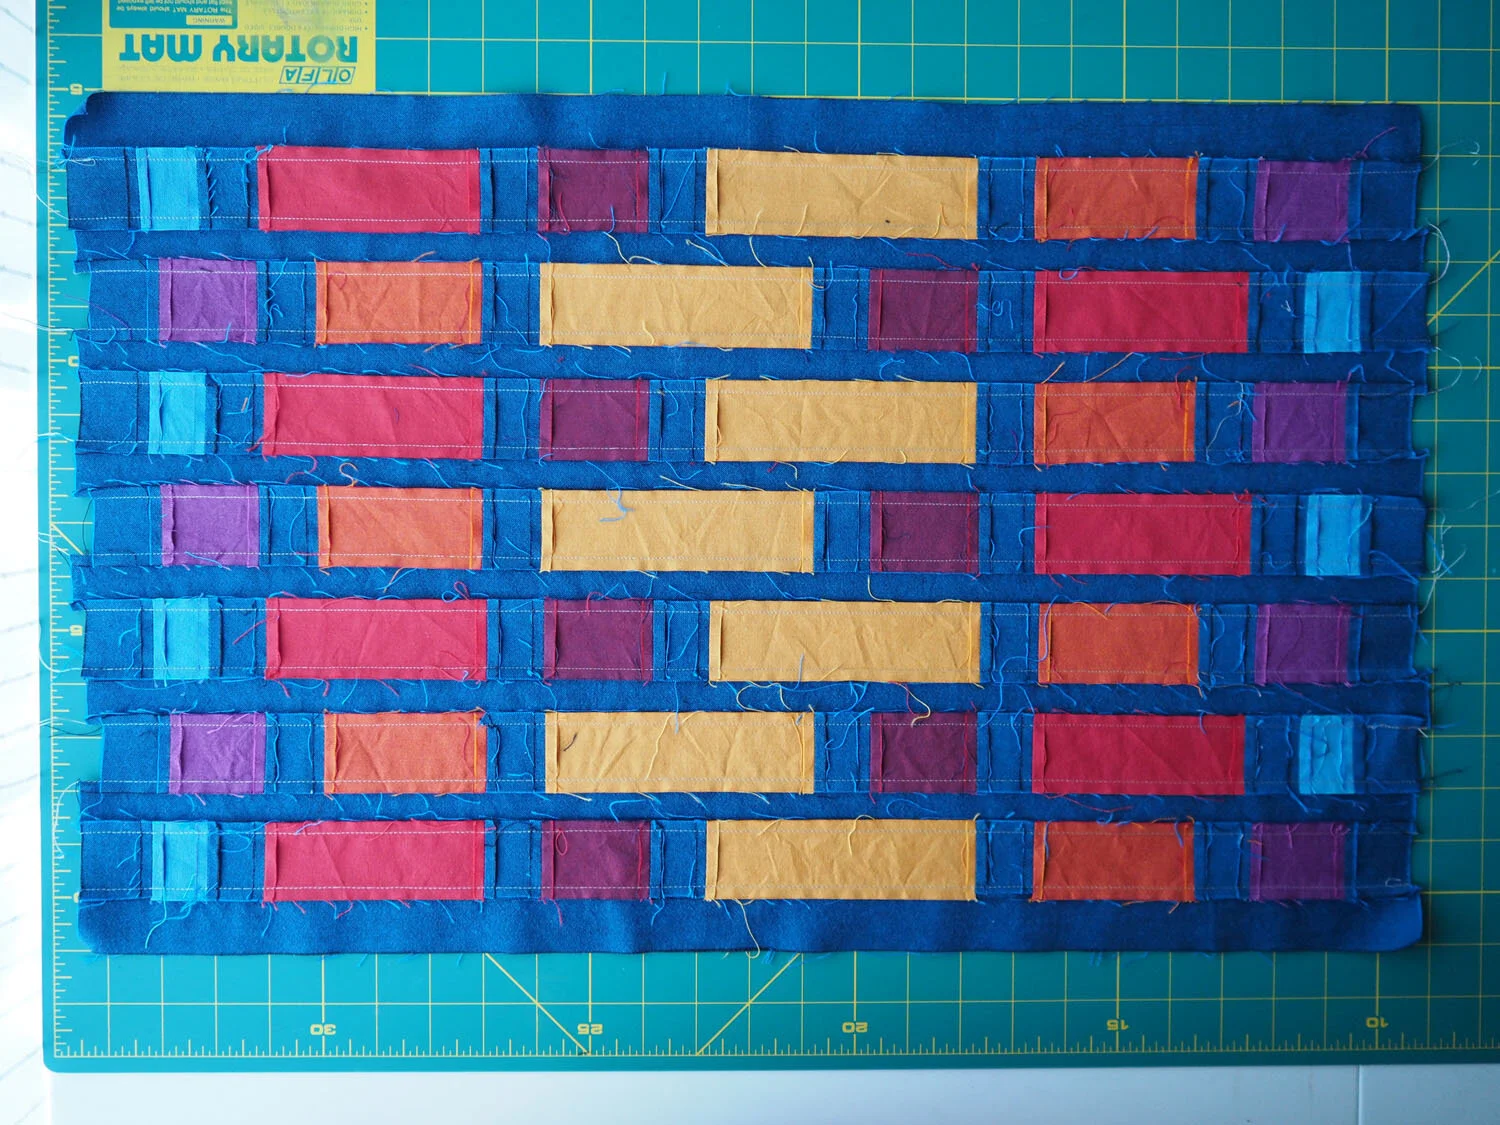
Lessons: I'd read in one of my quilting books that it isn't necessary to block / straighten fat quarters before cutting into them, so I didn't do that. But I definitely noticed I had a lot of loose threads fraying from the strips. This wasn't necessarily a problem, but I did have to manage them.
The pattern called for short blue strips that were slightly shorter (10.5") than the colored strips (11"). I would cut 11" strips of these to have a little extra in case of inaccuracies while piecing.
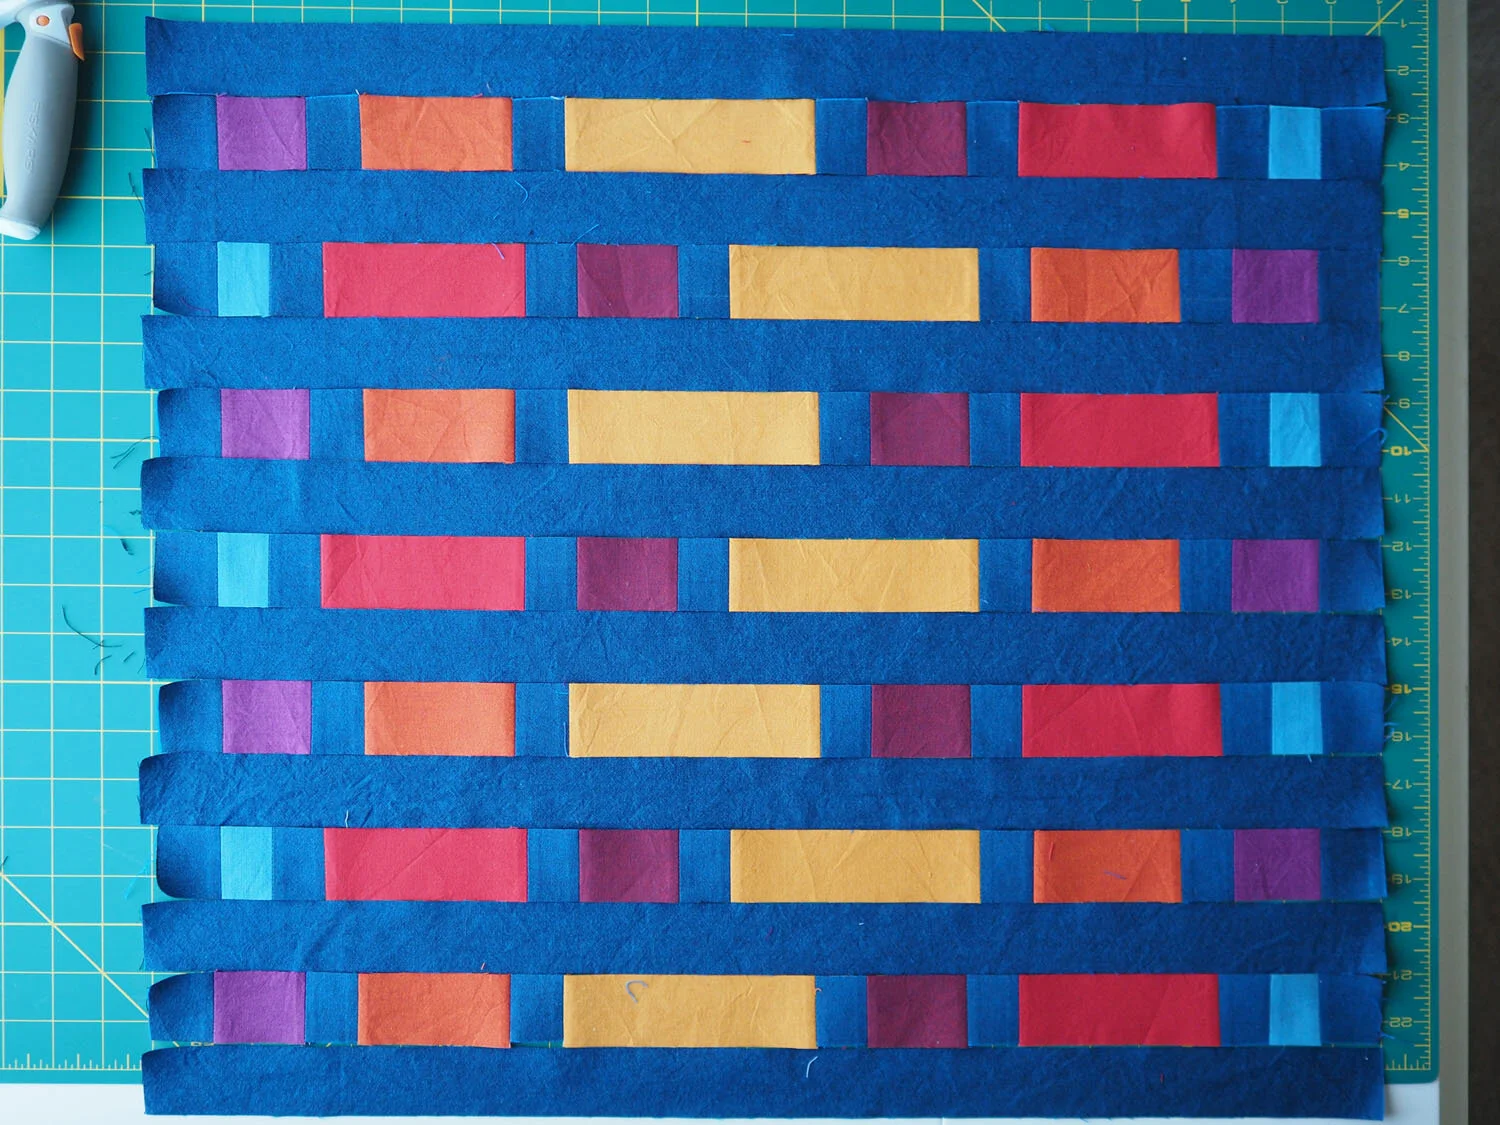
I'd cut slightly longer long blue strips (maybe an inch longer) because there were some inaccuracies in my pieced strips, so I offset them to make sure that the center panel (yellow/dark red) was aligned. I ended up having to trim down the length of the pillow by ~0.5" so that the edge of the fabric would be within the seam allowances.
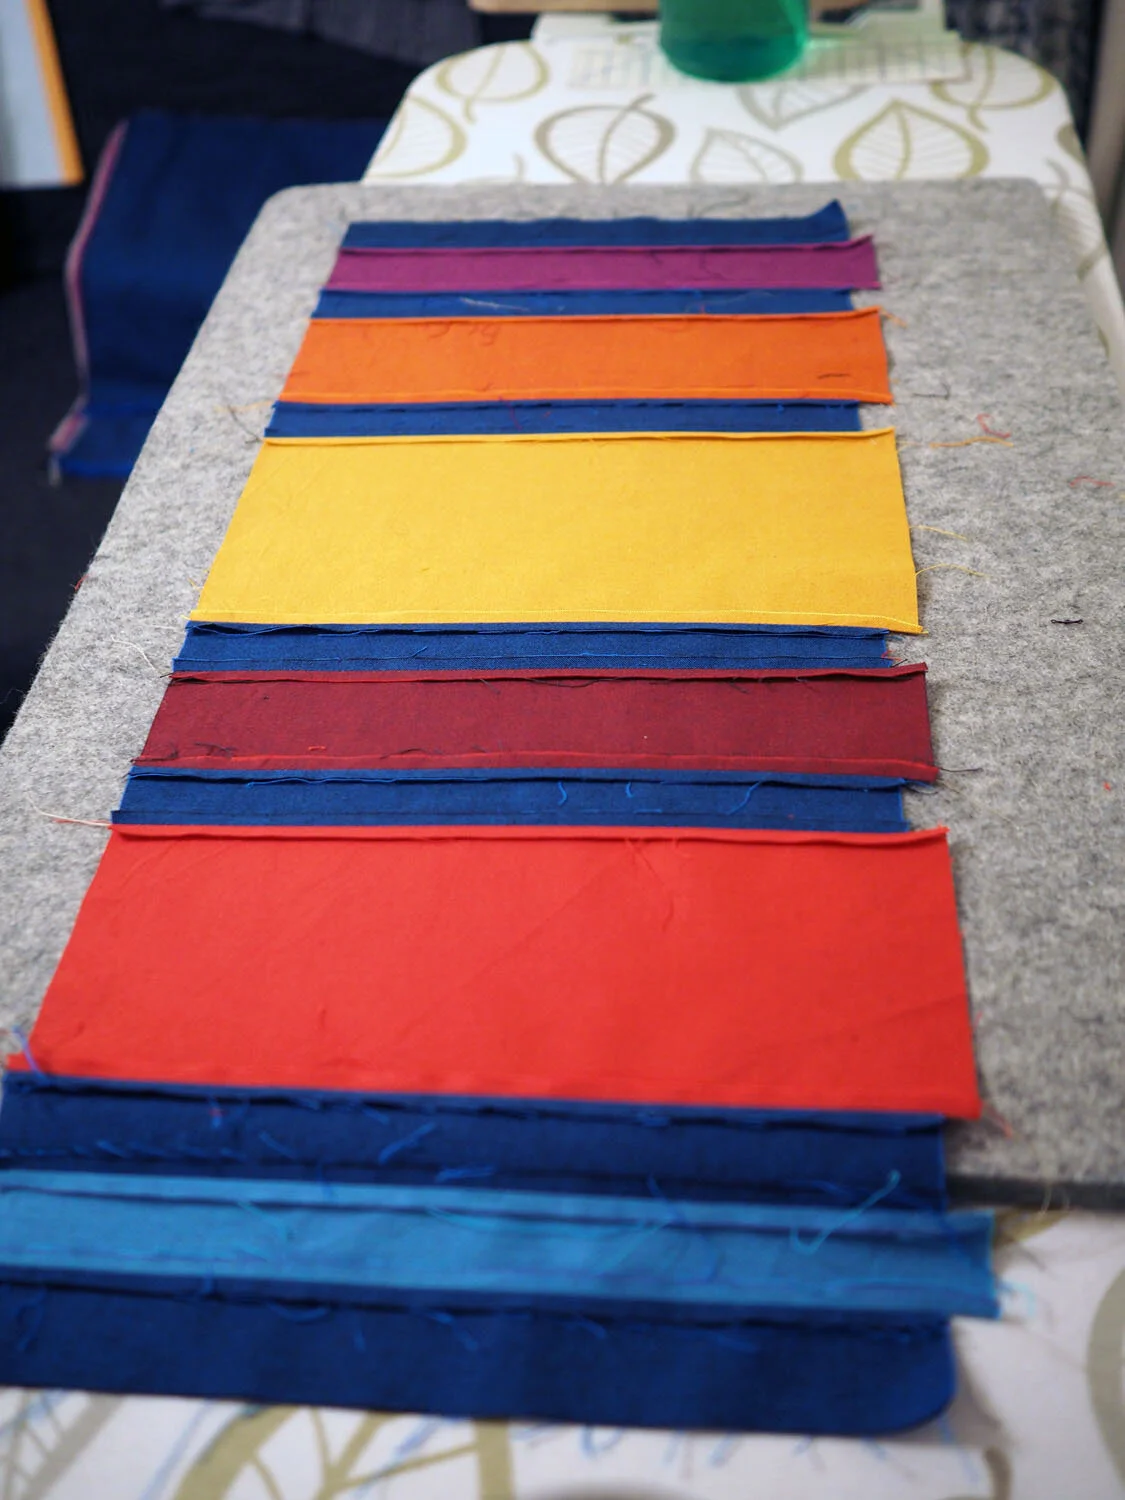
Ironing on a wool felt pad produces incredible results when piecing.
It's critical to check the following settings on the sewing machine before every use: presser foot pressure, stitch length, tension, and needle size/type. I started out piecing using a chrome denim needle (bleargh) which I switched out partway through the project. I then forgot to cancel the needle offset after switching out my zipper foot and ended up driving the needle (breaking it) down into my 1/4" plastic quilting foot (cracking the foot, ugh).
I had quite a bit of trouble with skipped stitches while piecing. (Confession: I didn't resew the seams because I would be quilting them in the ditch and assumed that the quilting process would reinforce any janky seam.) I did a lot of research both online (this thread was a huge help), in my machine manual, and the Reader's Digest Complete Guide to Sewing. Here's what I learned:
The most common cause of skipped stitches is using the wrong size / type of needle for the weight of thread being used
Aurifil 50 wt thread is 2-ply so it's thinner than a 50 wt 3-ply thread
I tried a variety of sizes and types of needles (80/12 universal - skipped, 70/11 universal - skipped, 80/12 microtex - far less skipping, 70/11 microtex - no skipping) and eventually had great results with a 70/11 microtex needle
I'm not sure what I should do when I go back to garment sewing - whether I should pick up some 40 wt thread, or use the same size/type needle I've been using for quilting.
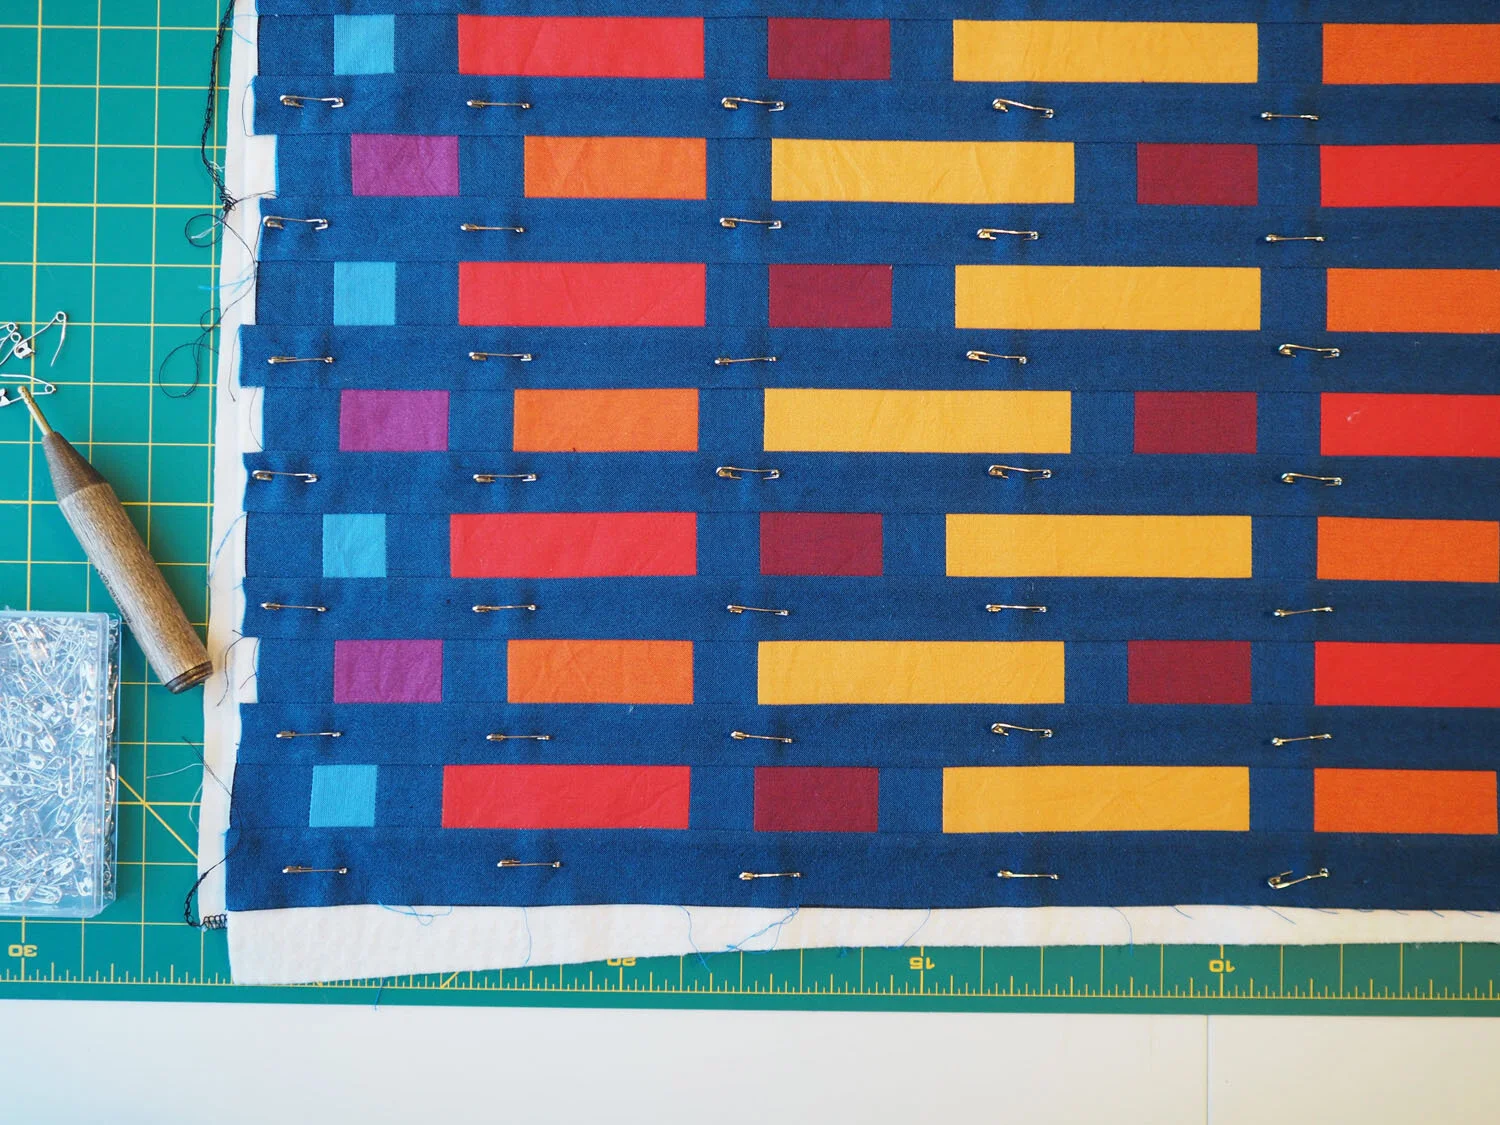
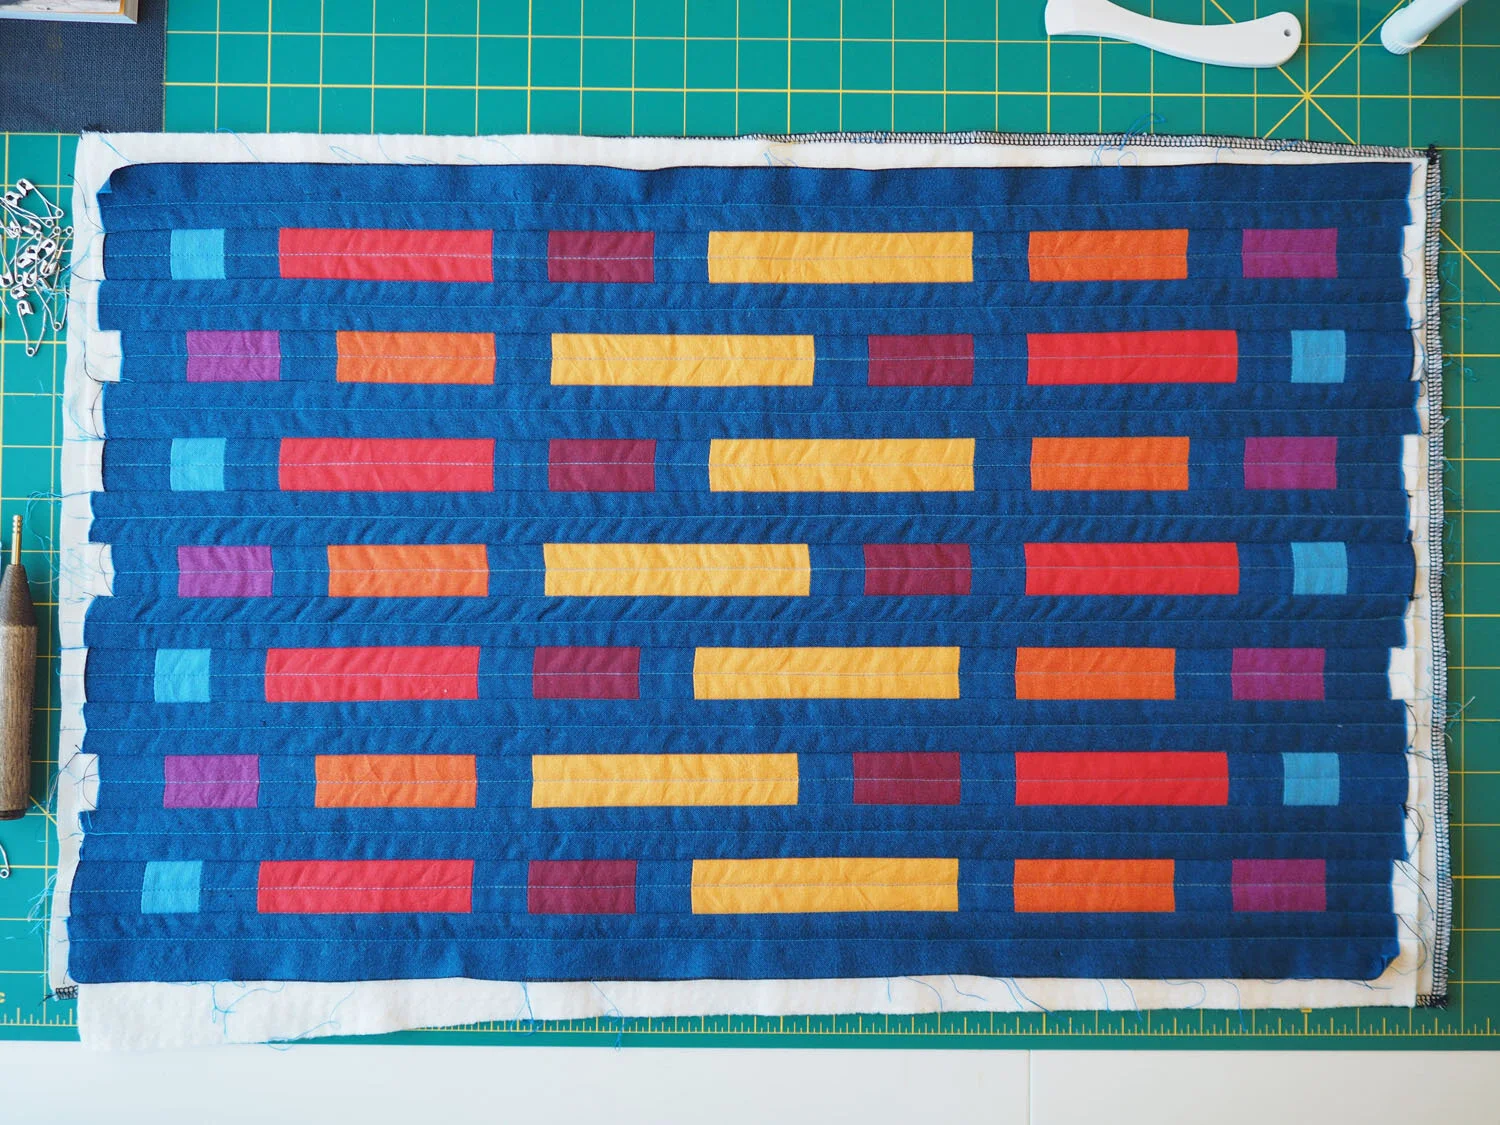
While quilting, I had to drop the presser foot pressure a lot more than my initial setting (intially 4.5, and dropped down to 2) because the quilt top was getting distorted / pulled while I was making the horizonal lines. I'm wondering if this might have also been exacerbated because I was quilting across the grain of the fabric, and I've read that the cross-grain tends to have a little more give.
While sewing in the zipper, the fabric stretched a ton. Again, I'm wondering if this is because I was sewing across the grain and maybe the fabric was stretching out while I was attaching the zipper. I managed to get things to work, but the zipper was definitely doing some wonky stuff while I was trying to topstitch it and I had to do some Grade A fudging to get it to work. Definitely need to do more research here.
I used a chaco liner and a hera marker to mark quilting lines - both worked effectively, though the hera marker might have been slightly better because it didn't get chalk on the thread, causing it to look a little dull. Most of the chalk has rubbed away as the pillow has been used, and it's now unnoticeable.
The pillow insert I had on hand (recycled from an old throw pillow) was 13x24 inches and I considered reducing the pillow width by an inch. I'm happy I didn't end up doing this because 14x24 and 16x26 are far more standard pillow insert sizes when I eventually replace the existing insert.
What I'd do differently: Piece and quilt a test swatch to make sure I have the right needle for the fabric I'm using.
While my strips had some alignment inaccuracies, I think that improving is mainly a matter of continuing to practice piecing.
Care: Hand wash, lay flat to dry
