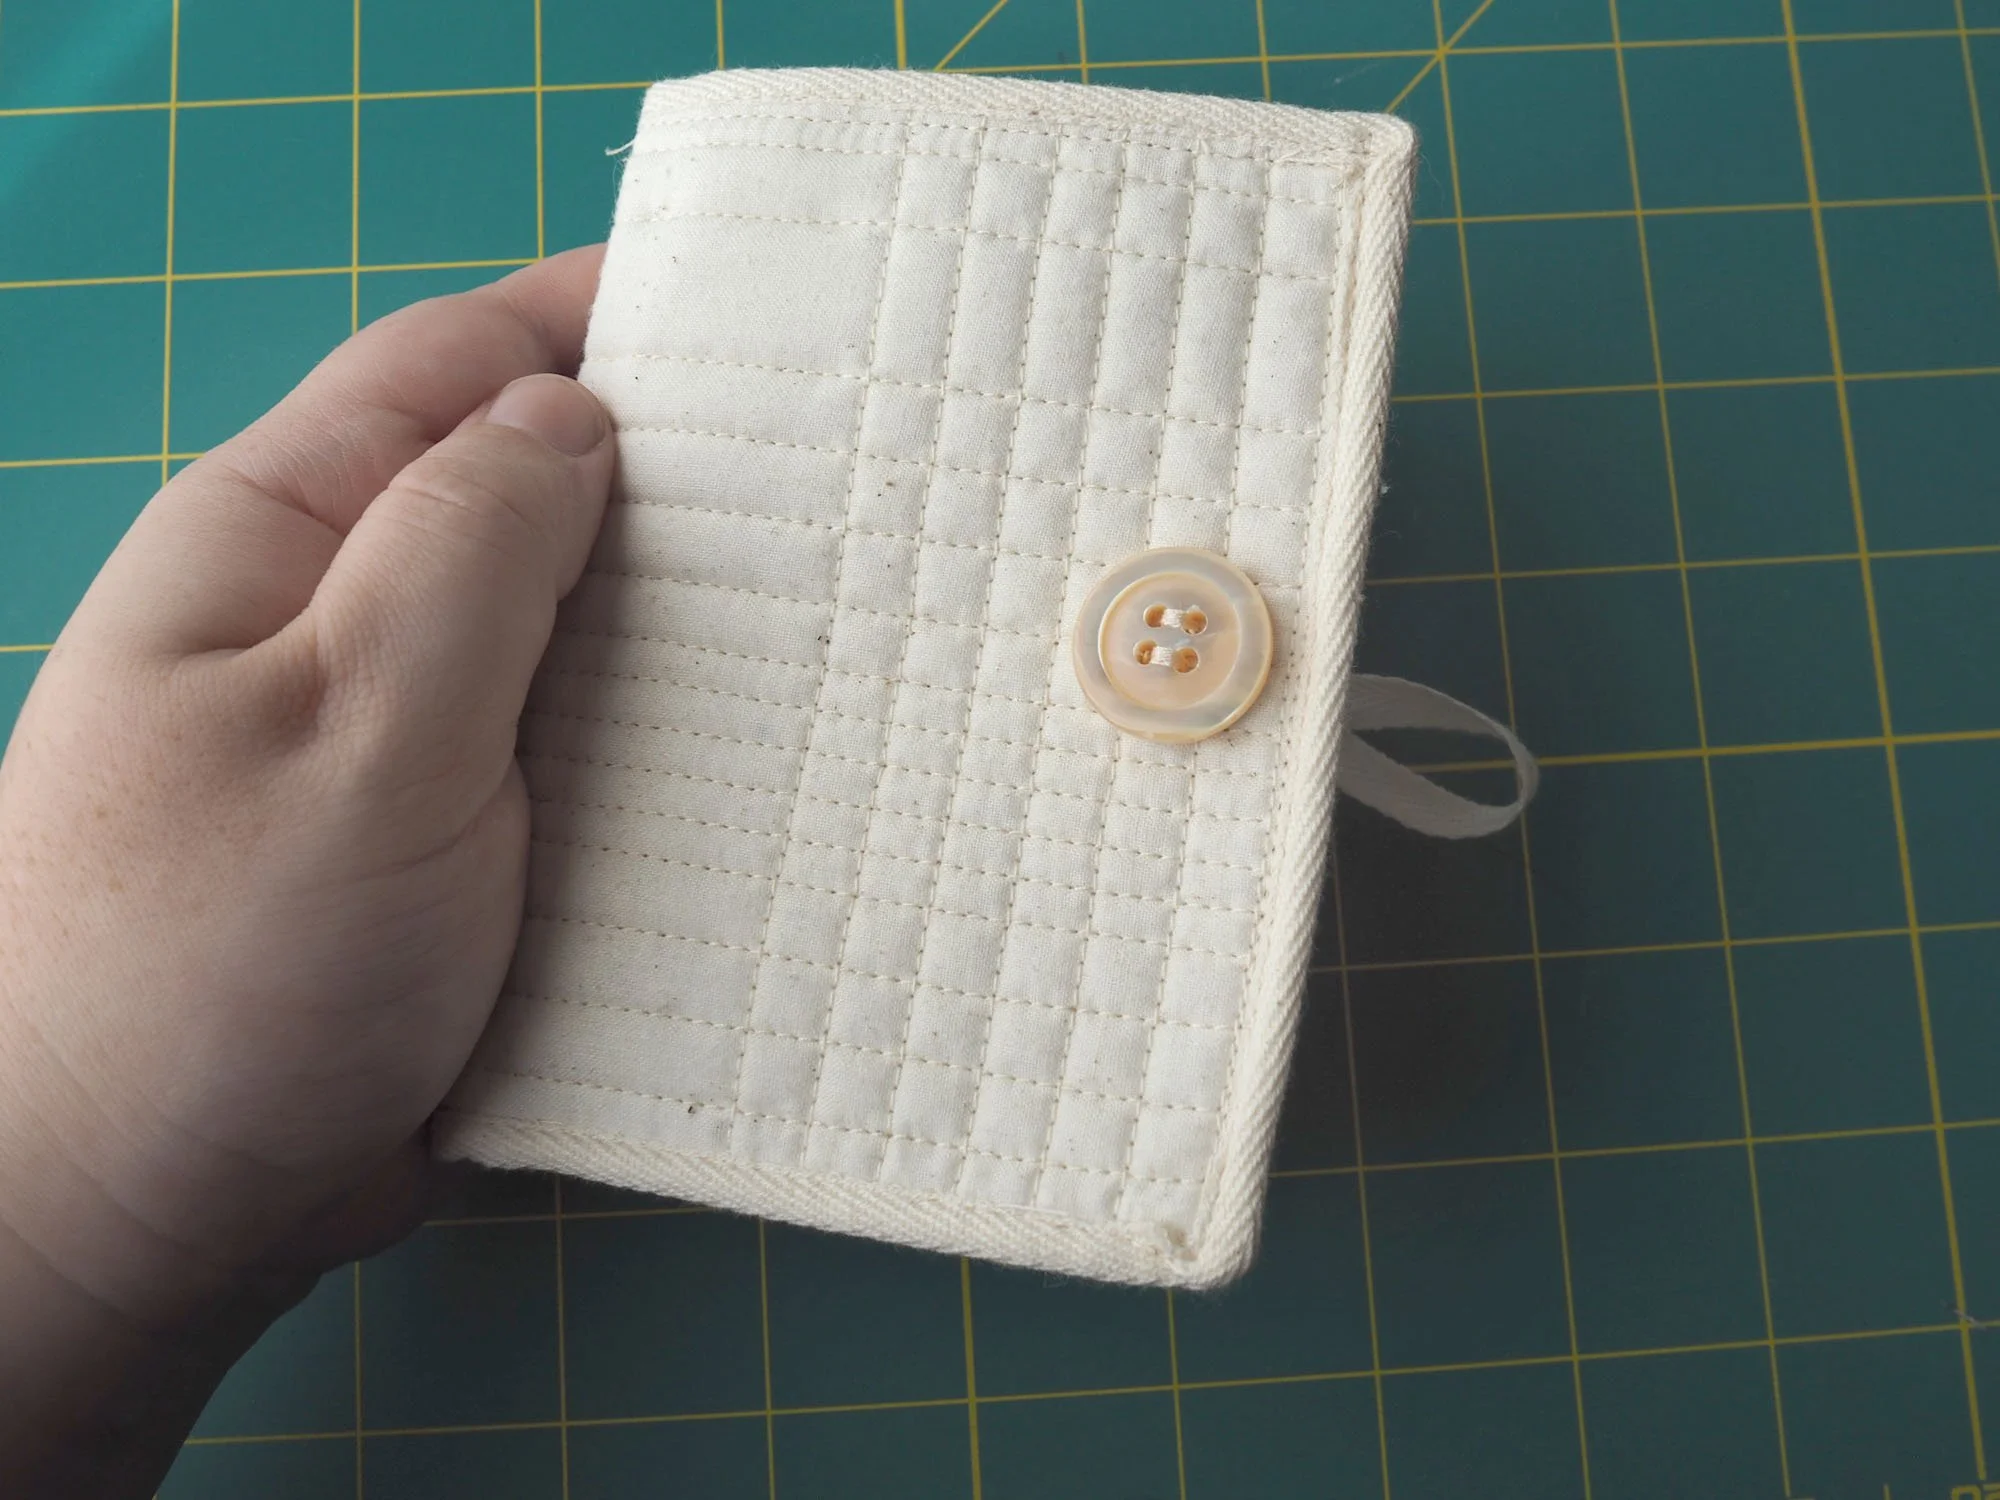
Needle Book

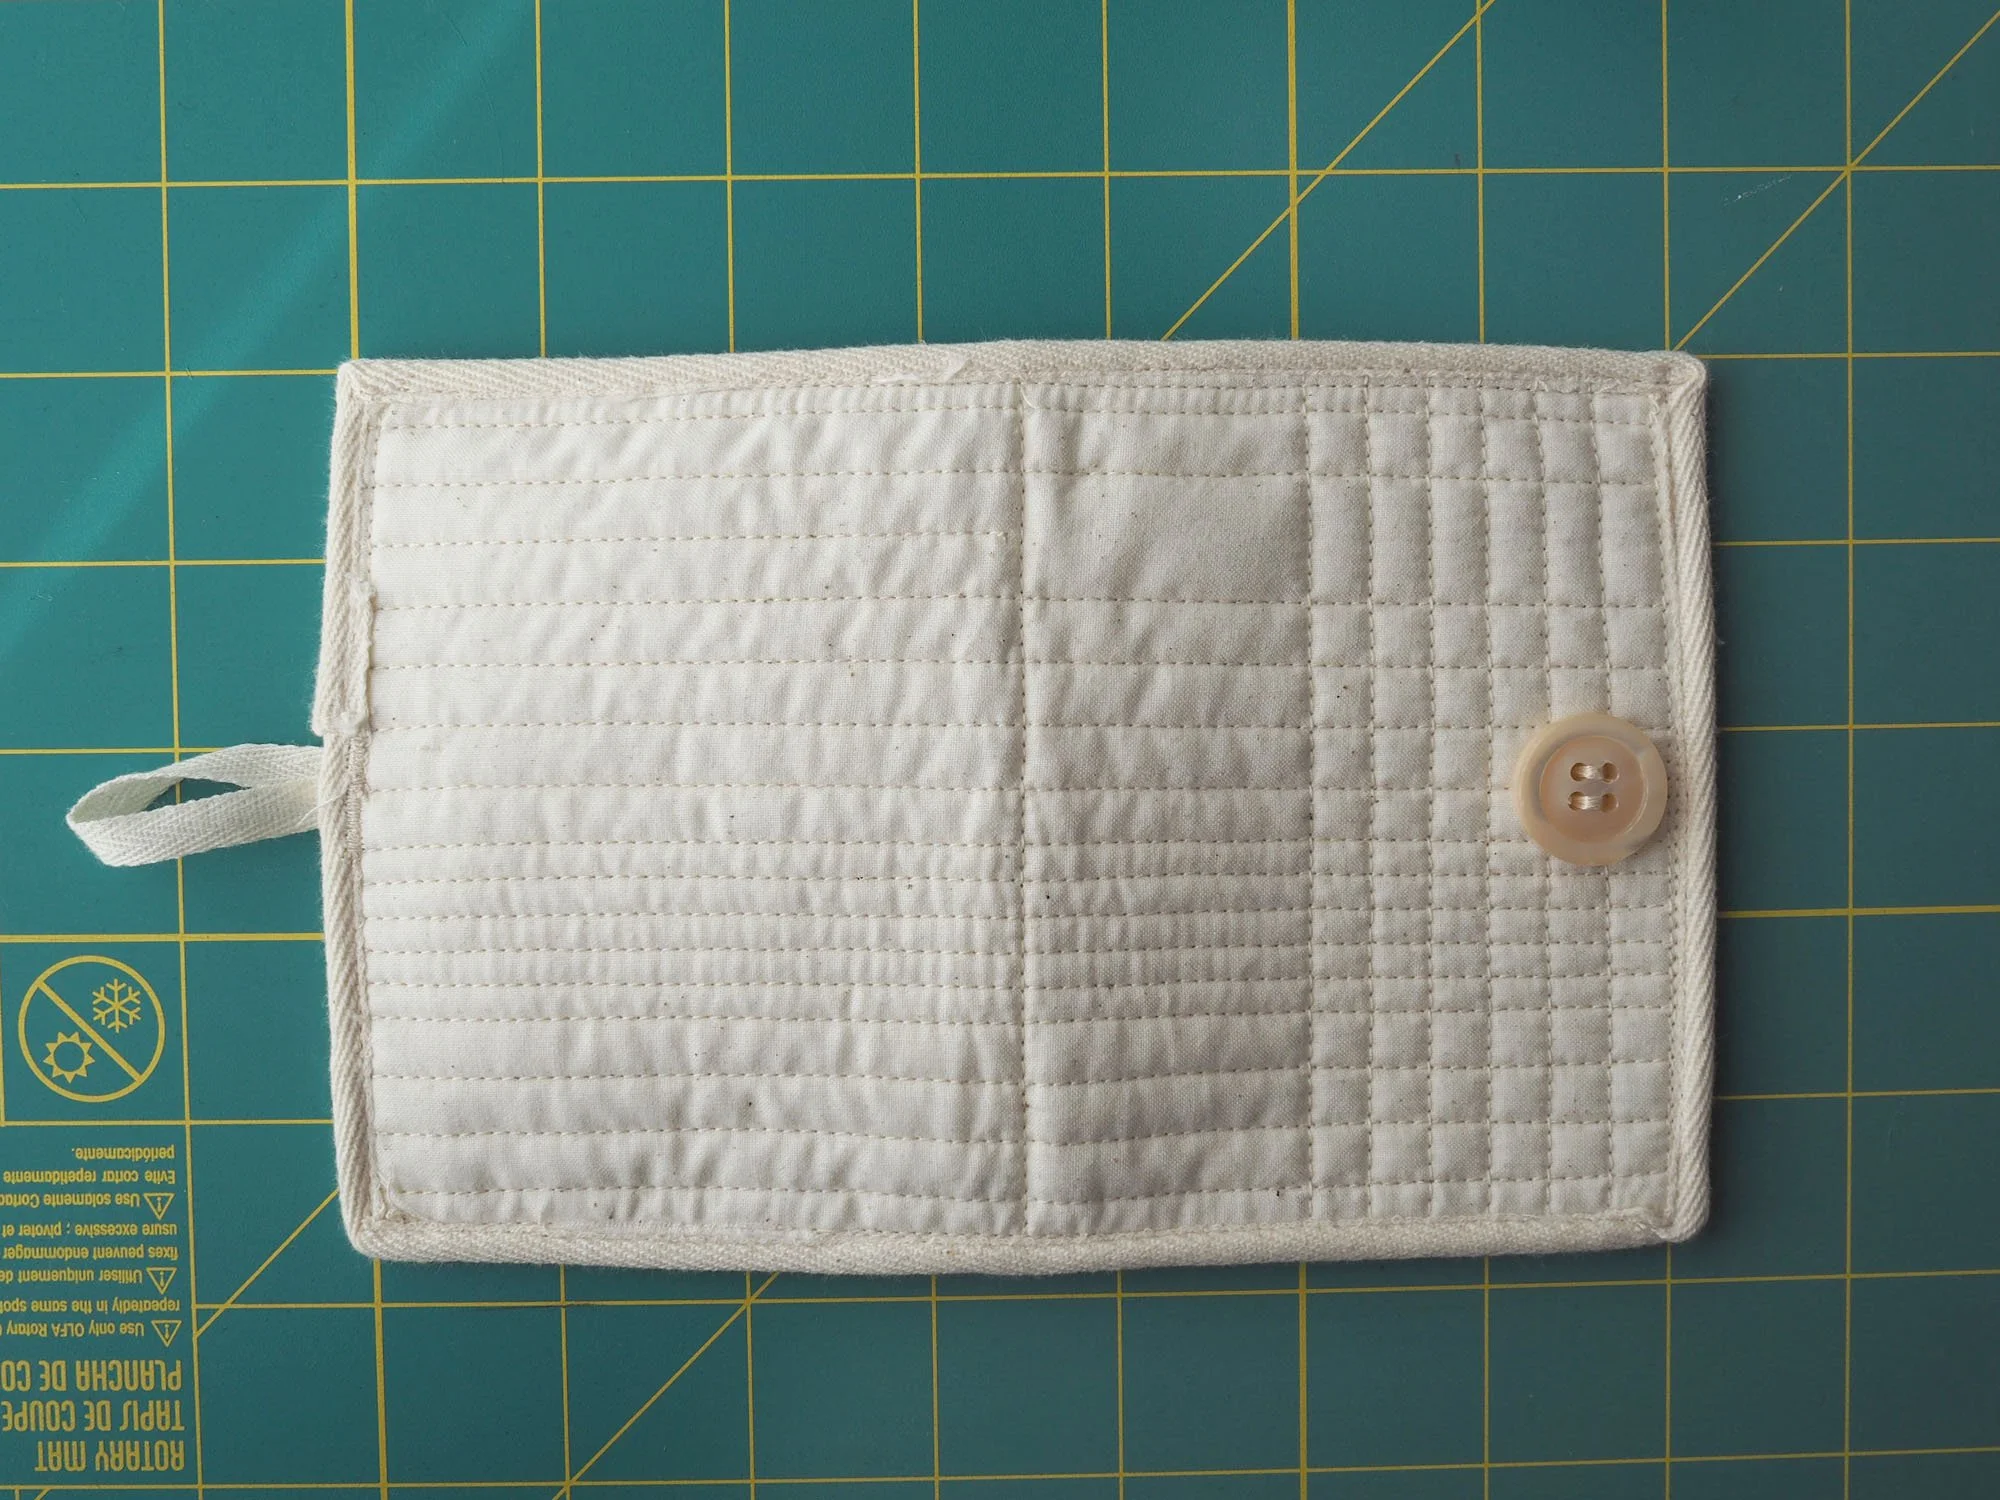
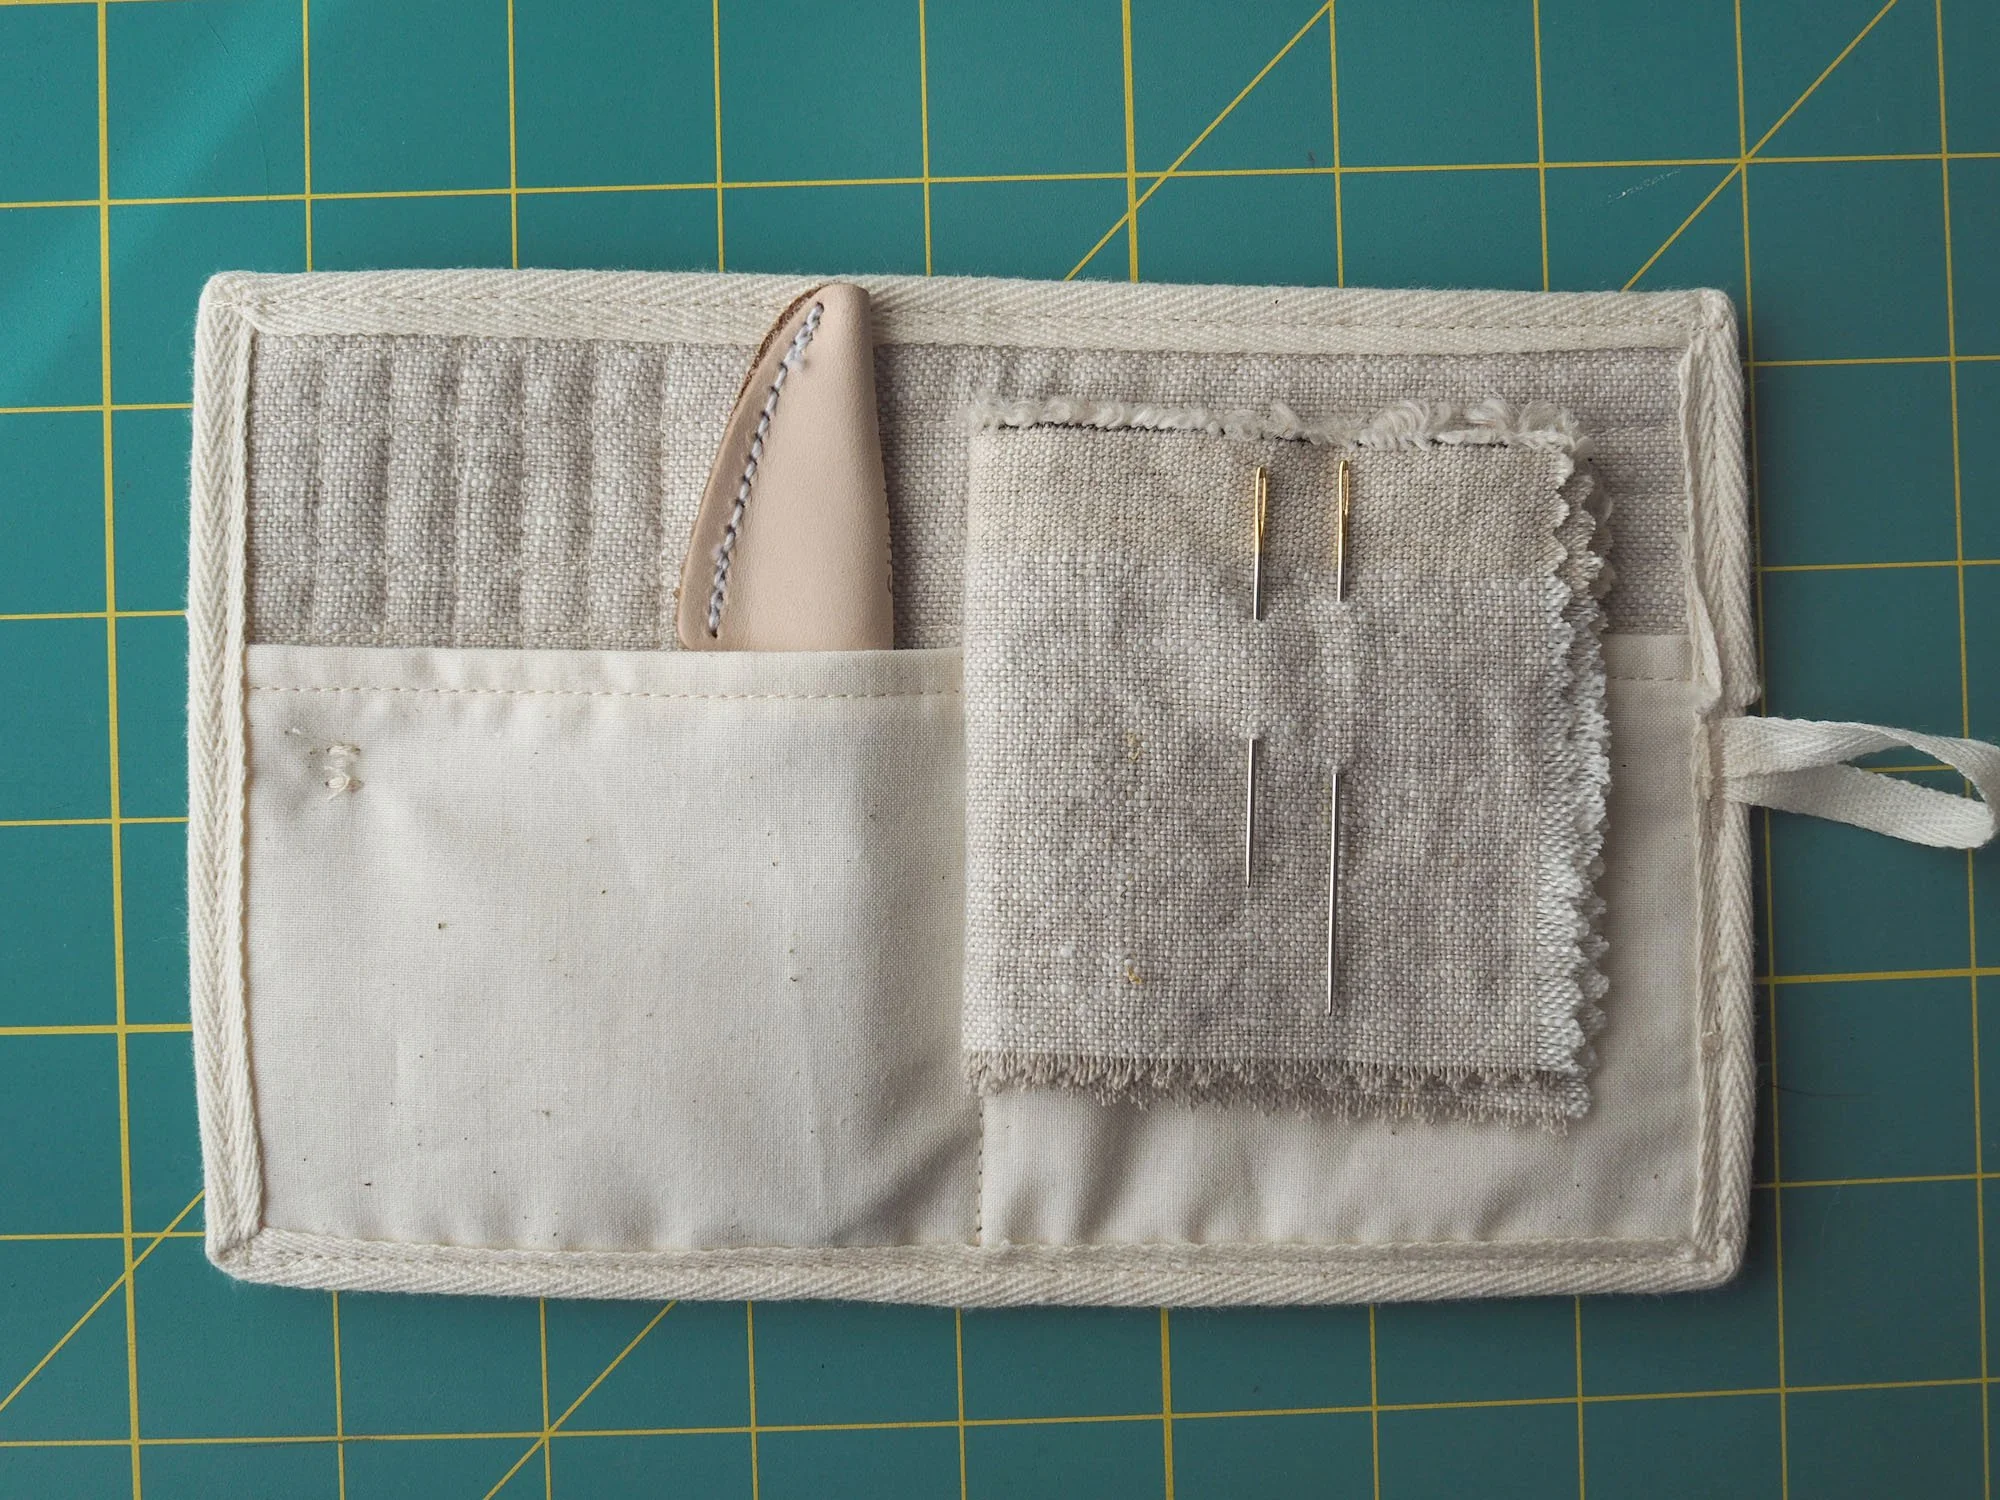
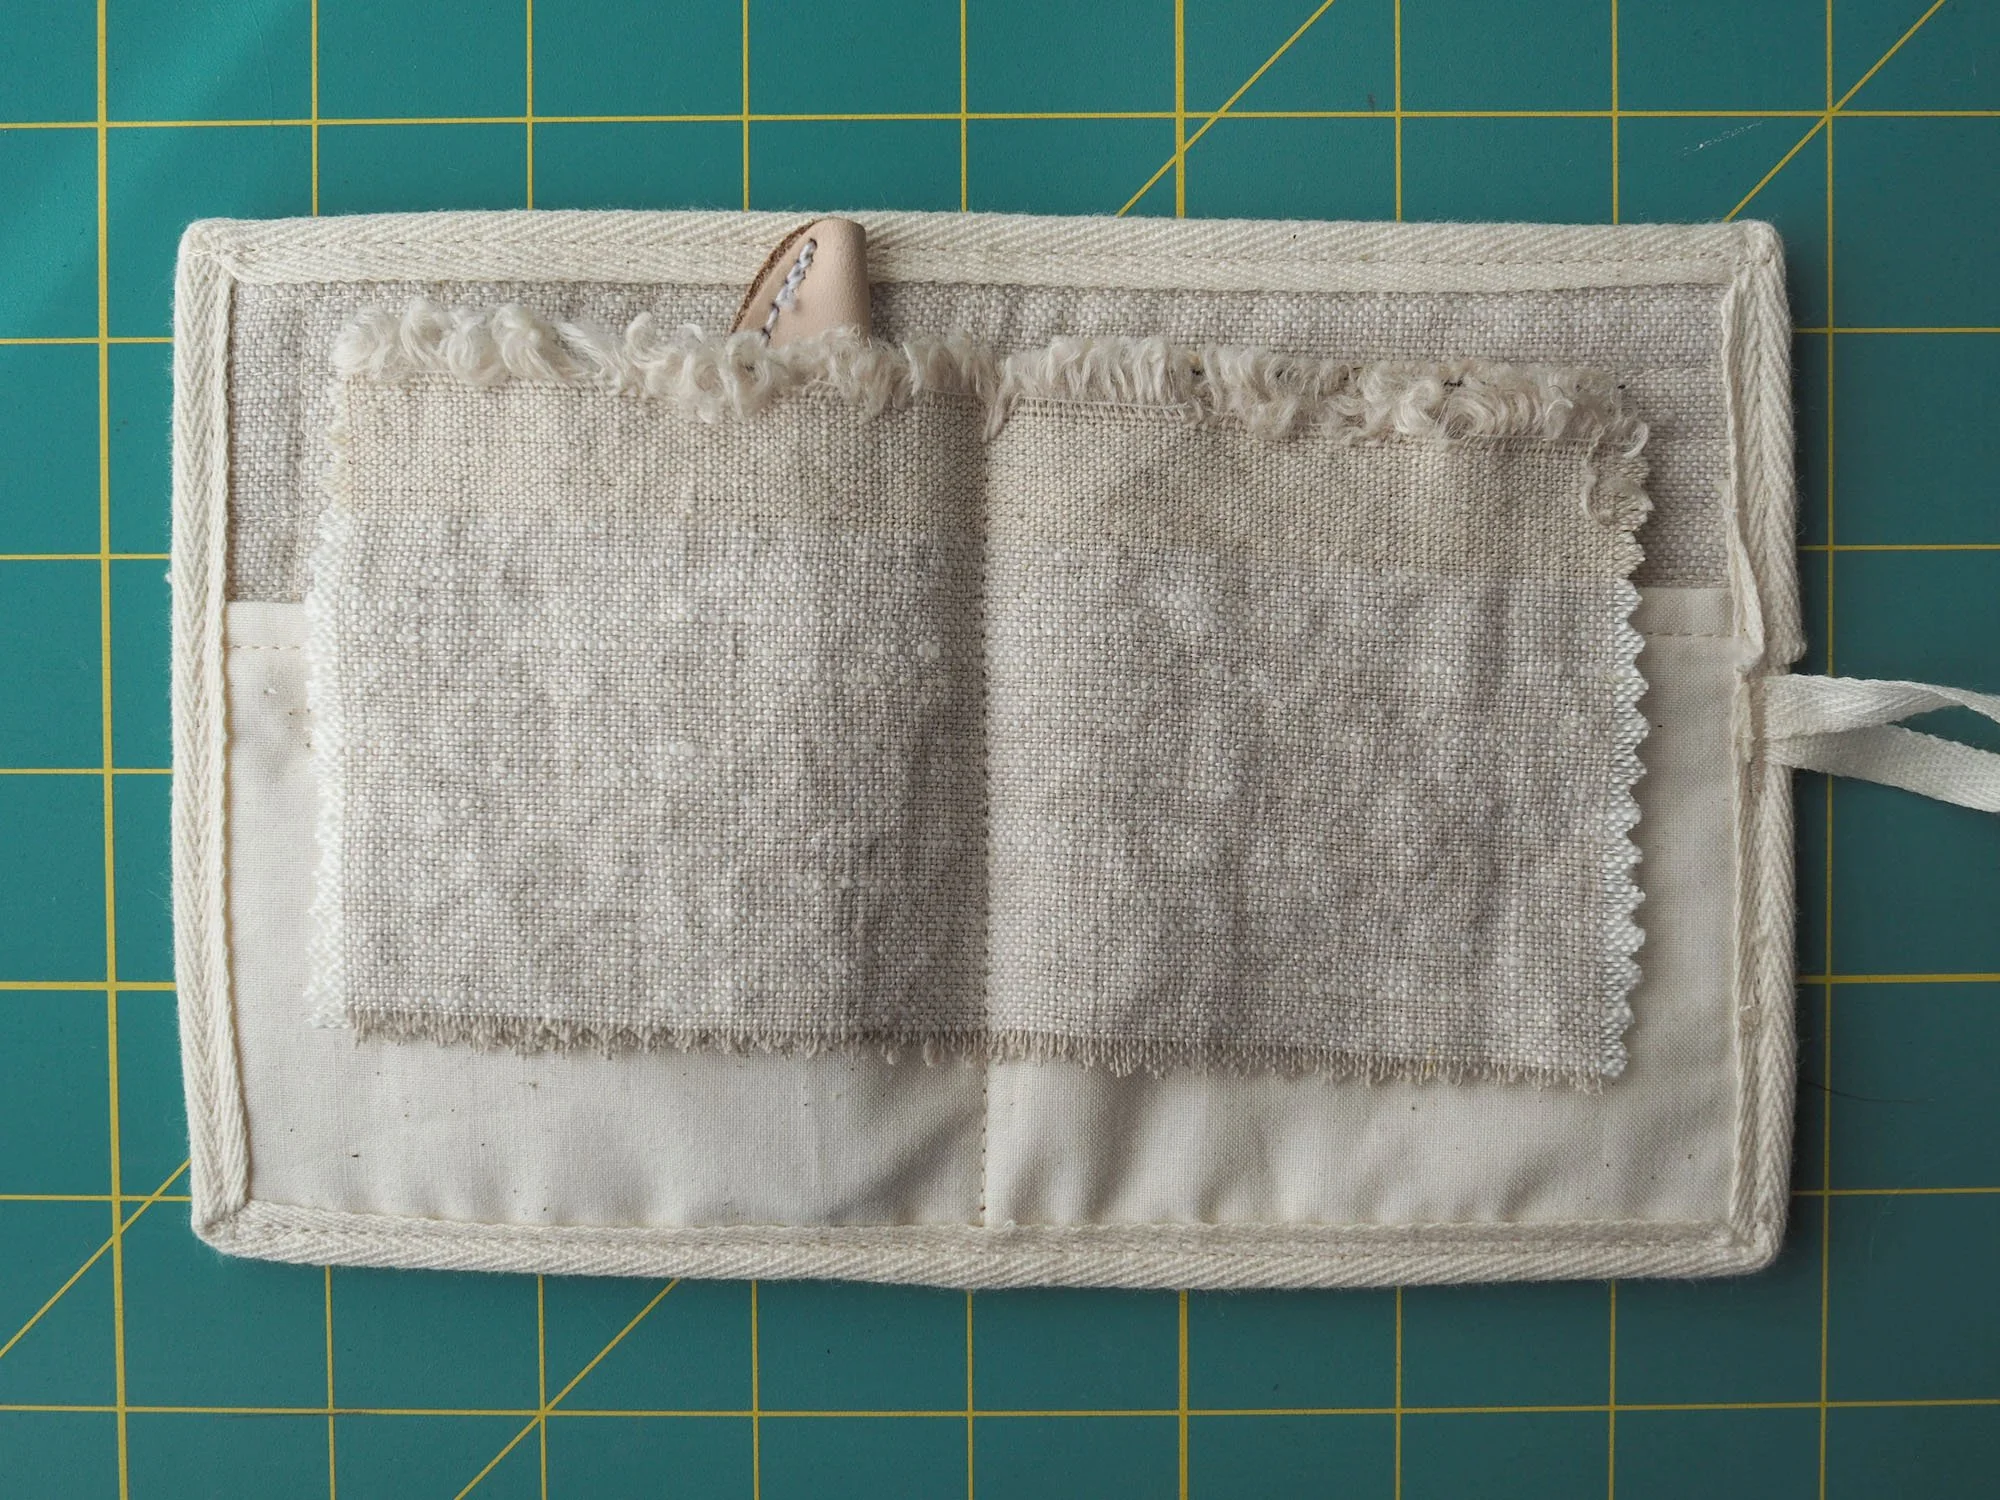
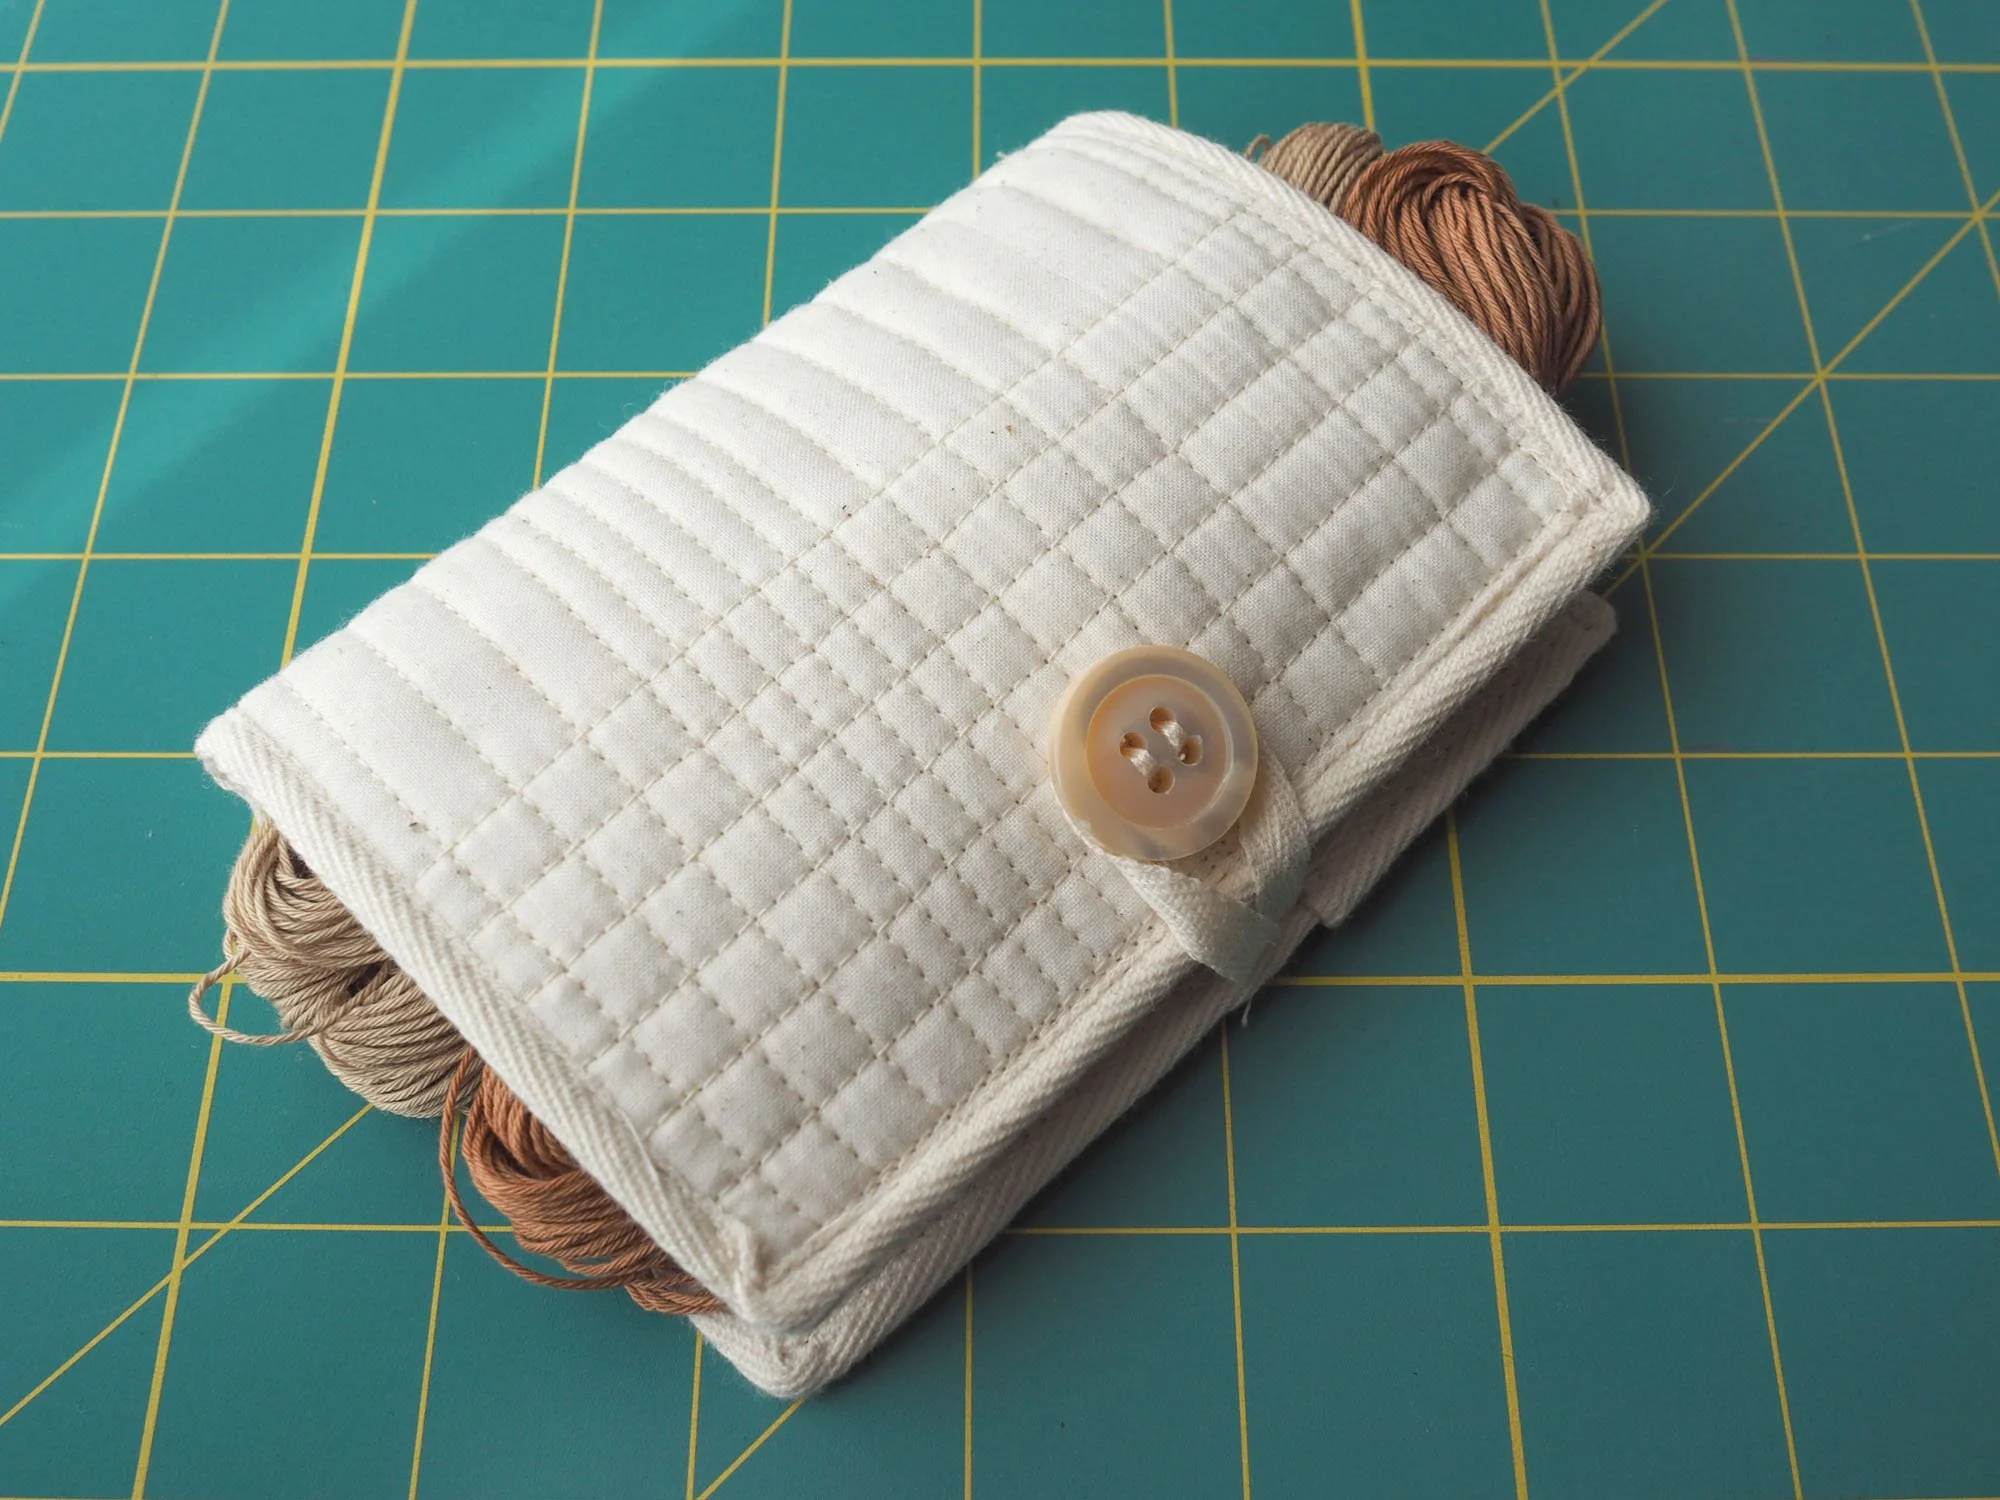
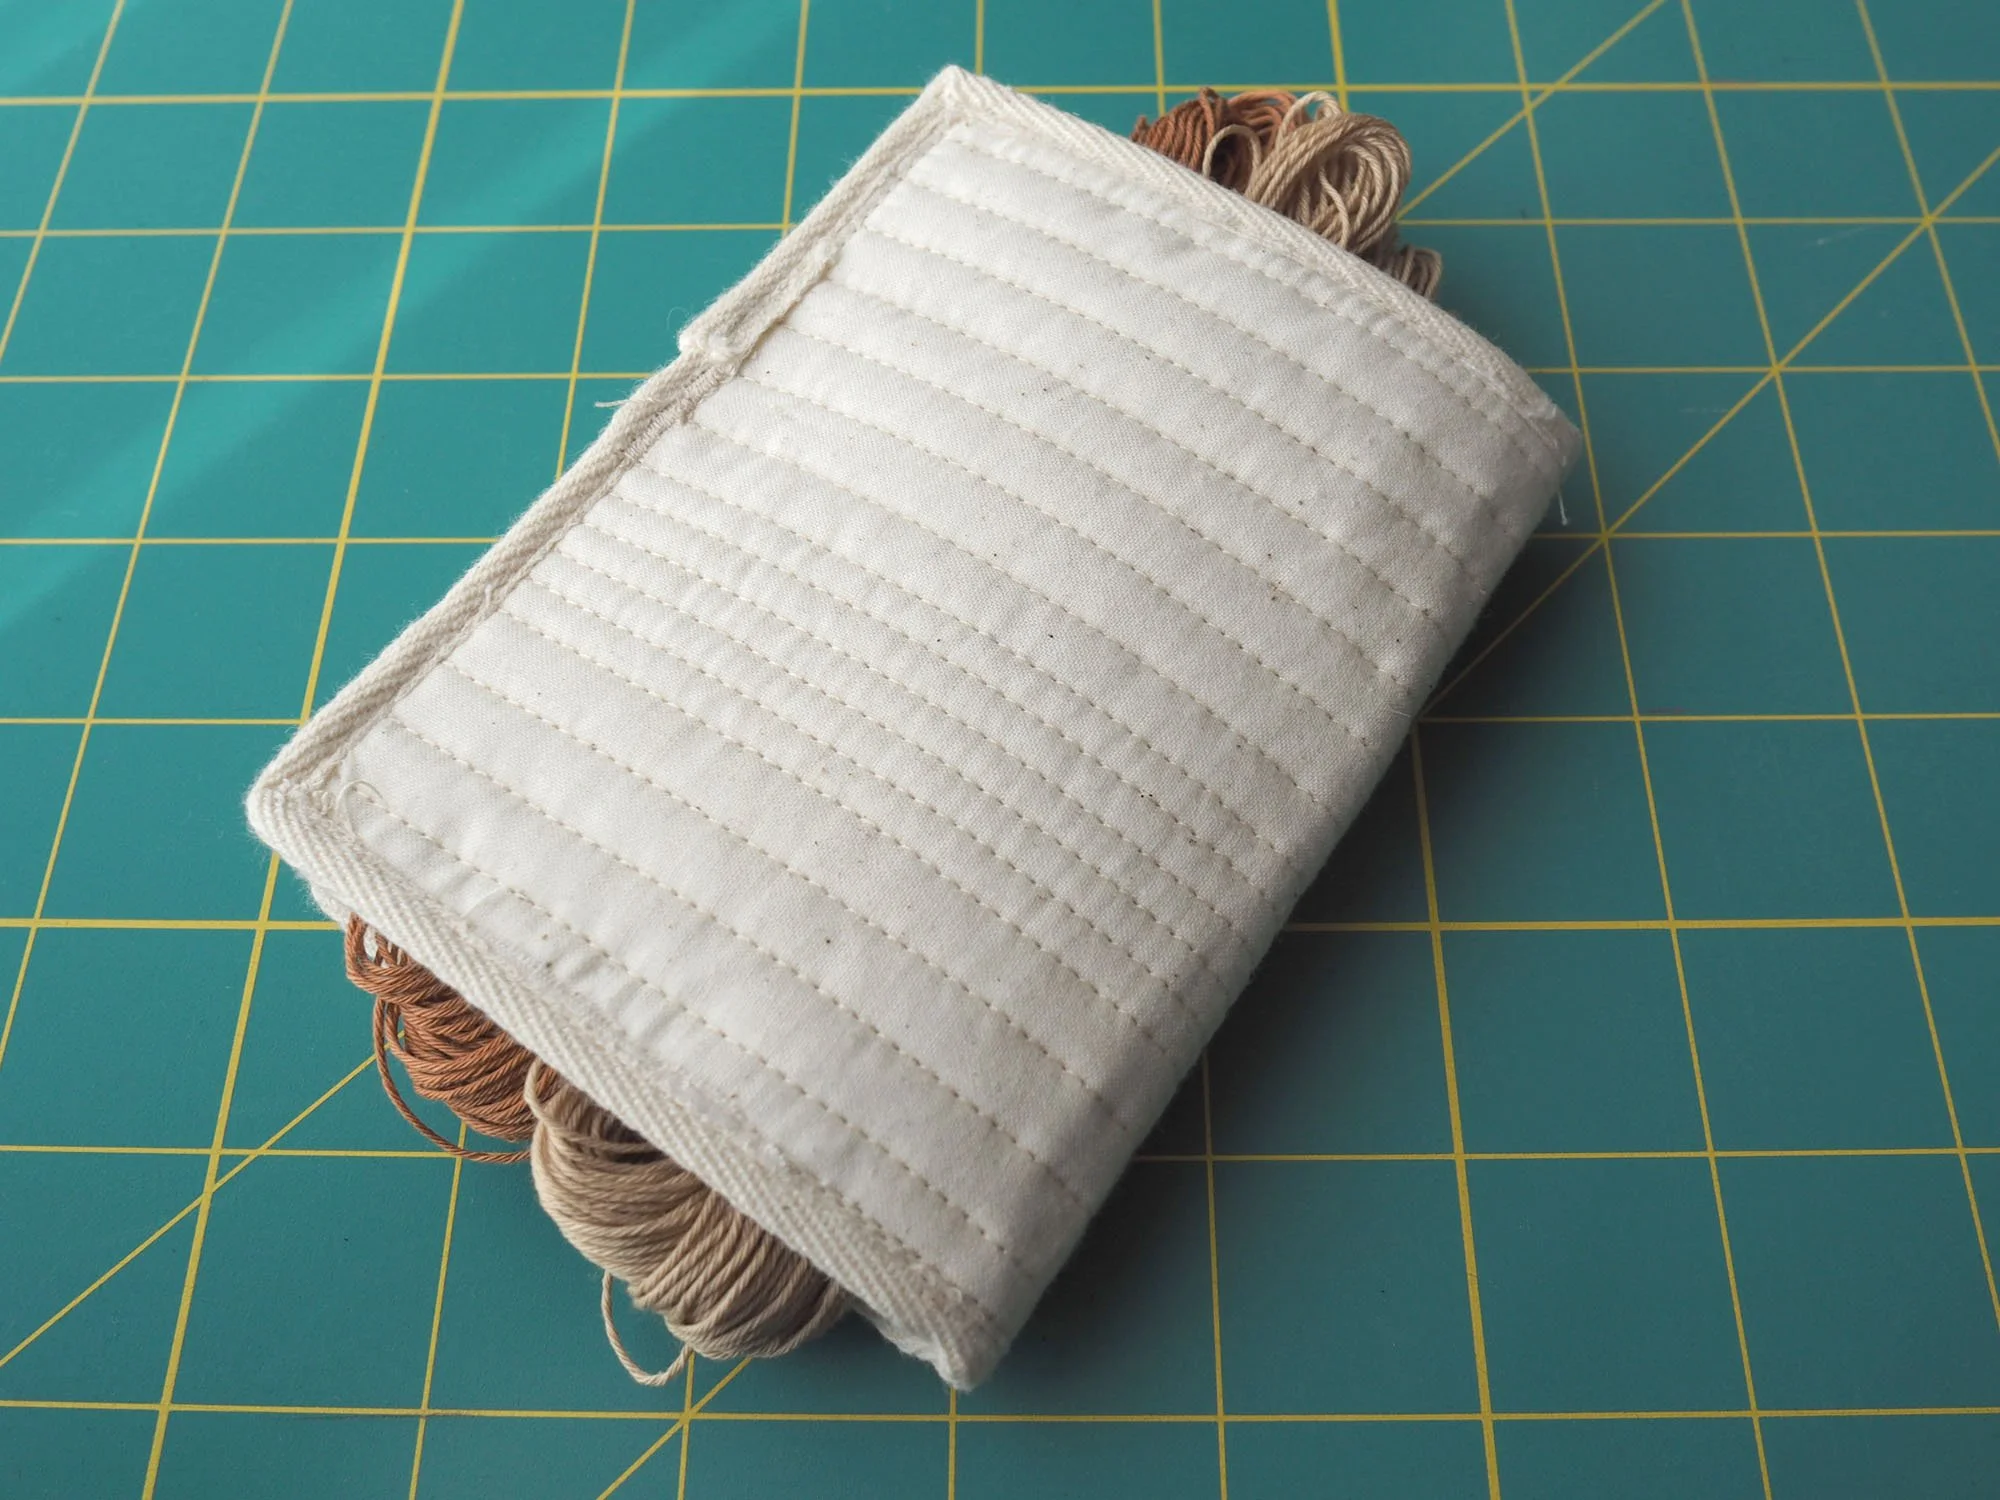
Pattern/Technique: Used dimensions (5” x 8”) from https://www.instructables.com/how-to-sew-a-needle-book/ then trimmed edges after quilting. Added an interior pocket by doubling muslin, sewing a double fold narrow hem, then trimming to be the same length as the quilted “cover”. Secured it by stitching a 1/8” seam around the edge of the pocket. Inserted the scrap linen “pages” by sewing a straight line of stitches down the middle of the book. For the closure I sewed a button on the front cover + a loop using 1/4” twill tape on the back cover, which I secured with a long bartack before trimming the excess twill tape.

Materials: Scrap linen for interior and “pages”, scrap cotton muslin for exterior and pocket, scrap quilt batting. Used 1/2” cotton twill tape for binding

New skills: Sewing buttons

Lessons: Always use the handwheel to test that the needle is properly aligned with the holes in a button. While sewing the button on, hold the upper thread to ensure that the back stays clean and tidy. After cutting the thread, tie the back threads to help secure the button.

I’ve learned that linen stretches out, so I used a light coating of spray starch to stiffen it. There was still a bit of stretching while quilting the cover, but it wasn’t too bad.

What I'd do differently: I need to read some tutorials on how to use twill tape as a binding. I ended up with a serviceable finish but it could have been cleaner.

Care: Hand wash, lay flat to dry.
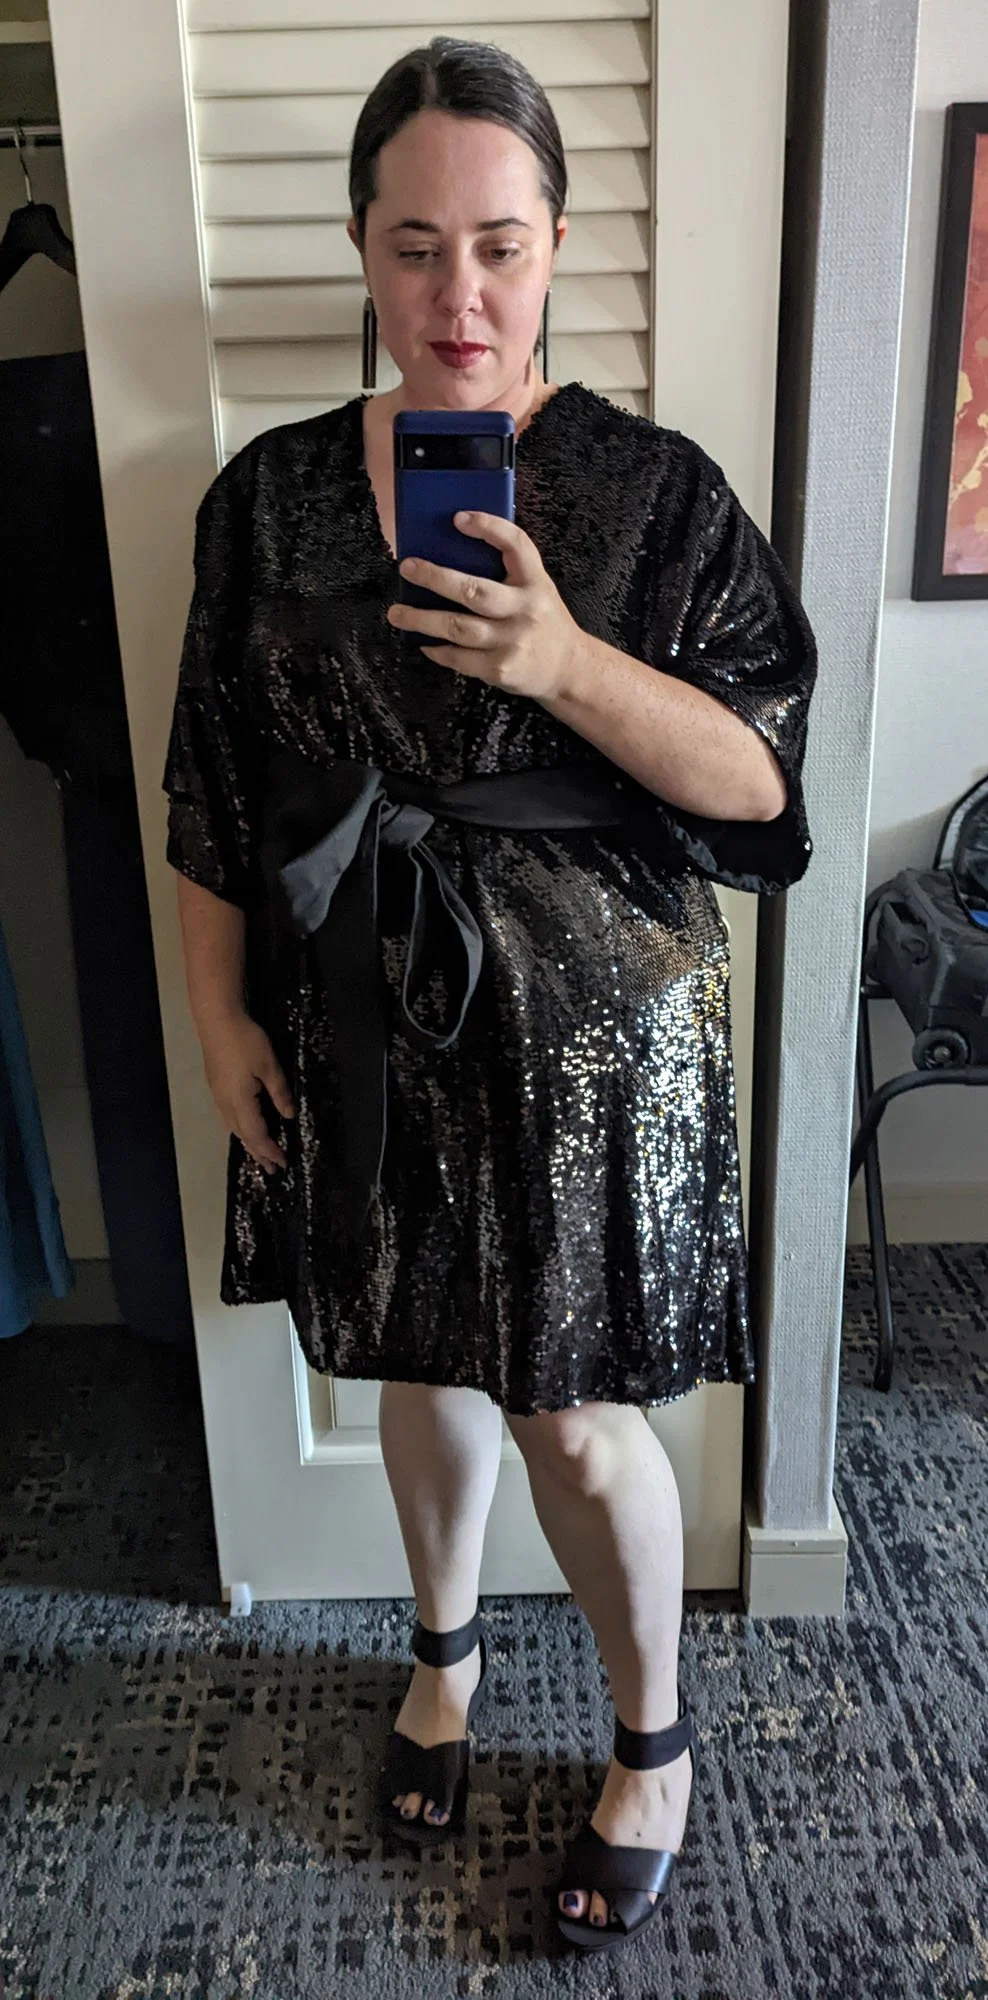
Black Sequined Dress

Pattern/Technique: Mashup of the Fancy Tiger Fen top in size 20 & Helens Closet Dressing Robe Wrap Dress (tutorial link) in size XXL. See Lessons/notes for more details on toile process.

Modifications: Took Fancy Tiger Fen top in size 20. Extended side seams to add 11” of vertical length. Replaced back shoulder/neckline with Helens Closet Dressing Robe in size XXL. Replaced front shoulder/neckline with Helens Closet Dressing Robe in XXL and extended seam allowance cutouts to fold line to form a v-neck. Replaced Fen dolman sleeve with sleeves from Helens Closet Dressing Robe.

Materials: Main fabric: 2.5 yds (45” wide) black sequined fabric (purchased from Joann fabrics)

Lining fabric: 2.5 yds (45” wide) black rayon challis lining fabric (purchased from Fabric.com)

Added sew-in interfacing to neckline.

New skills: Working with sequined fabric

Lessons/Notes:

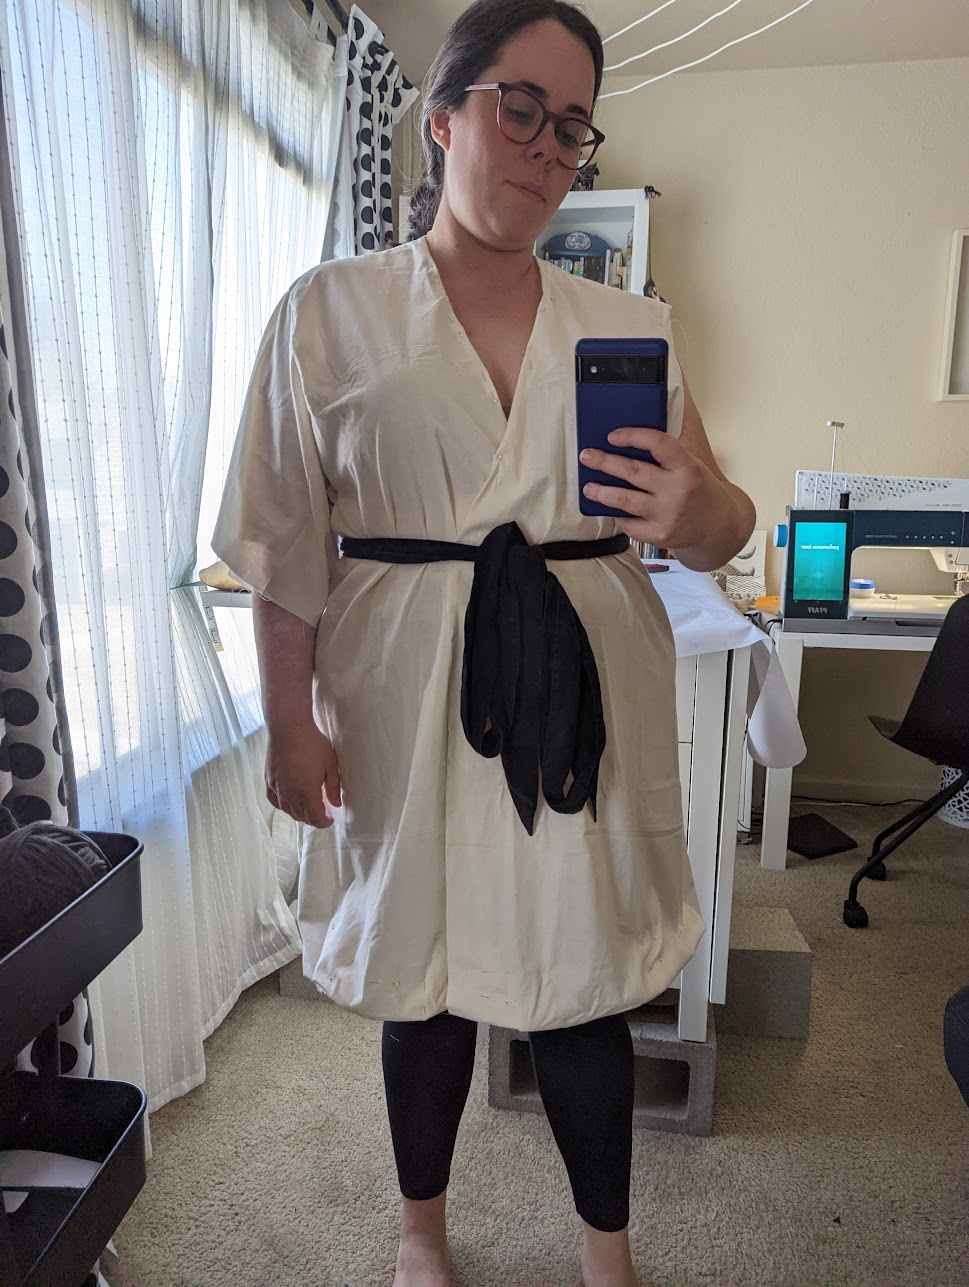
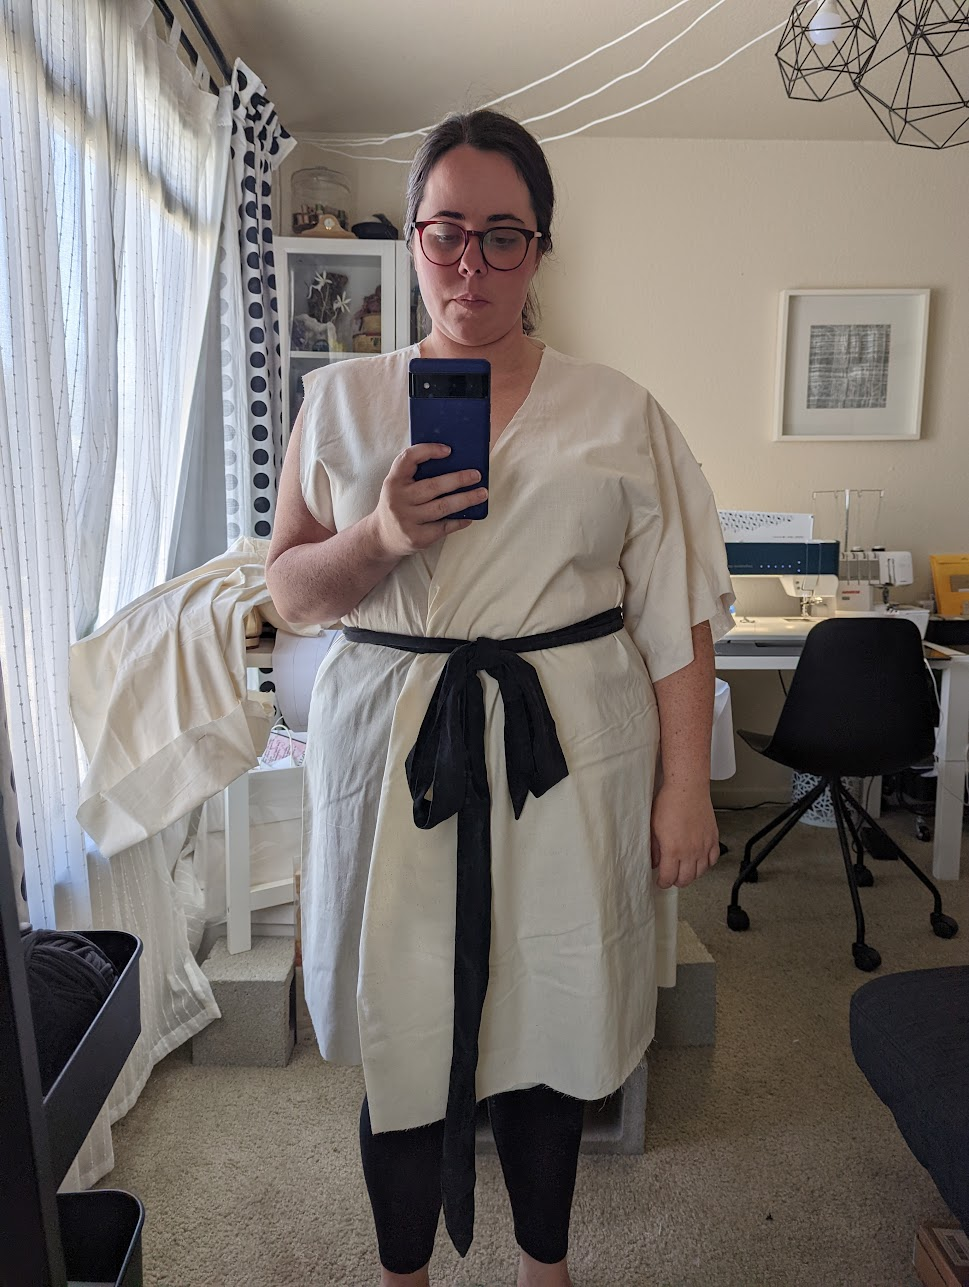
Toile 01

Approach: Used Helens Closet Dressing Robe Wrap Dress mod (tutorial link) and eyeballed the hem curve based on the tutorial illustrations.

Notes: I generally like the silhouette but wanted the neckline to be a little bit wider/deeper and was a concerned about whether the dress has enough fabric overlap to avoid wardrobe malfunctions.

Pinning: I pinned in the neckline to the desired shape and also pinned up the hem of the dress approximately 5 inches.

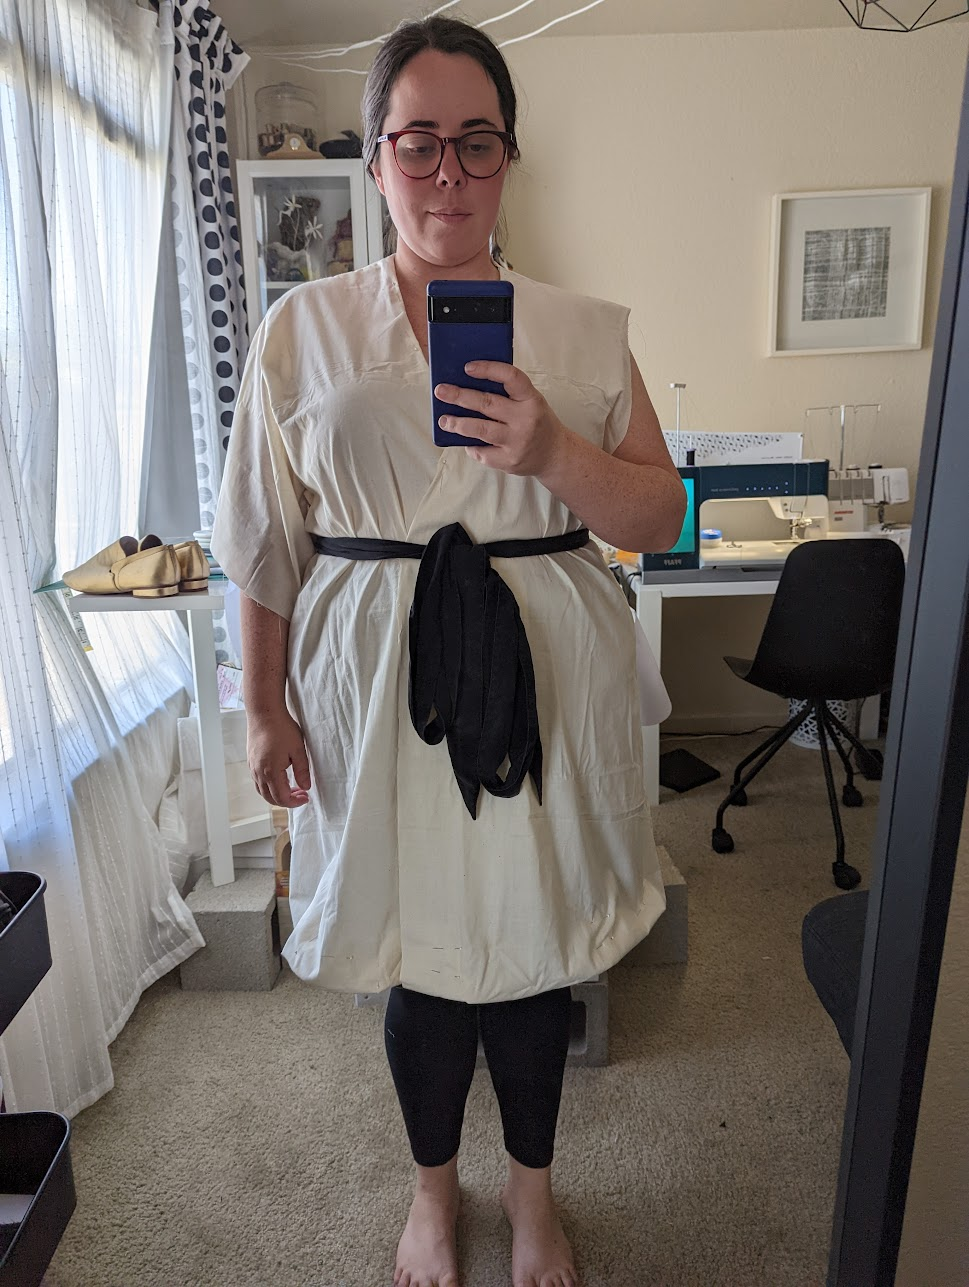
Toile 02

I really like the fit of the top of the Zadie Jumpsuit so I wanted to see what the neckline might look like if I used that instead of the tutorial approach.

Approach: Modified the neckline on the Helens Closet pattern front and back pieces by tracing over it using the front/back bodice pieces of the Zadie Jumpsuit (size 22) to get a wider V at the neckline. On the front pattern piece, I also extended the front wrap from the point (where the tie attaches) to get more fabric coverage in the front of the dress. Shortened the skirt length by 5 inches (at the lengthen/shorten line.

Notes: The new neckline caused something really weird to happen at the shoulder—there’s a lot more fabric bunching. The tie attachment point is also higher than I’d like (right under the bust in this toile vs. at the natural waist in the original Zadie) and I actually like the silhouette less than in Toile 01, so I’m going to continue refining Toile 01.

Toile 03

I was chatting about toile 01 with a friend and she had recently made a wrap dress with 6” overlap, and spent the whole day holding it closed (ugh). We got to talking about an A-line silhouette as an alternative. I realized I’d made a Fancy Tiger Fen top that had a good v-neck and fit over my hips well, so that became the basis for this toile. Interestingly the taper angle from the armscye to the hip is basically the same for the Fen and Dressing Robe, but the Fen has 1/2” additional width on the half pattern piece (1” for the full garment width) and I like that extra bit of ease.

Approach: I put on the Fen and determined I wanted ~11” of additional length at the side seam, in order to hit just above the knee. I also wanted a deeper v neck so I lowered the point by 2”. I liked the style of sleeve from toile 01, so I overlayed the armscye of the Dressing Robe on the Fen, aligning the side seams and the shoulder seam, then traced that. I also included the high-low hem from the Fen, by aligning the top pattern with the angled edge of the dress pattern, tracing the curve, and extending the line segment at the fold line. I used the Dressing Robe sleeve from toile 01 as is (and actually stole the sleeve from toile 02).

Notes: The A-line silhouette on this toile is excellent but I'm concerned that the width of the v-neck will cause structural issues once I move to the heavier sequined fabric—even with this light fabric I'm noticing the sleeves are pulling off my shoulders. I also notice that the fabric at the shoulder seems to be collapsing inward.

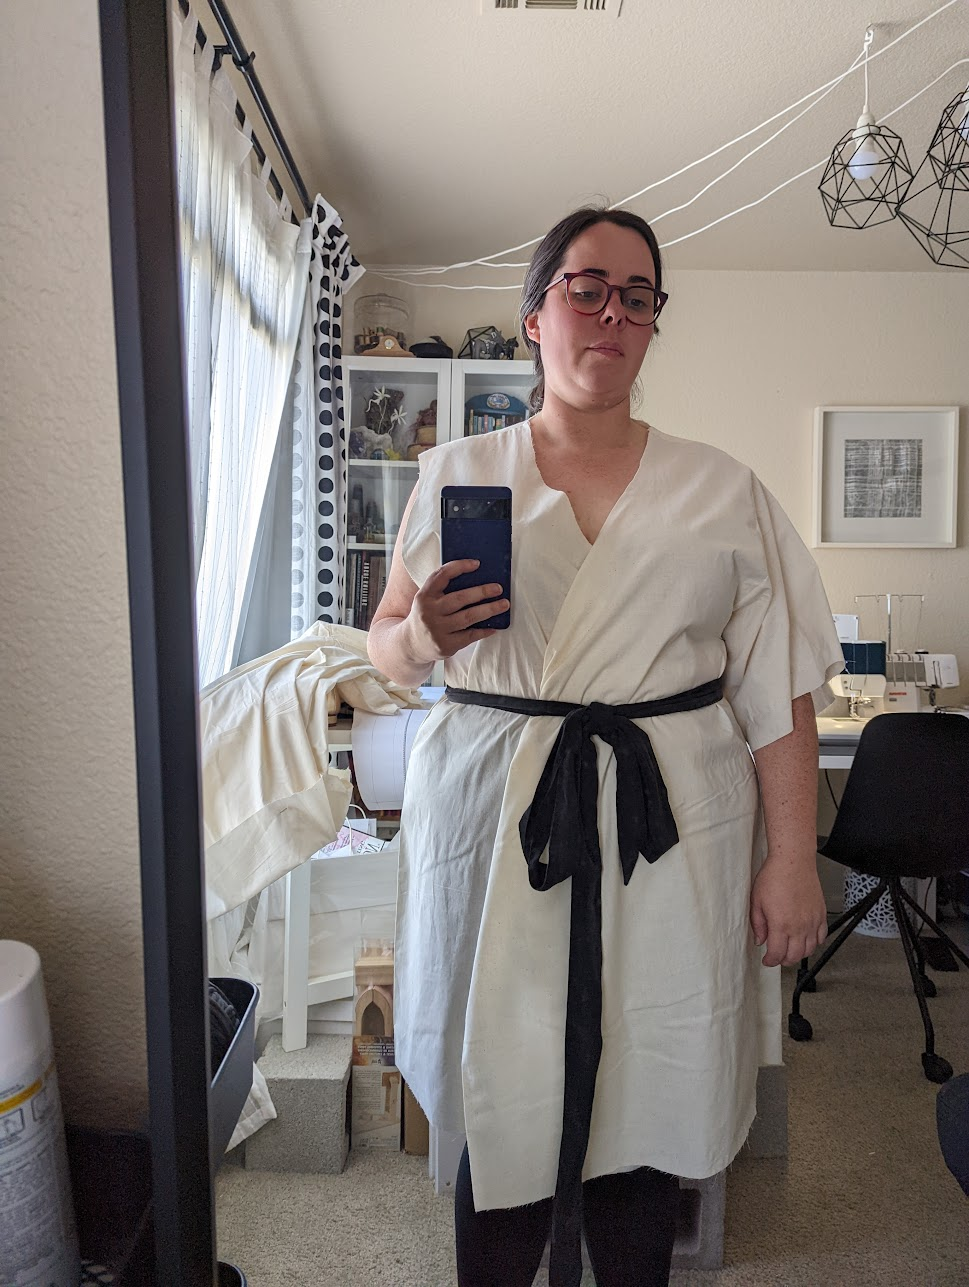
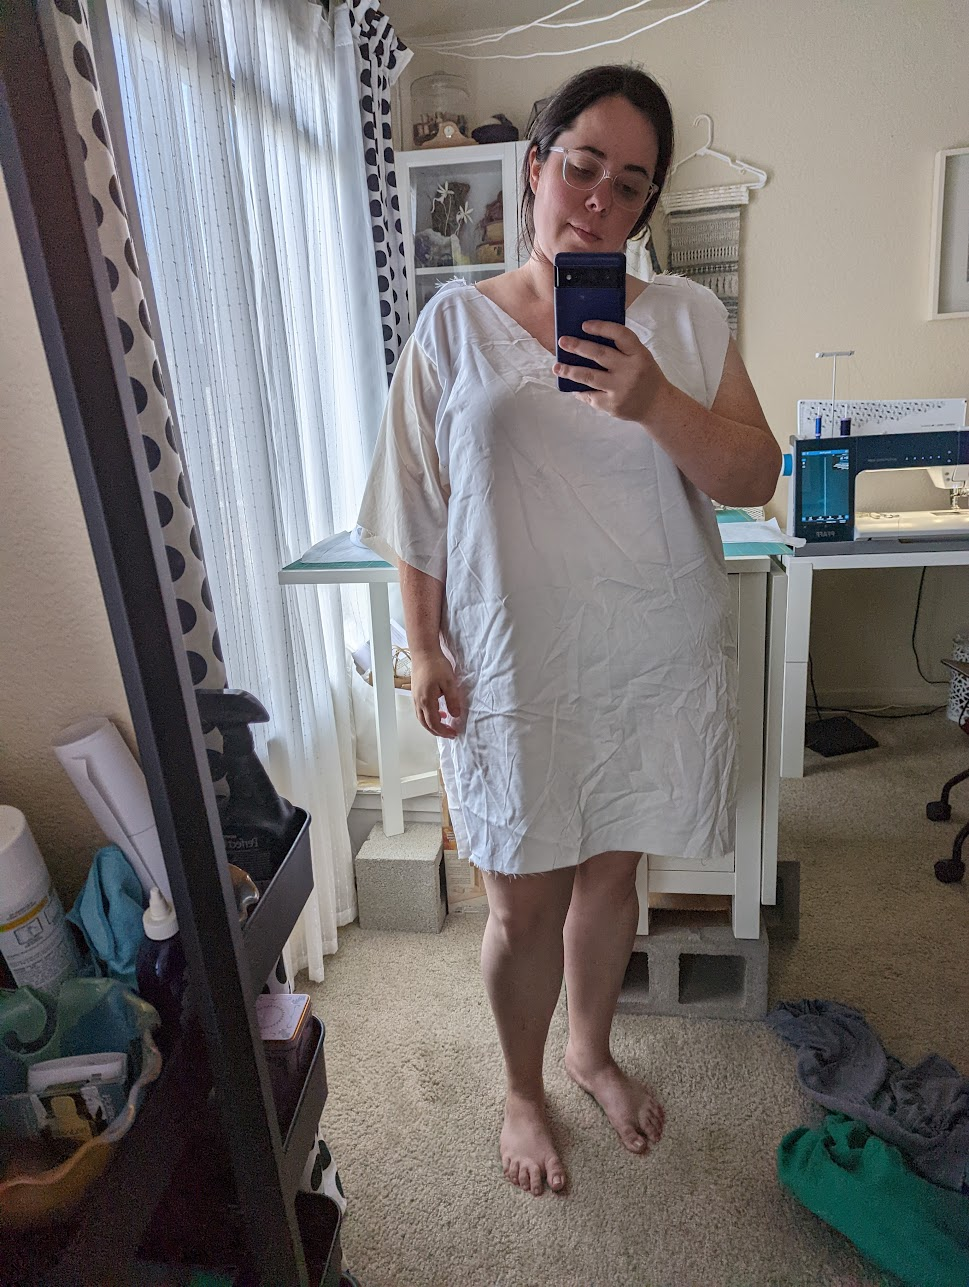
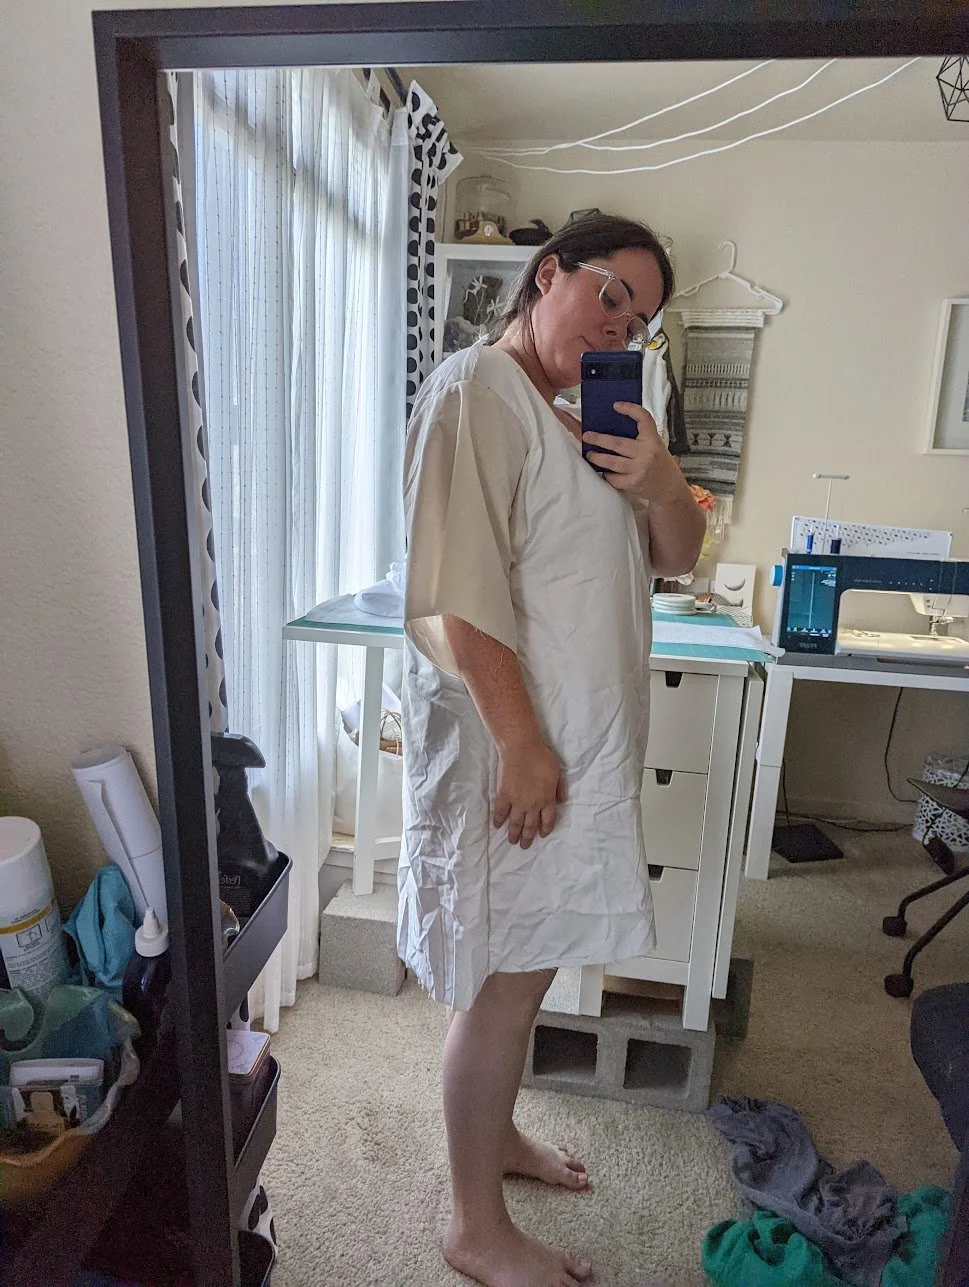
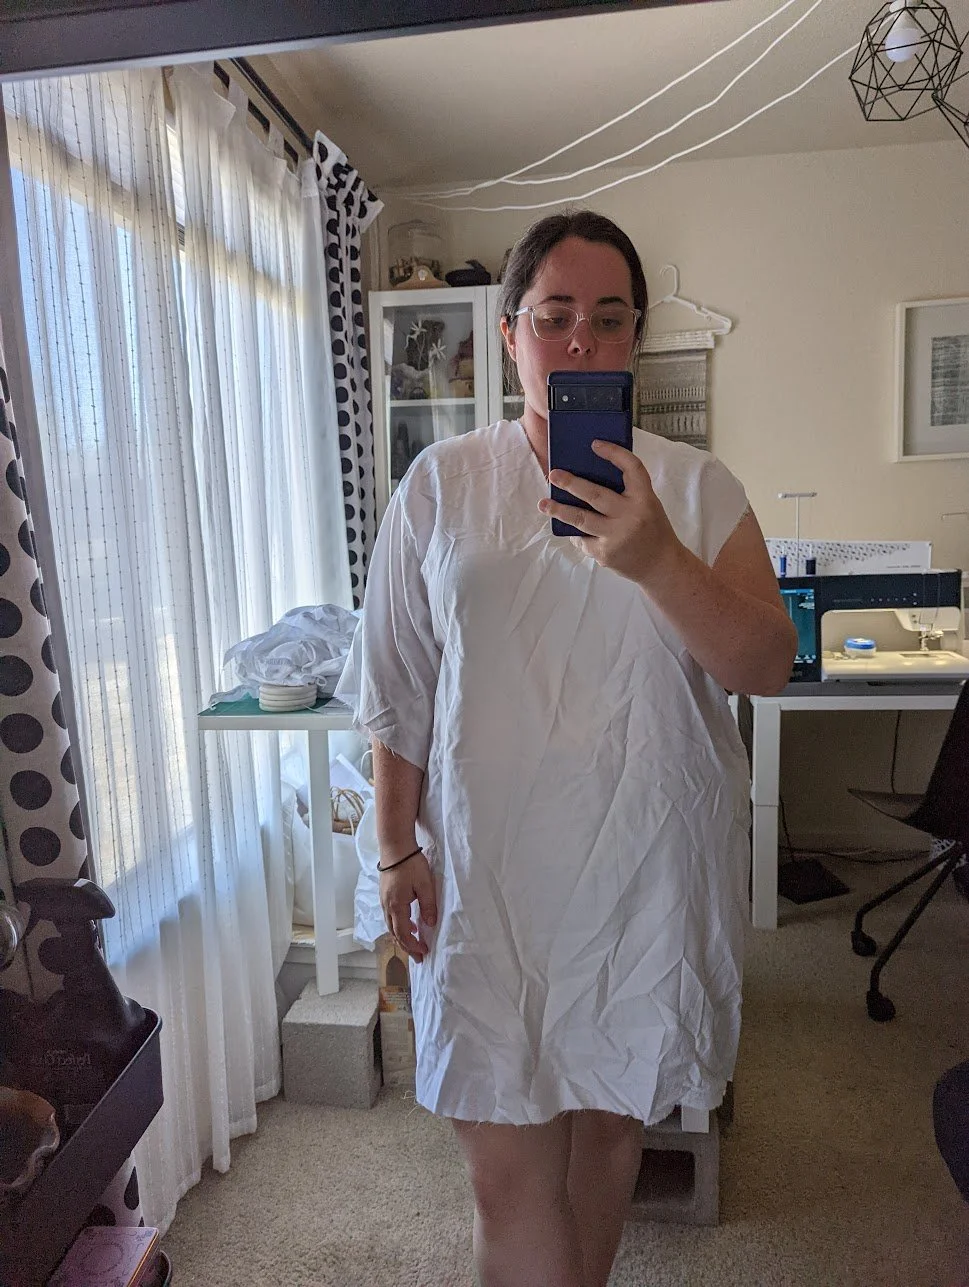
Toile 04

Approach: I took my tissue pattern from toile 03 and modified it to use the same shoulder width and neckline from the Dressing Robe back piece. For the v-neck in front I extended the seam allowance cutout down to the edge of the pattern piece.

Notes: The fit finally feels dialled in at the shoulder and hip. The neckline is a bit conservative-looking in this toile but I'm going to lose 1/2” seam allowance when I line it, which will lower the neckline point by 1 1/2”. I'm also going to stabilize the neckline since I'll be clipping the seam allowance when I do the lining. Will probably need to do sew in interfacing because fusible is going to be a no go for synthetic fabric.

Final Garment

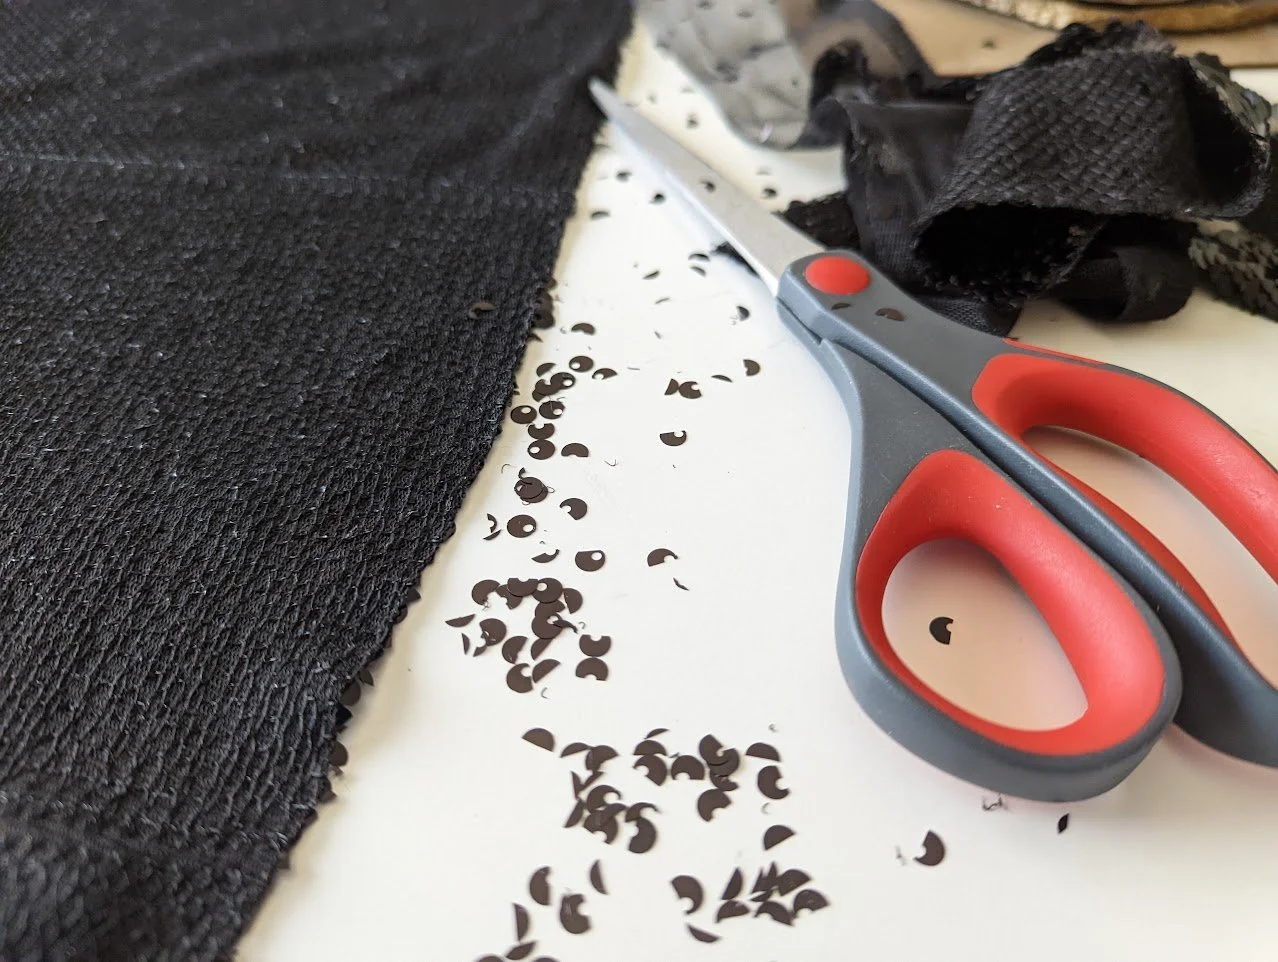
  • To cut pattern pieces from sequined fabric: I flipped the sequined fabric on the wrong side, placed the pattern piece on it, and traced using a water soluble paint marker. For pattern pieces cut on the fold, I traced 1 side, flipped the pattern piece, then traced the other side. For the actual cutting I used a pair of regular kitchen scissors so I wouldn’t kill my fabric shears (the scissors I used are noticeably duller after cutting the dress body).

  • I trimmed the sequins from the seam allowances using a combination of wire clippers (I believe they’re usually used for cutting beading wire) to cut individual sequins, and scissors to cut rows of sequins. I will note that my sewing machine had no issue sewing through sequins (I used a Schact leather needle and it punched through them easily), but when I had to resew the lining to the outer dress neckline, I had to be really careful so that any previously perforated sequins weren’t visible. tl;dr while my sewing machine can handle sequins, I’m still going to remove them from seam allowances so that I don’t have to try to hide damaged sequins when I inevitably have to redo a seam.

  • I originally sewed the lining using a polyester lining fabric from Joann but soon realized that the low breathability/wicking of polyester is a really bad combo with heavy/non-breathable sequined fabric. After 1 attempted wear (sweat city) I replaced the lining with rayon challis. I machine sewed the lining at the neckline, then pulled it inside the garment and hand sewed the lining to the exterior at both sleeves. I didn’t attach the lining to the exterior at the bottom hem, instead I just folded over the exterior fabric to make a clean hem, and did a rolled hem on the lining. Had no issues with it being visible or hanging below the exterior fabric.

  • While the dress itself looks pretty awesome as-is, I used a black linen belt (purchased from Elizabeth Suzann) to give myself a more defined waist and add some extra flair.

What I'd do differently: I could probably futz around a bit more with the neckline shape, but honestly? Everything about this project feels like a well-earned victory.

Care: Hand wash, lay flat to dry.