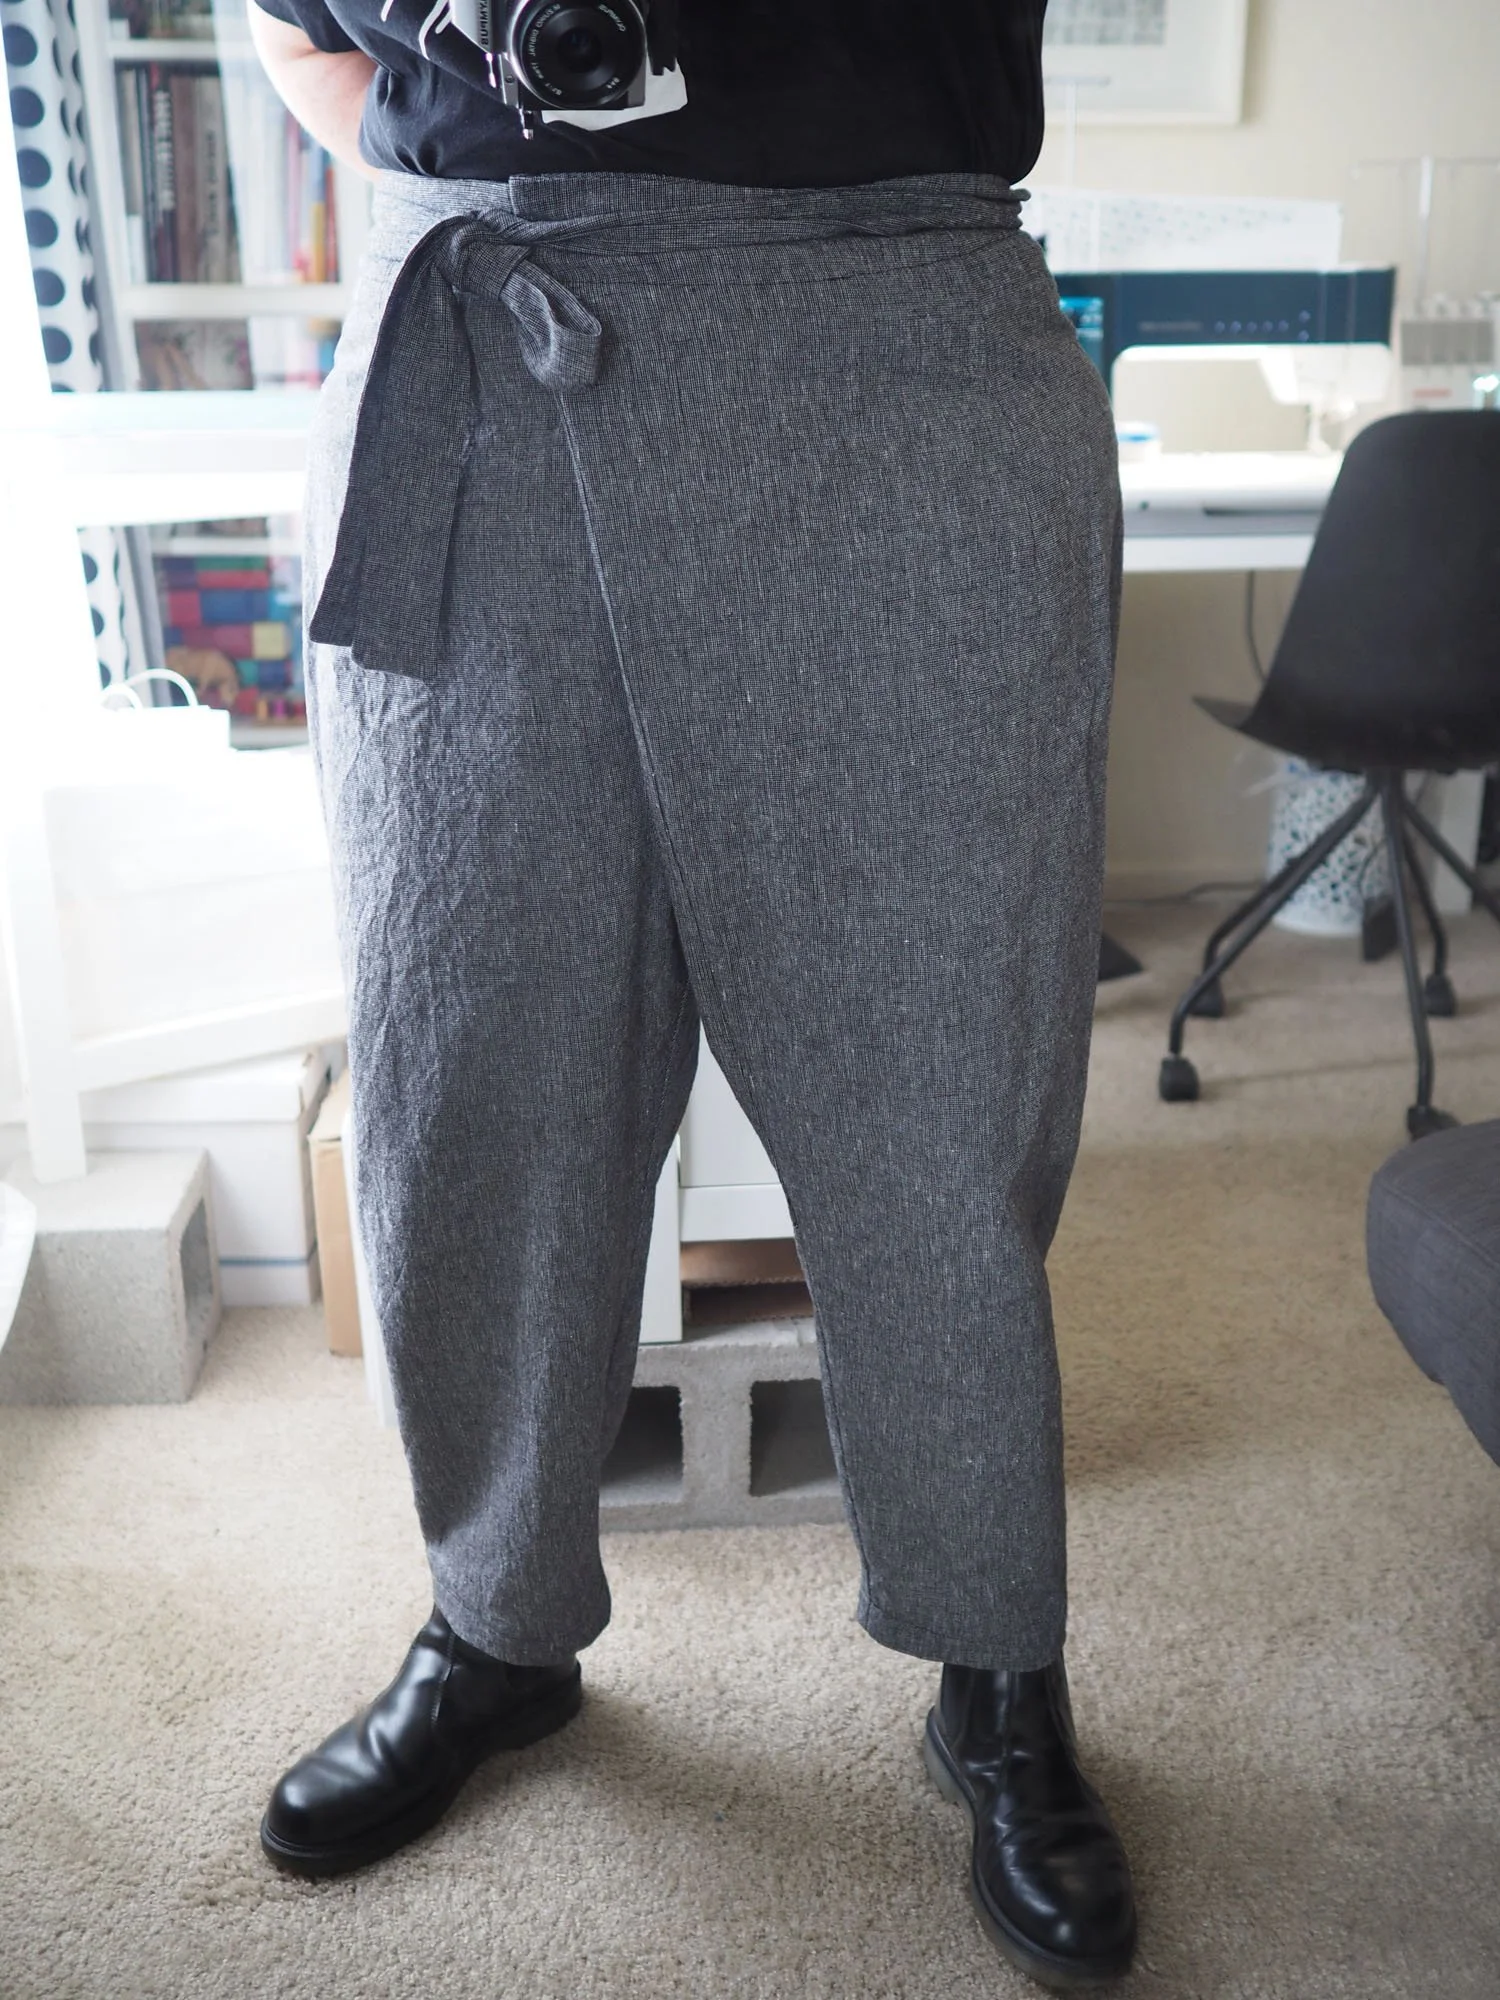
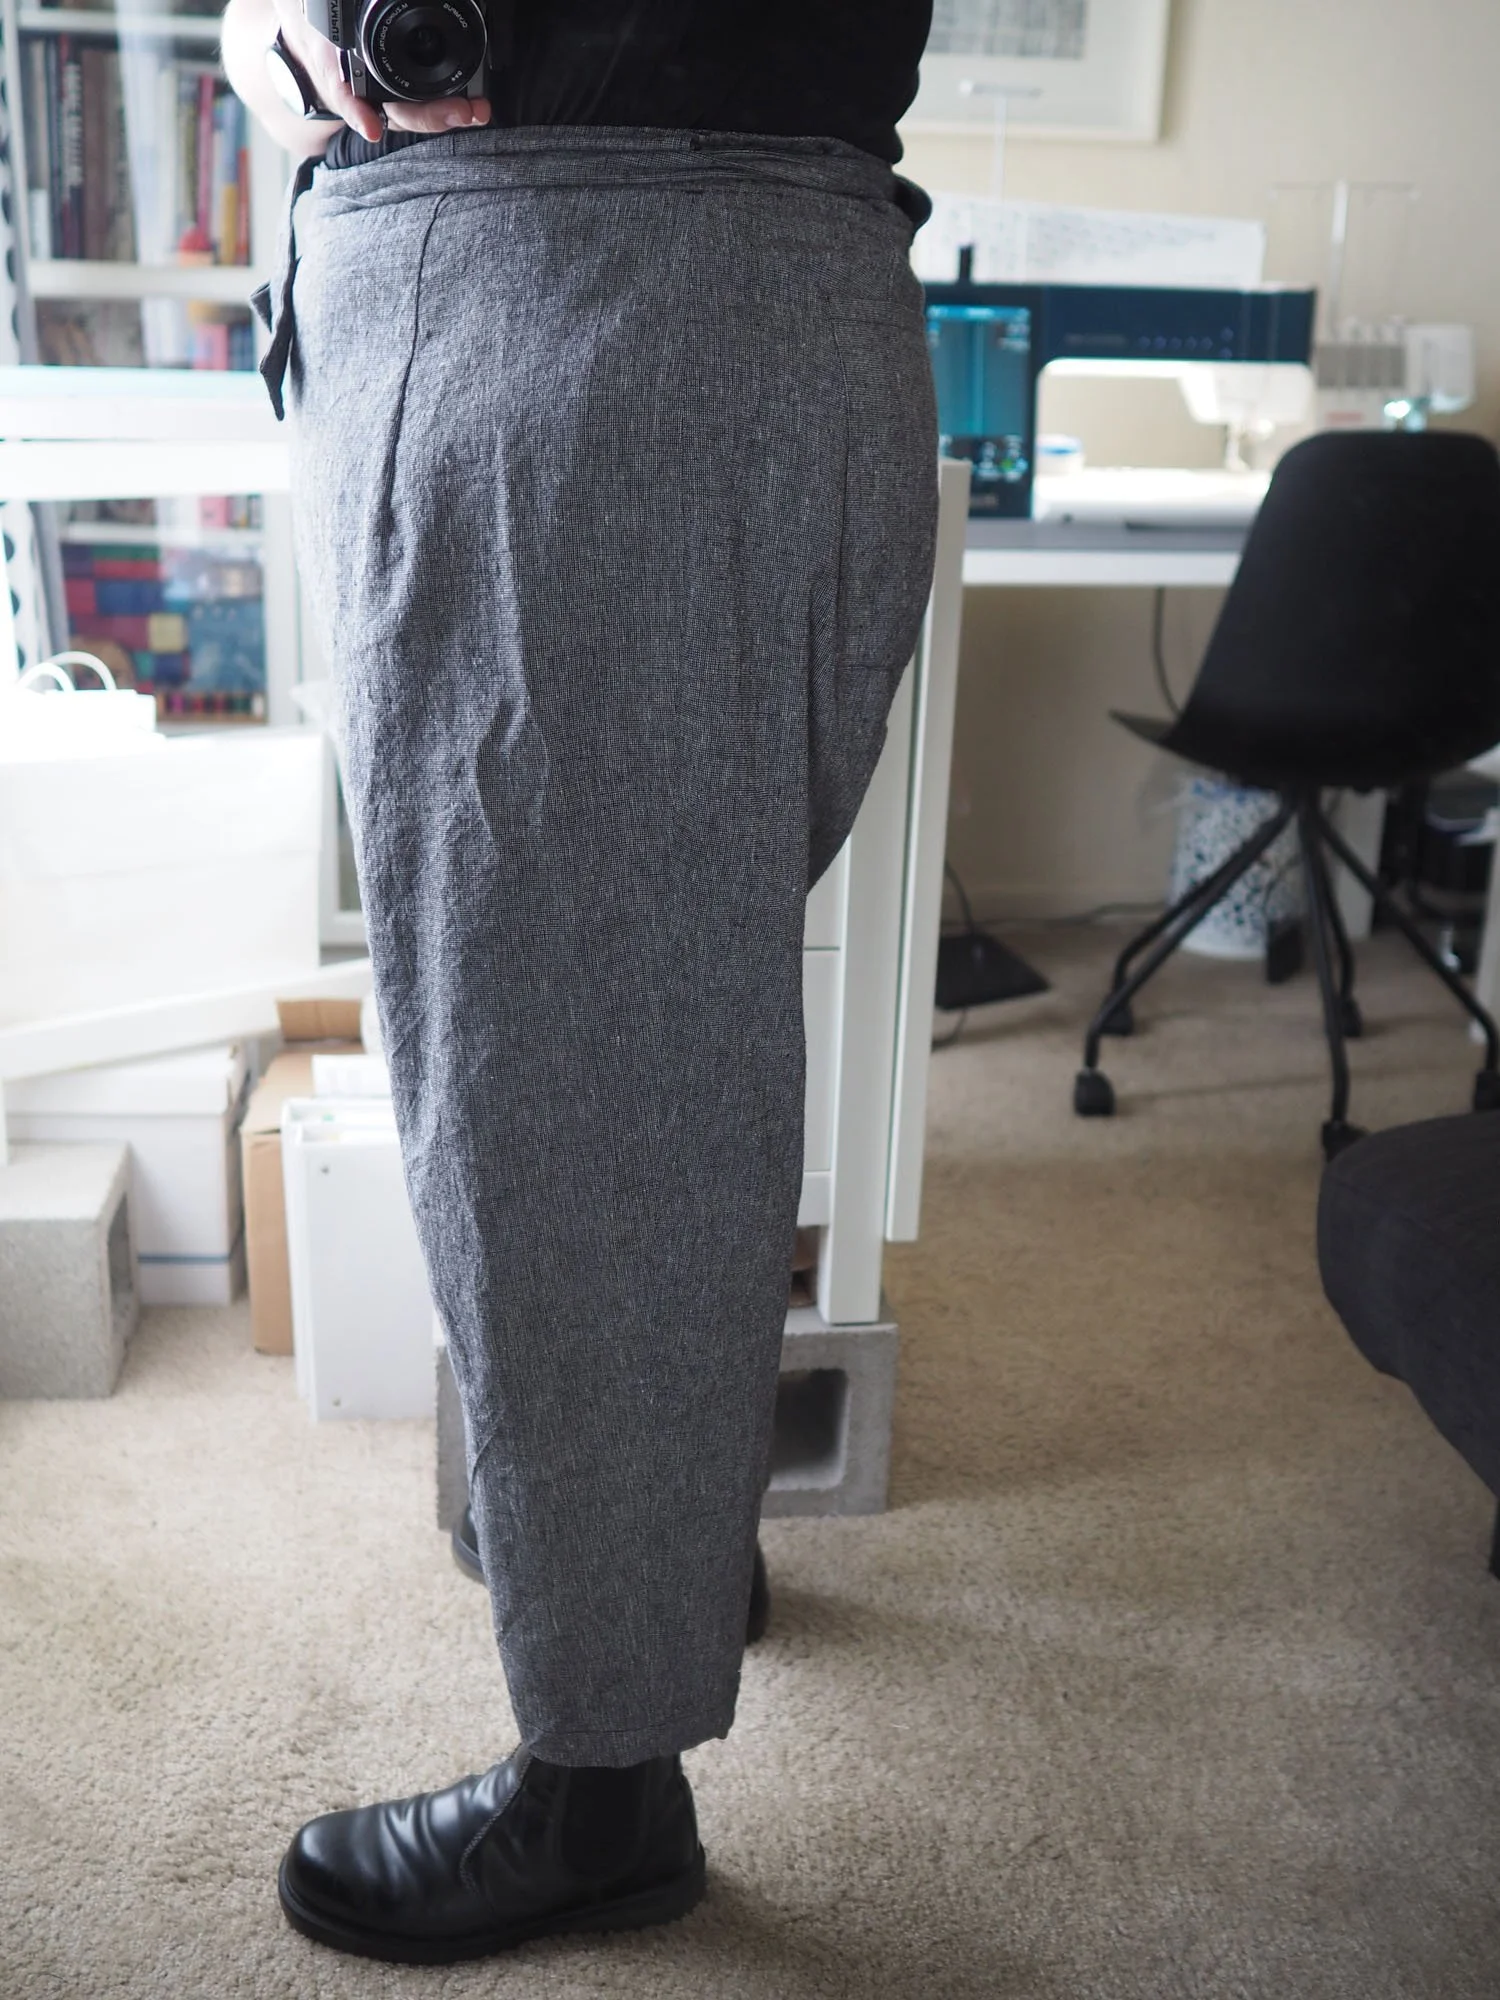
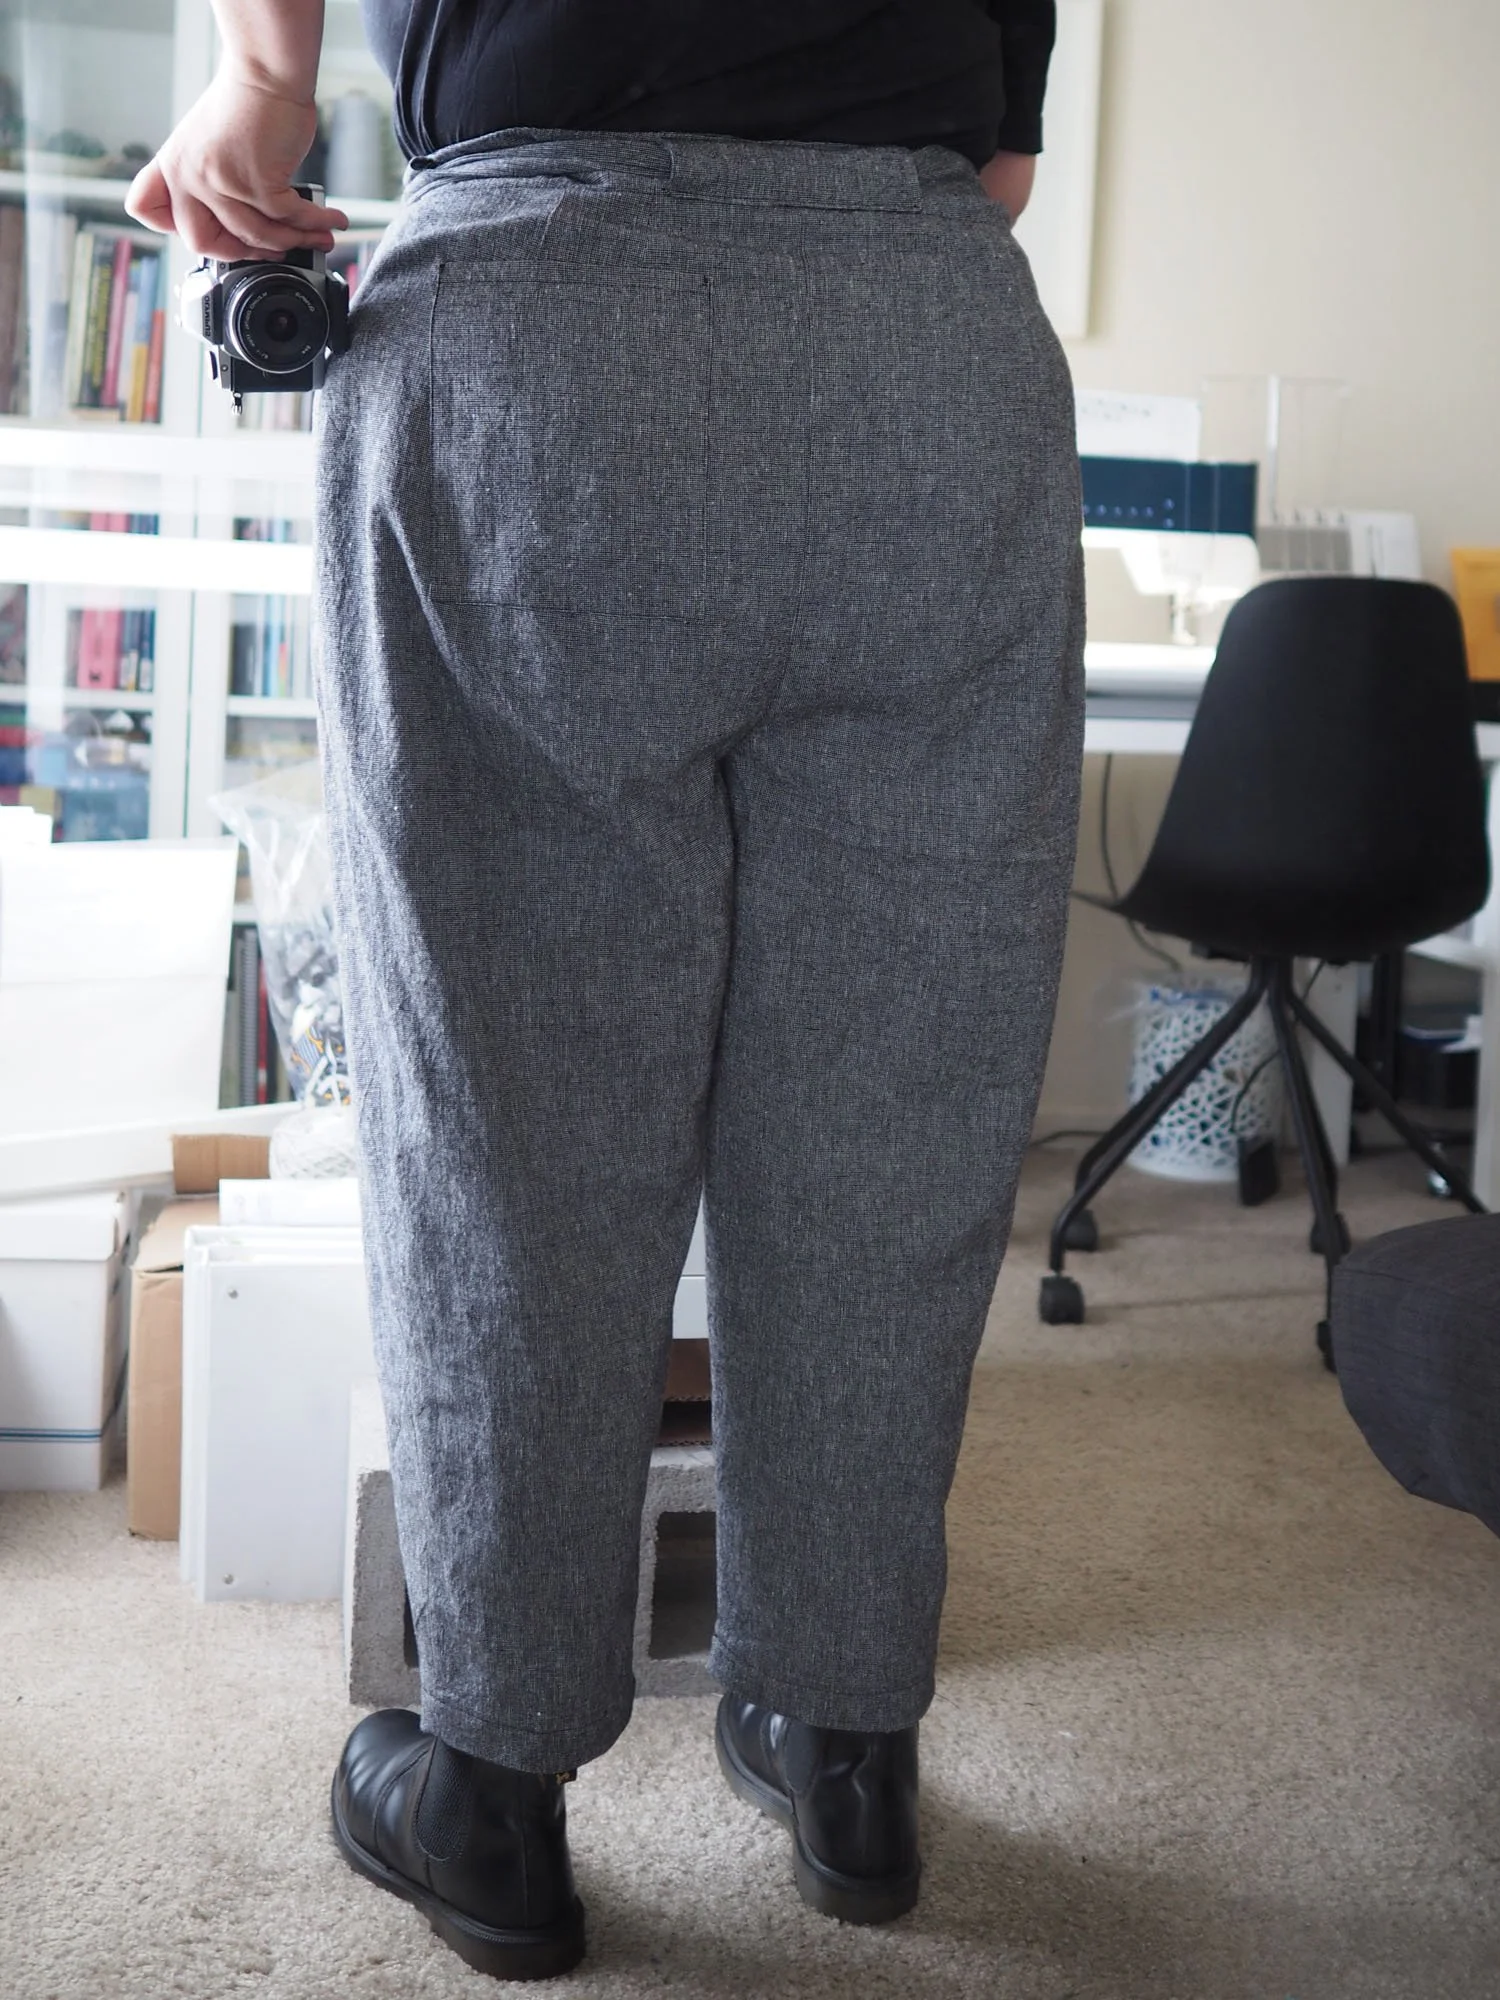
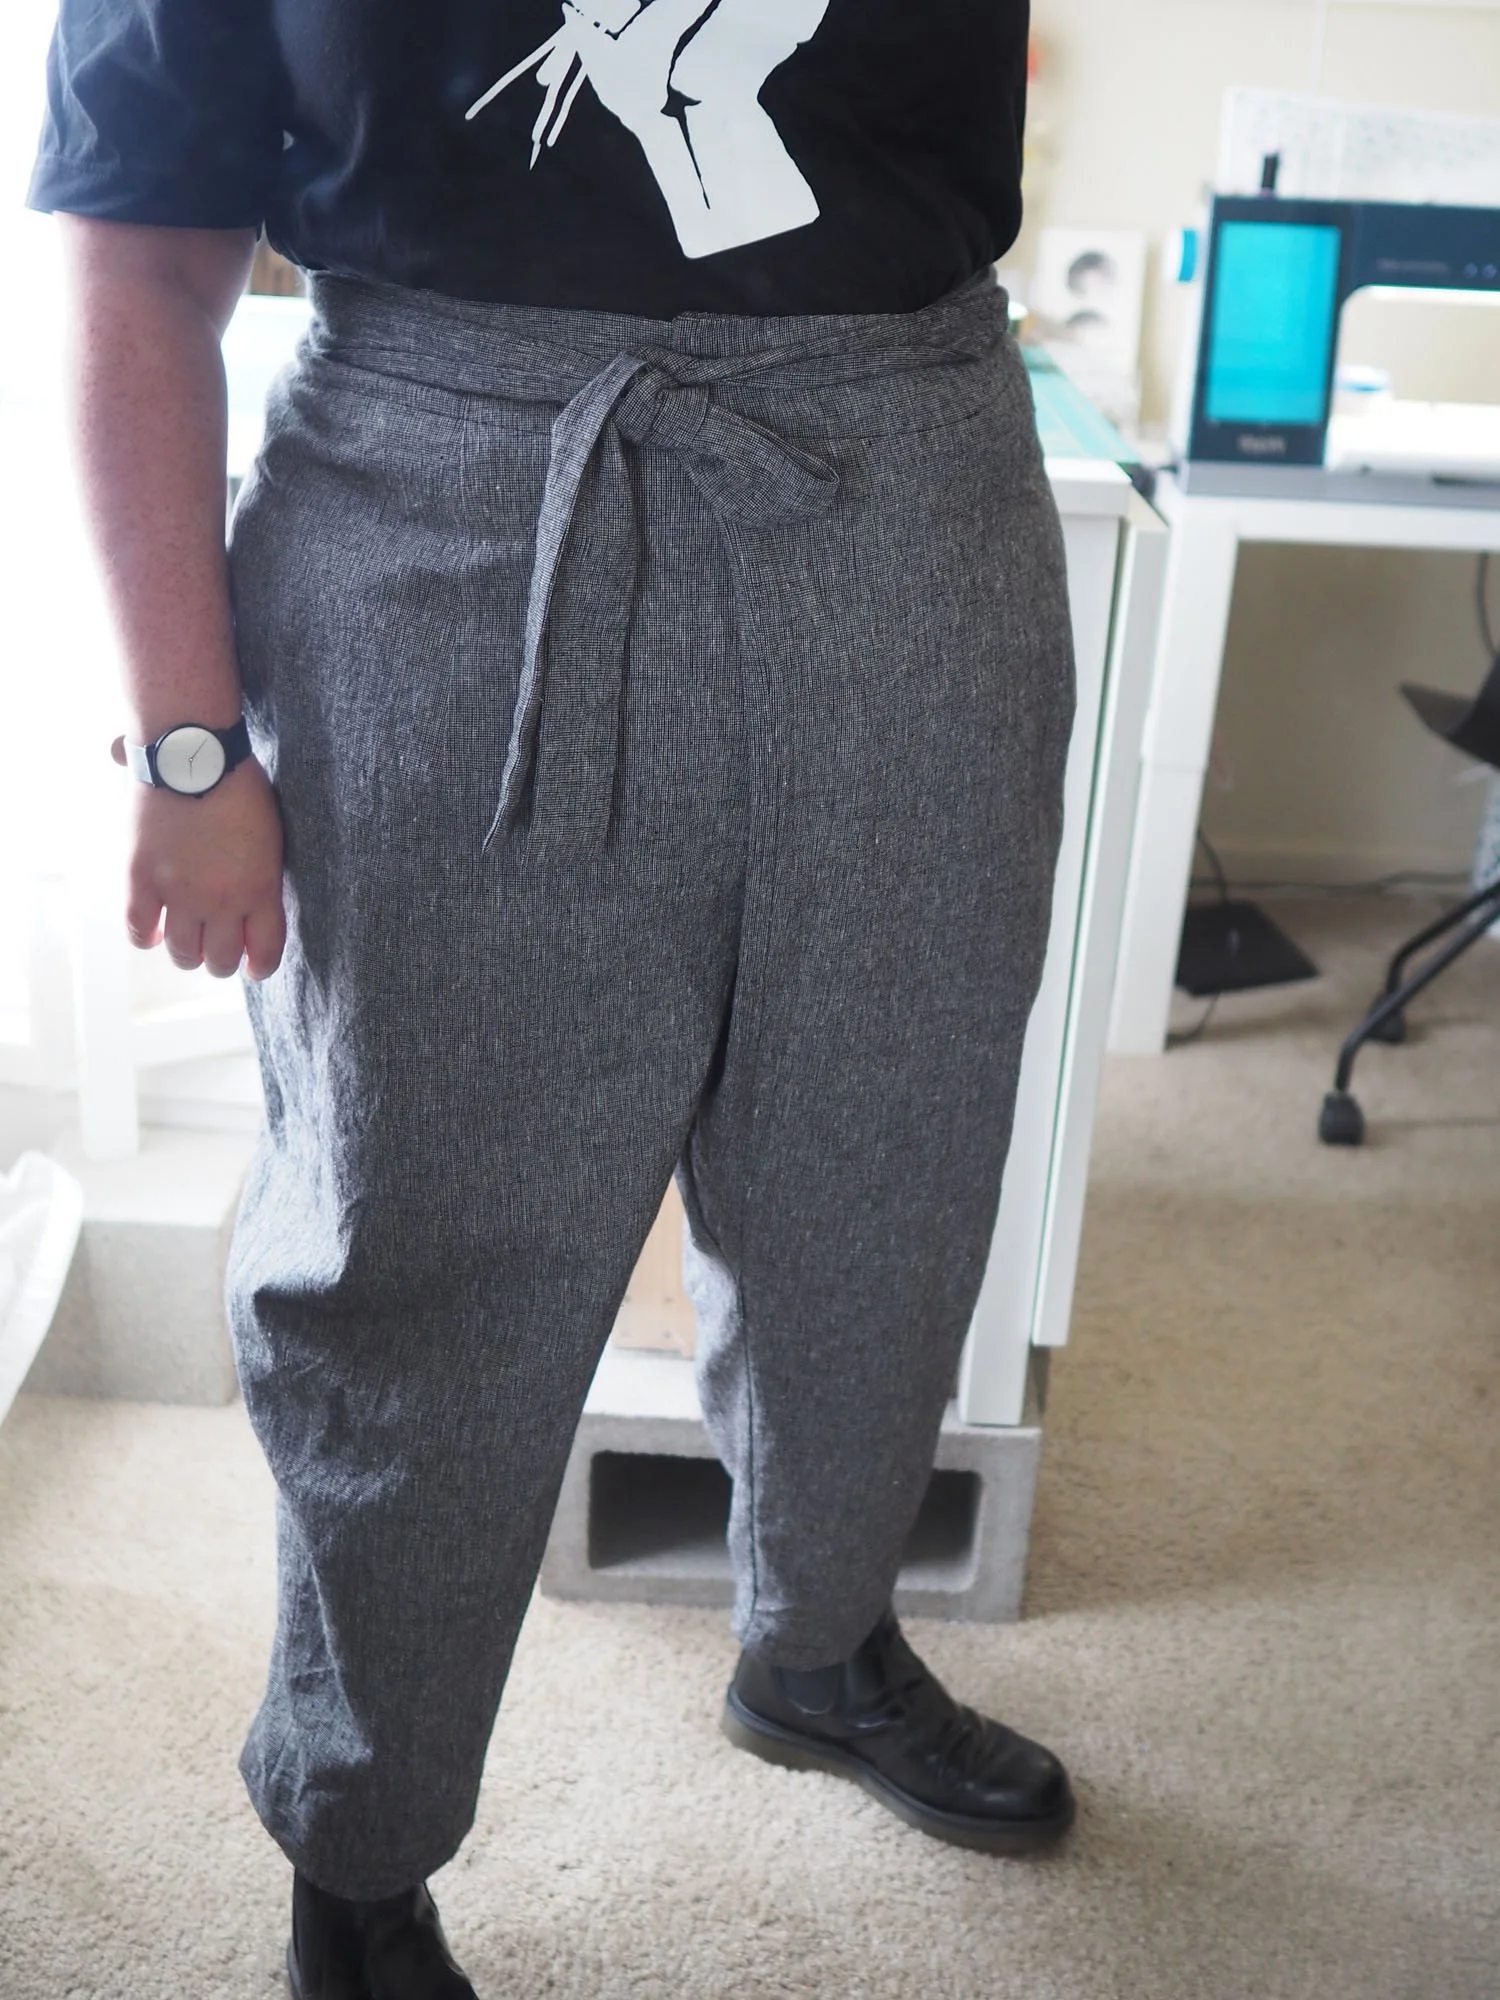
Pattern/Technique: Papao Pants by Ready to Sew. Size 50, view A (no front pocket).
Modifications: None
Materials: 3.25 yds of Robert Kaufman Essex Homespun (45” wide) in Pepper
New skills: n/a
Lessons: I used the following technique for making darts, which produced an excellent result:
While cutting fabric, use an awl to punch a hole through the fabric at the dart point (the awl won’t break the fibers, just distort them). To make the hole more visible, mark it with a cross using a chaco liner.
Cut notches at the edge of the fabric where the legs of the darts begin.
Flip the fabric to the wrong side. Align a quilting ruler with the notch and the drill hole. Verify the placement by layering the pattern piece on top.
Draw the dart line with tailors chalk.
Pin the dart lines together. Insert pins along the dart line, and check the opposite site to make sure the pins are intersecting the dart line on both sides of the dart. Use a different colored pin head to mark the dart point. I insert it all the way into the fabric so the pin head is at the drill hole.
Follow the pattern instructions for sewing darts. In summary: sew from leg to point, then off point, leaving a 3 inch tail. Tie an overhand knot in the tail, so the knot is at the dart point, then trim the tail to 1cm.
When topstitching, I used a bi-level edgestitch foot and a -2.0 mm needle offset.
When finishing a hem I've started doing a couple things to make it look neater:
Start sewing at the inside leg seam so that the backstitching isn’t as visible
When I start sewing, I align the bottom edge of the hemmed pant with one of the markings on bottom place of the sewing machine and use that as my guide for sewing around the hem. This means that that hem stitching line will be a constant, even distance from the bottom of the pant leg.
What I'd do differently: I was a bit concerned about the rise being too long in the front and causing chafing, but that didn’t happen on my first wear. I’ll keep an eye on this and see if I need to adjust. If I decrease the front rise, I should probably do a full bum adjustment because the rise in the back feels just right and I don’t want to remove fabric back there.
Care: Machine wash, lay flat to dry.


