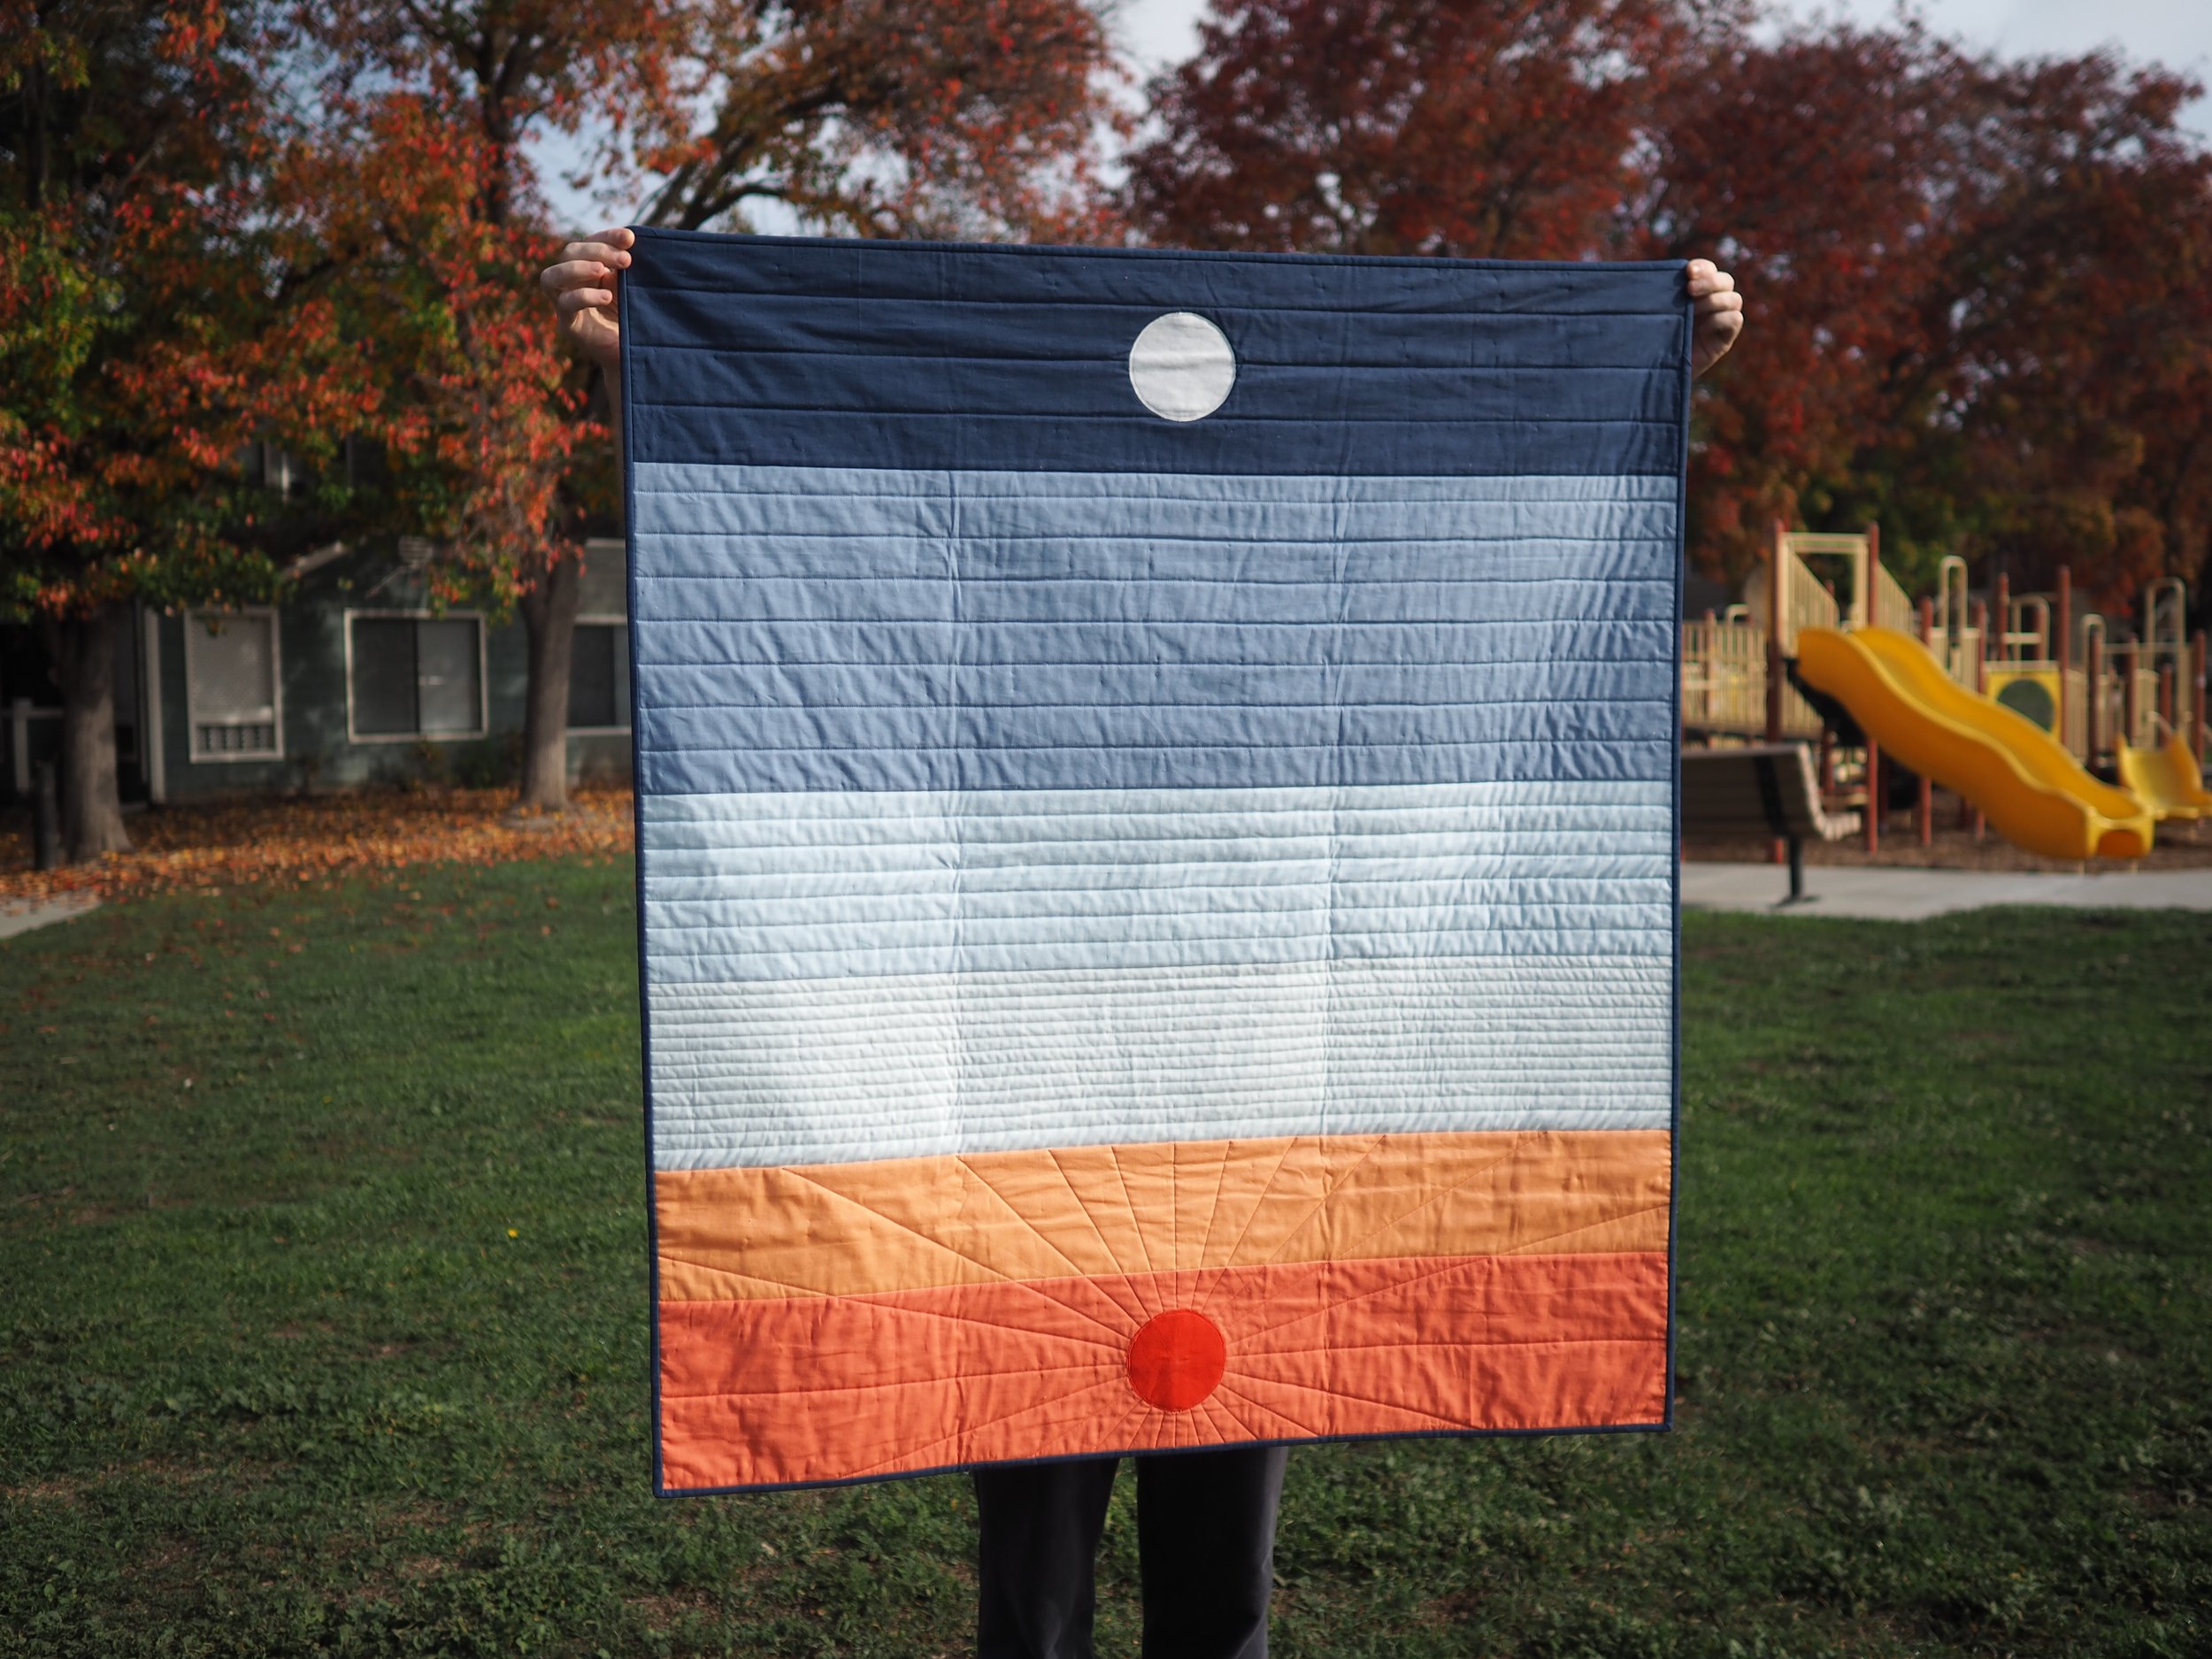
Pattern/Technique: Balance Quilt by Skyclad Quilts
I also used the following books and articles:
Quilters Academy Vol 1 by Harriet Hargrave
Heirloom Machine Quilting by Harriet Hargrave
Singer Quilting by Machine
Modifications: none
Materials: Kona cotton in the following colorways (Aurifil 50 wt colorways in brackets)
New skills: Raw edge applique, Piecing, Quilting, Basting a quilt, Binding a quilt
Lessons:
Cutting
Quilters Academy Vol 1 has a nice tutorial on how to square up fabric and align the grainline before cutting it (useful to prevent fraying while cutting out strips and pieces).
Piecing
Use starch when pressing to get seams to lie flat, and make quilting easier.
Use a scant 1/4 in seam for piecing, because the width of the thread will add a little extra width to the seam.
Choosing a thread for piecing:
Use a mid tone neutral thread for piecing to prevent it from showing through the fabric. I used an ecru for this.
Use cotton thread for piecing / quilting so that the fabric doesn't get stressed and break at the seam.
Applique
Used Pellon Wunder Under to fuse the sun and moon to the quilt top. Then zigzag stitched around the sun/moon using the following machine settings: 3.0 stitch width, 1.5 stitch length, -1.5 offset, 70 bobbin tension. This was a helpful resource for stitching over raw edge applique.
Quilting
Quilt from the center of the piece moving outward.
Followed suggested quilting plan from pattern. It’s best to start from 1 edge of the colored panel and keep going in the same direction (vs. starting in the middle and having a stripe of quilting that’s narrower/wider than its neighbors).
In the sun section I quilted in the ditch between the orange panels using ecru thread for stability. I chalked in the rays and started with vertical/horizontal lines, then used the 30 degree angle on the quilting ruler to add diagonals. I ended up quilting 24 rays extending from the sun for max stability.
Test out marking chalk before using it, and don't use tailors chalk/pencils for quilting because the chalk contains wax which can make it much harder to remove from dark fabrics.
This was a helpful resource for burying threads after quilting.
Binding
Used Harriet Hargrave’s technique for attaching binding (from Quilter’s Academy Vol. 1) using a 2 1/4” binding tape.
Washing
BQA recommends washing a quilt before gifting it and using Shout Color Catchers in case of bleeding. While researching how many color catchers to use, I found this helpful thread which suggested this technique for testing for and preventing bleeds:
Cut a small square of an inch or two of each. Slosh each one in water, then lay on a pad of paper towels. If nothing bleeds into the paper towel, then a few color catchers in your wash will be enough
If anything bleeds, consider:
How much water is in the wash; more water will dilute any dye bleeds.
Removing the quilt immediately from the wash; the more time wet fabric lays against itself the greater risk of dye transfer.
Using synthrapol as detergent, which suspends loose dye particles in the wash water.
What I'd do differently: Mark quilting lines in chalk instead of using an edge guide, to get more accurately placed quilting lines.
Use a different presser foot when sewing the binding to the front. I used a 1/4" guide foot which meant the binding was slightly wider on the back of the quilt vs. the front. What I actually wanted was a slightly generous 1/4" seam*, so using an open-toe applique foot or 1/4" foot without a guide would give me the 1/4" needle markings on the foot for corners, and more flexibility on getting the right seam allowance. (*Quilter's Academy Vol. 1, Hargrave, p. 103)
Learn more techniques for getting a quilt top square.
Care: Machine wash cold, tumble dry low


