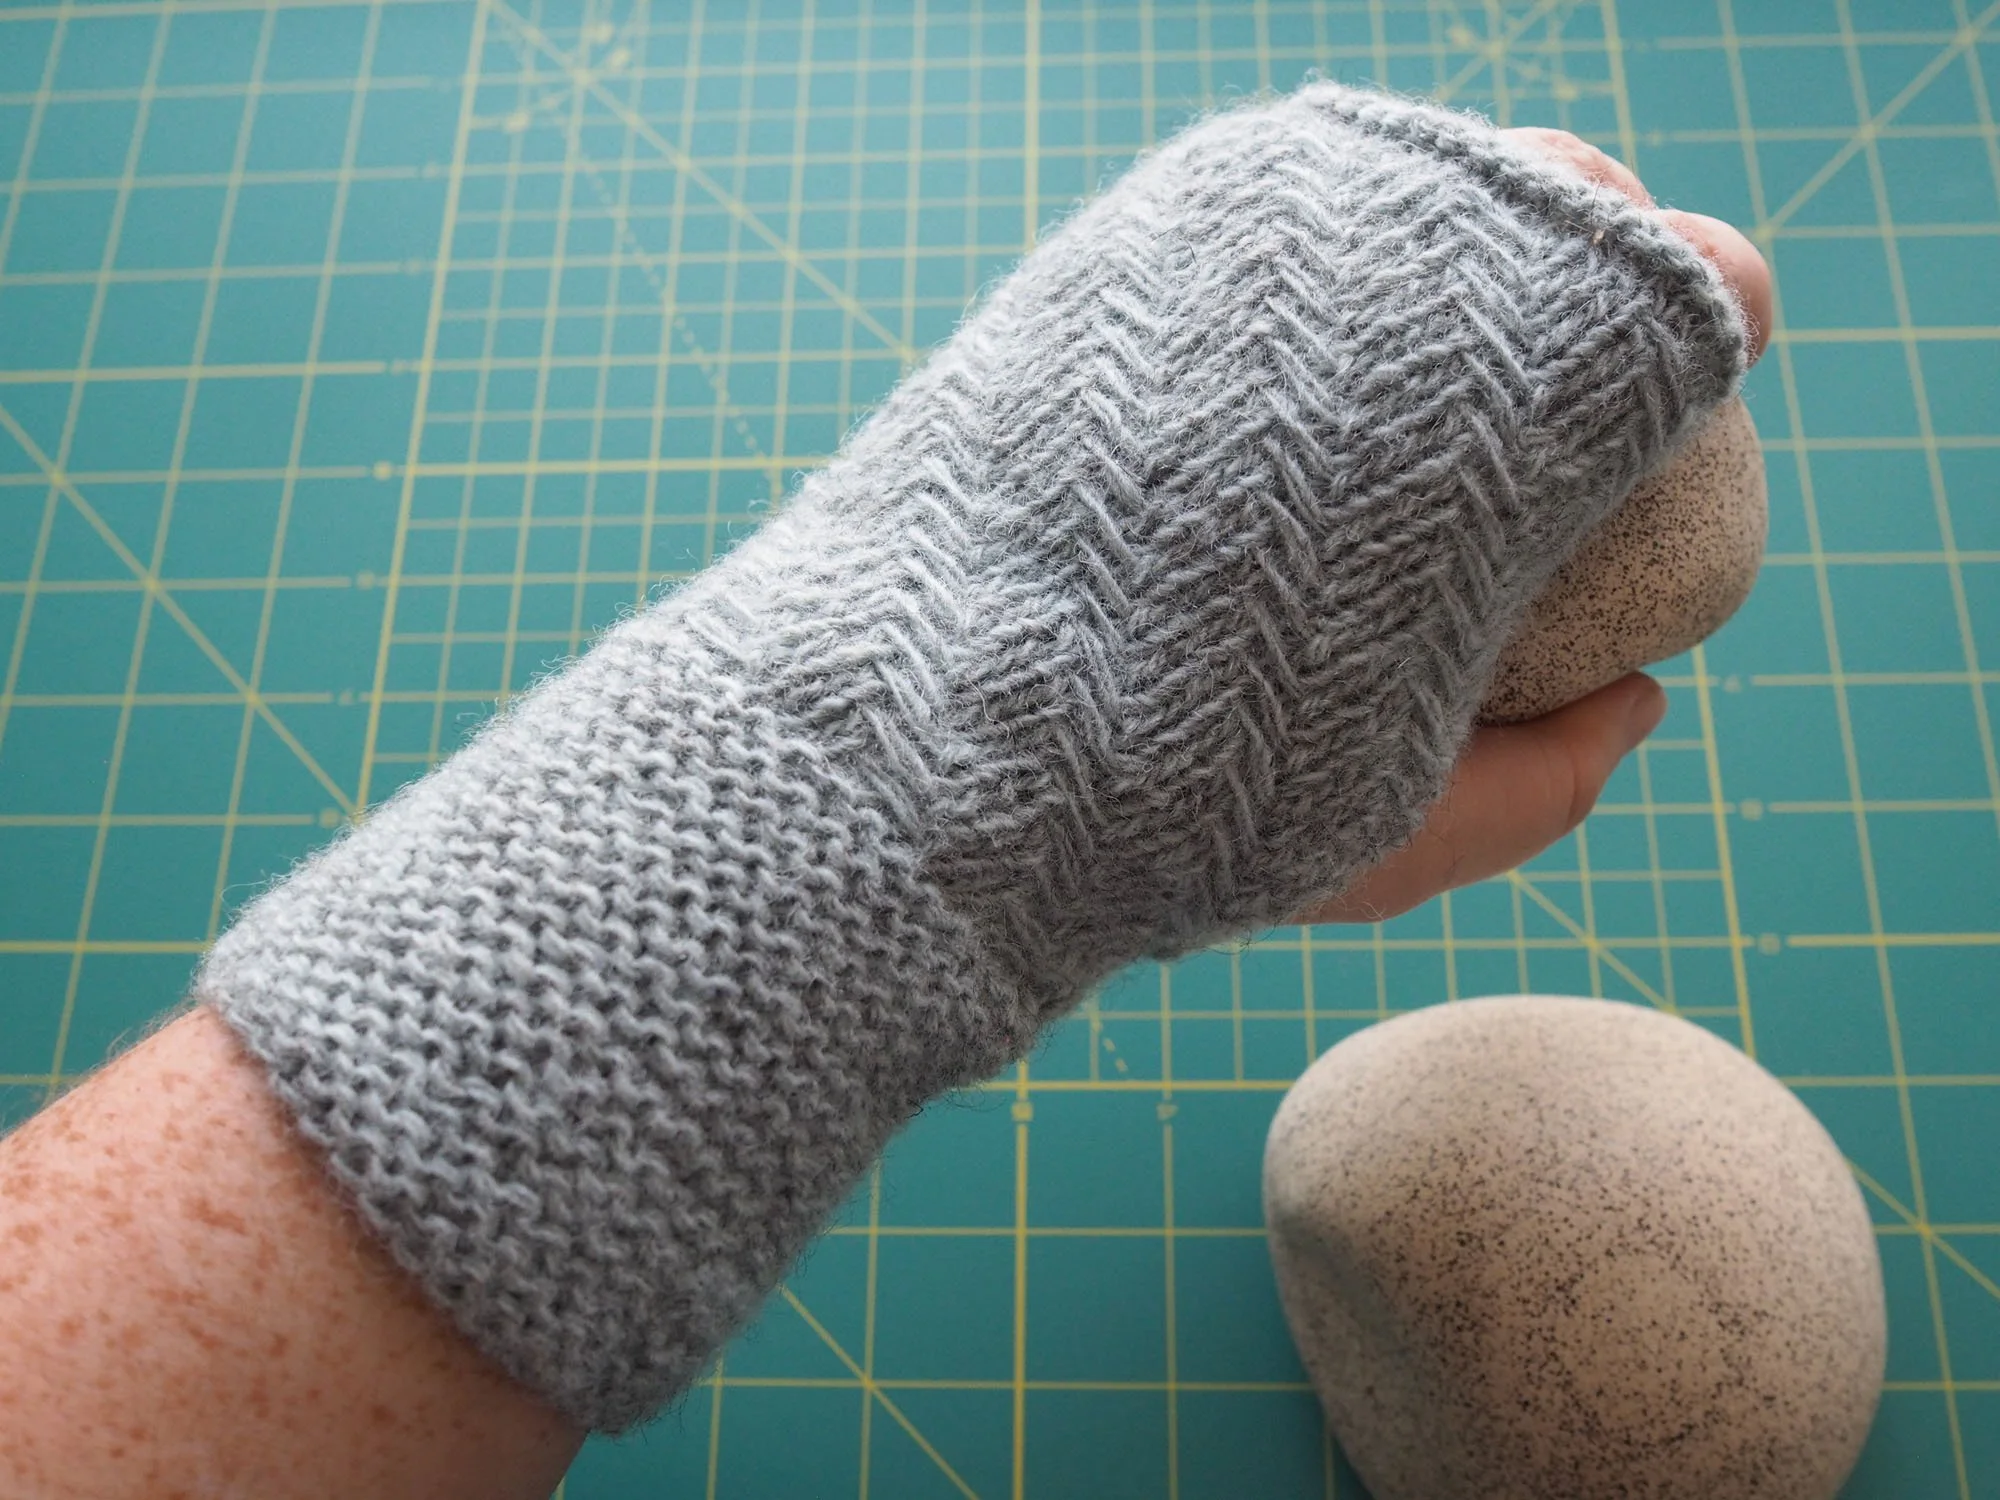
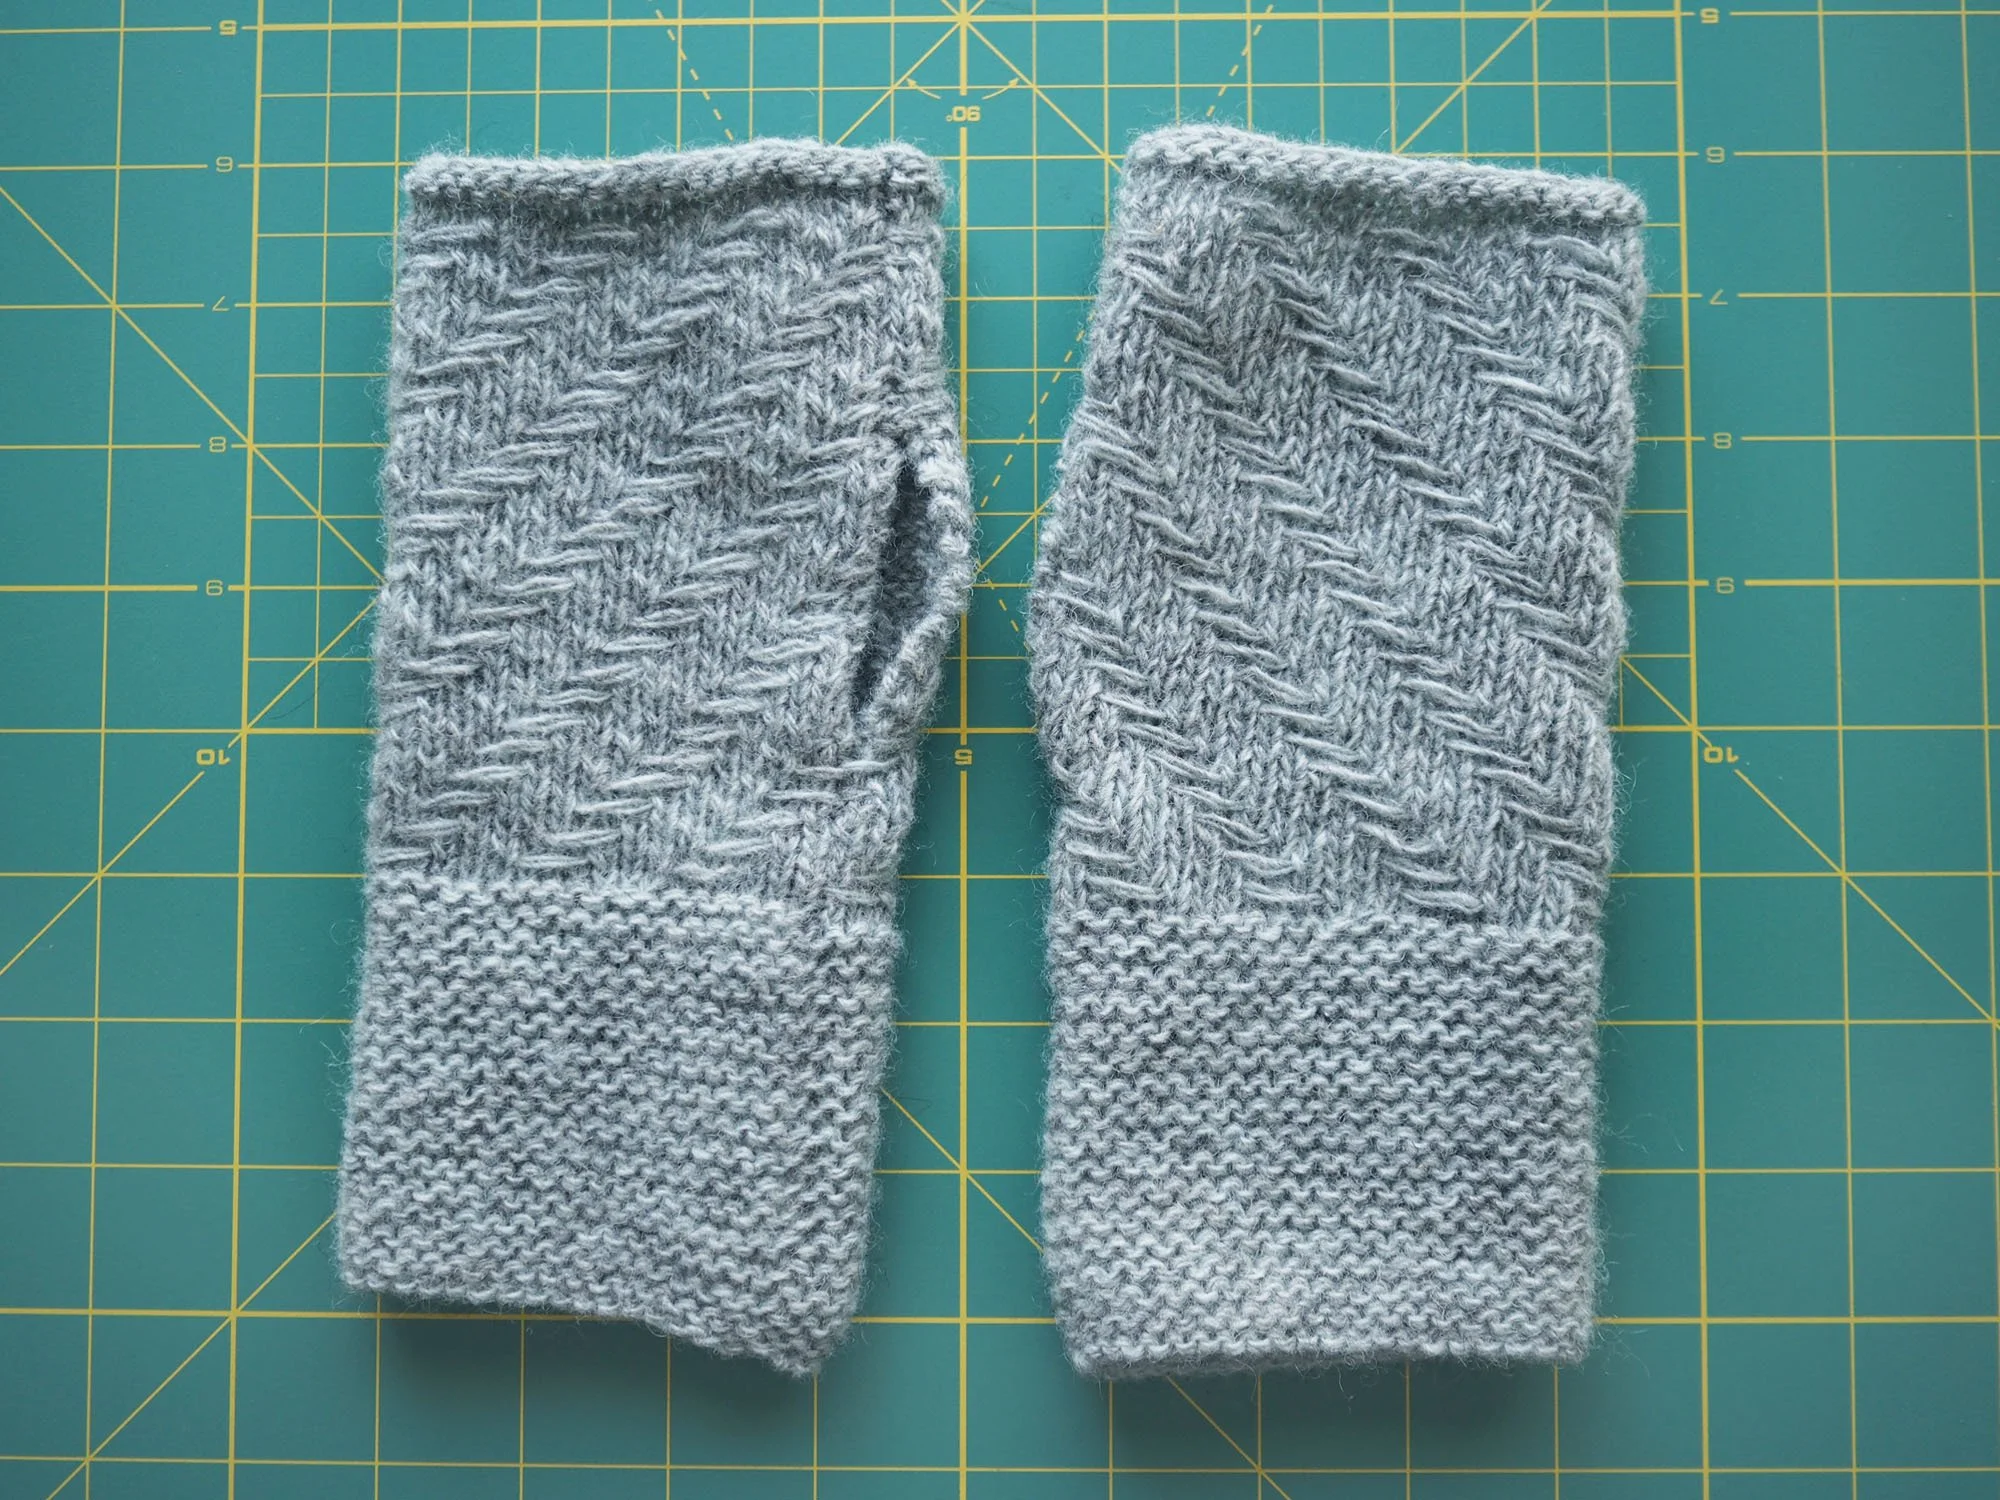
Pattern/Technique: Soft Washed Herringbone Mitts by Churchmouse Yarns
Modifications: n/a
Materials: 1 skein of Isager Spinni in color 10s held double
US 4 & US 6 knitting needles
New skills: n/a
Lessons/Notes: The herringbone stitch was really fun and straightforward which made it really easy to get into a rhythm without needing to reference the pattern. I think that my gauge was a little off the pattern, so my herringbone isn’t as balanced as in the sample pictures, but I still really like the look.
Followed instructions for washing (warm wash / cold rinse). The fabric got quite a bit softer after washing, though I still don’t think I’d use this yarn for a sweater.
While seaming (used this tutorial), I tried out 2 different approaches:
On the RH glove I seamed the edge of each purl bump (ignoring if it was the top/bottom) which gave me a very flat graft. I think I prefer this method in this particular application.
On the LH glove I seamed so that I was stitching into the bottom purl bump on the left side of the graft and the top purl bump on the right side of the graft. While the join is technically more in pattern, this did create a slight ridge on the inside of the mitt and a slightly visible indent on the outer side. I also made a slight mistake on this side where I think I skipped the first row of garter stitch so I have an extra ridge of stitches at the top.
What I'd do differently: Knit a gauge swatch so that my herringbone is more balanced.
Care: Hand wash, dry flat.


