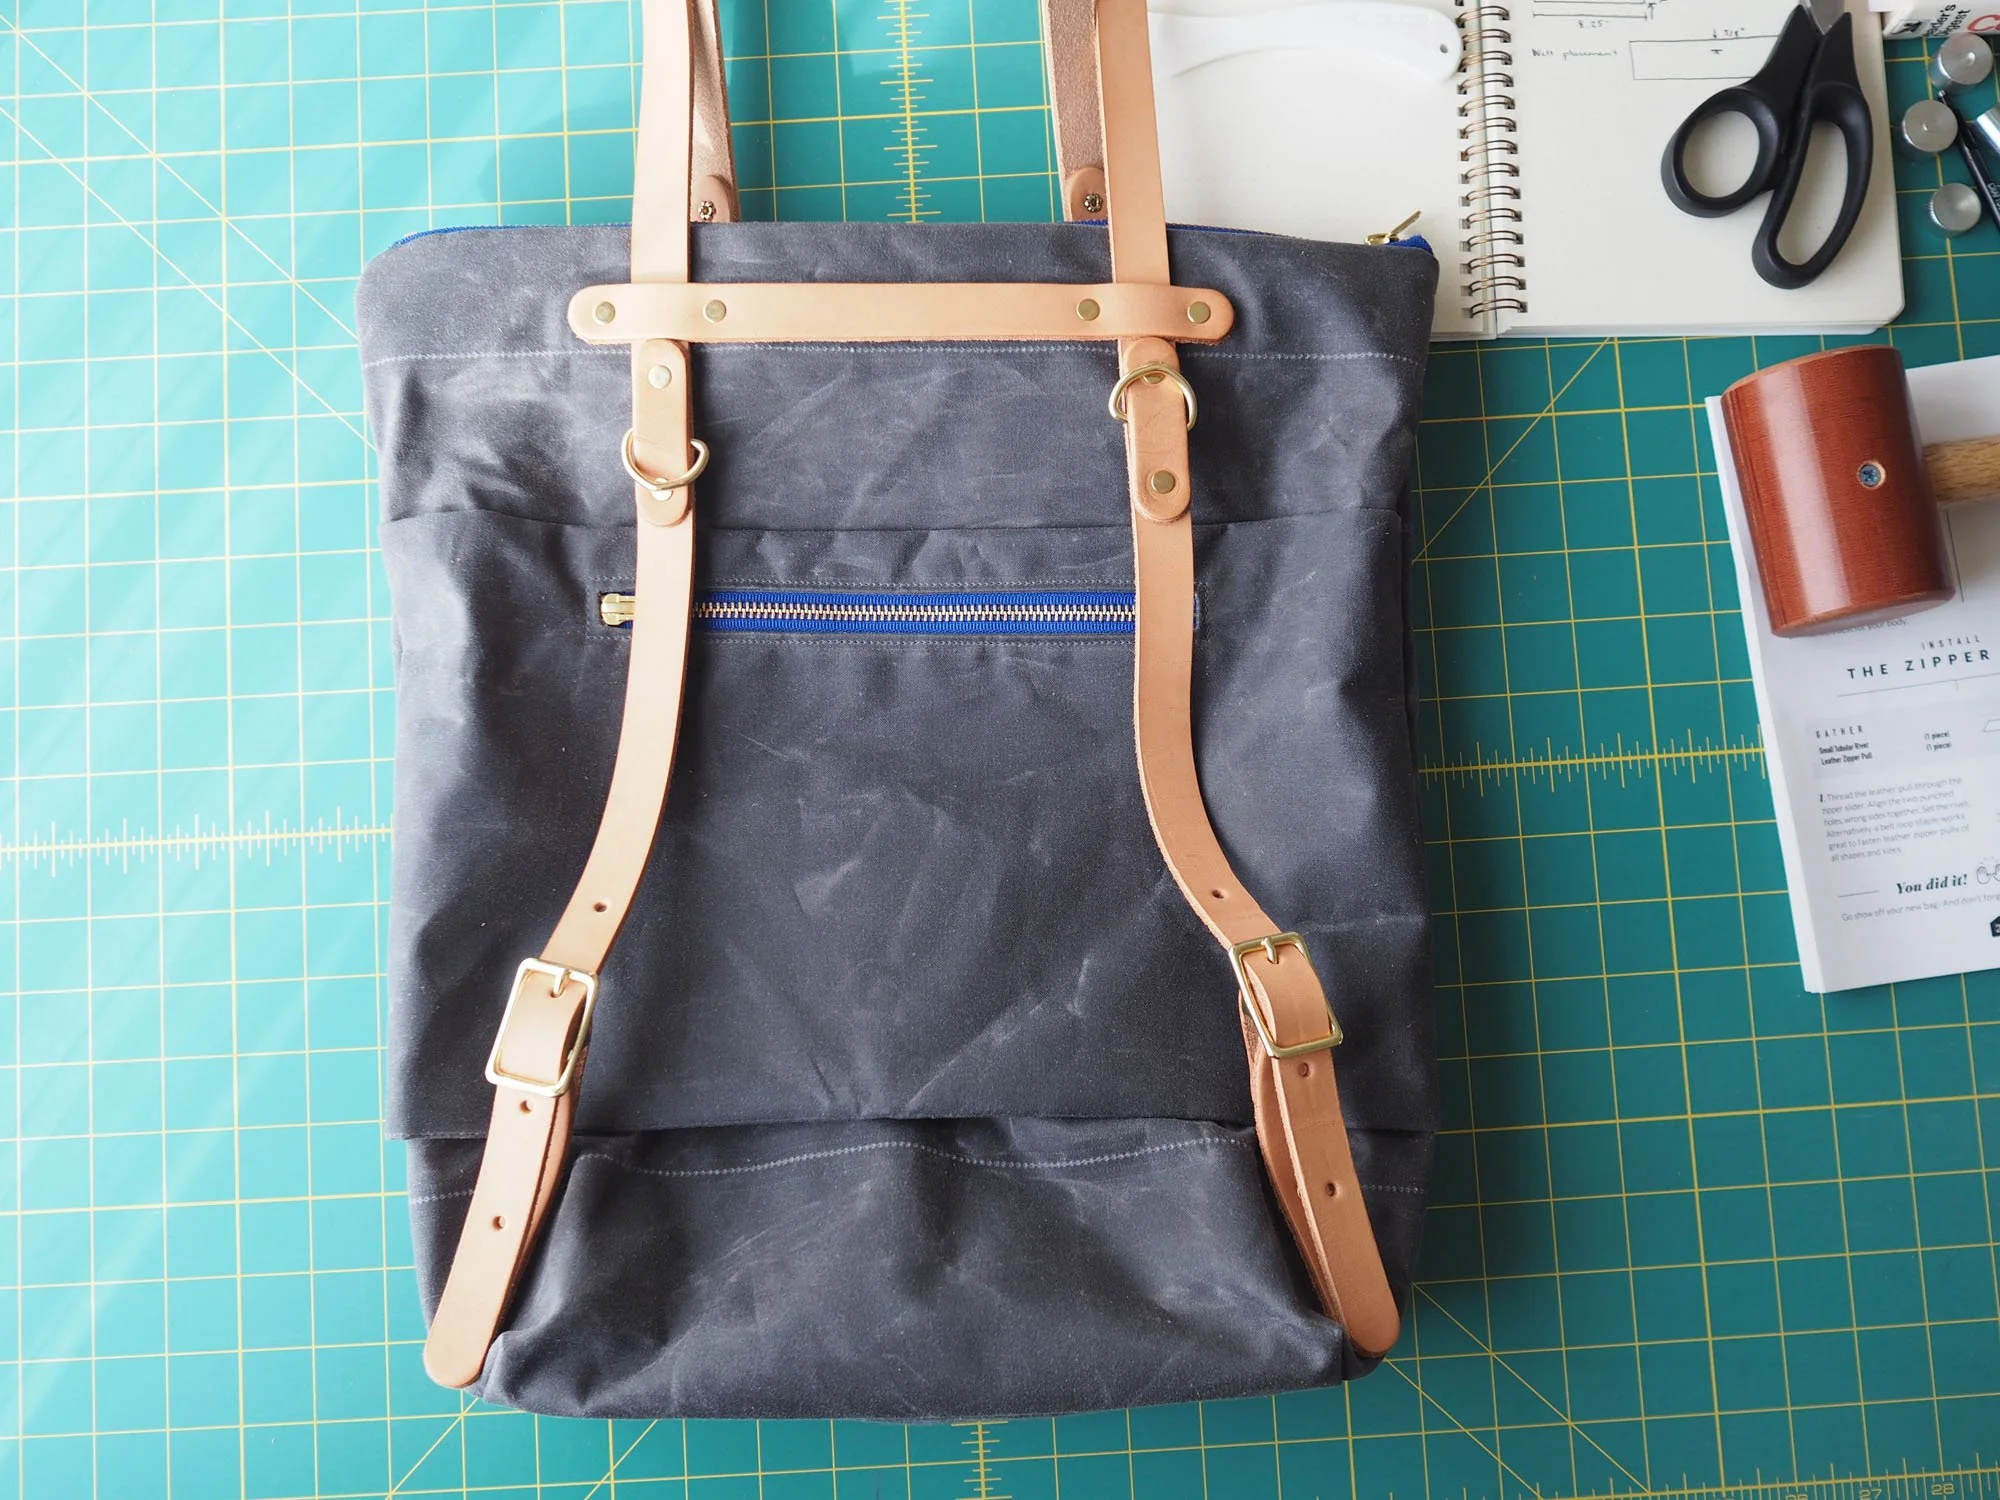
Pattern/Technique: Maywood Totepack by Klum House
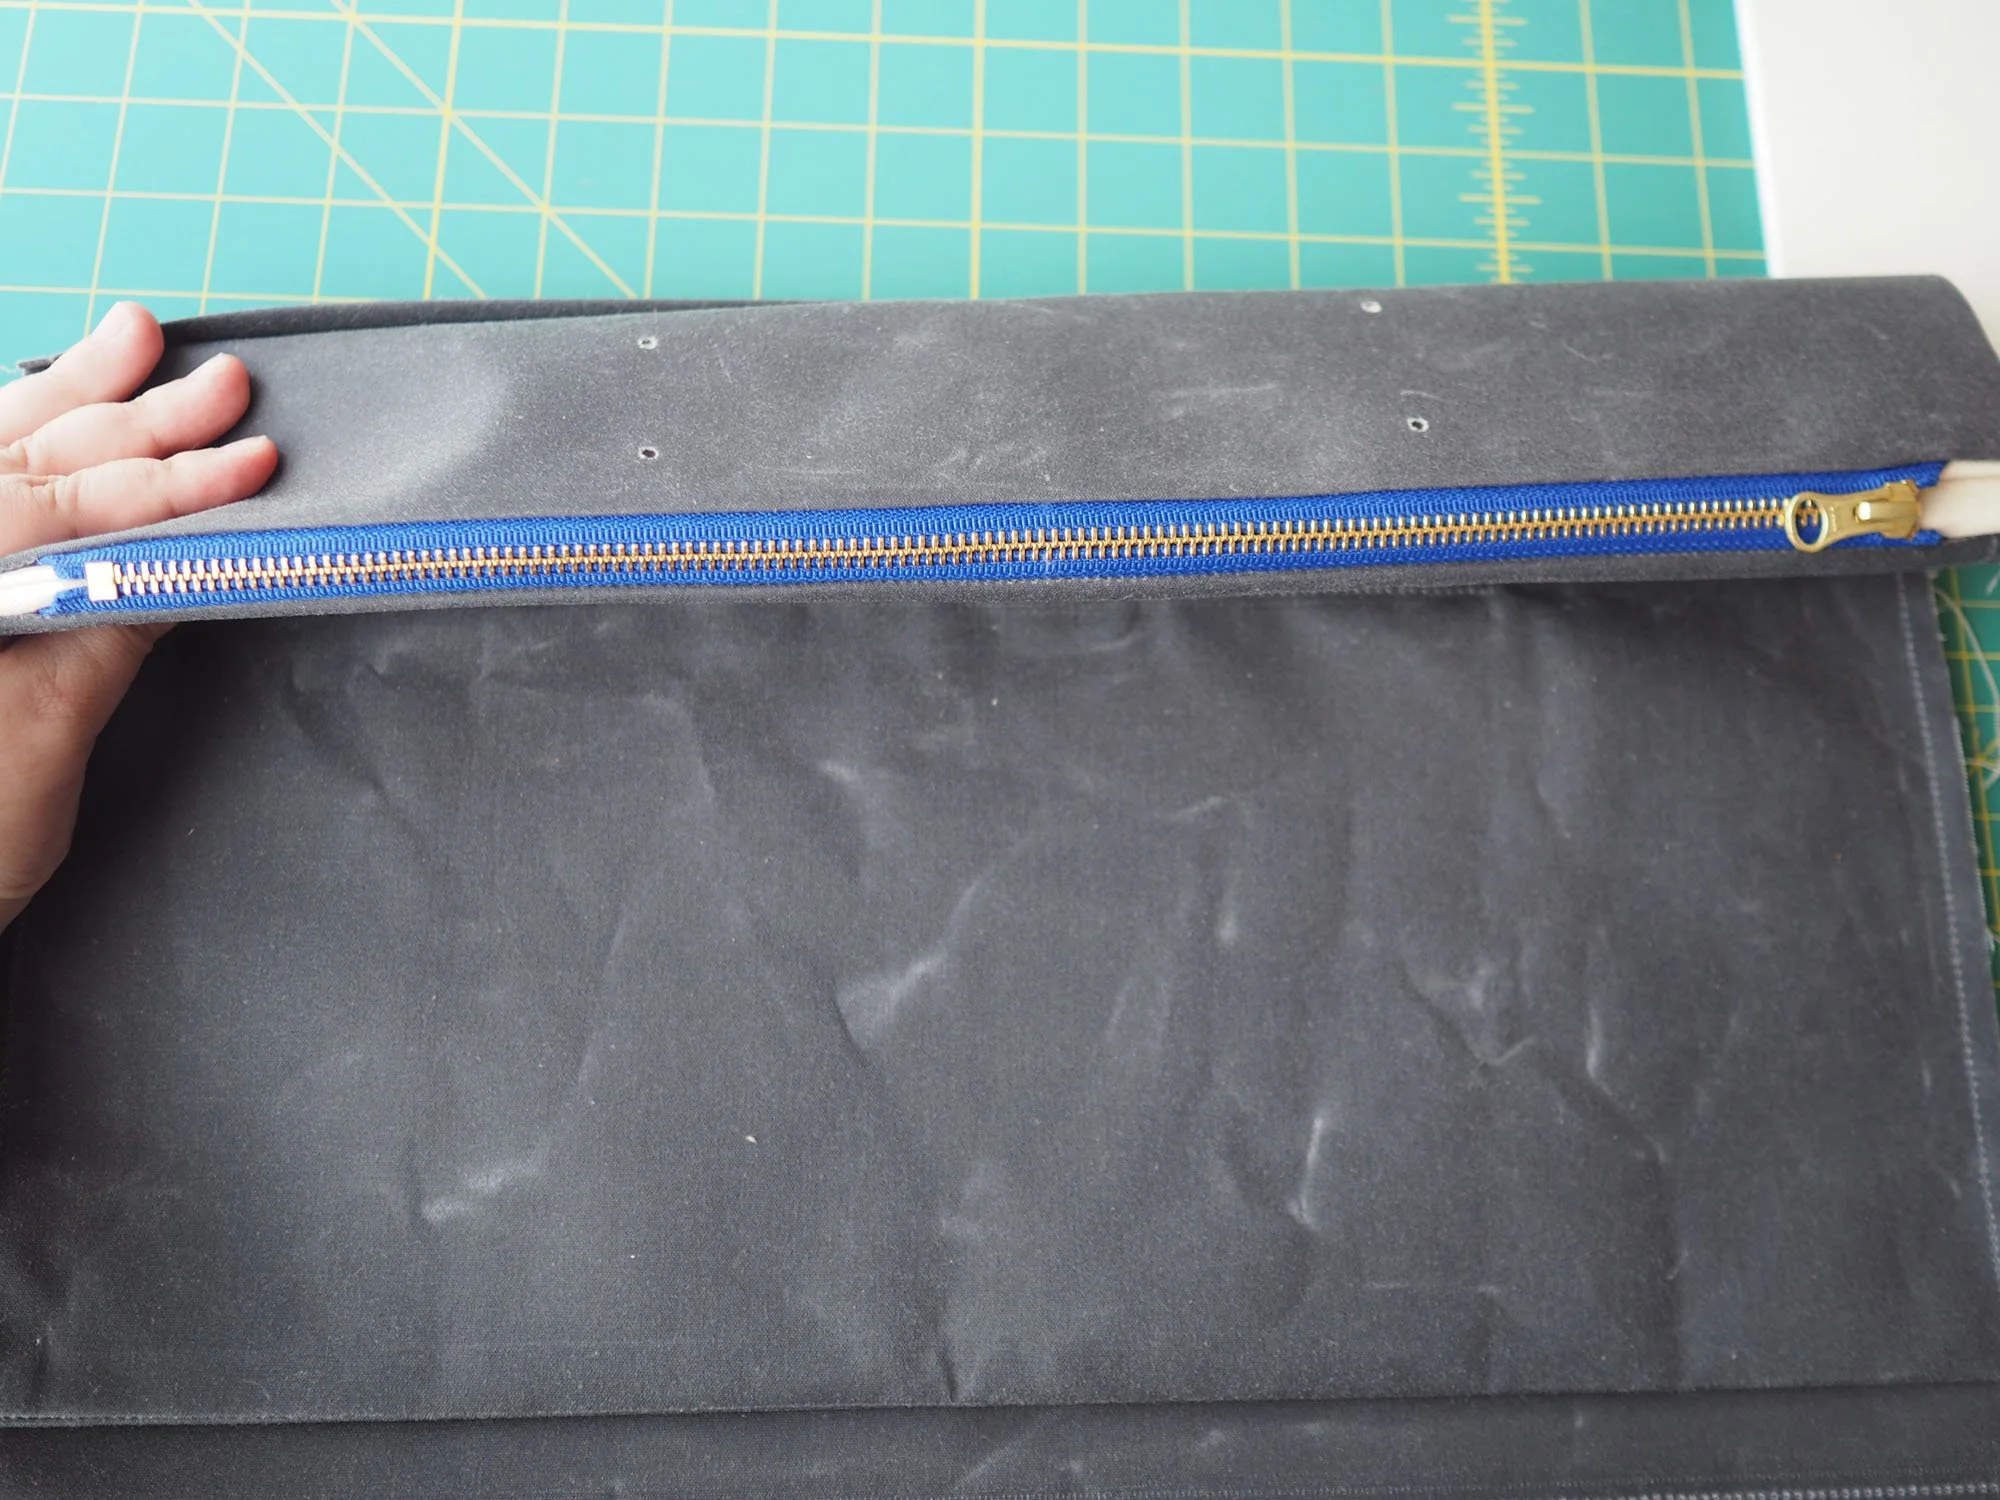
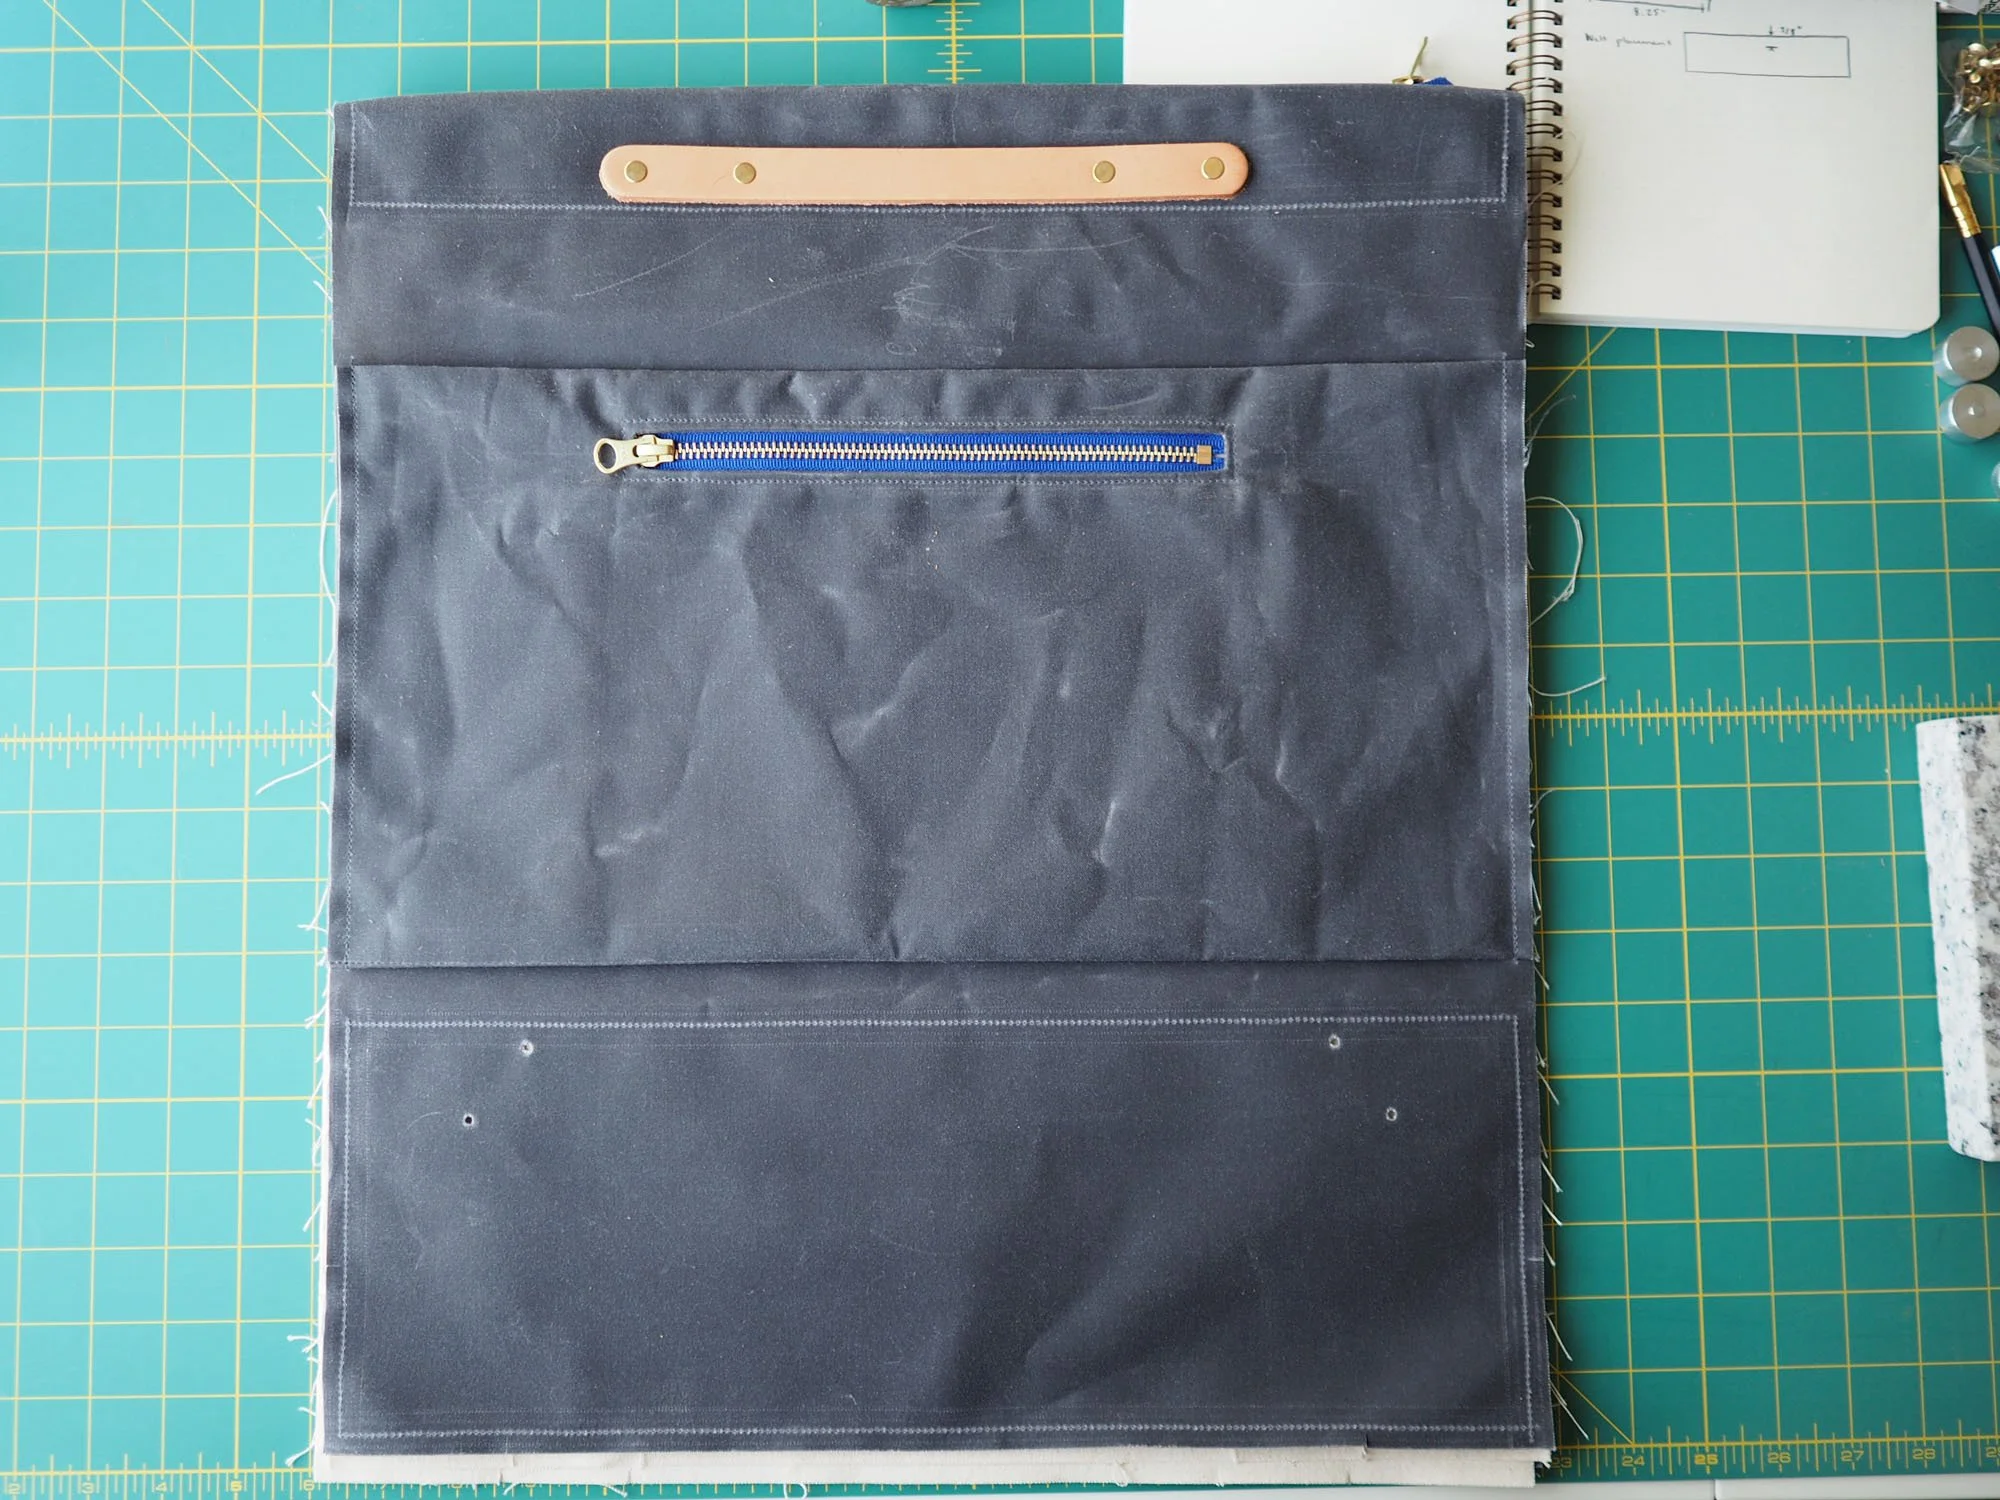
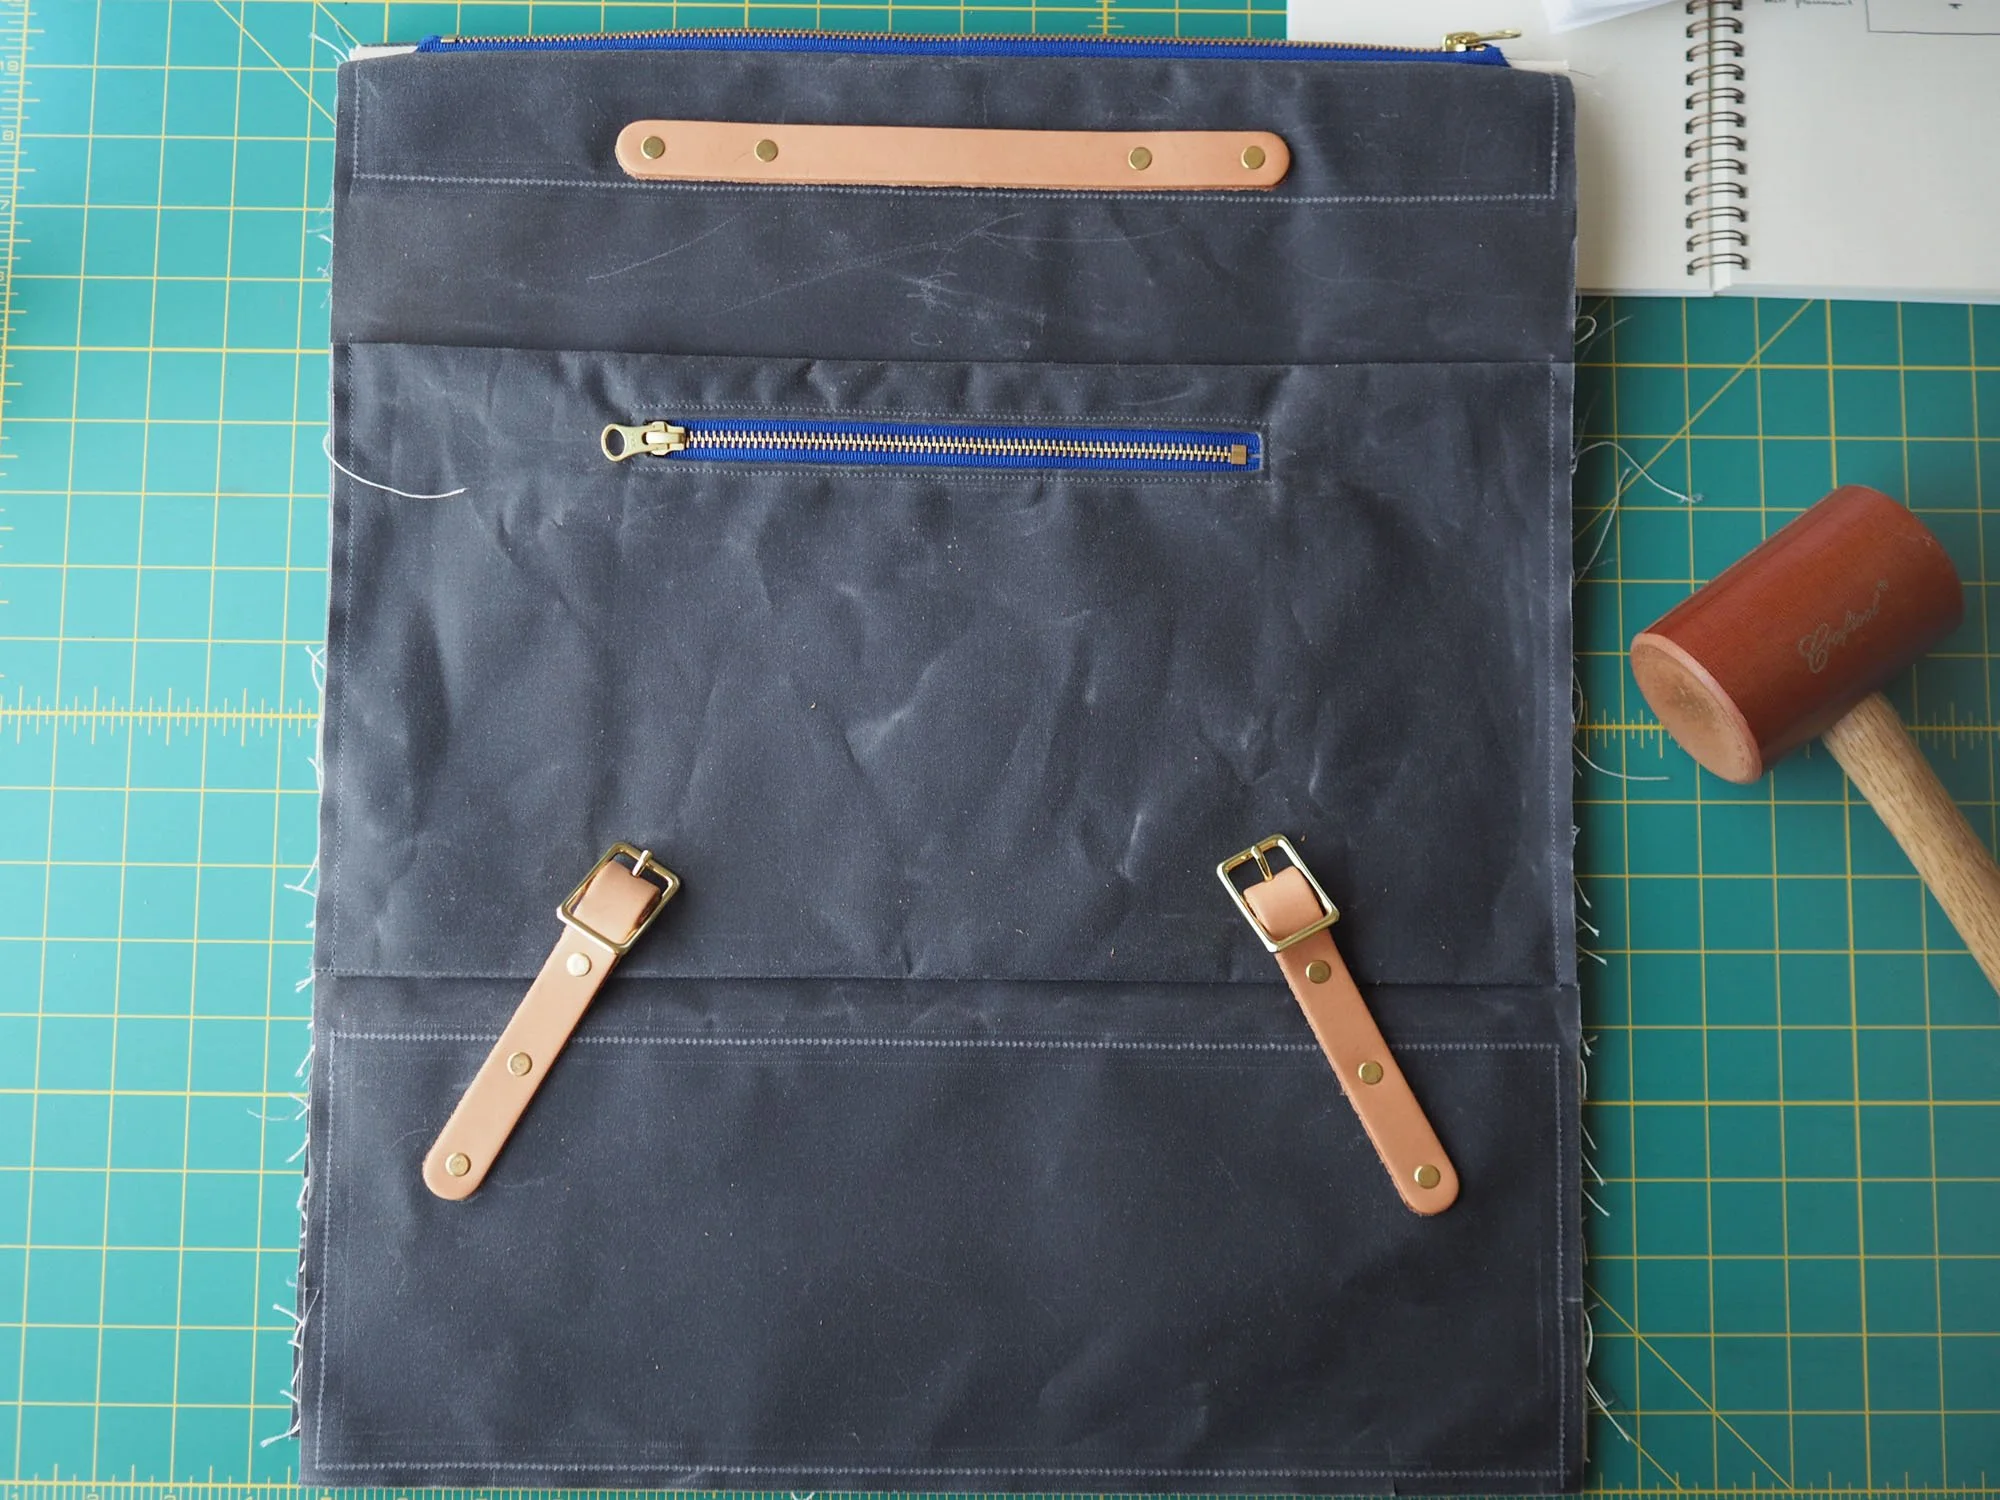
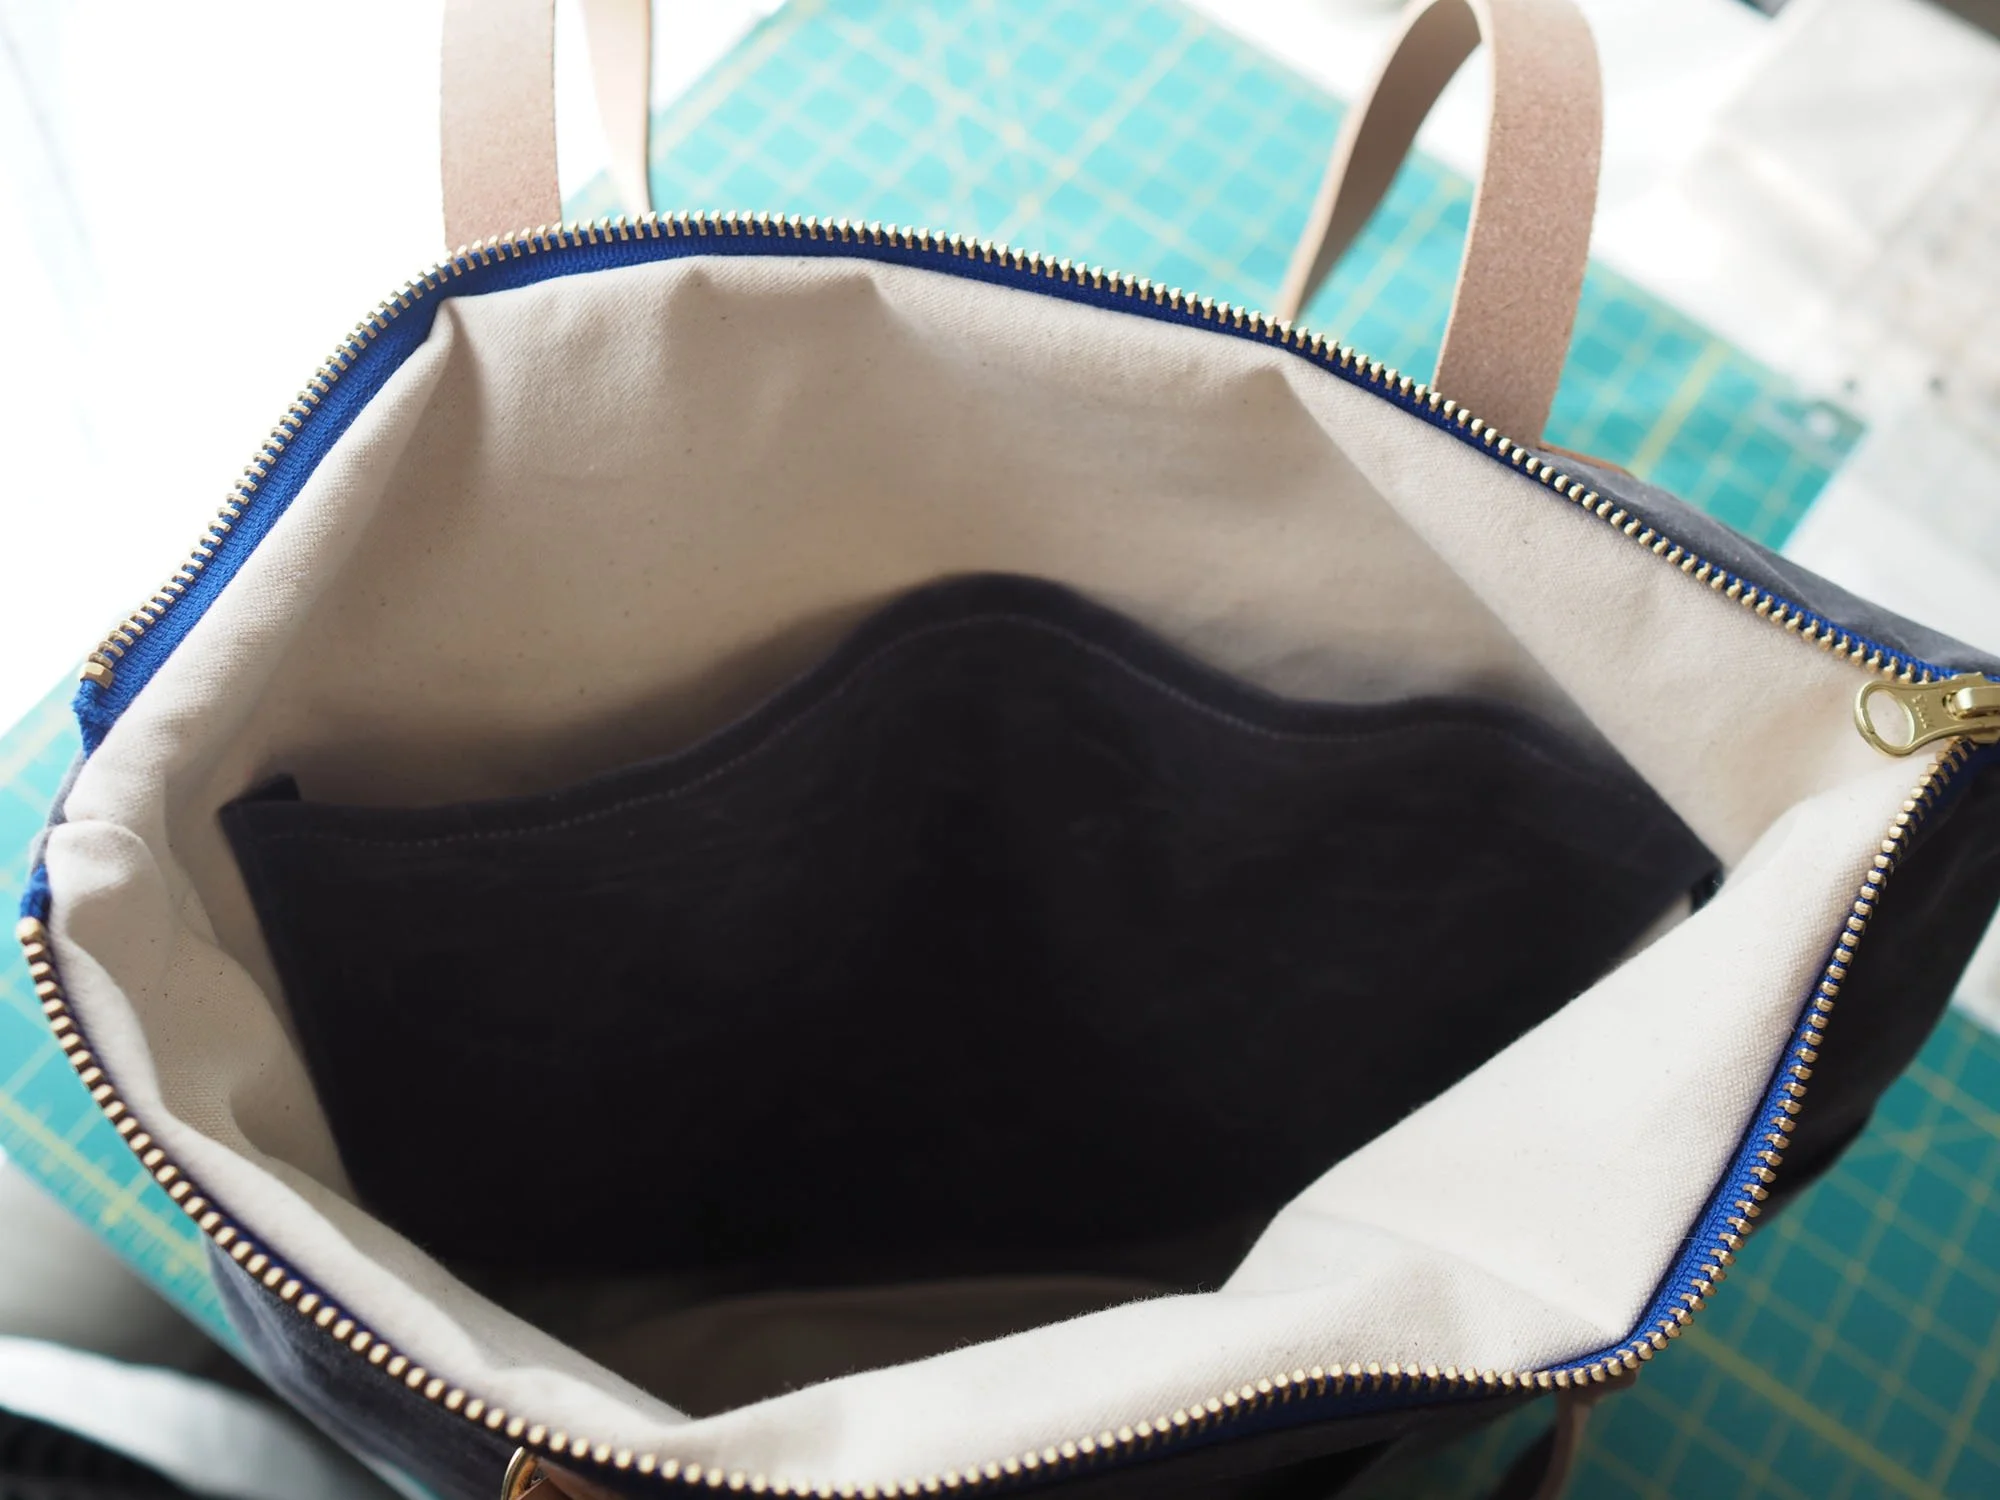
Modifications: Added luggage sleeve inspired by a custom bag made by @victoryretrograde that was shared on the Klum House IG account. I used this very helpful tutorial for a welted zipper pocket with a lining by Chris Lucas Designs.
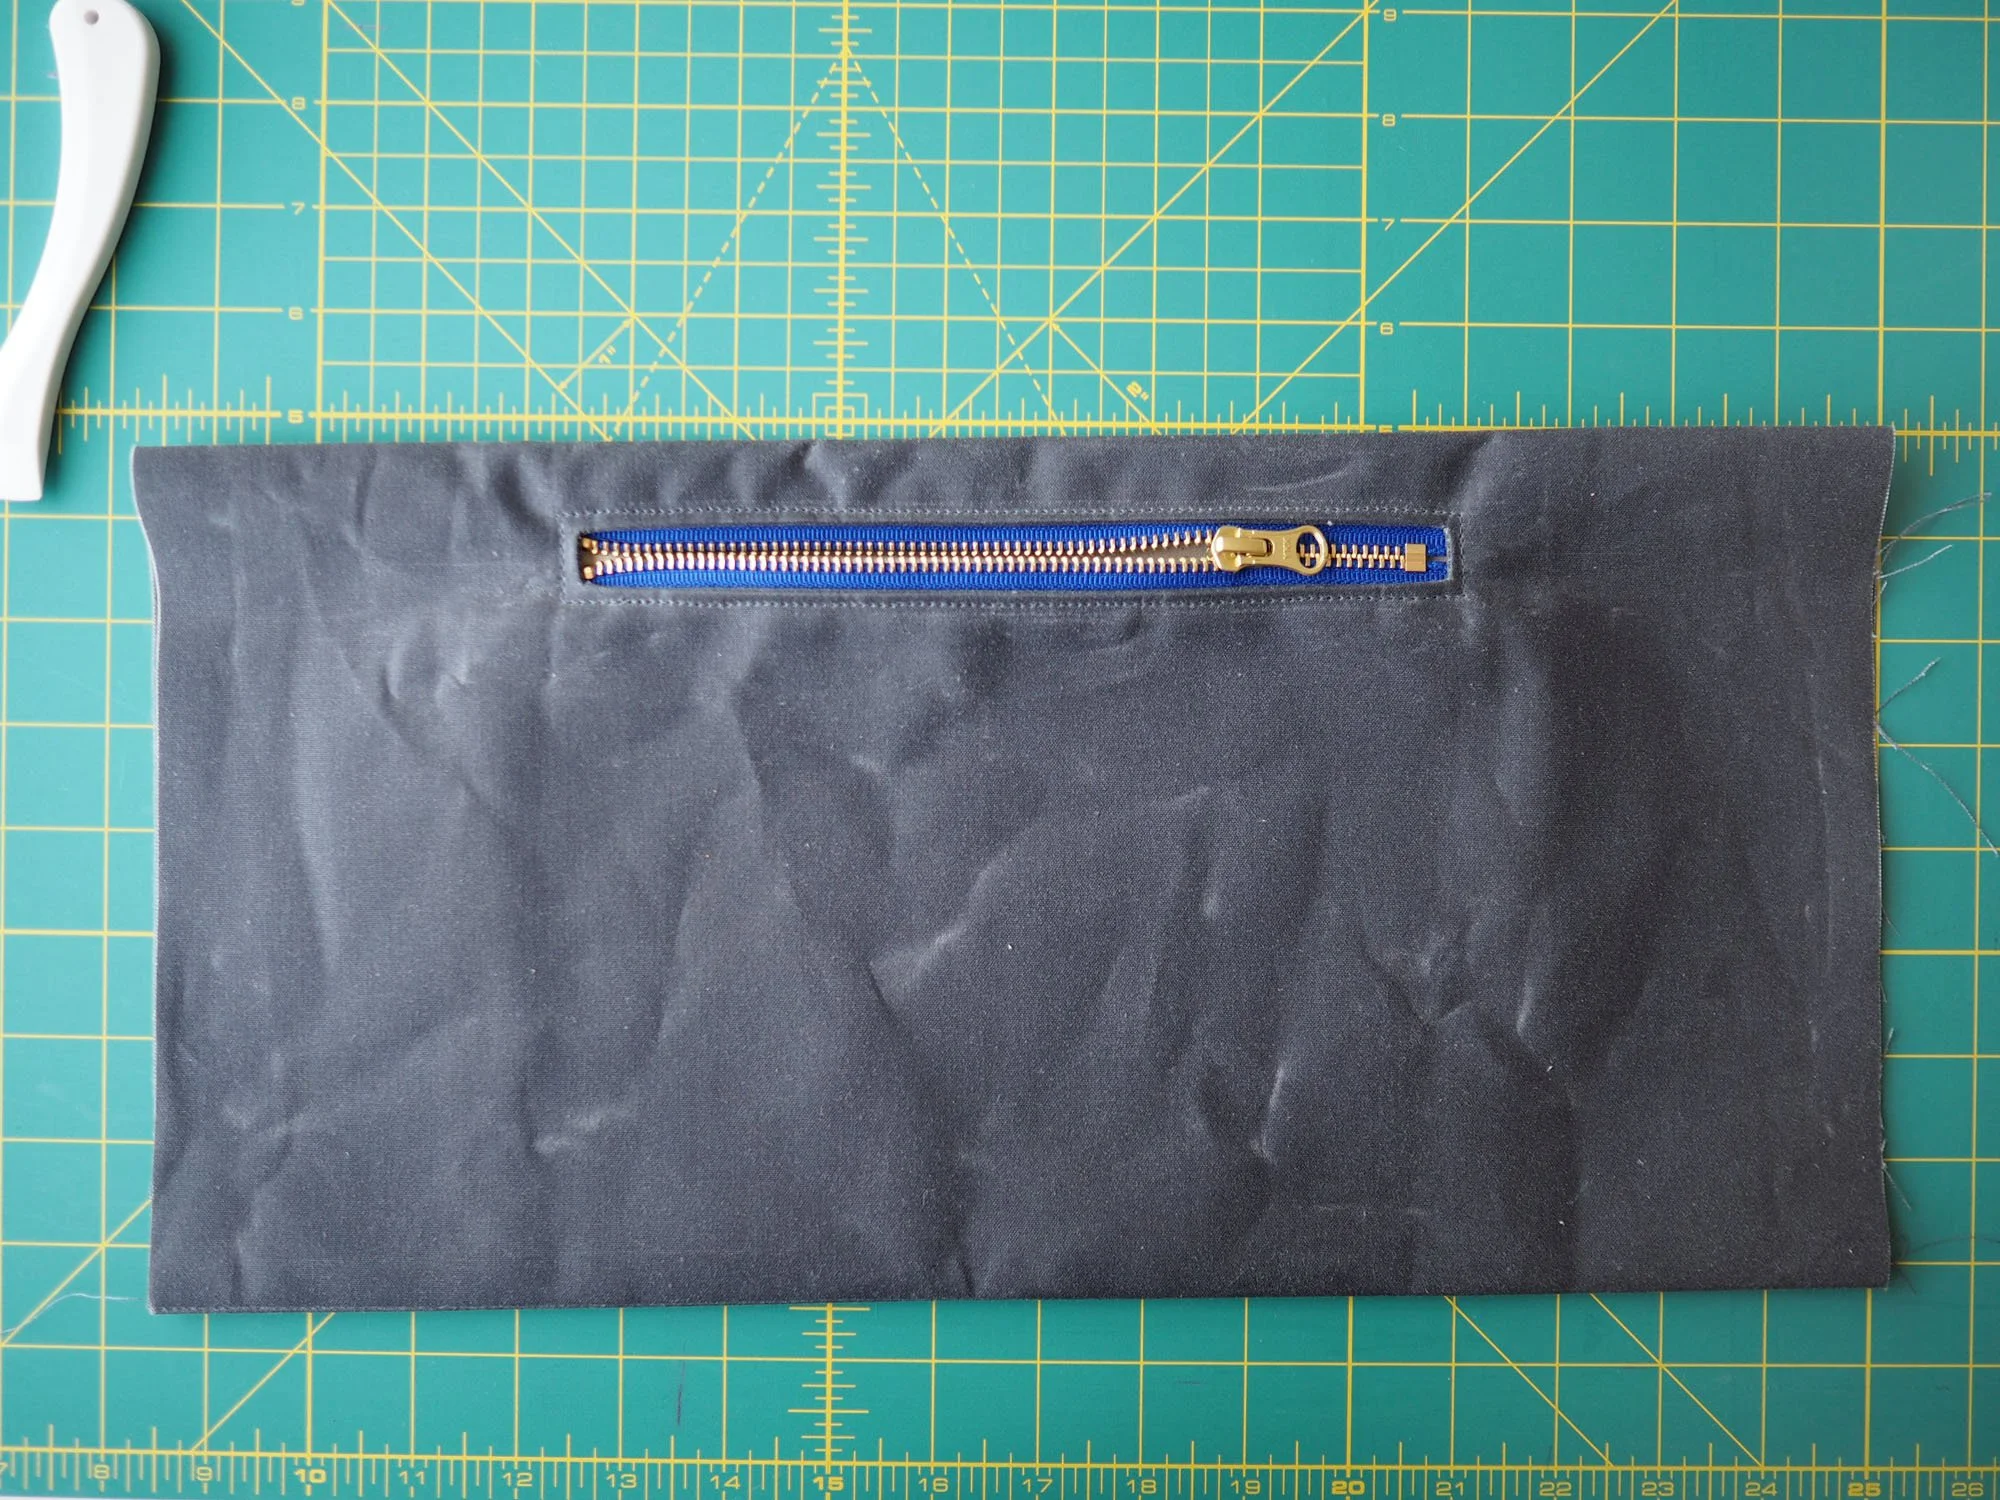
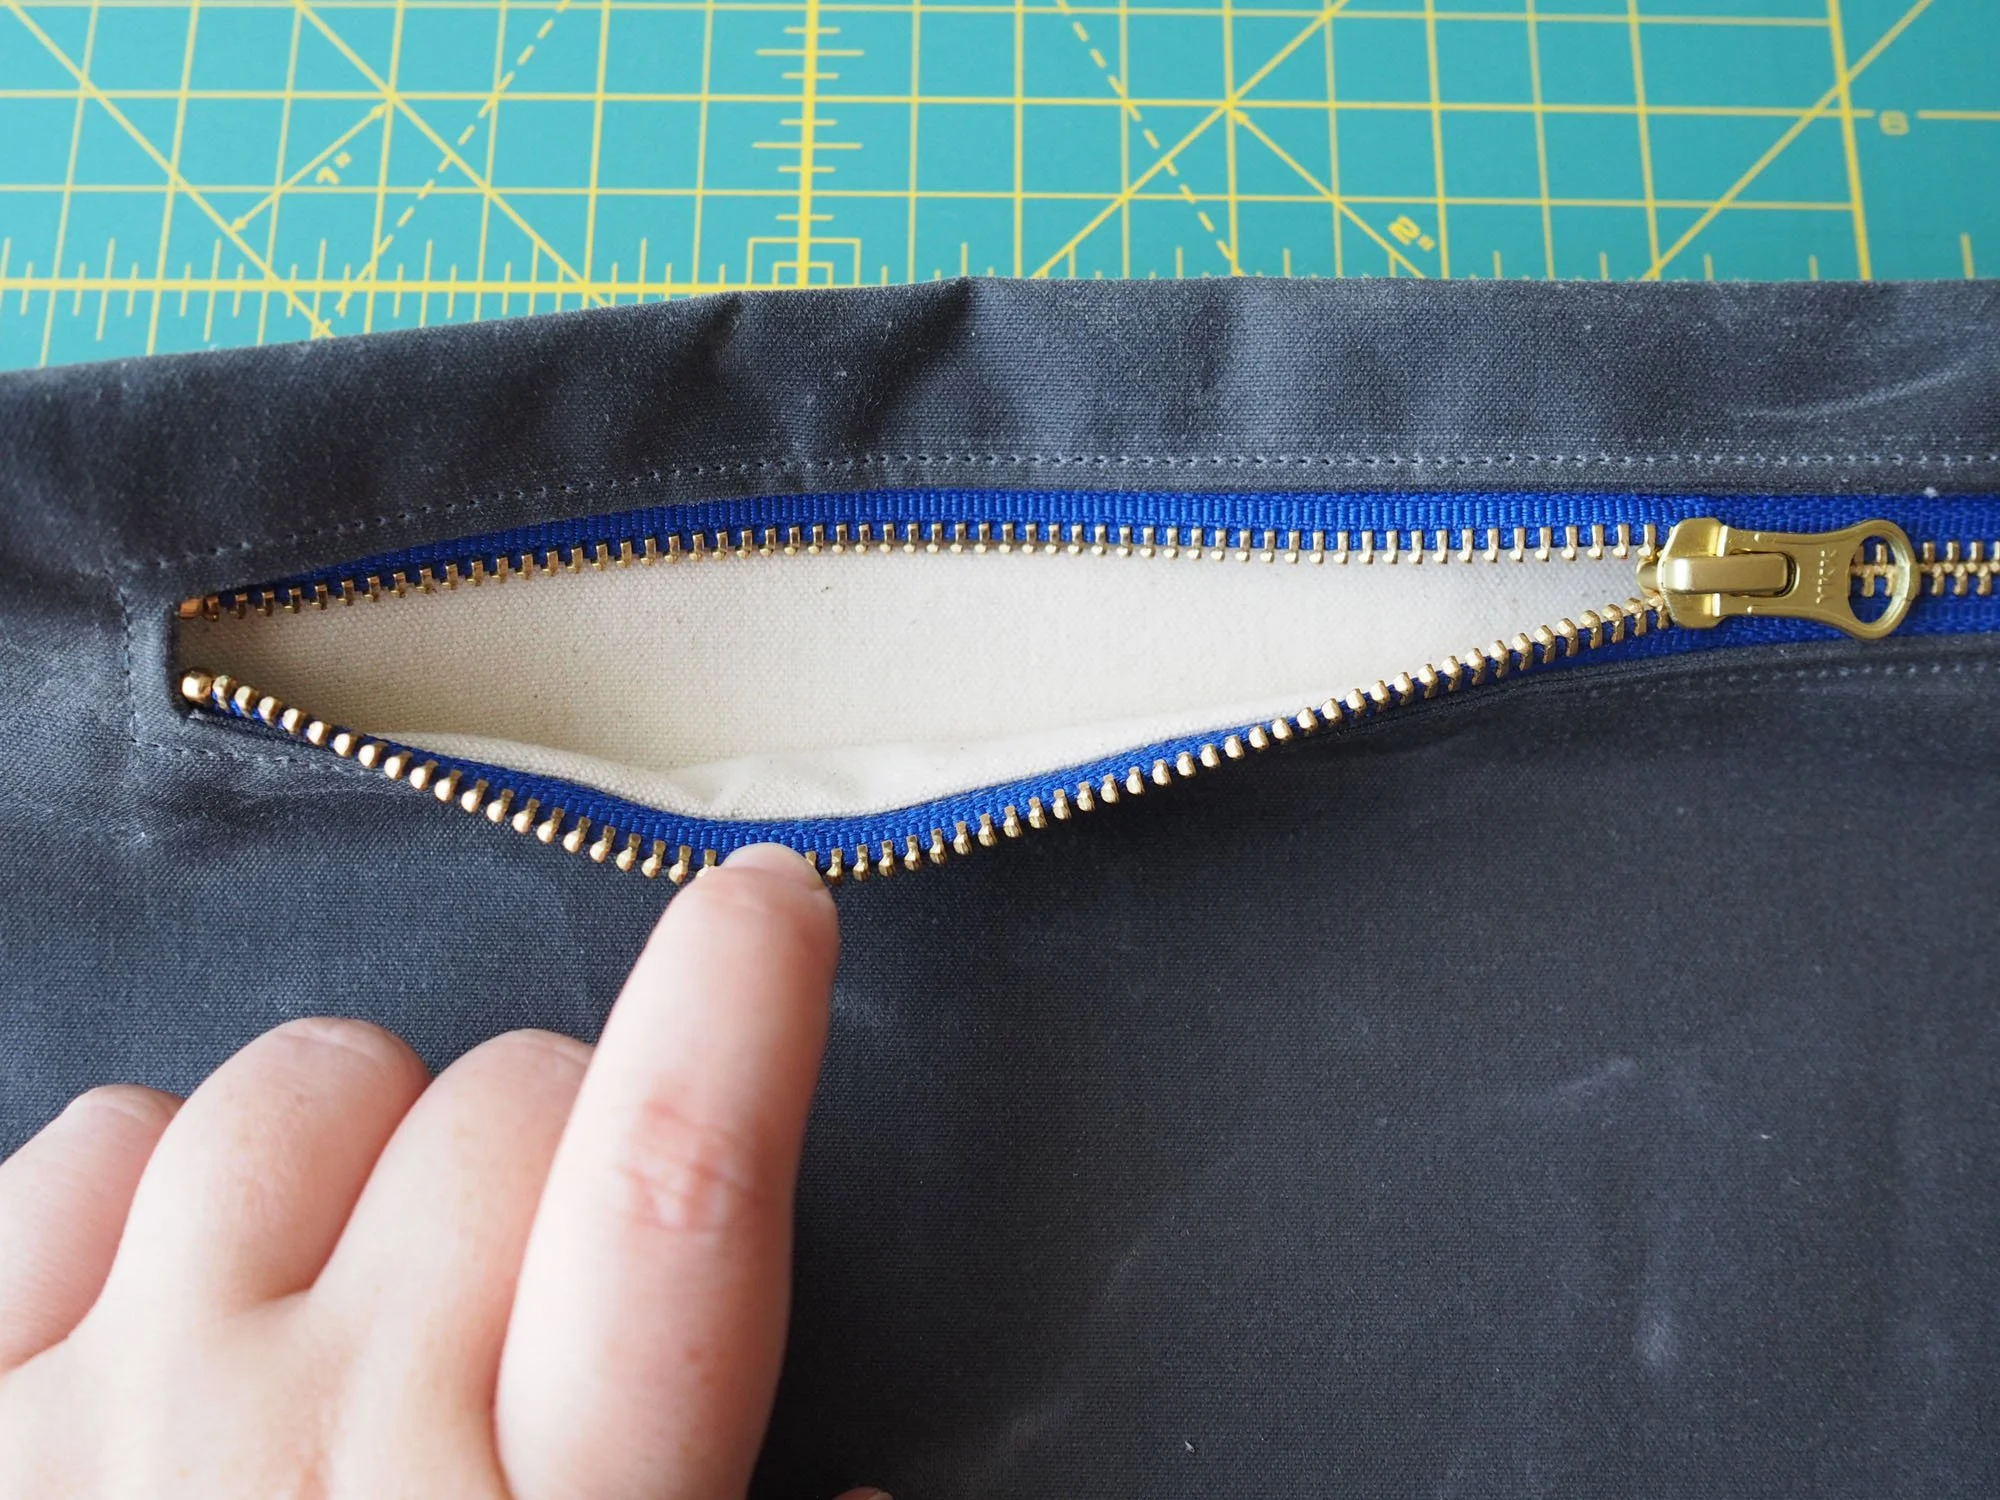
I used an 8” zipper for the sleeve pocket, then mocked up the zipper welt using scrap canvas and decided to make the welt 8.25” x 0.5” which would show 1/8” of zipper tape around the teeth.
The pocket lining was made from cotton duck canvas (same material as the main bag lining). I didn’t note down the exact dimensions, but the width was roughly the width of the zipper tape (~10.5”) and height was the distance from the welt to the bottom of the pocket (~8” - though I ended up trimming this down a bit more). Because the canvas was heavy weight I didn’t interface any of the sleeve/pocket pieces, and I graded all of the pocket seams to reduce visibility/marking.
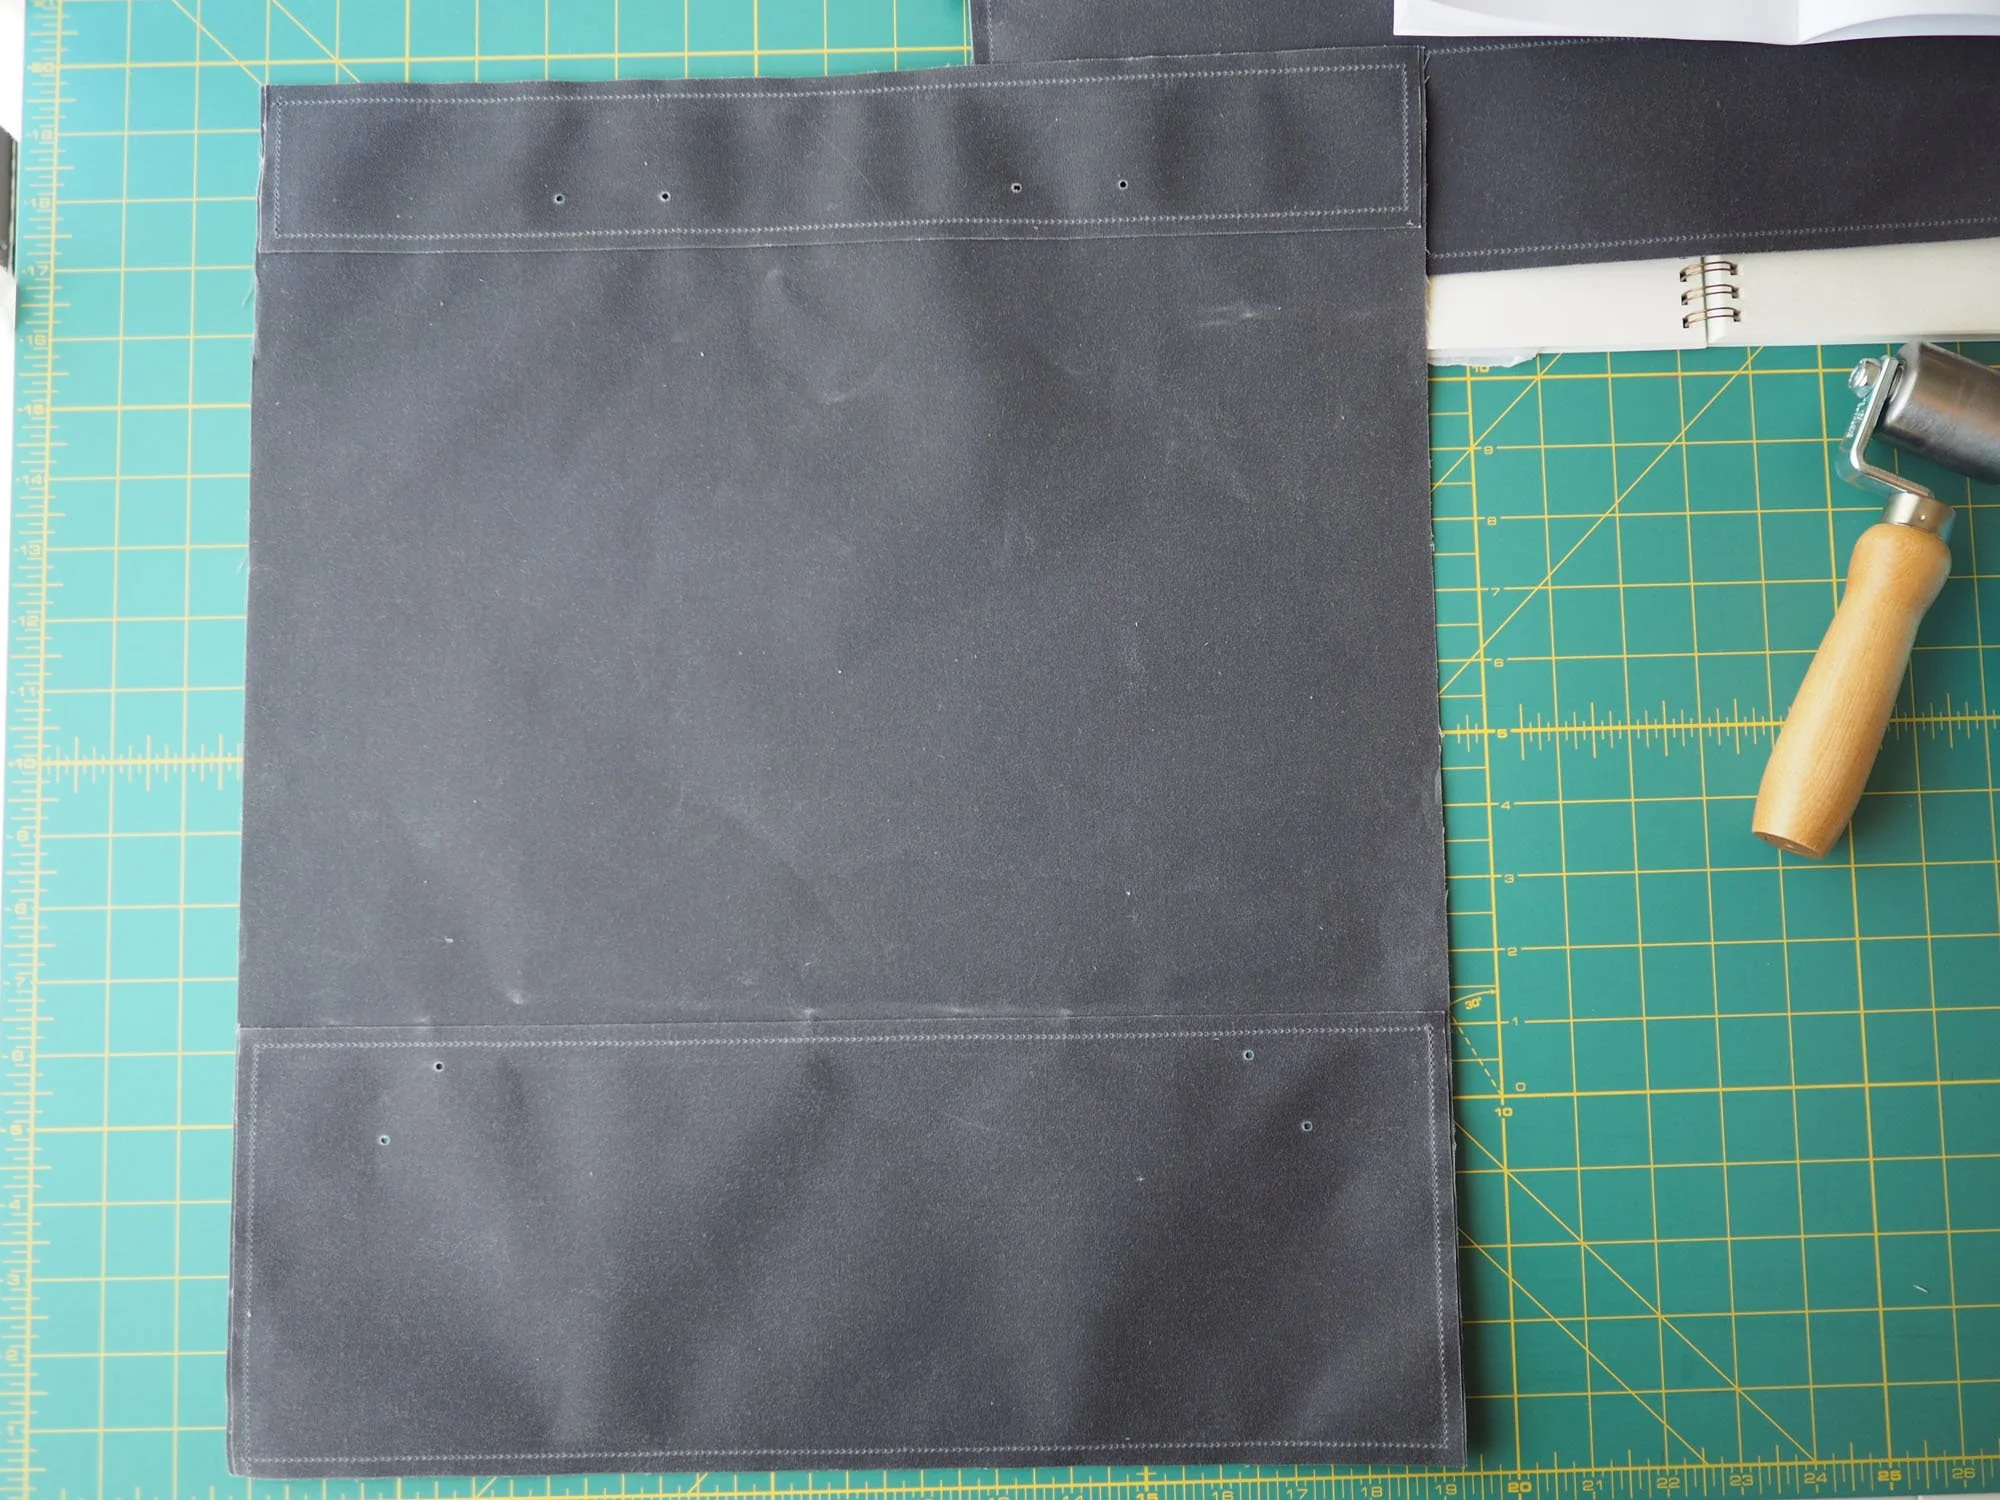
For the sleeve exterior I used 1/2 yd of grey waxed canvas, cut to 16.5” wide and squared at the top/bottom edges. I then folded it in half and marked the vertical placement for the welt at 7/8” from the folded edge. The welt facing was made using grey waxed canvas cut to 2” x 10”. After inserting the zipper & closing the pocket lining, I sewed the bottom seam of the sleeve with right sides together using a 1/2” SA, then turned the sleeve right side out. The final dimensions of the sleeve piece were 16.5” wide (i.e. the width of the finished bag) x 8” high.
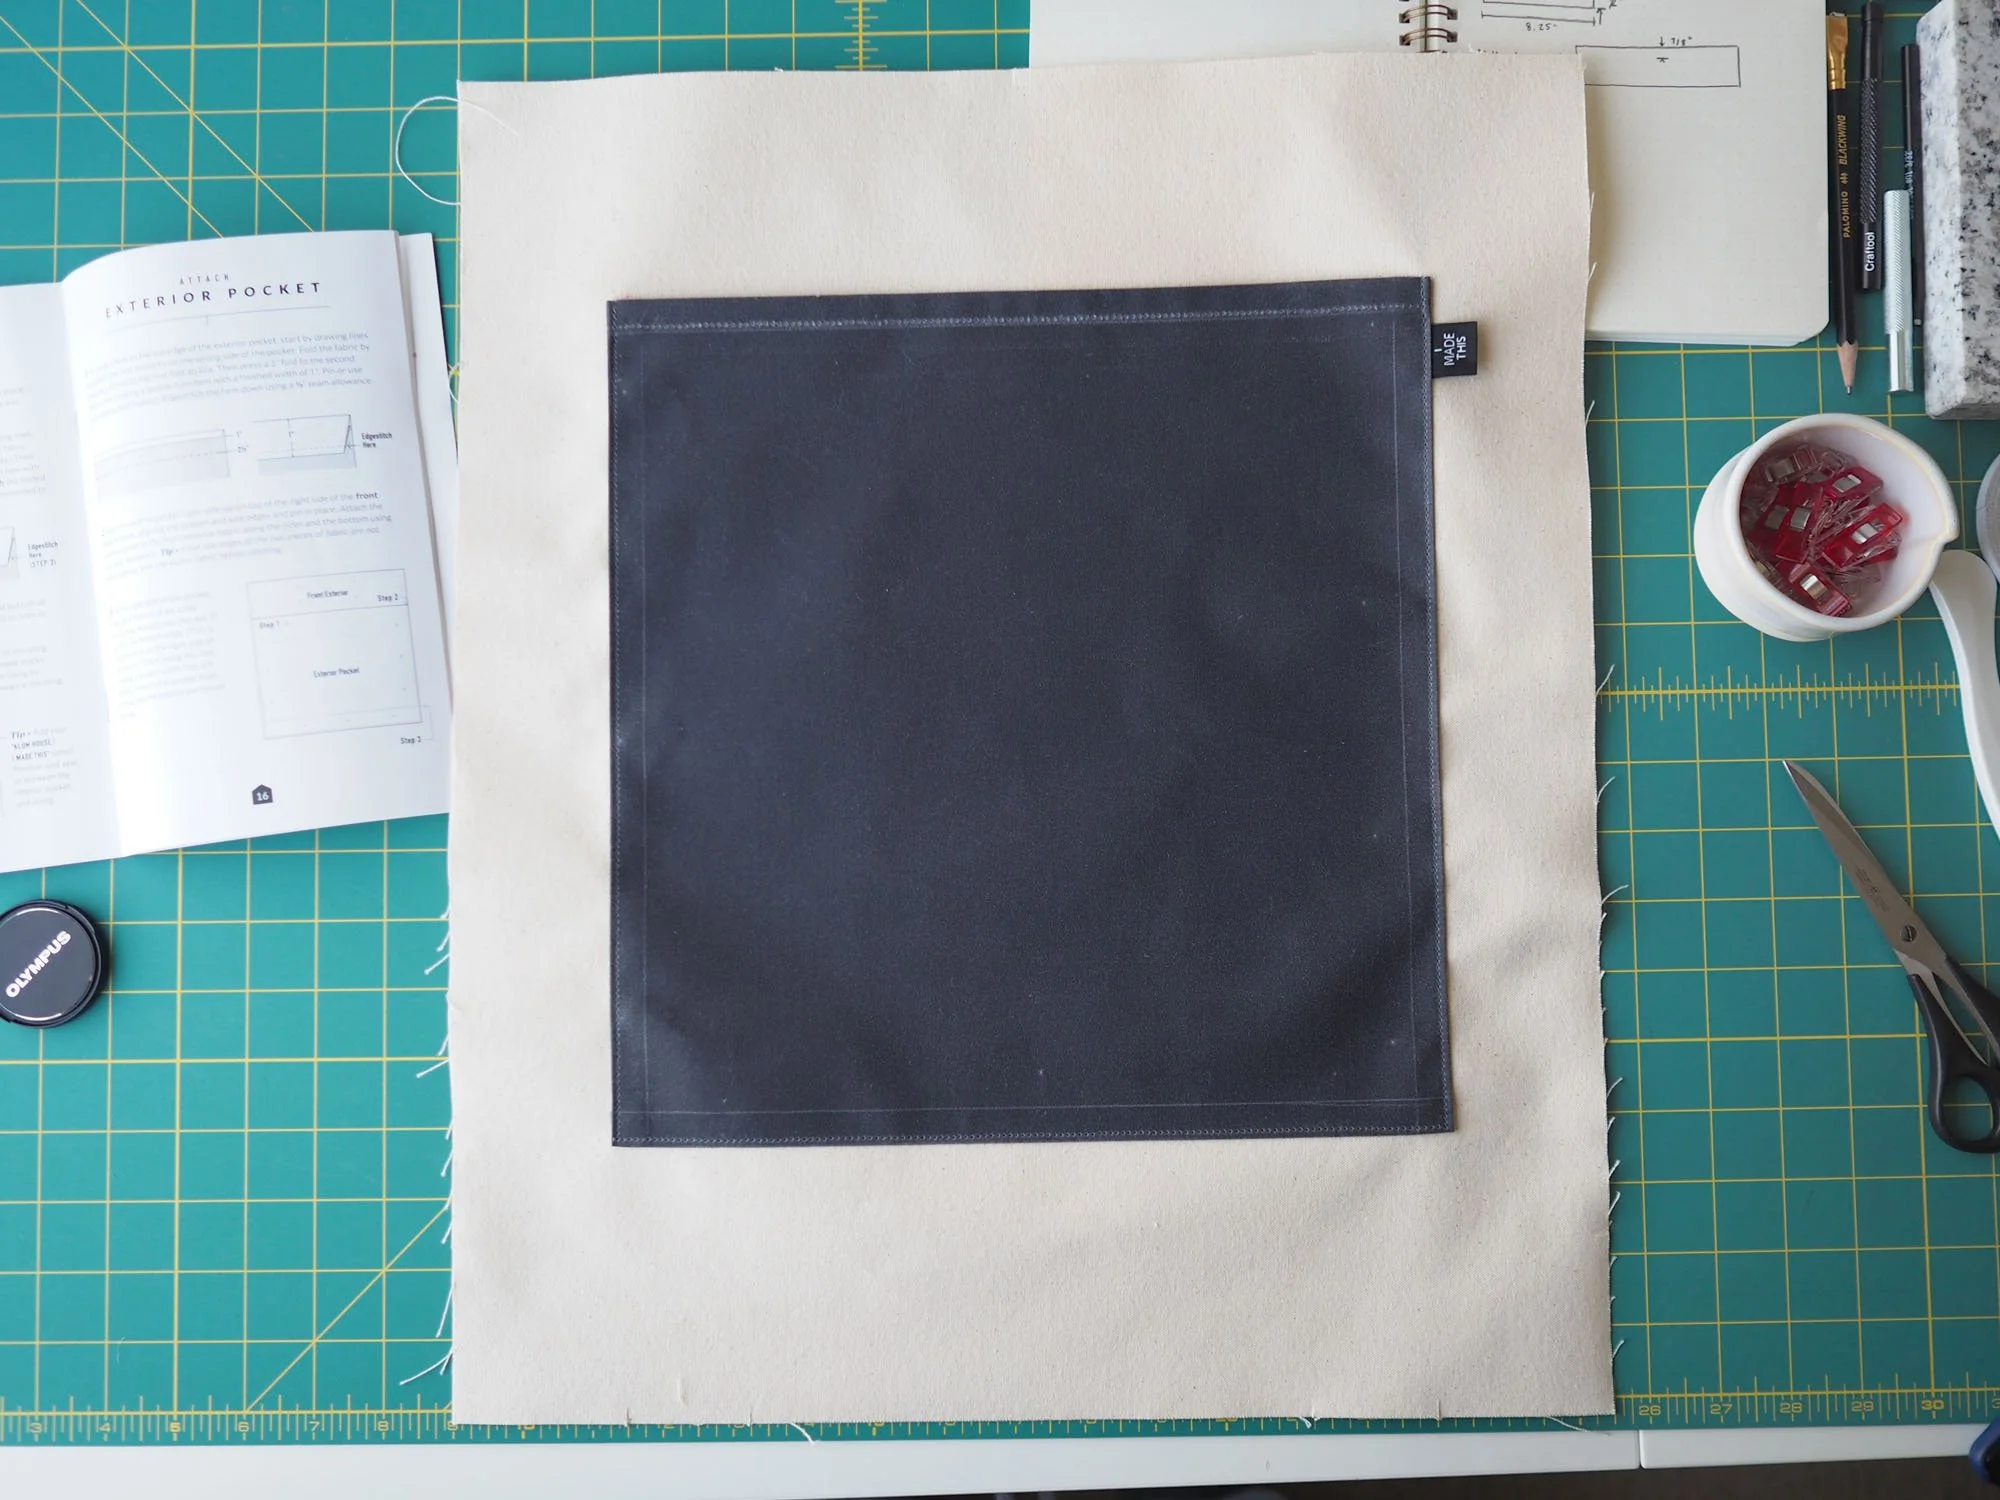
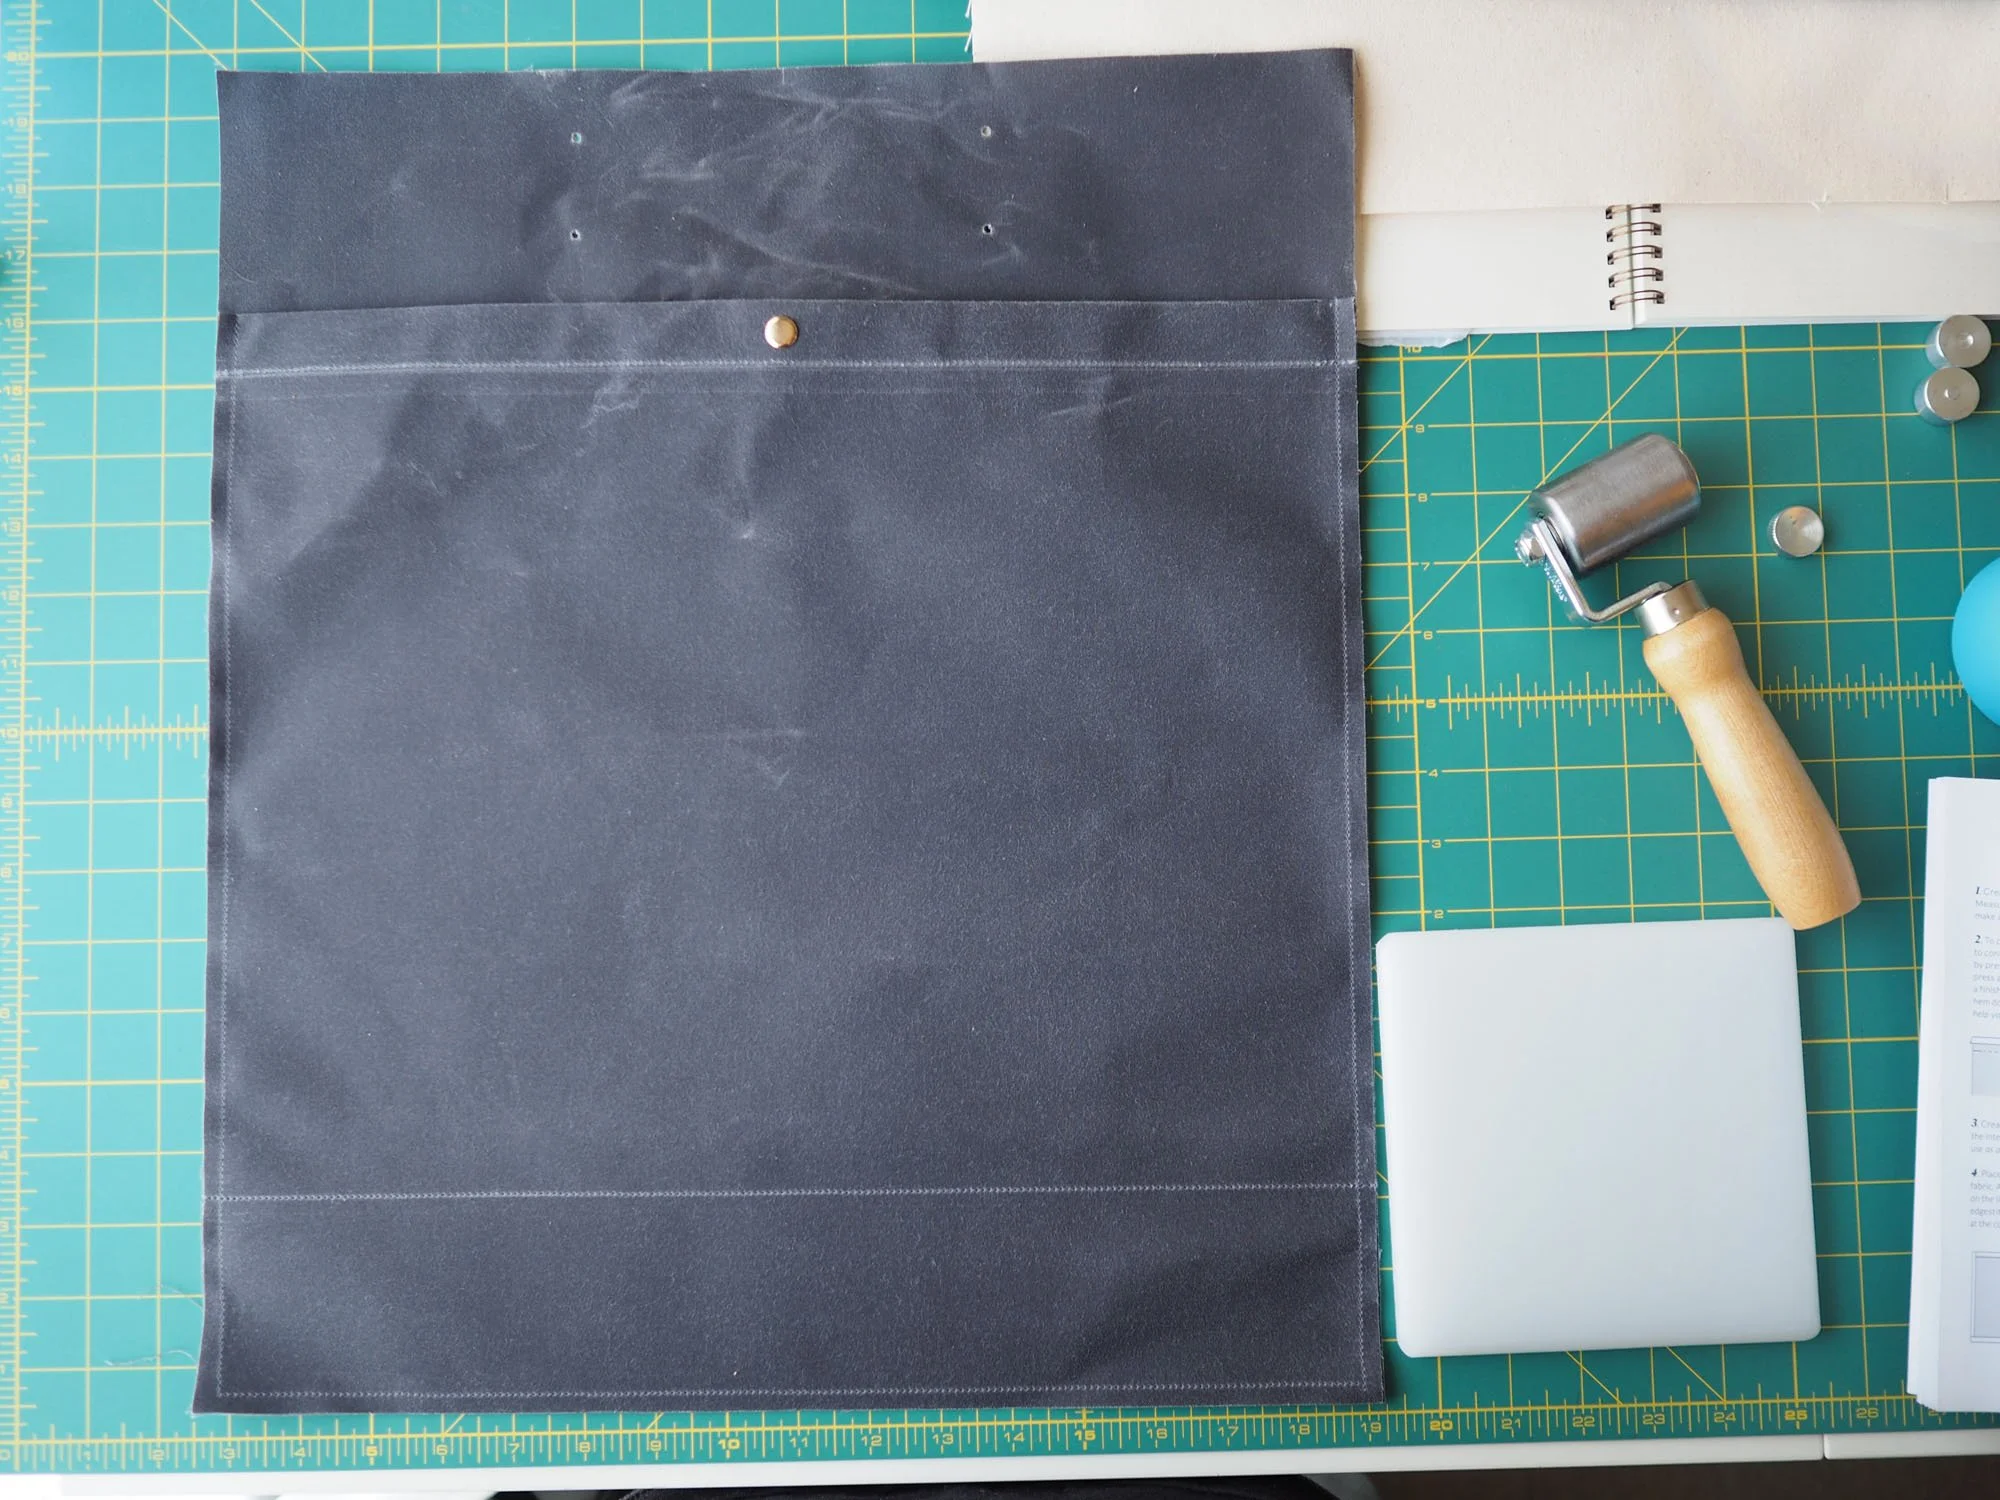
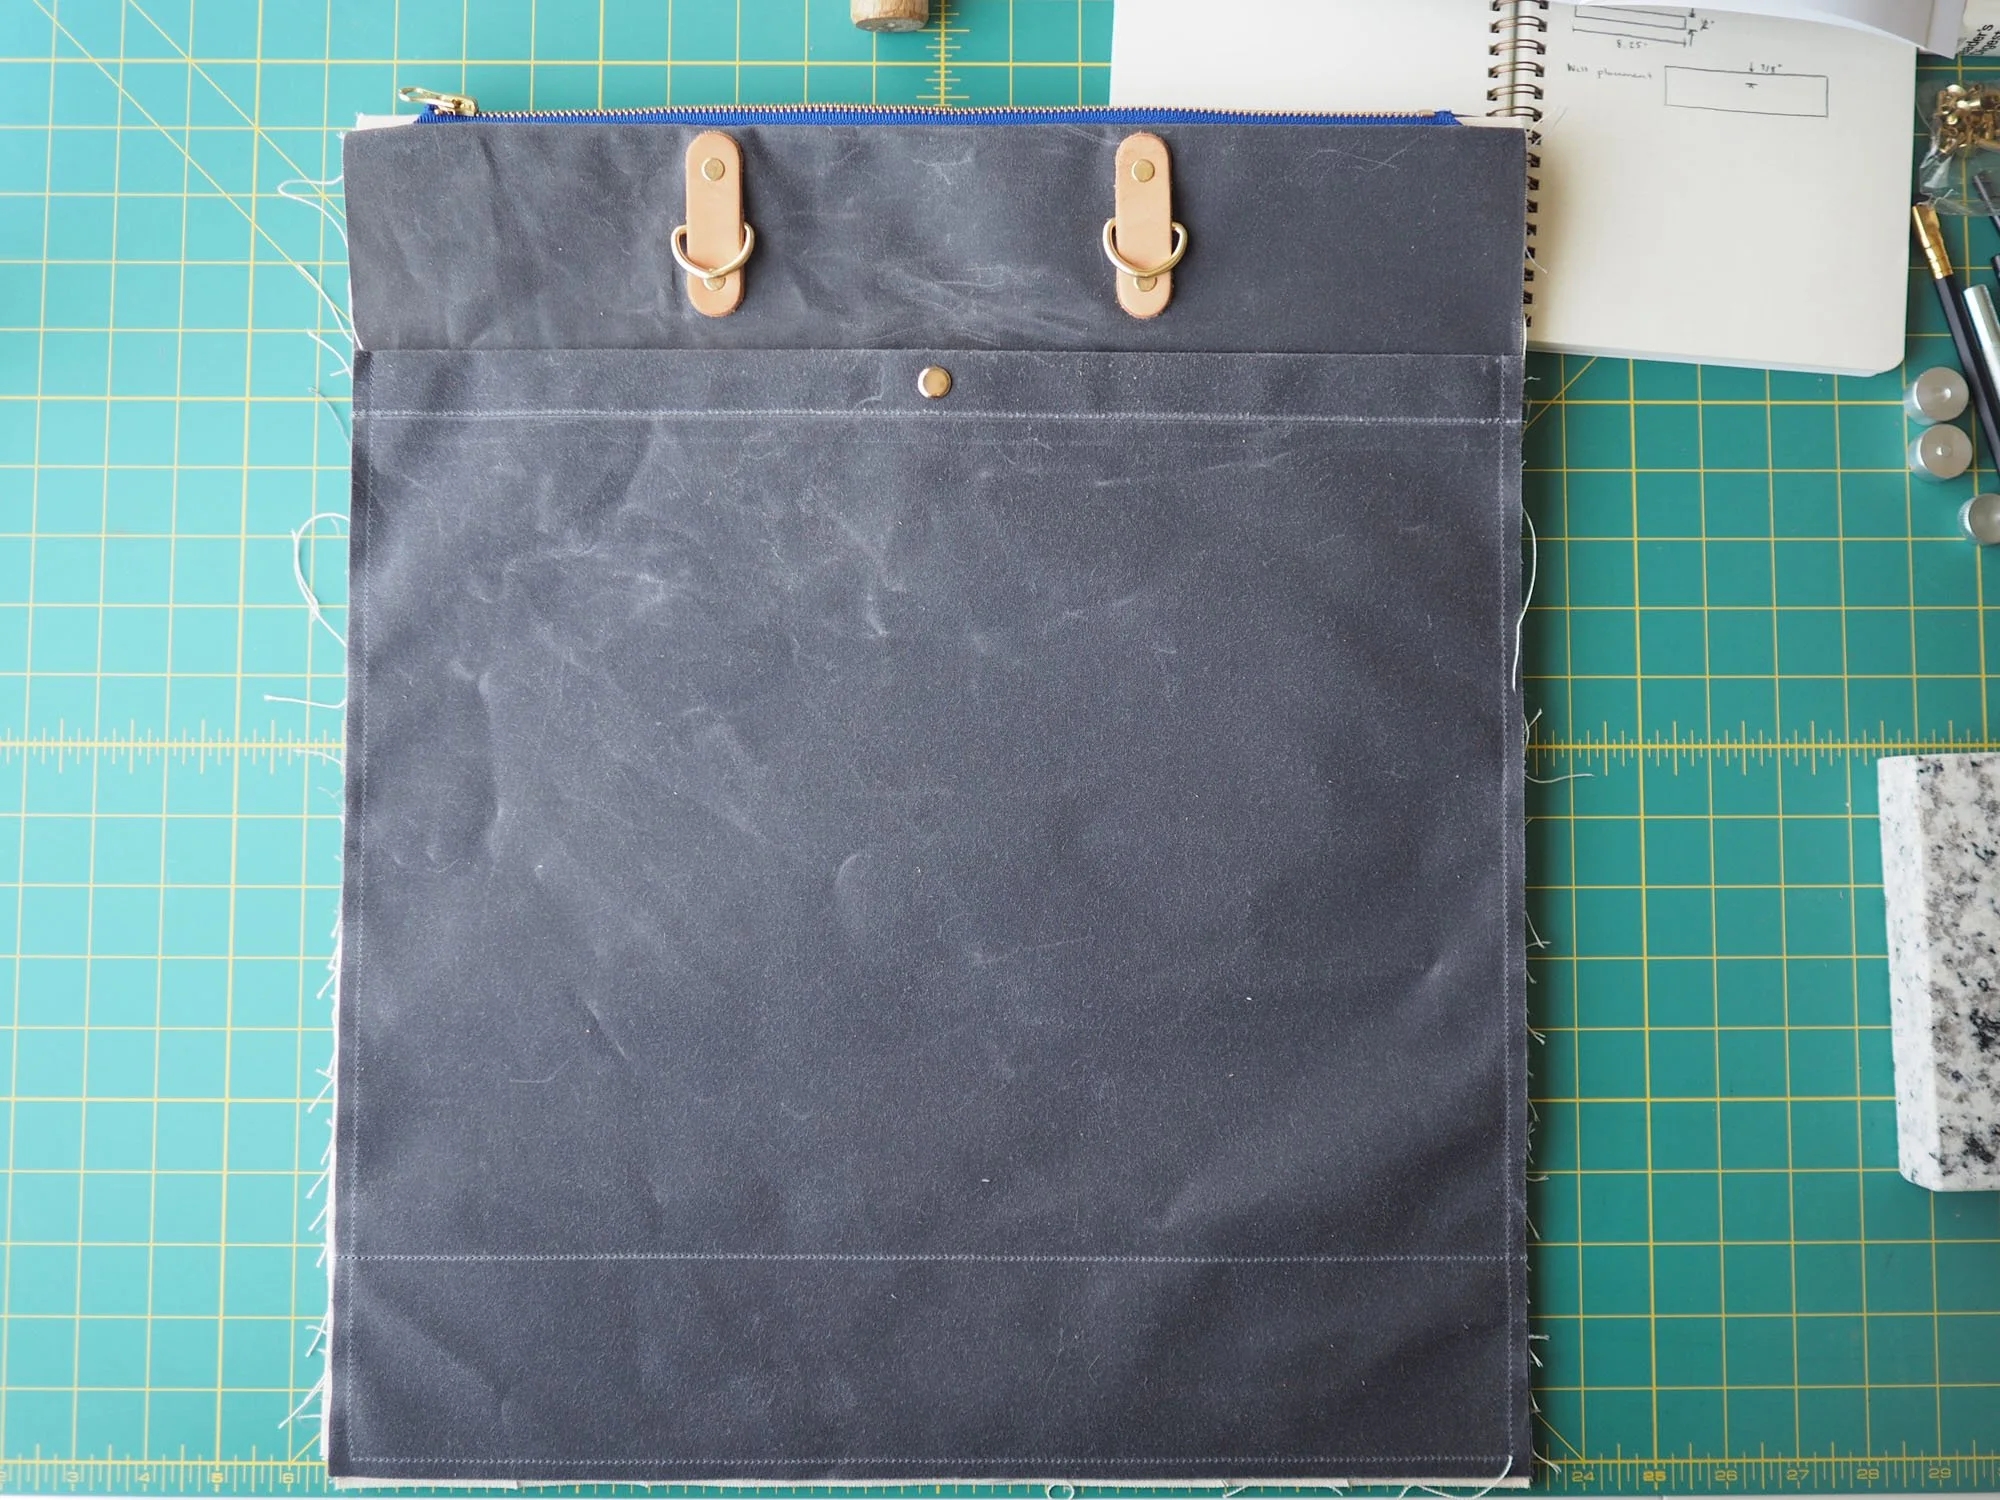
The finished sleeve was placed on the back of the bag 3” above the notch, then basted with a 1/4” seam before sewing together the exterior bag panels.
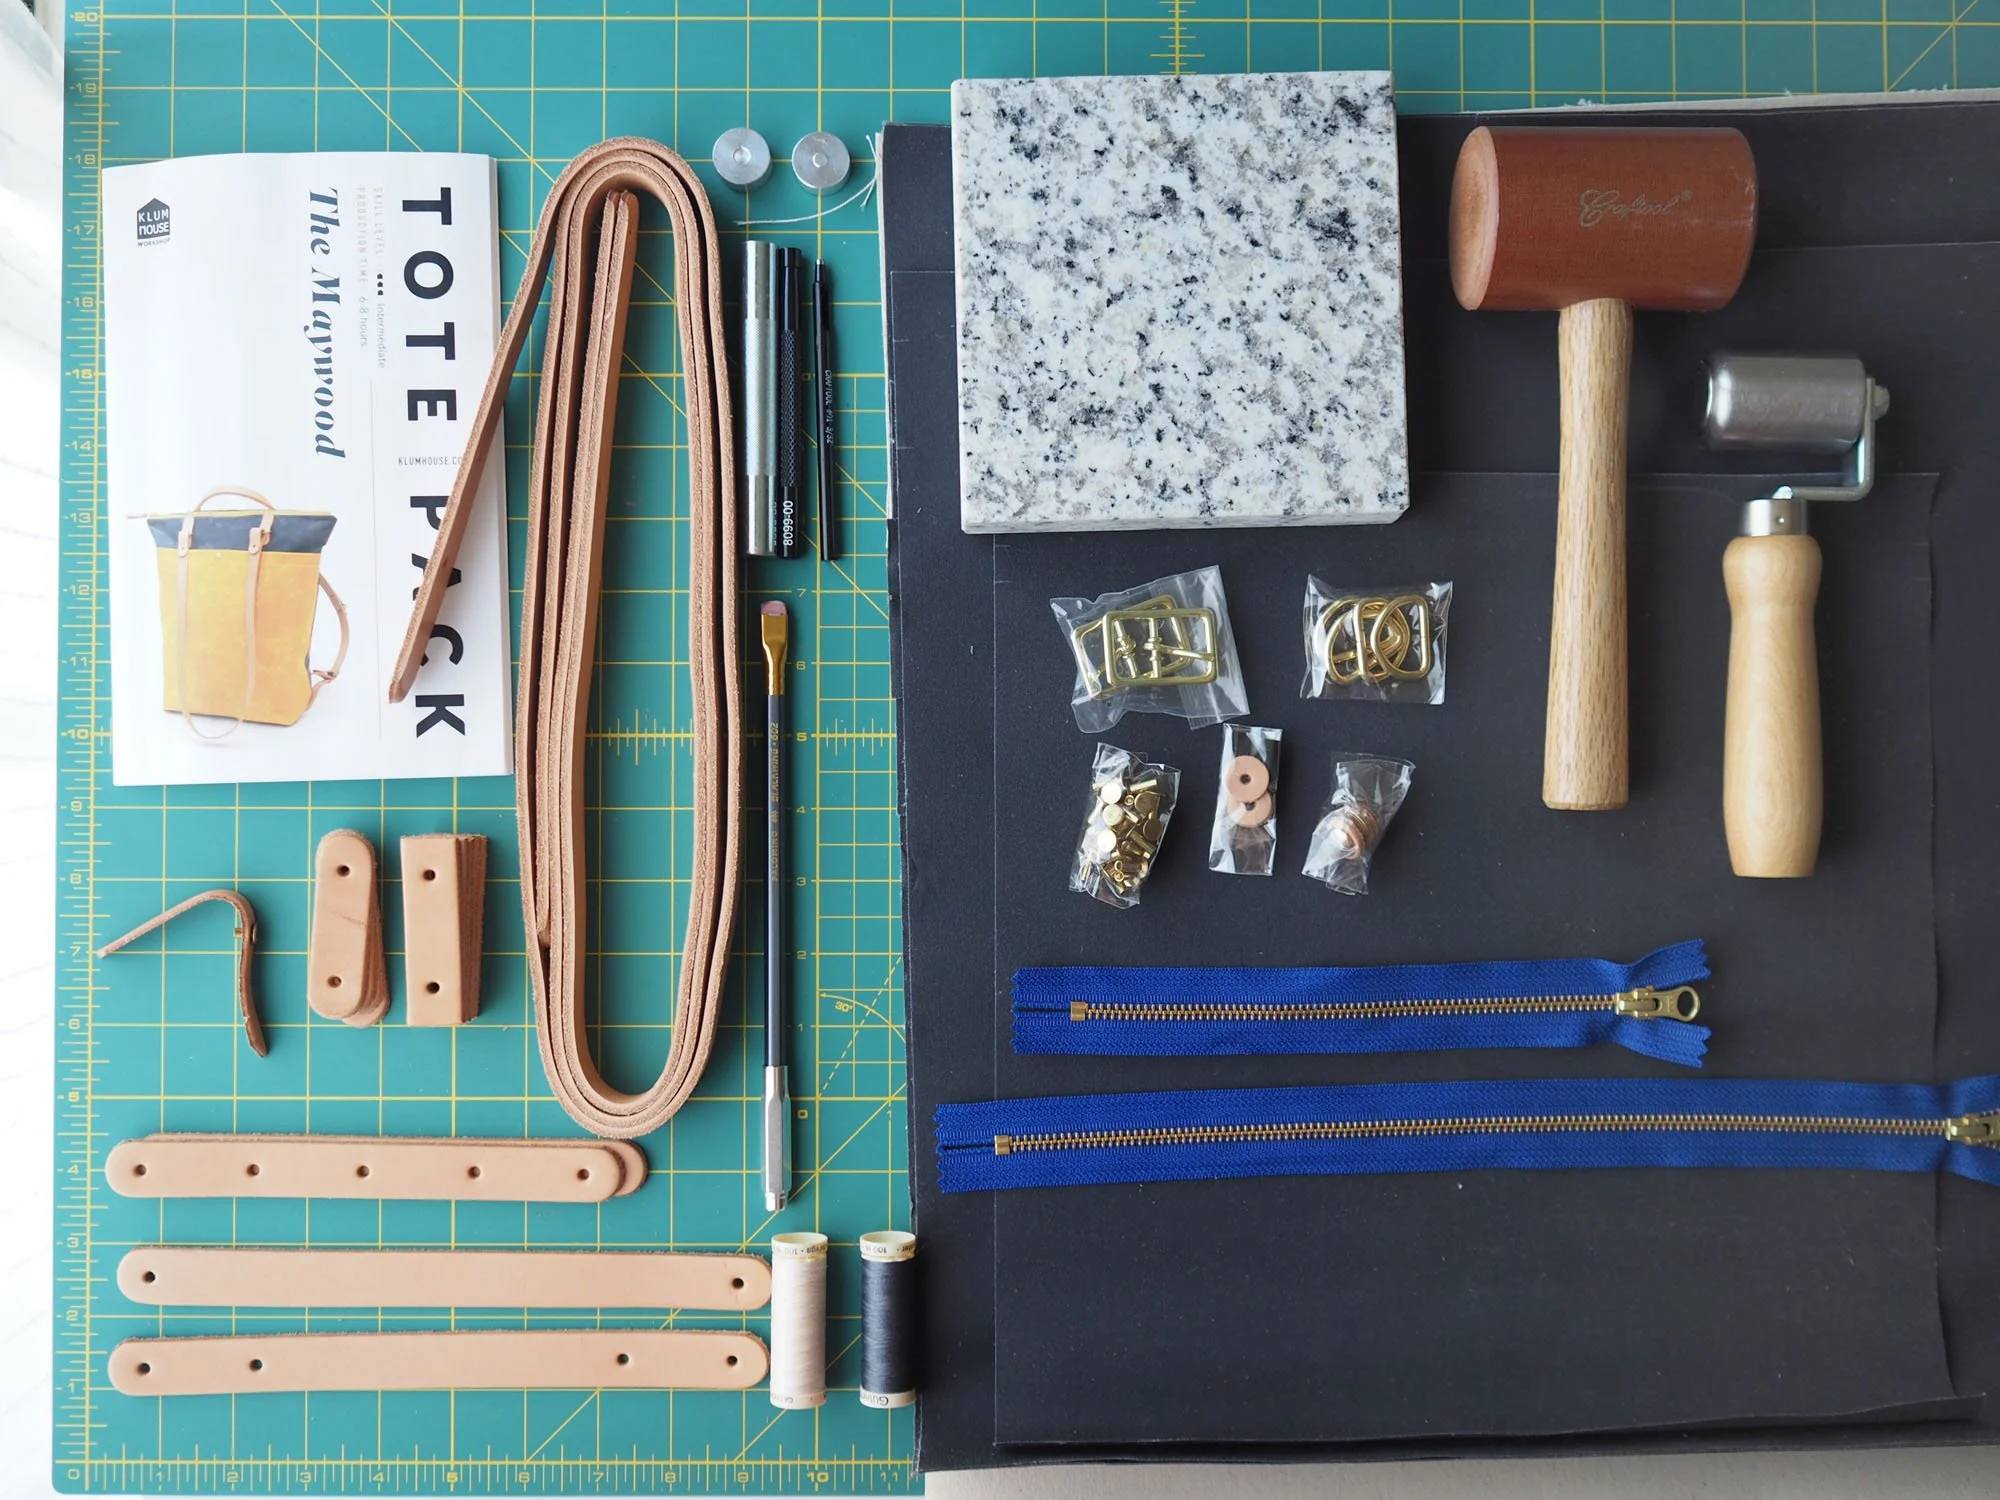
Materials: Used recommended materials kit & supplies listed here. Bought an additional 1/2 yd of waxed canvas in grey, 1/2 yd of natural duck canvas, and 8 in zipper in cobalt for the luggage sleeve.
New skills: Welted zipper pockets. Setting tubular rivets. Removing tubular rivets. :)
Lessons: h/t to Chris Lucas for the pro tip that zippers should open toward the right (i.e. the pull on a closed zipper should be at the left).
An awl / 3/32” punch are excellent for opening up holes in leather straps.
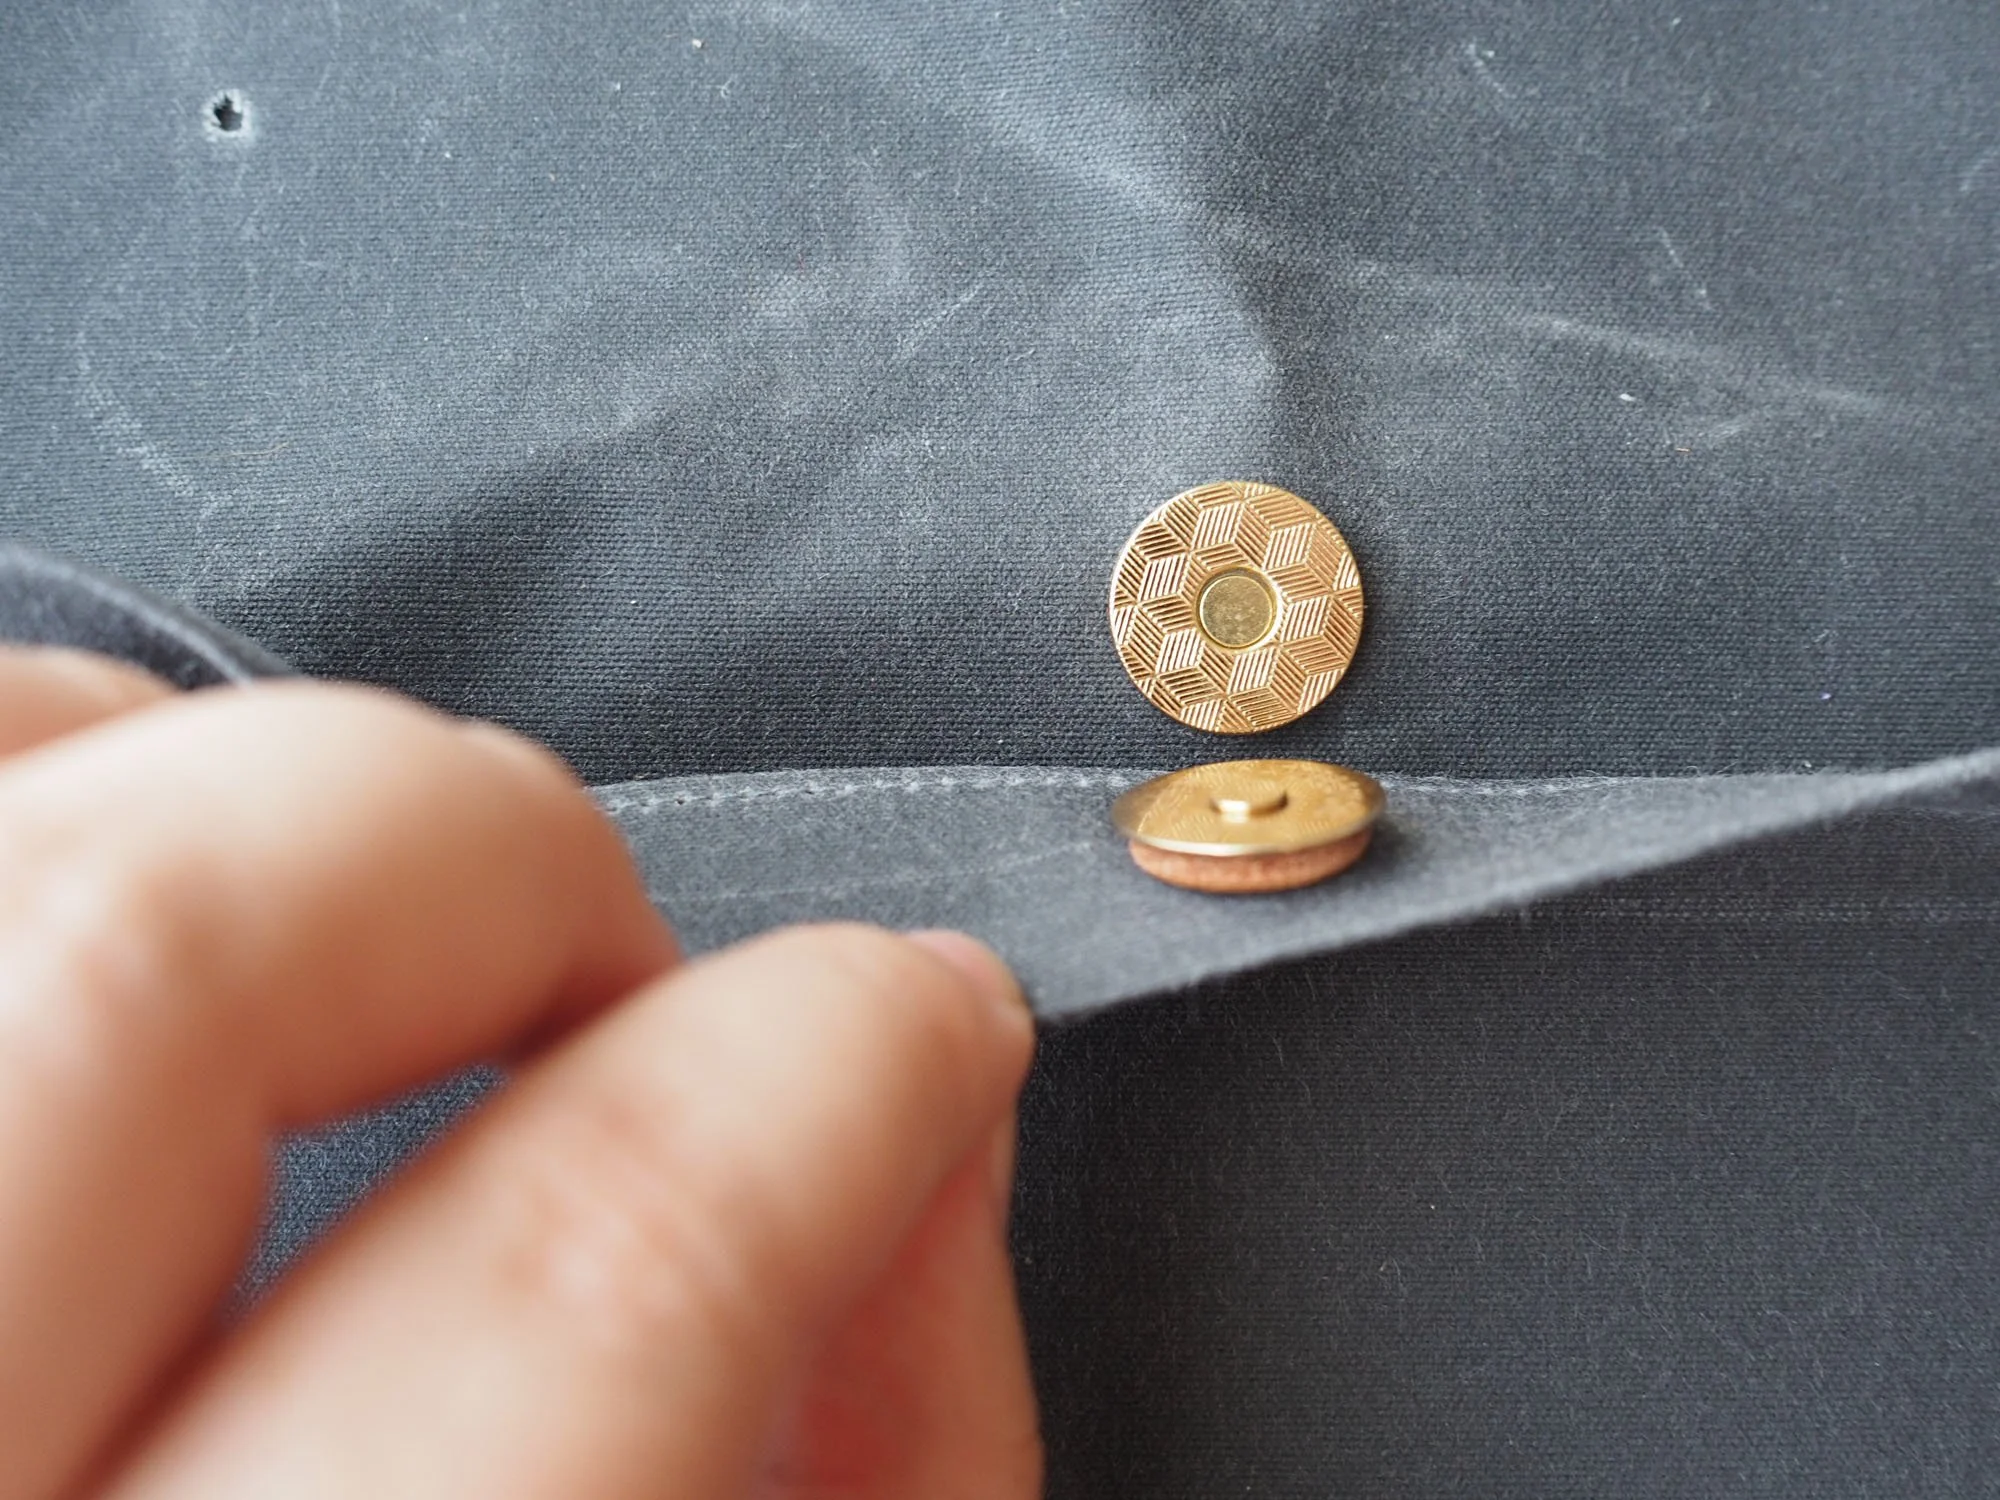
The diagram for the washer placement for the magnetic snap is accurate (washer goes on the same side of the fabric as the snap on the male end, then opposite side of the fabric as the snap on the female end). Don’t second guess yourself.
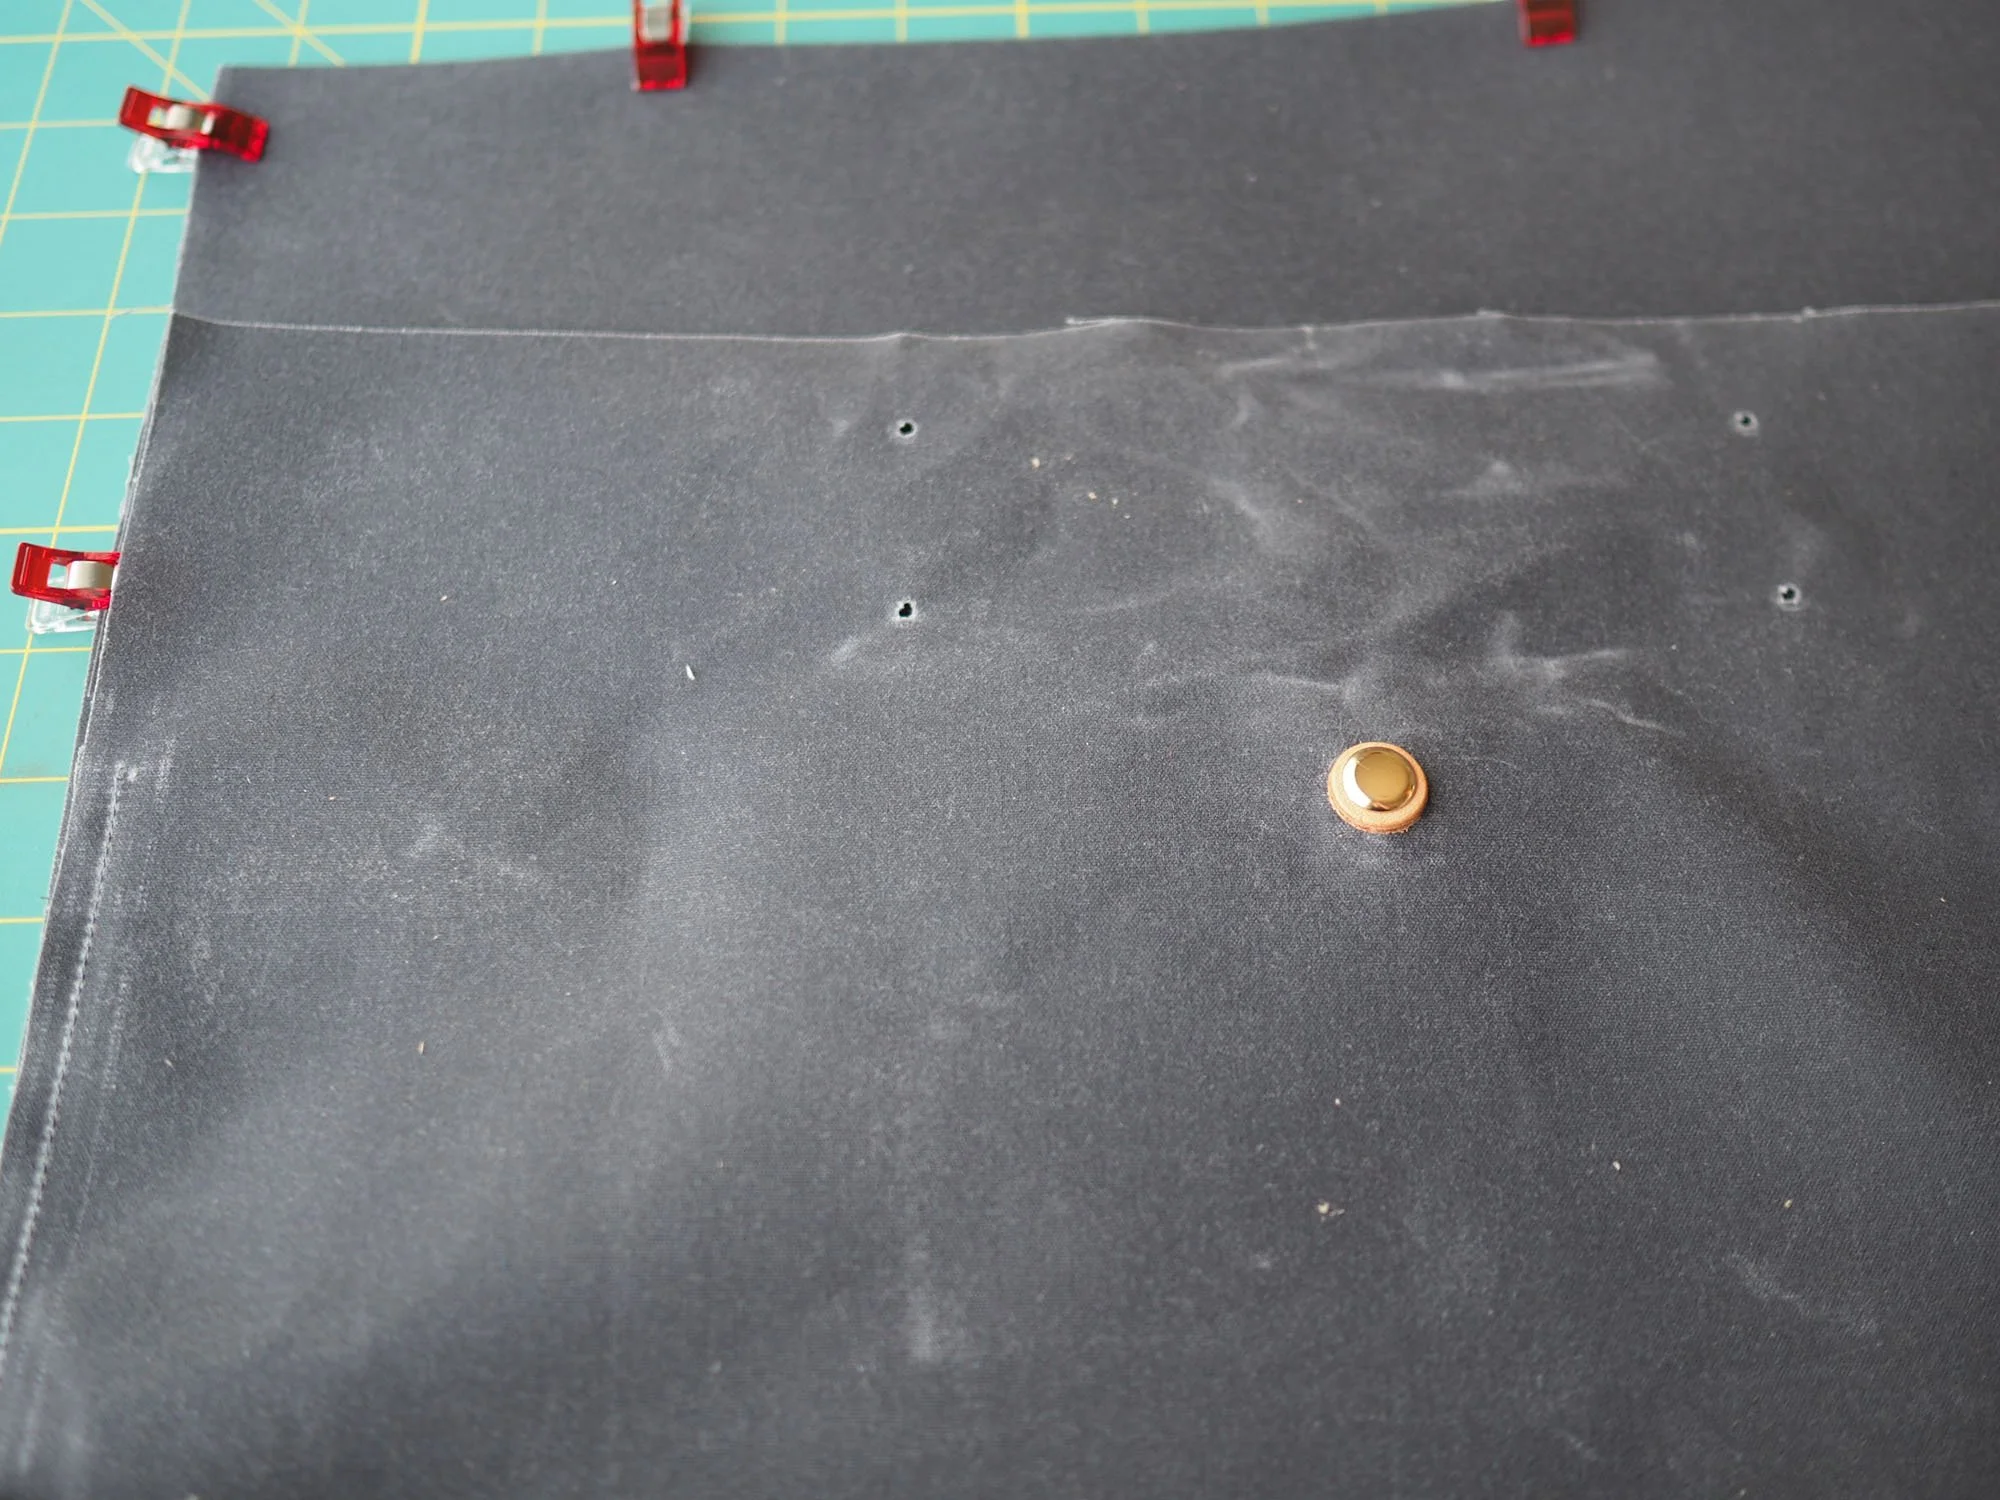
Leather reinforcement tabs are actually better to place with the wrong side up because the “right” side of the leather has a slight bevel, which will be less visible/marking through the waxed canvas.
Add extra reinforcement to the bottom seam while sewing it—I totally had a seam fail while trying to turn the bag through the lining in the last step, but was able to fix it by sewing a longer seam in the bottom of the bag lining.
Be very careful about checking your buckle orientation before securing the tubular rivets around the straps.
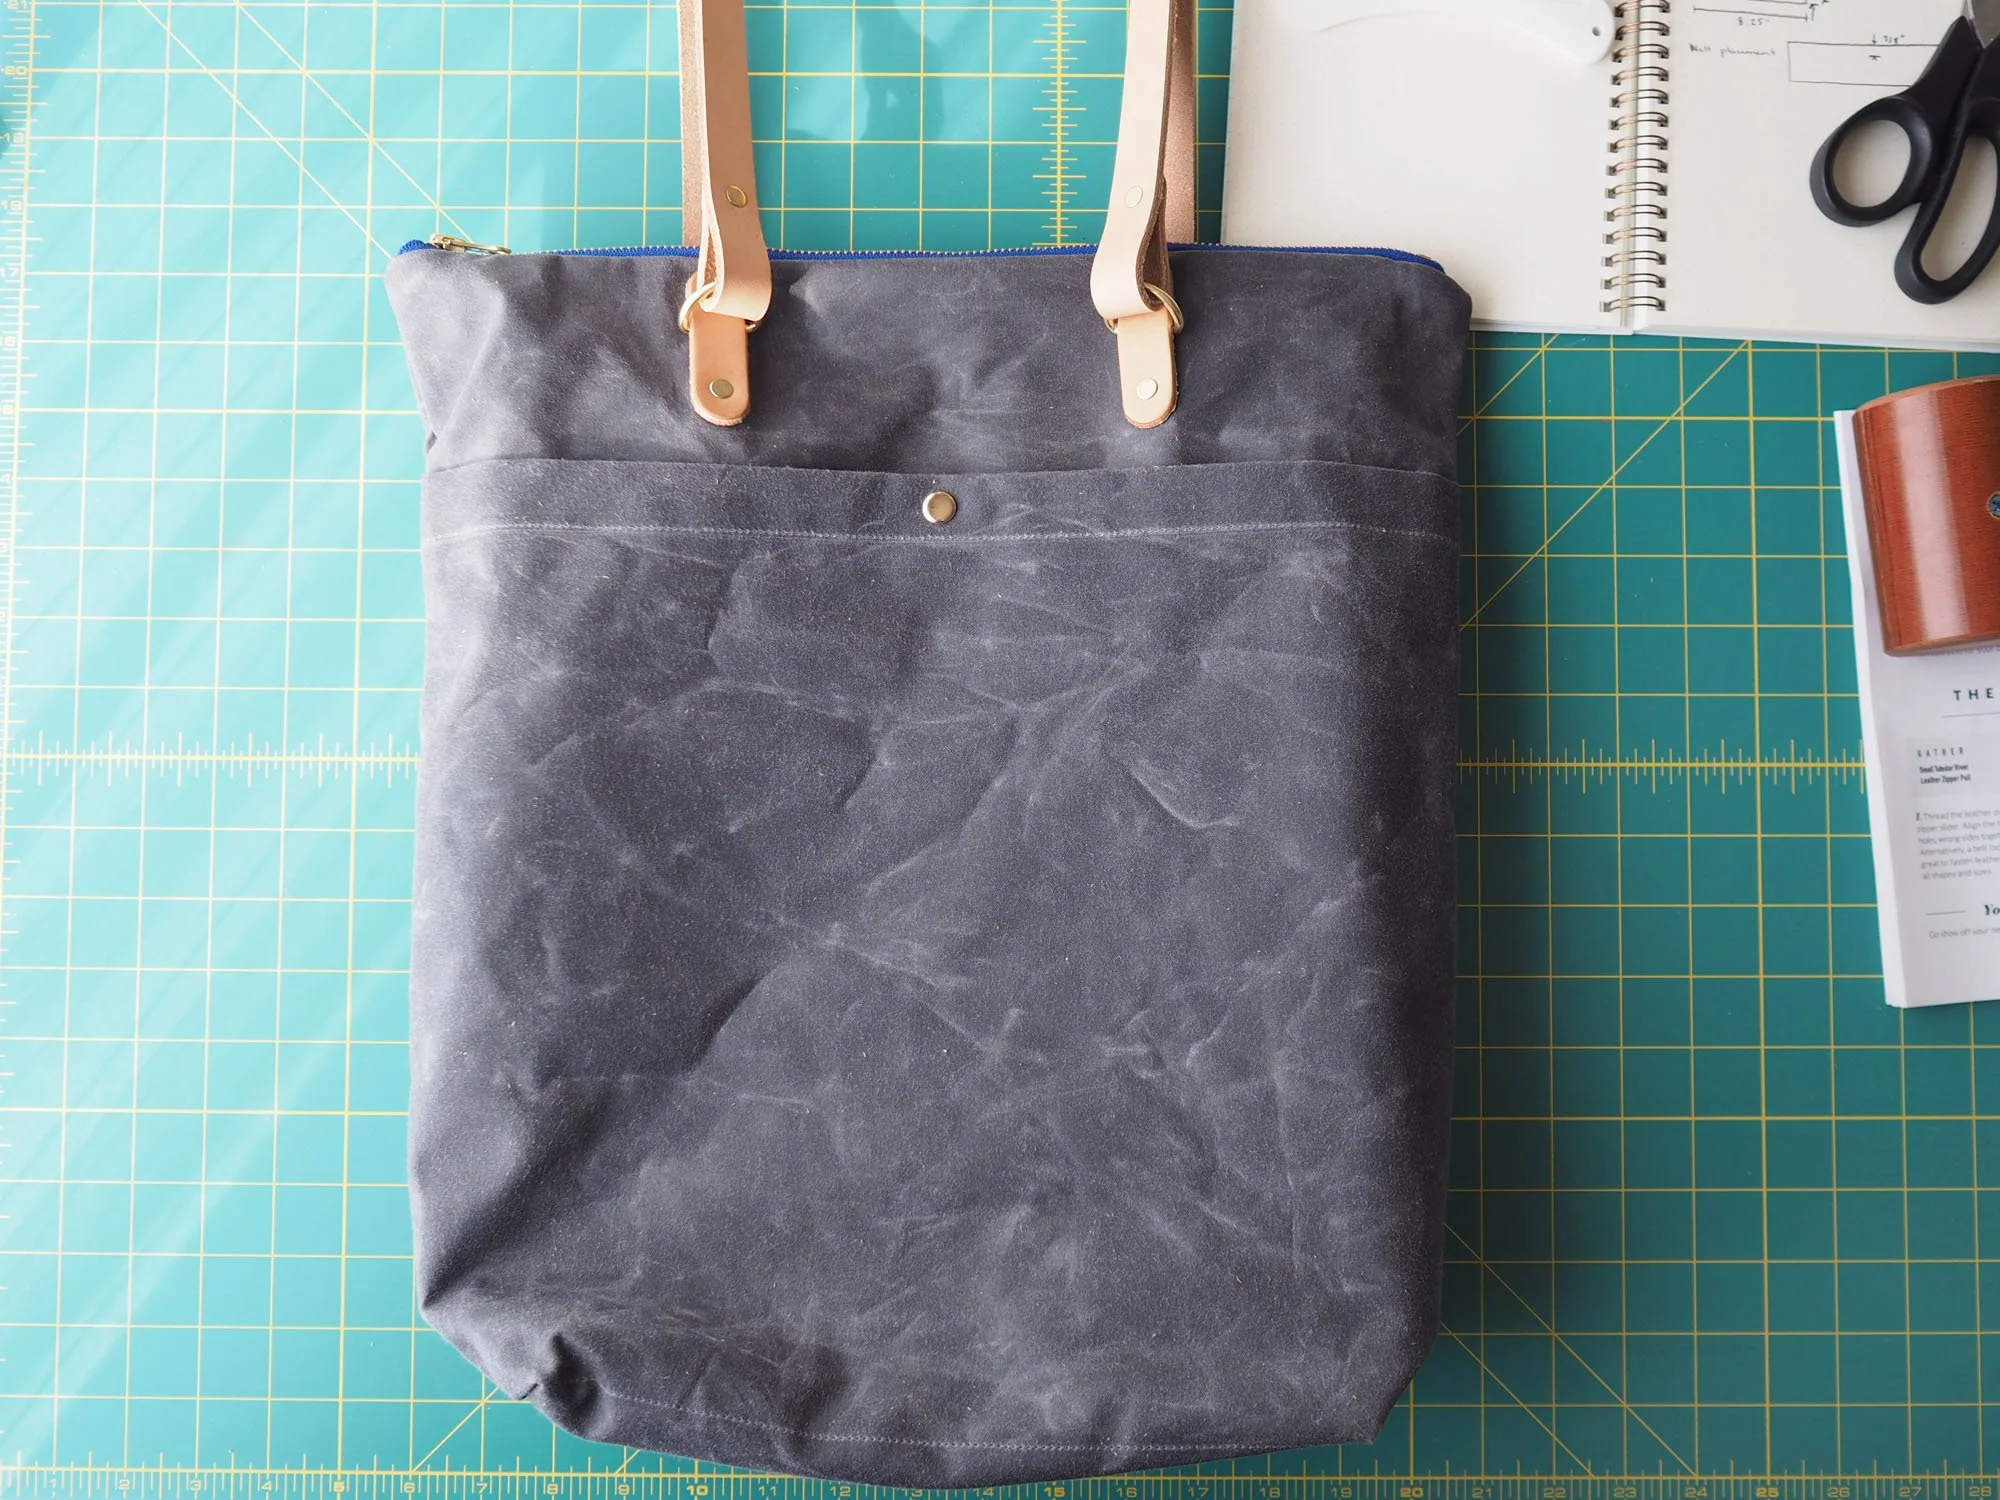
What I'd do differently: I’m absolutely thrilled with how this turned out. I want to adapt what I learned here for a matching bike pannier bag like the Seamwork Cooper.
Care: Spot clean
