Insider Hub

The Windows Insider Program allows customers to receive early Windows 10 builds and give feedback to the product team. I designed and shipped V1 of the Insider Hub, an app that enables and incentivizes Insiders to try new features and provide feedback; reinforcing that that they’re part of an elite community that helps shape the future of Windows.


PRODUCT MANAGEMENT

I managed the project timeline through monthly cycles of planning, development, and release. As developers completed the current month’s work, I drove processes to localize and release the app, while also scoping and prioritizing work for the next month and writing functional specifications for new features.

CUSTOMER ENGAGEMEMENT

Customer feedback was invaluable in improving the Insider Hub. Based on Insiders’ requests, achievements were added as awards for contributing feedback, and a major UI overhaul was done which was met with overwhelmingly positive feedback.

FreeRim

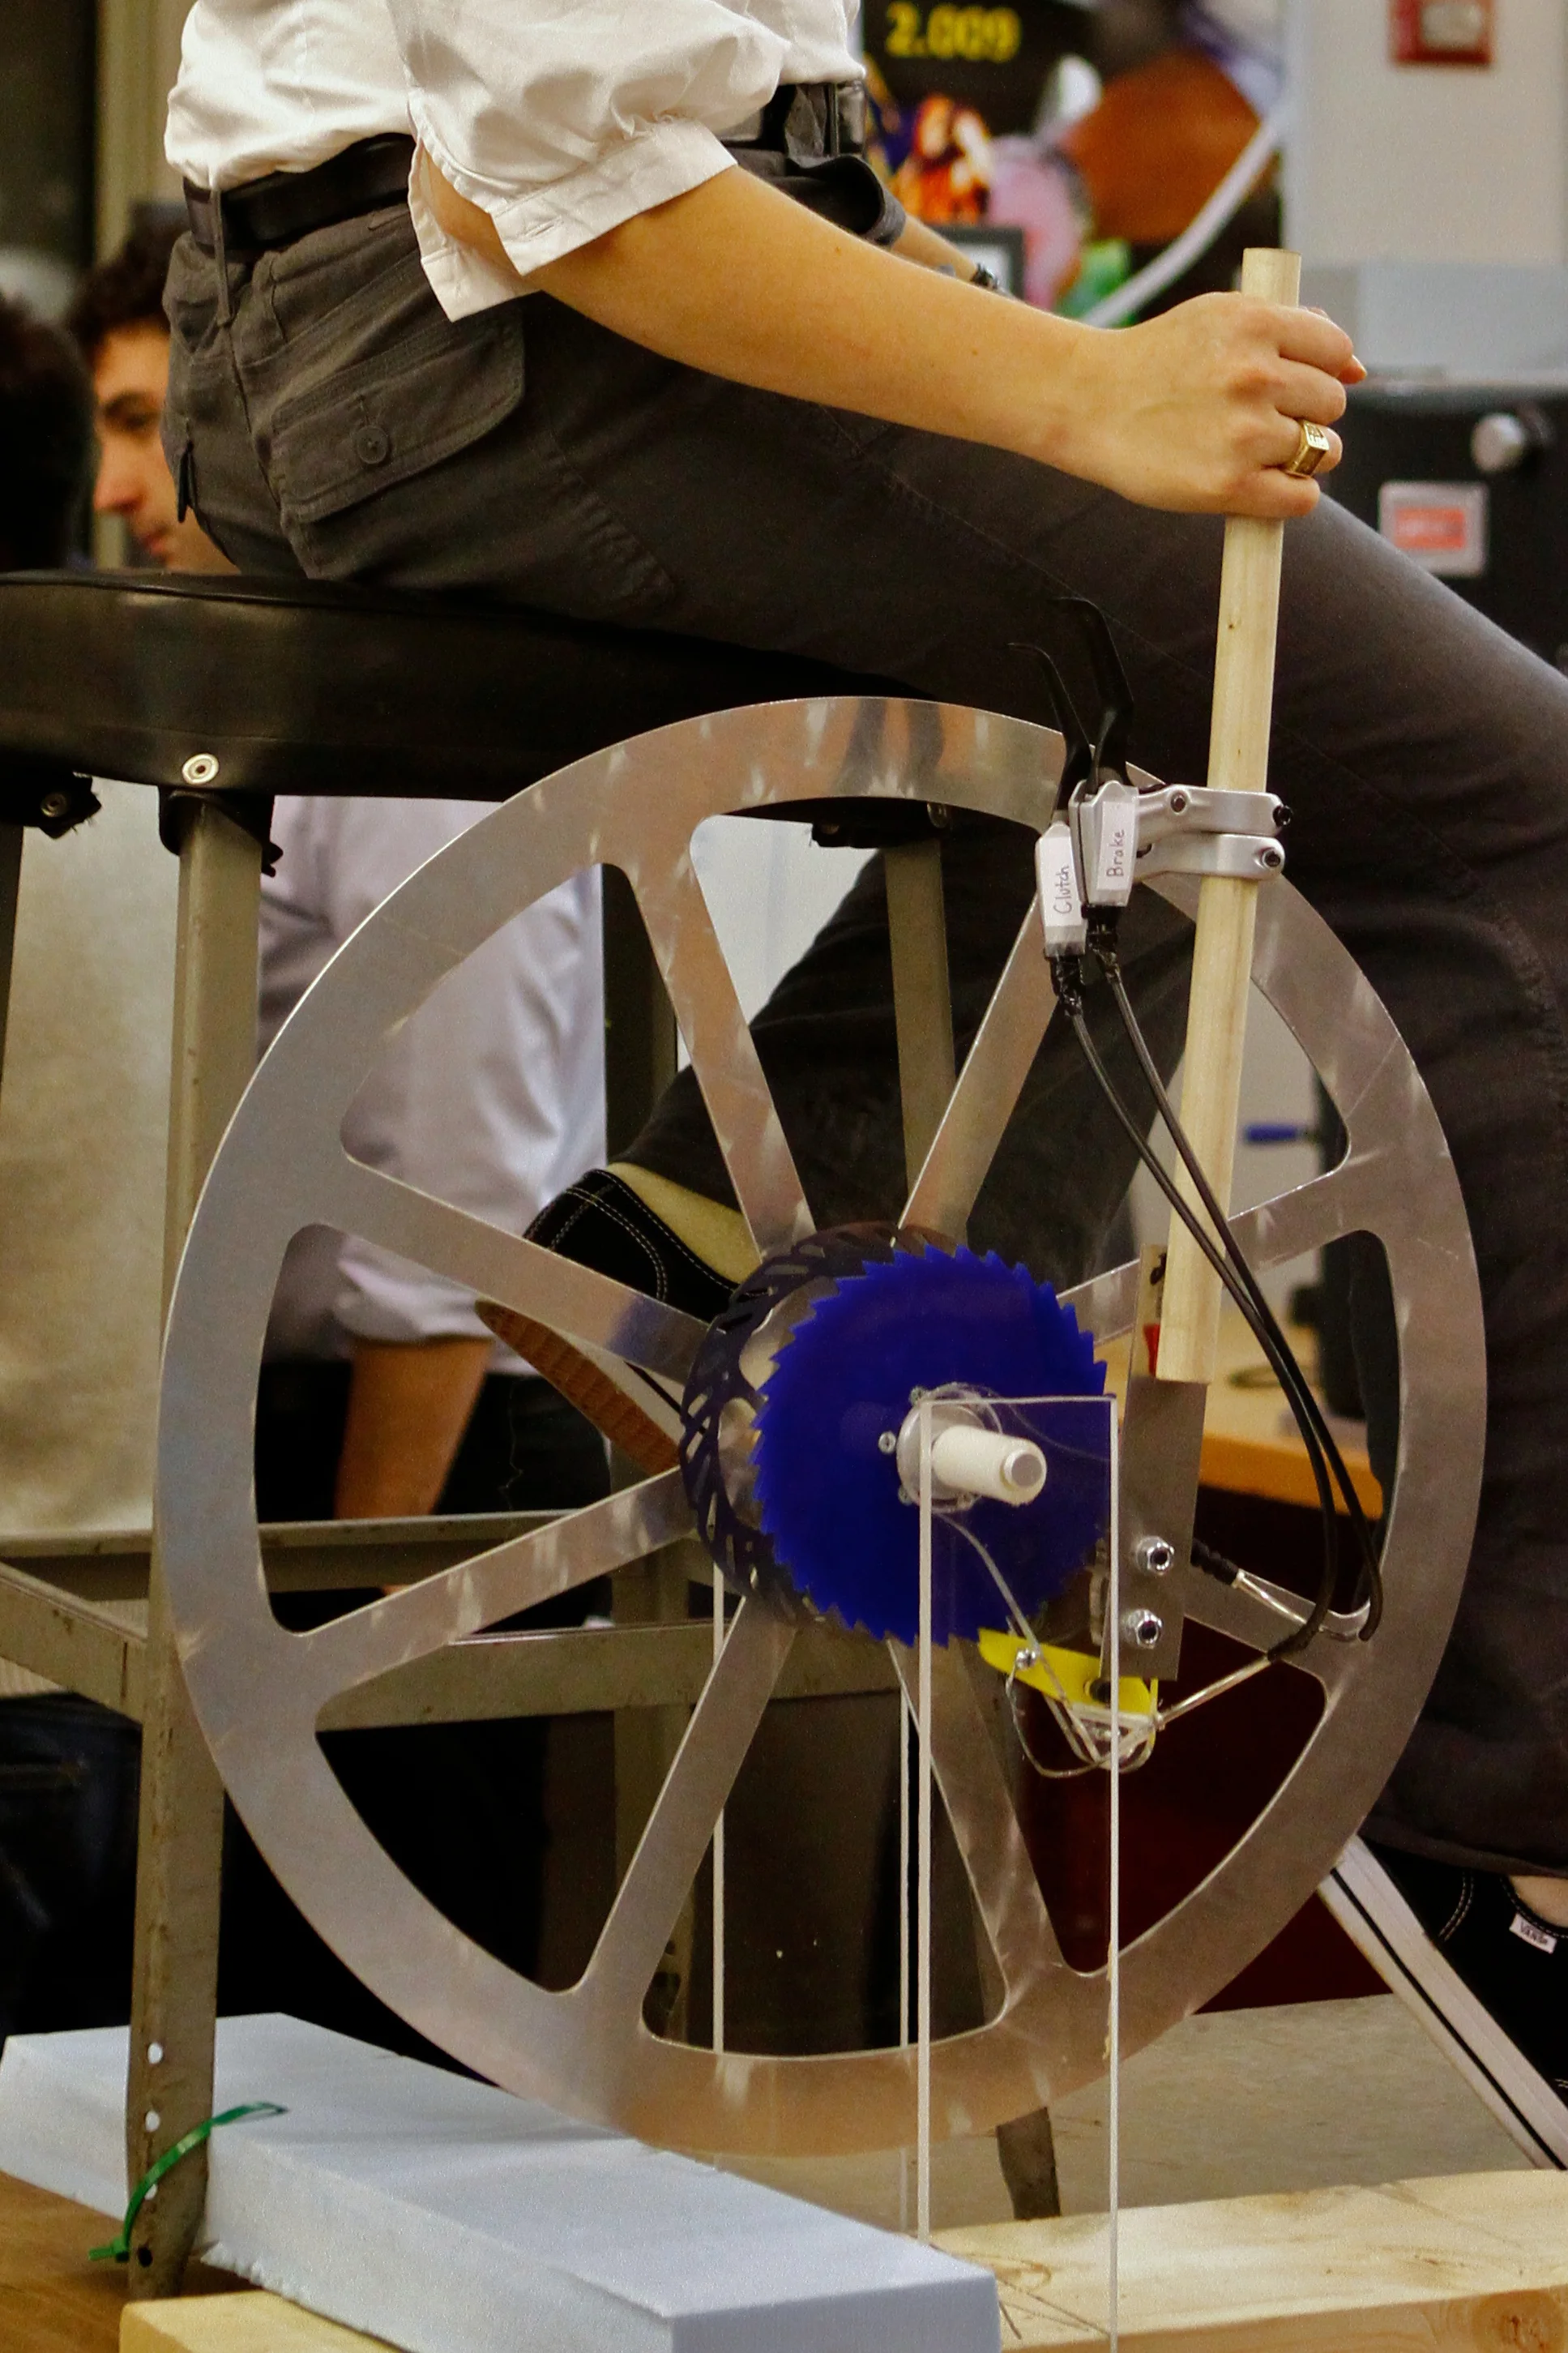
FreeRim was a student project that developed a new propulsion method for wheelchair users that keeps users’ hands clean. Working on a team of 12 students, I built sketch models for concept testing, led design for an ergonomic handle, and engaged with customers to understand their needs.  FreeRim was built for an intensive MIT capstone class where students make a working alpha prototype of a new product. The course culminates in a final presentation in front of a live audience of 1300. Based on the results of audience feedback, FreeRim placed first in technology and quality of prototype.

IDEATION

I used brainstorming and customer observation exercises to identify potential product opportunities. Market research and benchmarking exercises were utilized to rate technical feasibility of each product and whether a clear customer need was being addressed.

SKETCH MODELS

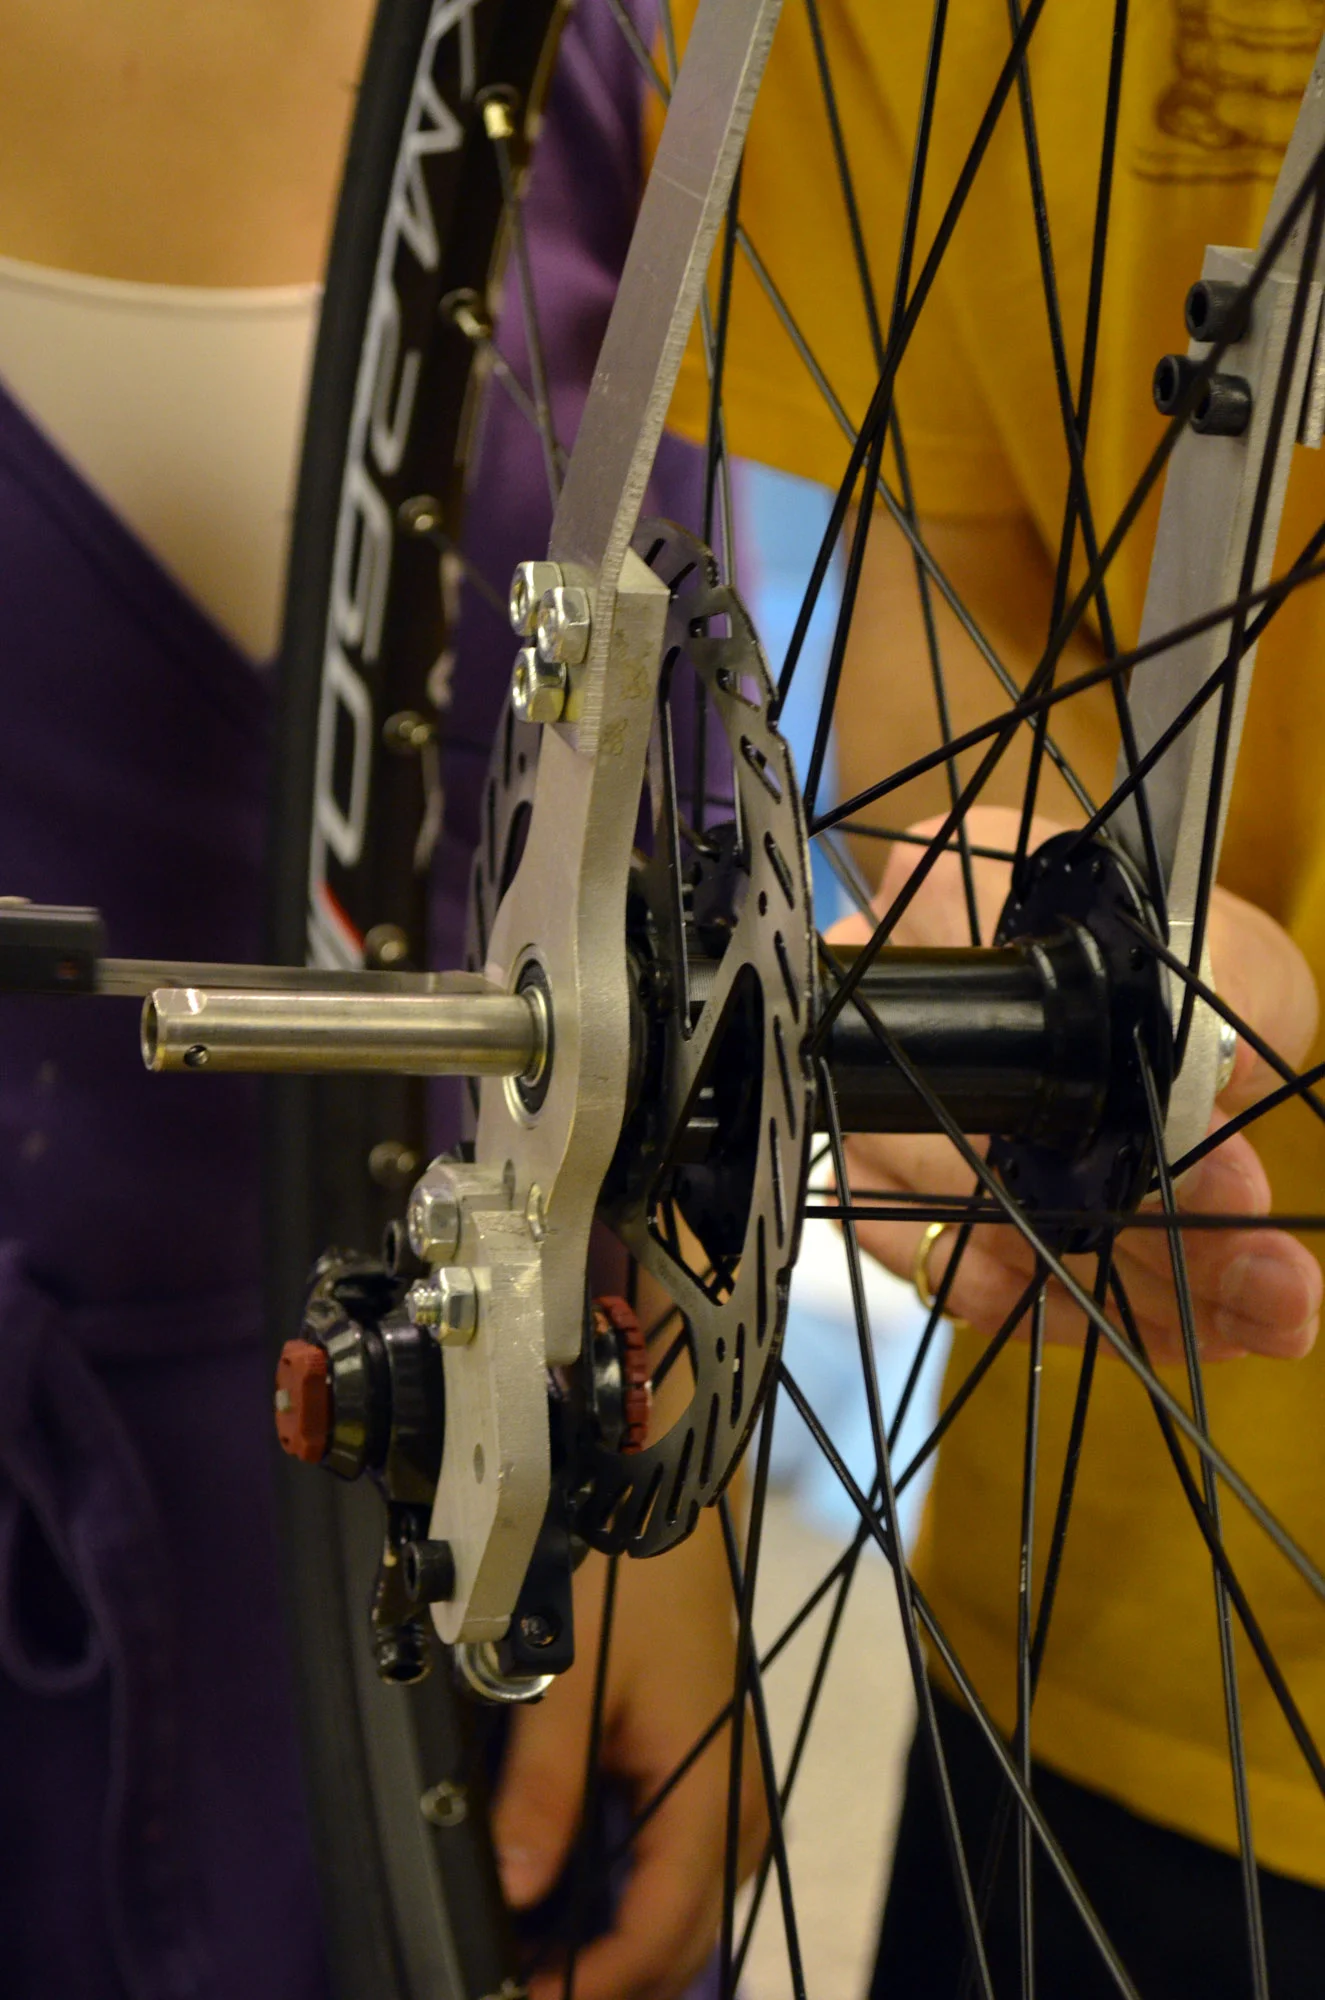
In the sketch model phase, I created waterjet and lasercut parts to generate a proof of concept of a propulsion mechanism that used a ratcheting clutch to go forward and a disk brake to stop. The mechanism went through a number of rounds of refinement before settling on using a disk brake to both propel and stop the device.

ERGONOMIC GRIP DESIGN

I led design and prototyping for an ergonomic handle. After researching human factors design, a set of prototypes were mocked up in foam and clay and were tested with customers. Once a basic design was selected, the handle was modeled in SolidWorks and a prototype was 3D printed for further testing. Based on customer feedback, the handle geometry was modified to allow the hand to more comfortably press against it during forward motion.

Testing early foam prototypes

Testing early foam prototypes

Final handle CAD model

Final handle CAD model

UNDERSTANDING CUSTOMER NEEDS

Throughout the project, many interviews and tests with customers were conducted to understand the range of motion required to propel a wheelchair, and develop a handle mechanism that would be compatible with users’ movements (for example, an early prototype required a constant grip on the propulsion mechanism, which was incompatible with the quick “stroke” motion that a key customer used to move her wheelchair forward).

Lathe

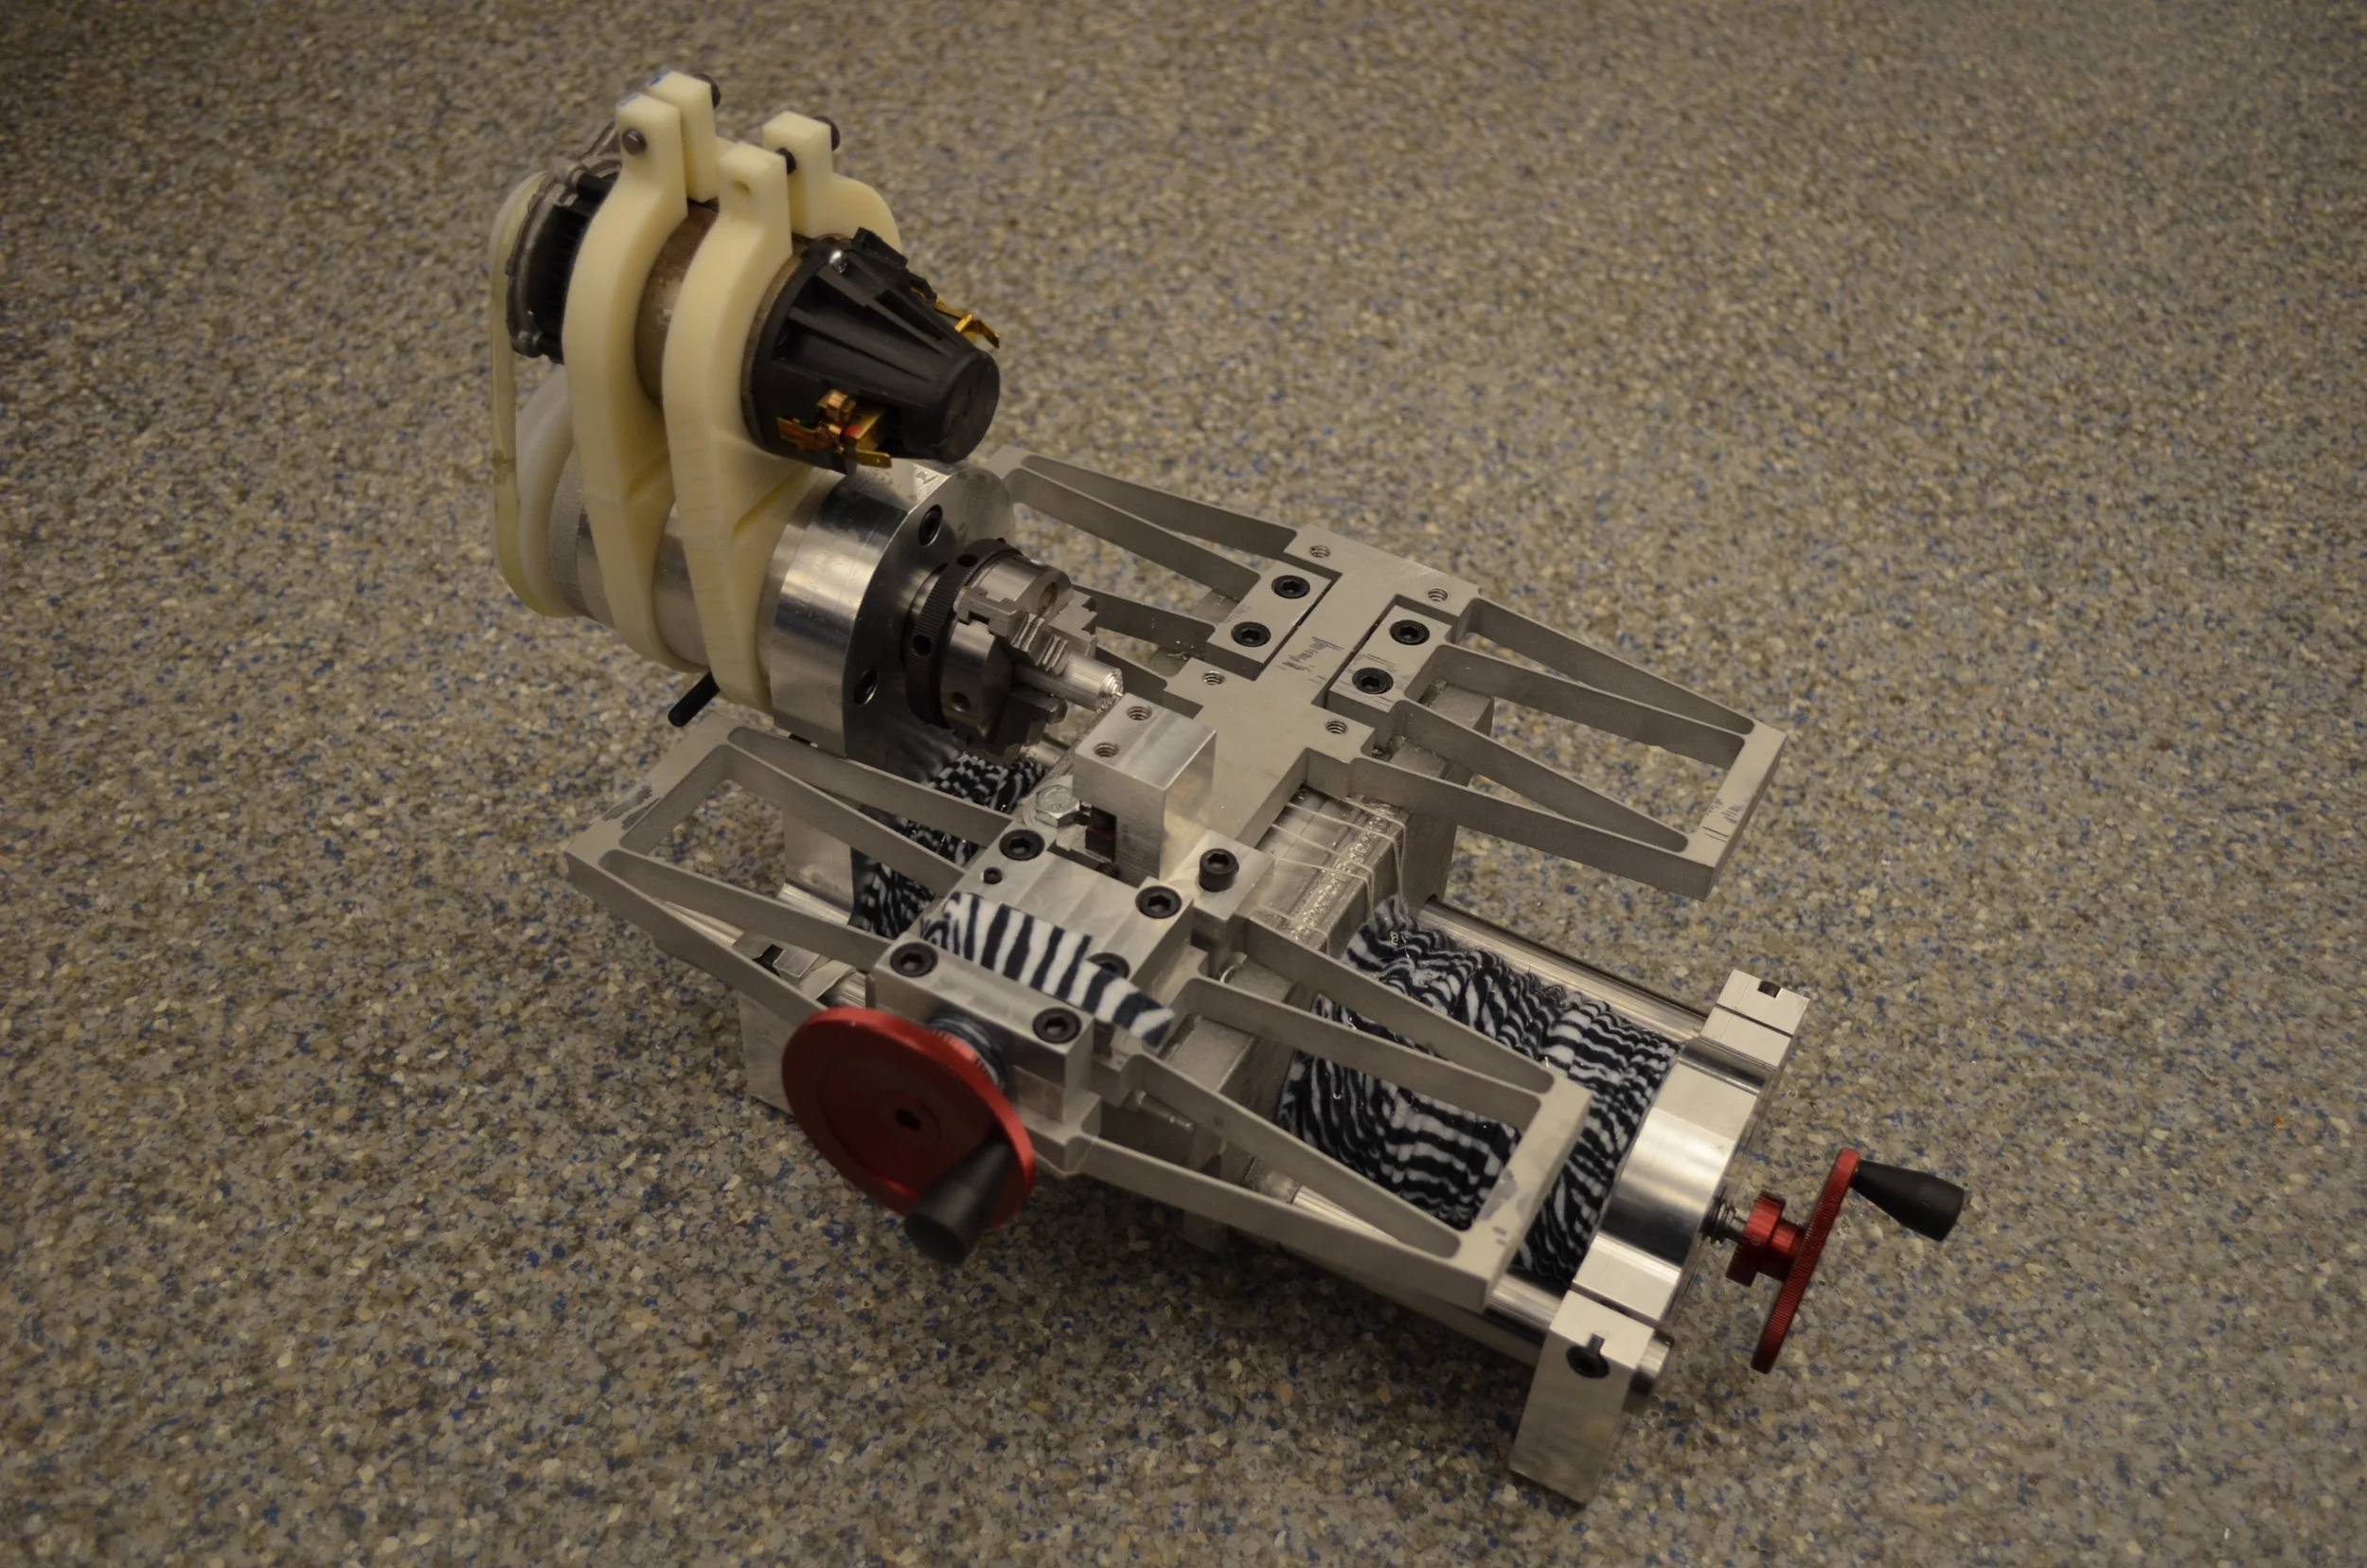
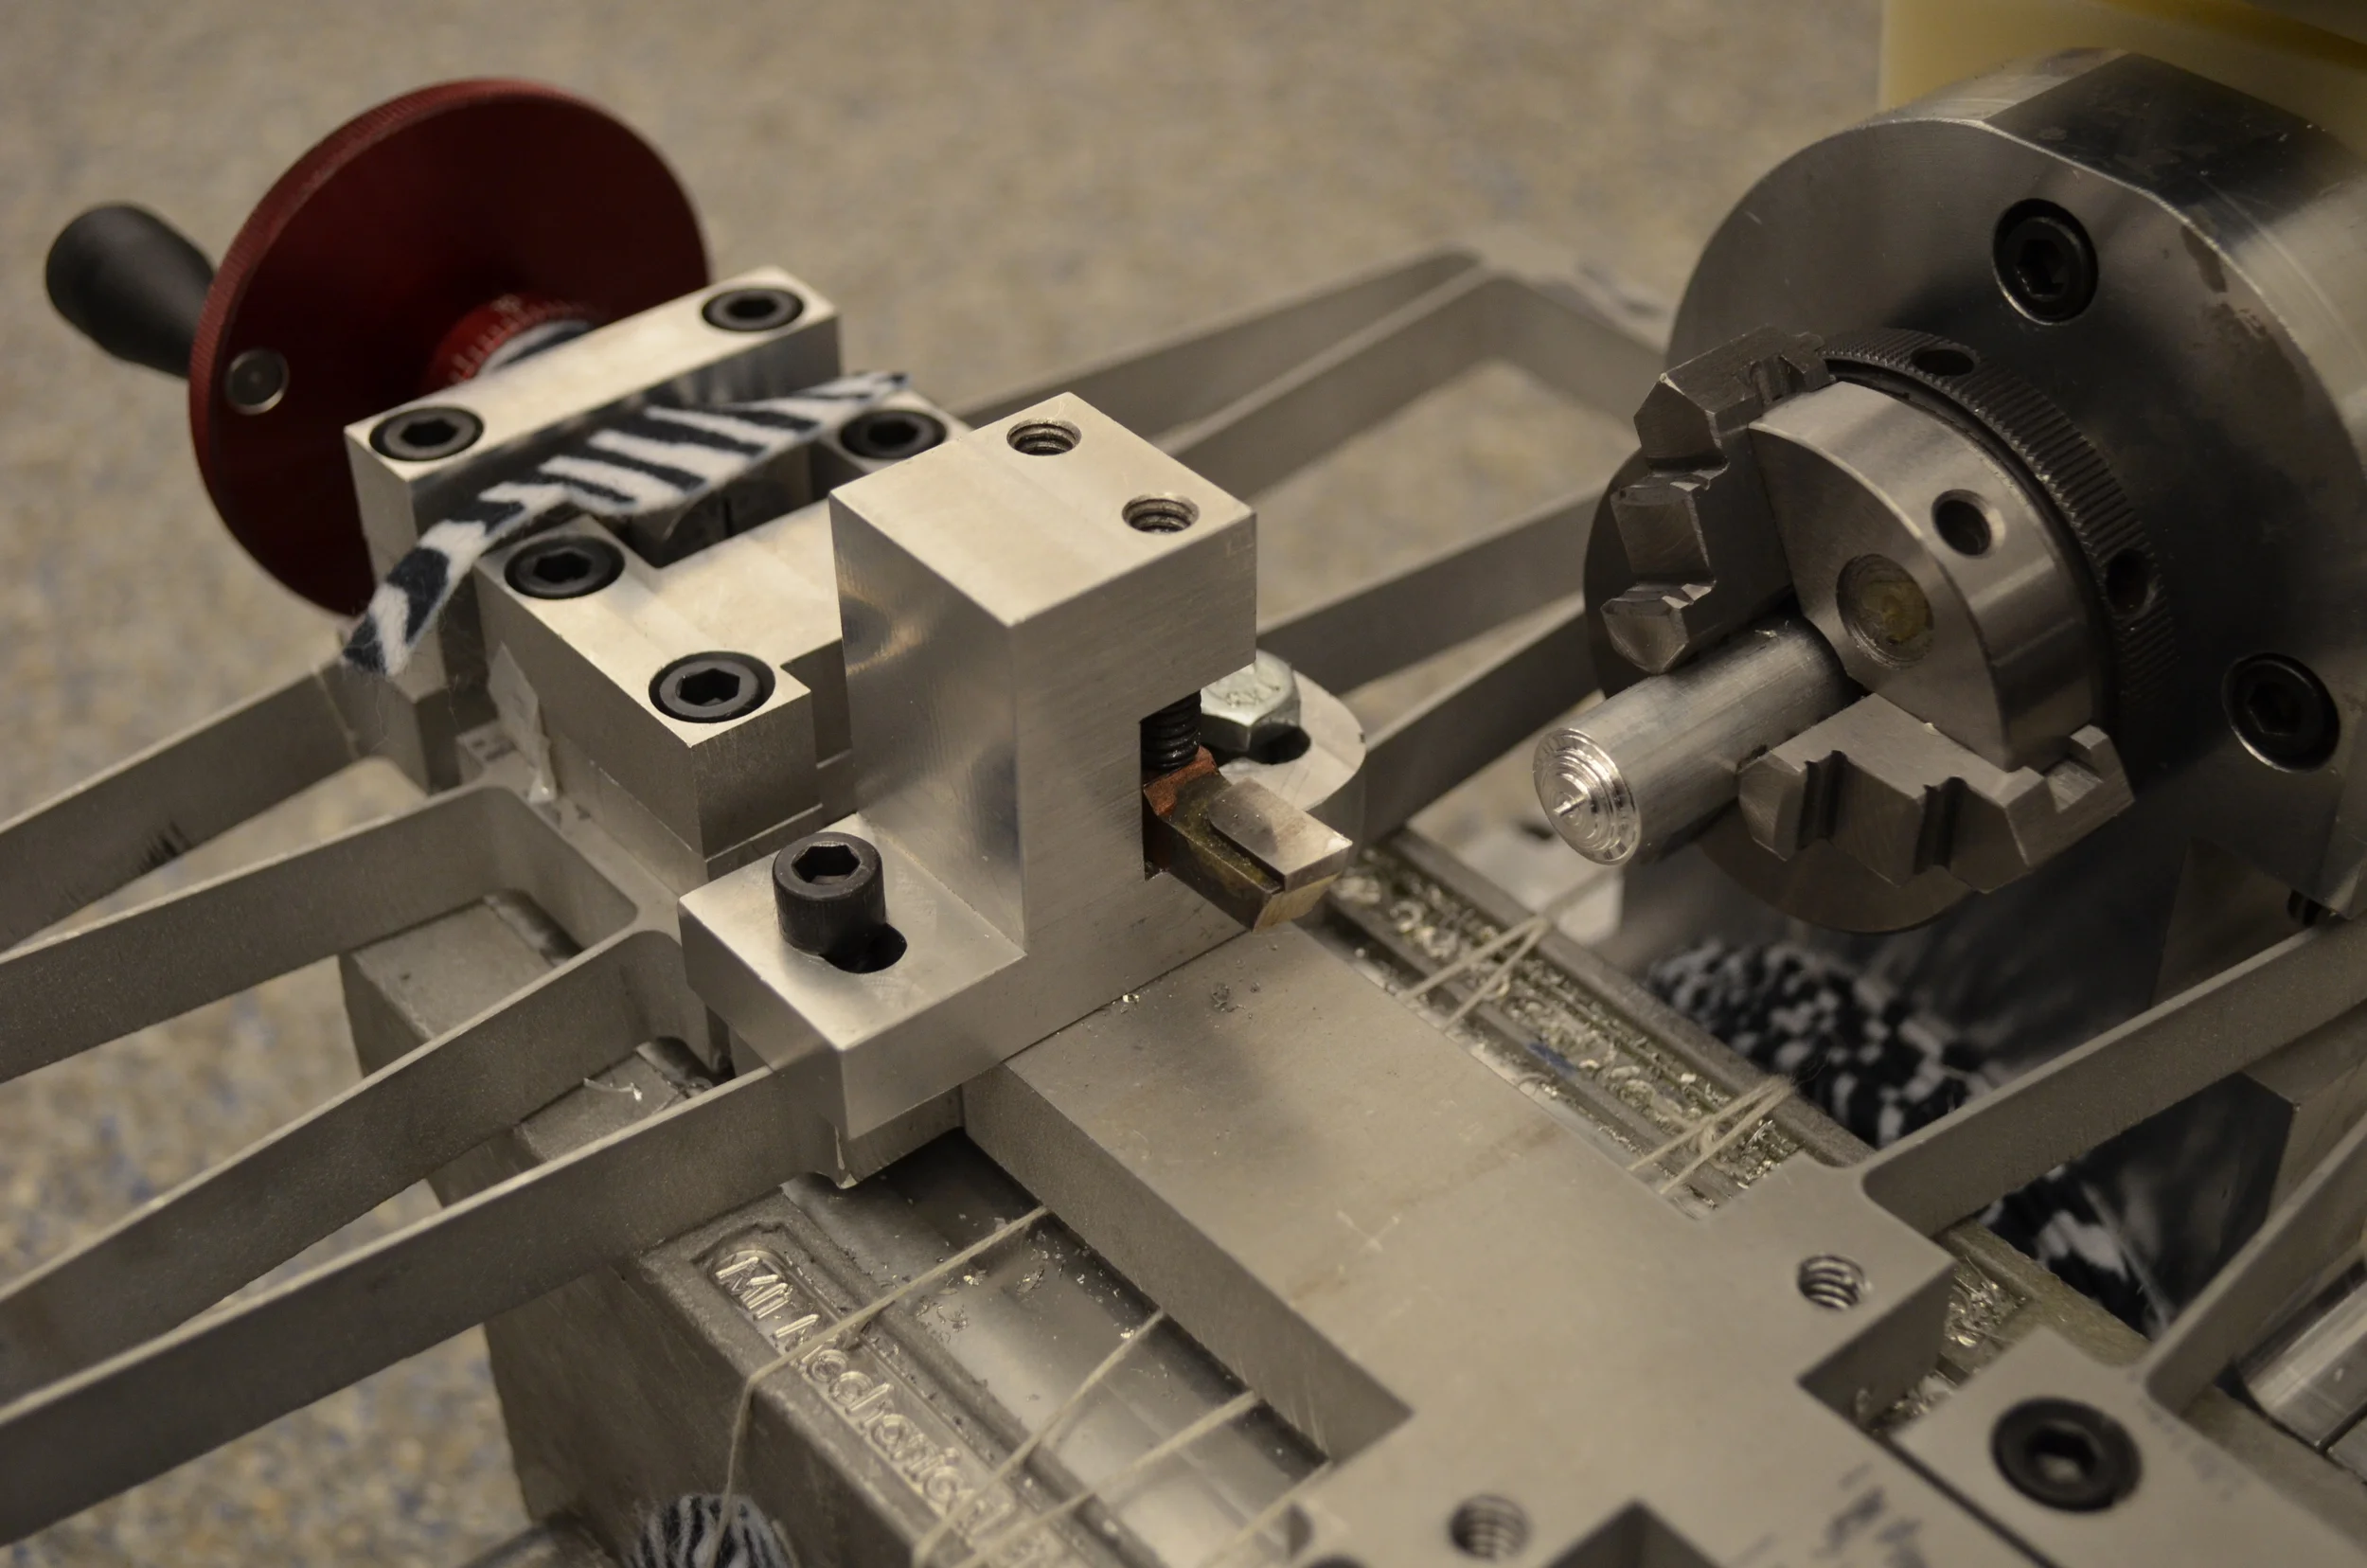
I worked with a team of 6 to design and build a desktop lathe that could cut aluminum stock within 50 microns accuracy and withstand a 1 meter drop test. Core mechanical engineering principles were applied to determine appropriate bearing fits and preloads for the lathe spindle, design flexures for the cross-feed, screw carriage, and rail carriage, and fabricate parts using precision machining and measurement techniques.

Our final project report includes more of our key findings throughout the project.

lathe.png

FLEXURE

I designed a flexure to constrain the motion of the carriage along the rails, using straight beam bending and finite element analysis (FEA) for design optimization. The final design used a “double blade” to provide a linear constraint, and thicker elements were added to divert the load path from the thin flexure blades in case of high loads or impulses. 

fea.png

Rickshaw Light

I was part of a small team that worked with the Rickshaw Bank in Assam, India to develop an inexpensive, human-powered lighting system to improve safety and comfort of riding rickshaws at night. The solution had to be weather resistant, detachable, provide a steady beam of light at low speeds, and had to be easily replicated by workers at the Rickshaw Bank.

The final light design utilized a knurled wheel in contact with the rickshaw tire and attached to a small DC motor to power a set of LEDs. Components for the power generation unit were sourced from scrap electronics, and the light is easily detachable from the rickshaw frame.
BENCHMARKING

To determine the best way to generate power, different methods were benchmarked, including a frictionless system where magnets are passed over a coil of wire, and a “rolling contact” system where a roller connected to a generator (i.e. DC motor) is in contact with the tire. The rolling contact method presented a number of advantages: the system was easily detachable, the DC motor provided better reliability and performance, and a speed advantage produced by the large tire interfacing with the small roller increased power generation.

Celestial Yo-Yo

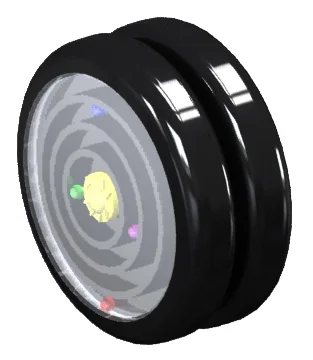
I worked with a team to design and manufacture a production run of celestial-themed yo-yos. The yo-yo was made from a set of five unique snap-fit injection molded and thermoformed plastic parts. A team member and I designed a base and snap-fit ring which would form the body of the yo-yo. 

After doing the initial toy design in SolidWorks, the 3D models were converted into 2D drawings. Using Mastercam, toolpaths were run on the parts to output code for CNC machining. The core and cavity molds were then machined from aluminum blocks. Once the molds were finished, test parts were produced for process optimization. We then manufactured 100 parts which were used to assemble 50 finished yo-yos.

INJECTION MOLDING

Injection molding provided some great teaching moments:
Shrinkage - the initial mold design attempted to account for plastic shrinkage, but the snap-fit ring shrank more than expected and the mold had to be modified.
Burning - when burning was observed in the channels and base parts, vents were added to the mold to allow trapped gases to escape. 

PROCESS CONTROL

Controlled changes were introduced in the injection-molding and thermoforming processes to observe the effects on finished parts. Measurements of critical dimensions were used to plot Shewart charts in order to determine whether the manufacturing process was in control. 


EcoShred

In 2.744 - Product Design, small teams were tasked with creating eco-friendly office products for Staples. I worked with a team to create prototypes for EcoShred, a paper shredder that harvests blank areas of scrap paper for reuse. Given the complexity of the project, separate “looks-like” and “works-like” models were created to prove our concept. I partnered with a teammate to build the looks-like model.

SKETCHES + MODELS

With basic product functions determined, sketches and foam models were used to iterate on the product form. This phase helped work out issues like having buttons next to the paper feeder (oops!) and finding the right button configuration.

Foam sketch model that tested button placement and paper feed methods

Foam sketch model that tested button placement and paper feed methods

PACKAGING

After a field trip to a Staples store to understand how the product fits into the retail environment, a package was designed to match the Staples private brand and provide eco-friendly features. To reduce waste, a pull-out handle was placed at the top of the box so that a bag isn’t needed, and molded cardboard fiber inserts were used instead of styrofoam to prevent in-box damage.

While visiting a Staples retail sore, we noted that display models are placed at eye level, with boxed models placed directly beneath.

While visiting a Staples retail sore, we noted that display models are placed at eye level, with boxed models placed directly beneath.

Bronzecasting

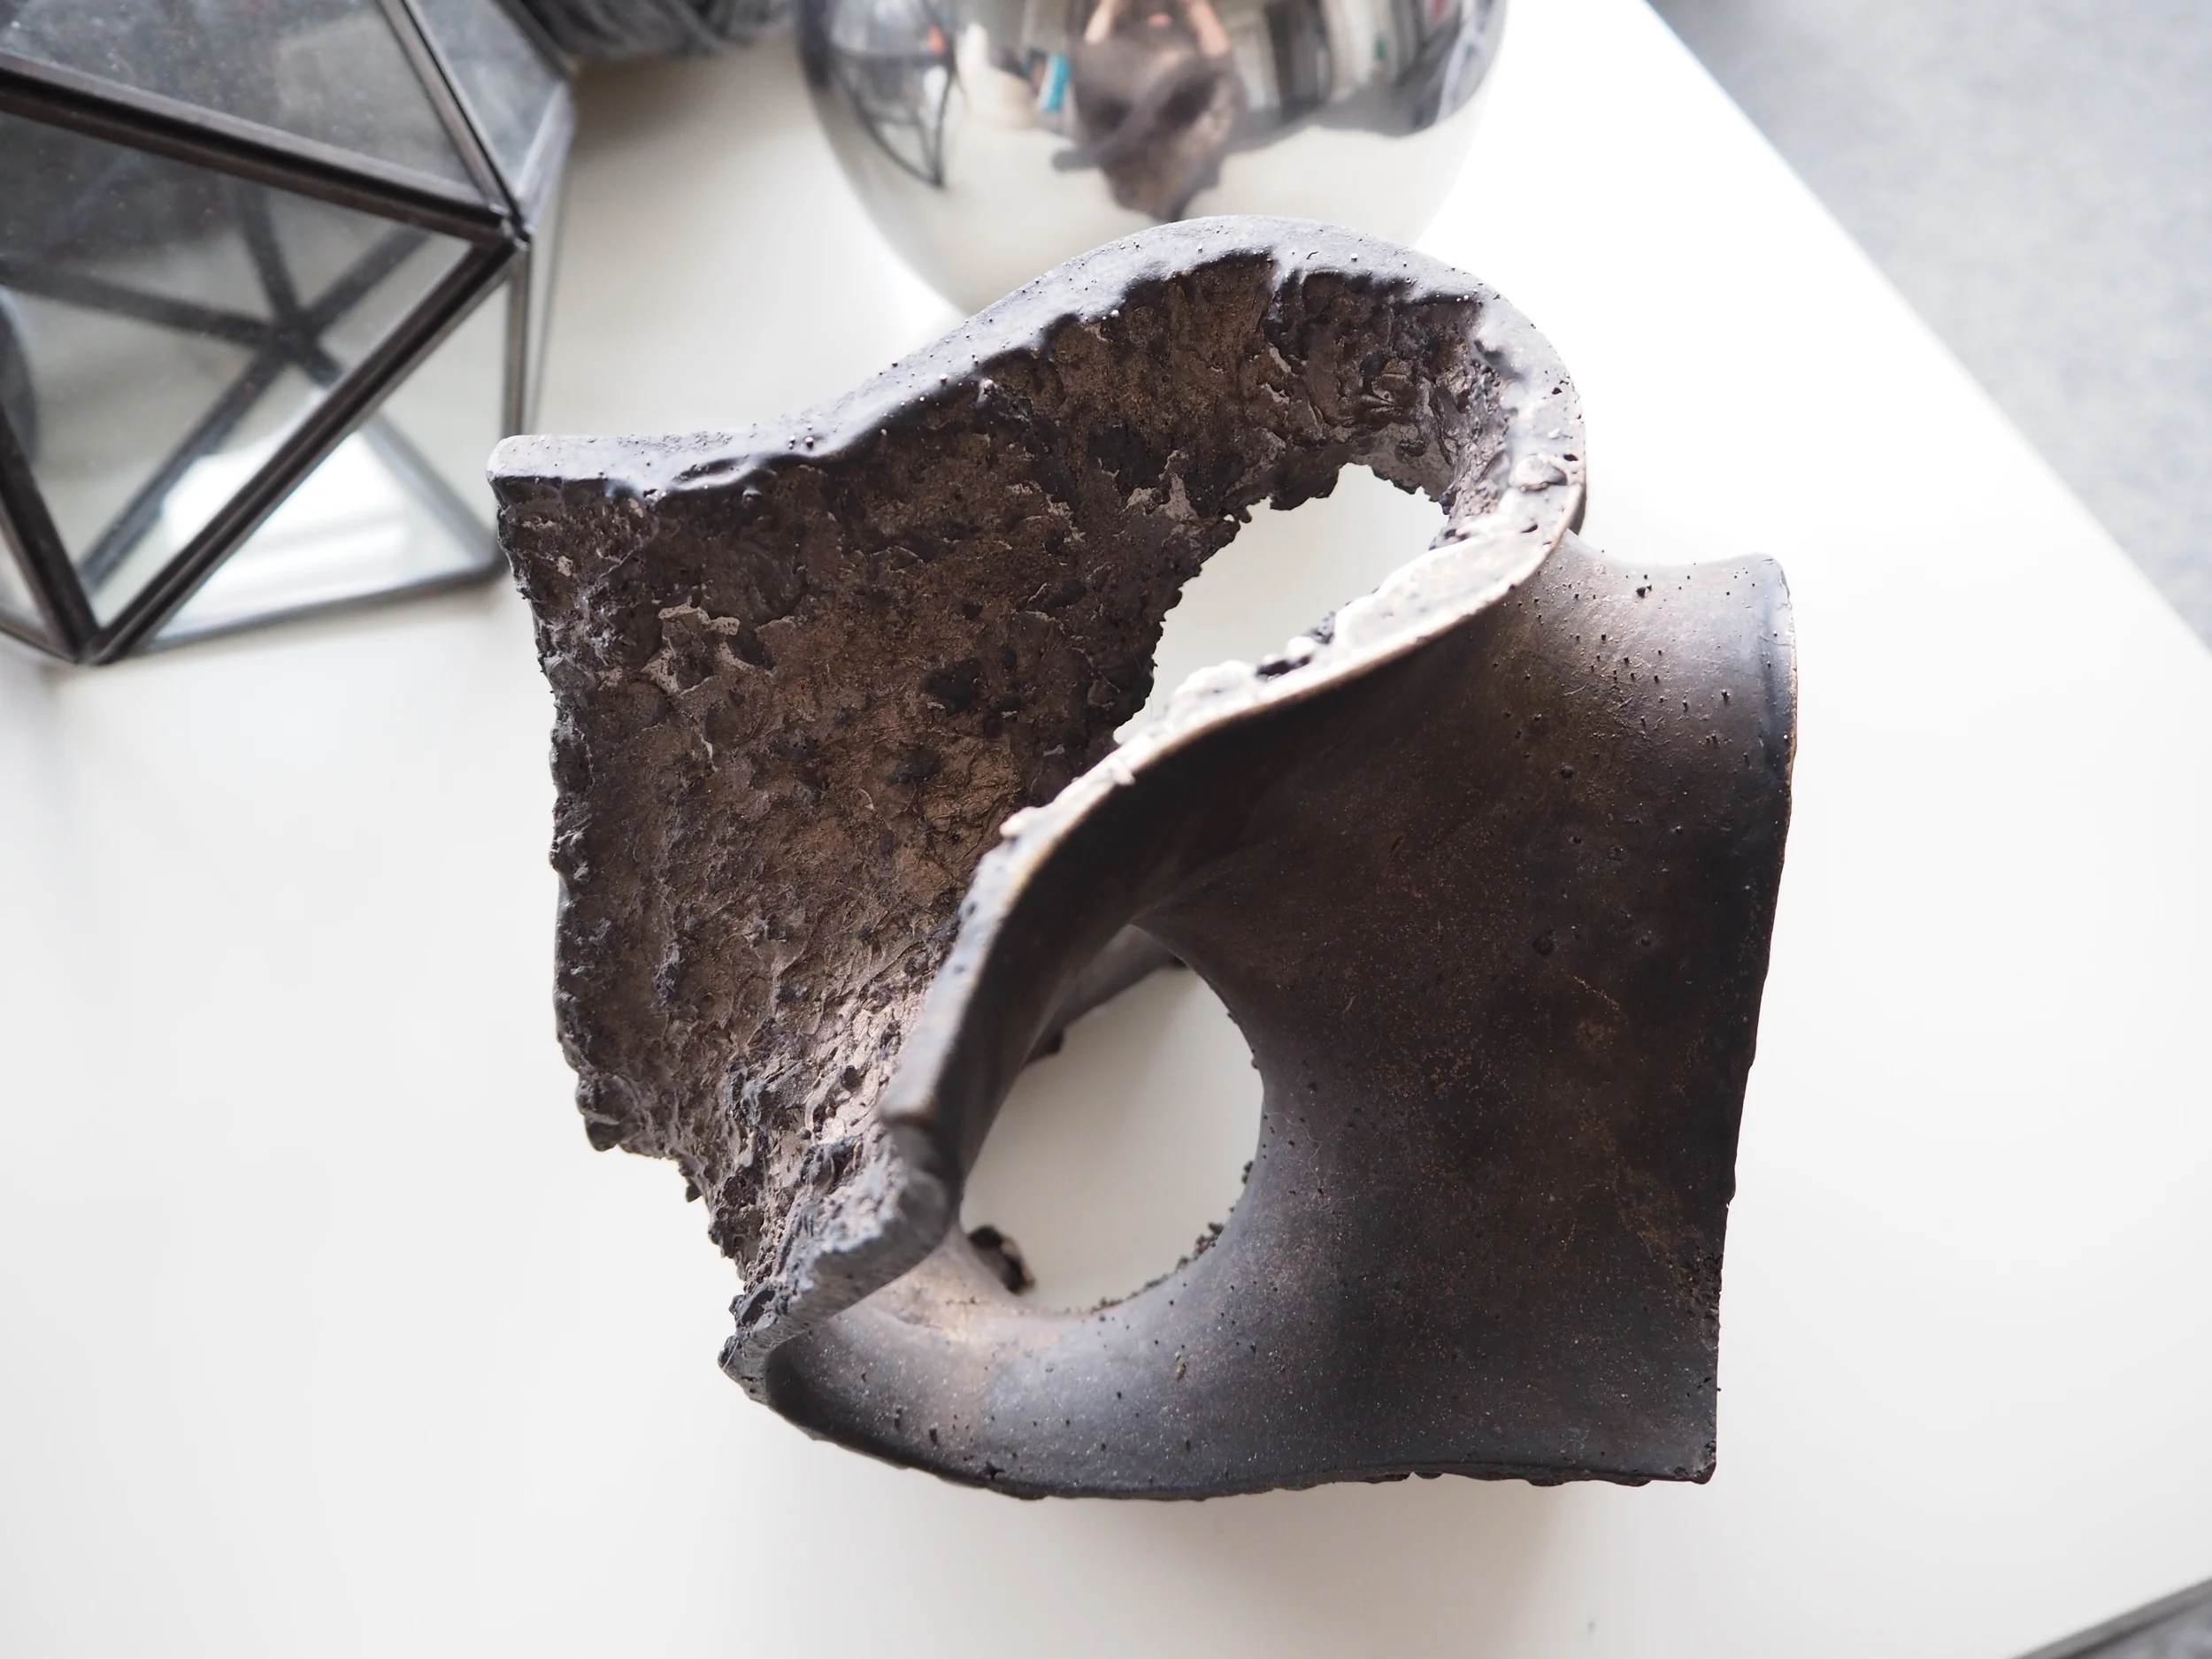
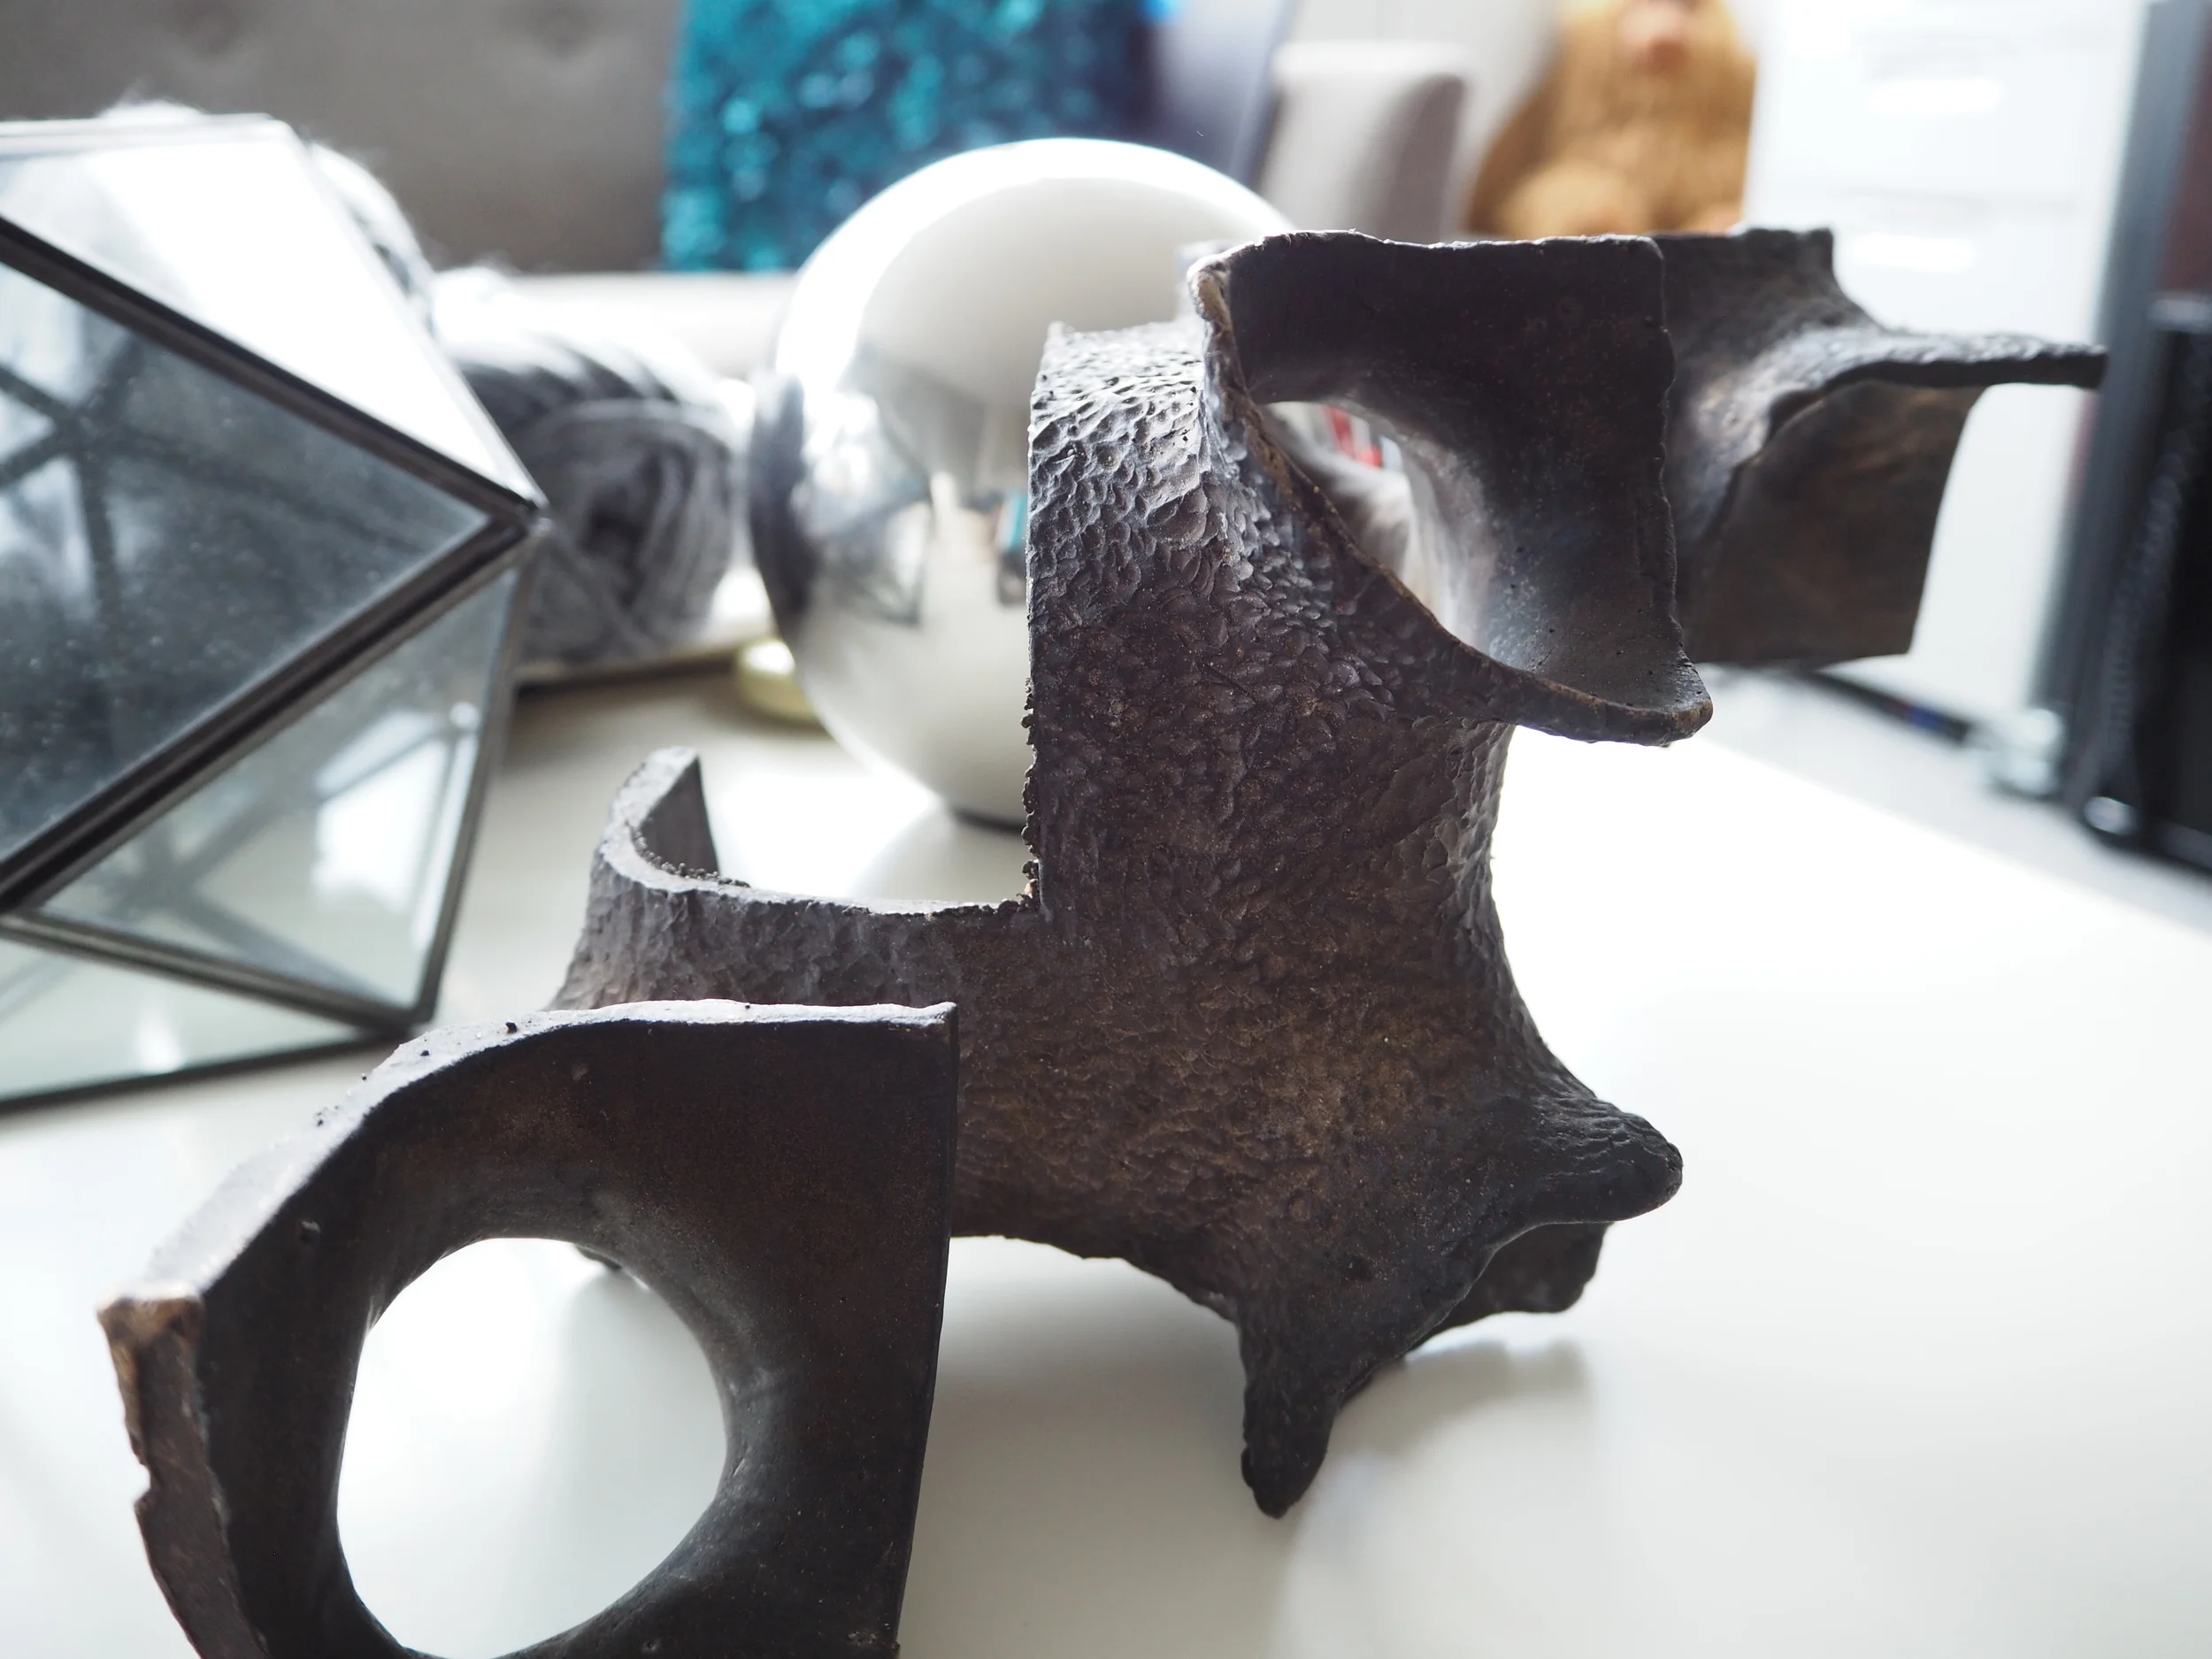
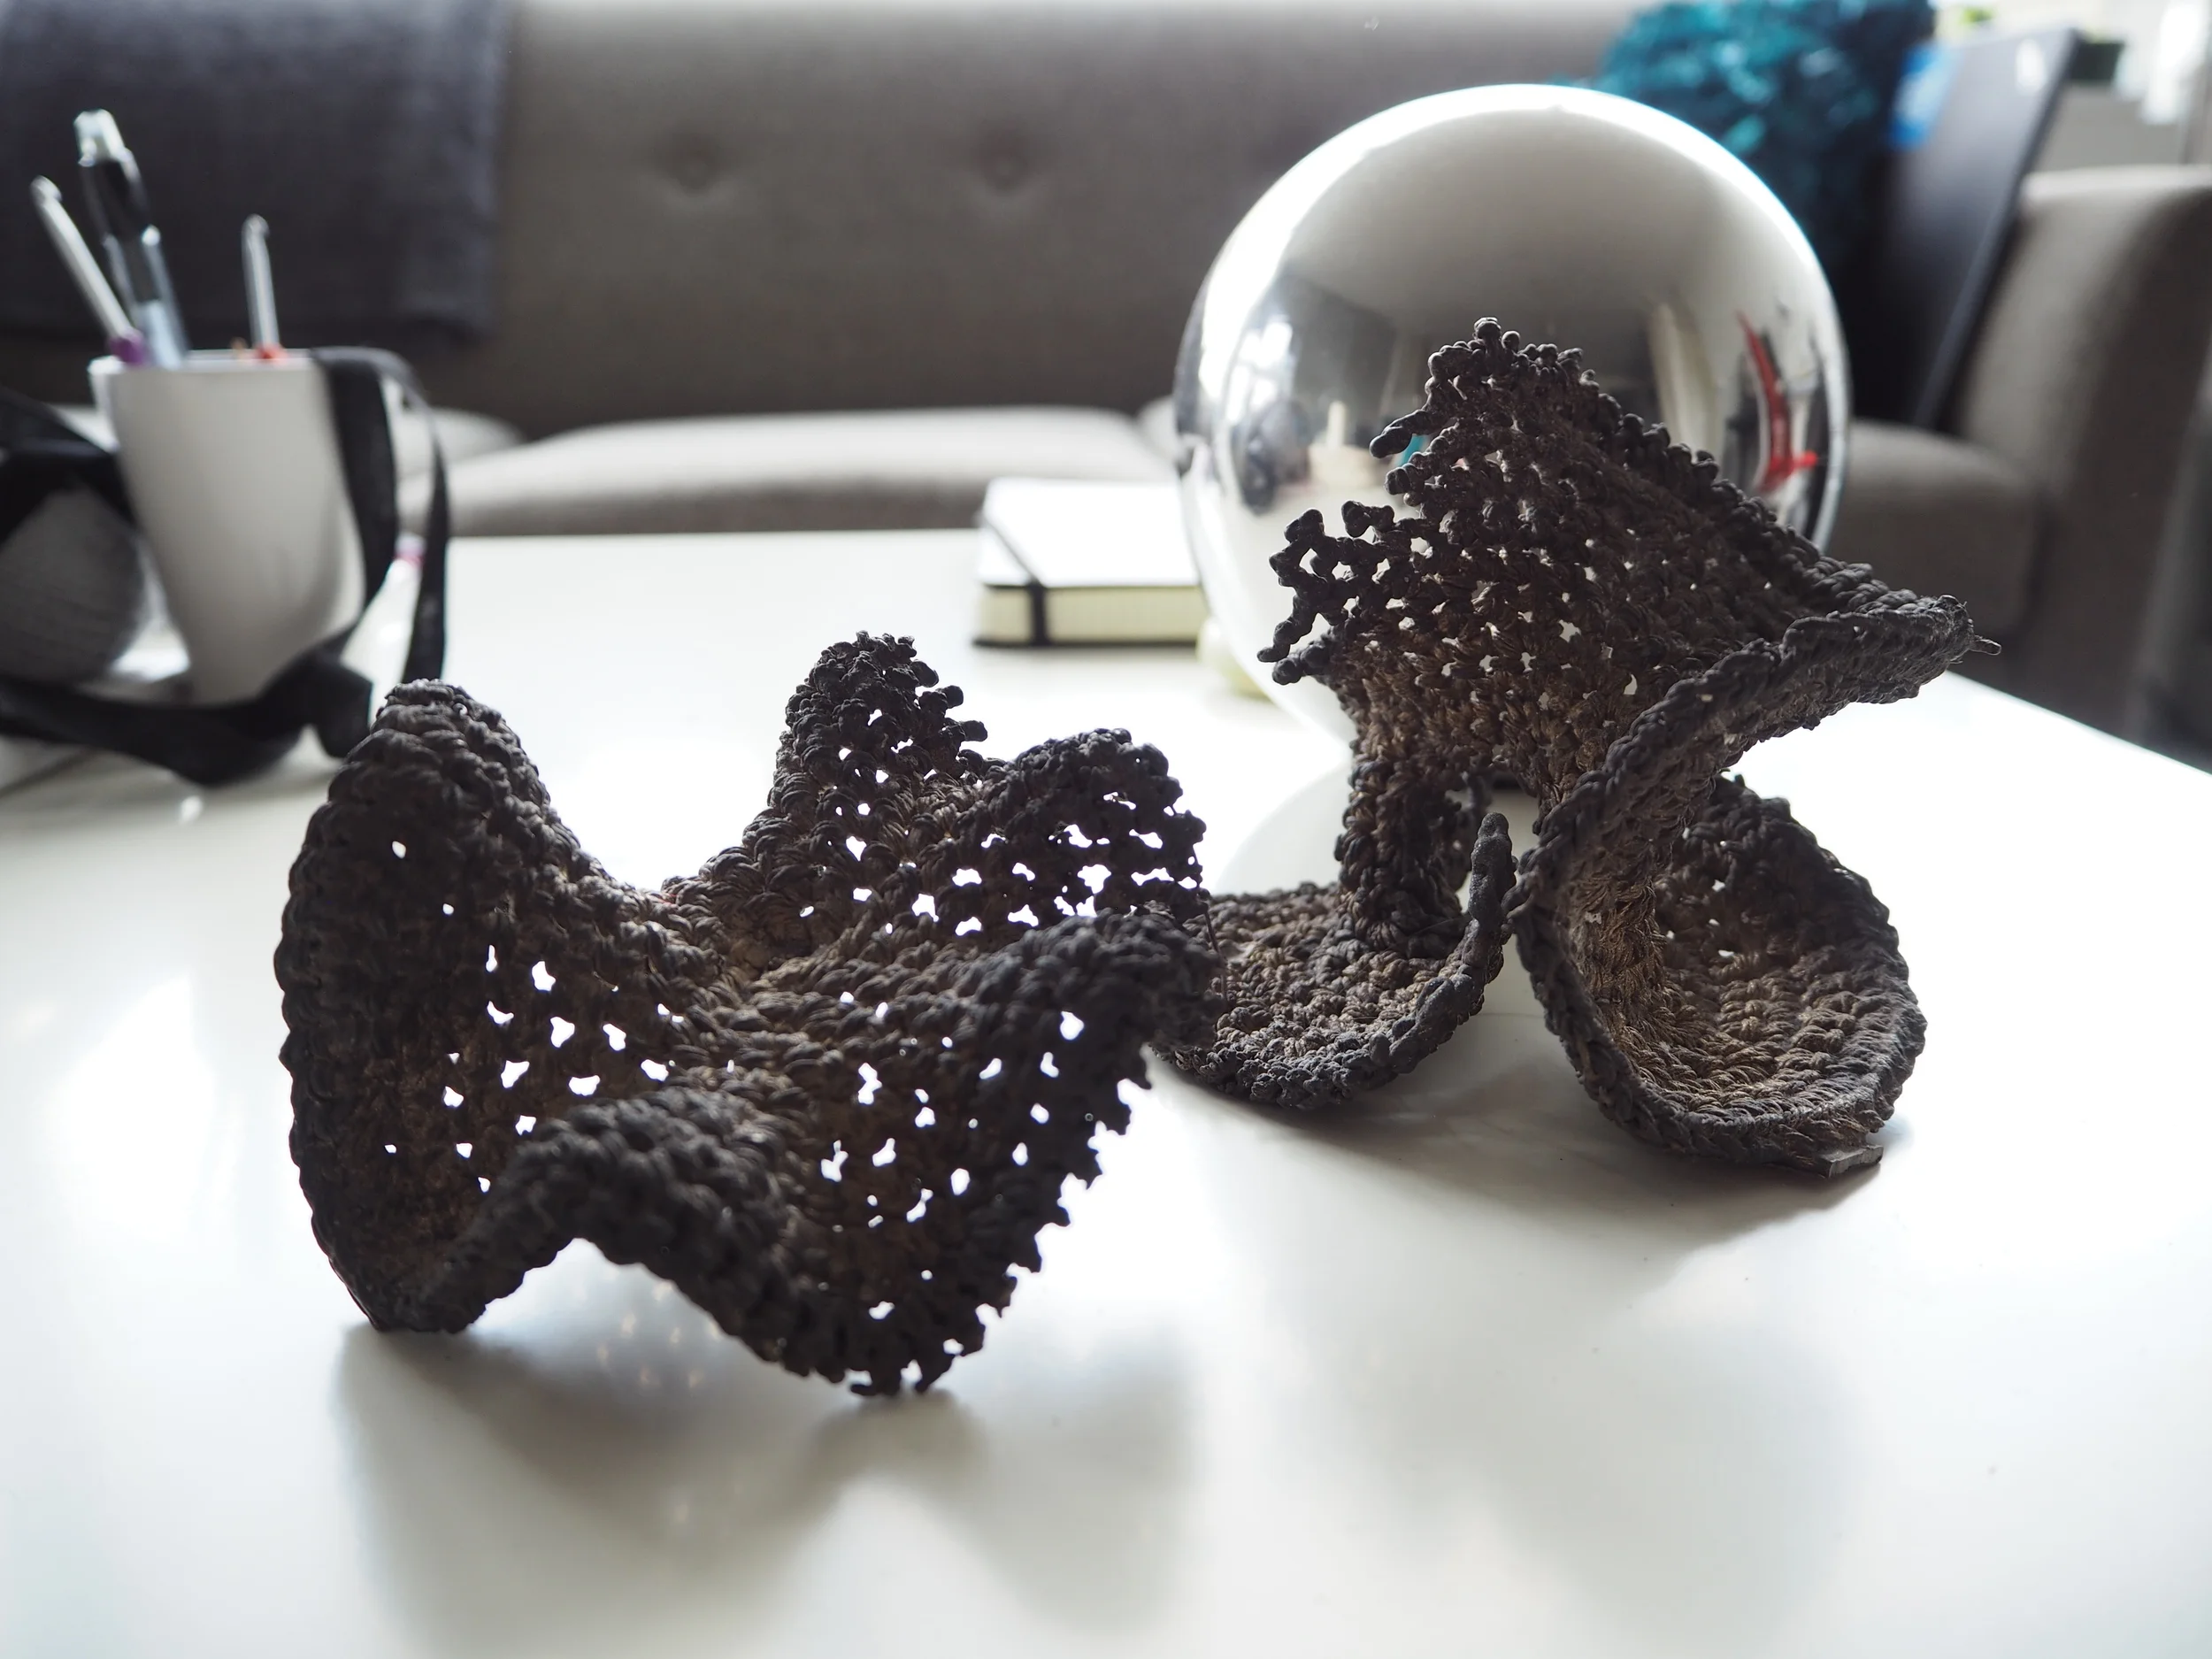
I learned the art of sculpting and lost-wax casting at Pratt Fine Arts Center under the tutelage of Mark Walker and Ed Thayer. I cast 3D representations of triply periodic minimal surfaces and hyperbolic planes, created using wax and crocheted cotton, respectively.

PROCESS

1. plaster blocks are carved into basic 3D forms, which will have layers of wax poured over them

1. plaster blocks are carved into basic 3D forms, which will have layers of wax poured over them

2. sprues are added to the wax molds to let bronze flow in and vent trapped gases

2. sprues are added to the wax molds to let bronze flow in and vent trapped gases

3. the wax is submerged in a sand/plaster slurry, which is cured in a kiln to melt out the wax

3. the wax is submerged in a sand/plaster slurry, which is cured in a kiln to melt out the wax

4. molten bronze at 2200 F is poured in to the ceramic mold

4. molten bronze at 2200 F is poured in to the ceramic mold

5. the ceramic mold is broken, leaving the bronze sculptures with sprues still attached

5. the ceramic mold is broken, leaving the bronze sculptures with sprues still attached

6. sprues are removed with a torch, and the metal is cleaned up using grinders and other tools

6. sprues are removed with a torch, and the metal is cleaned up using grinders and other tools

FINISHED SCULPTURES

Synaesthetic Arboretum

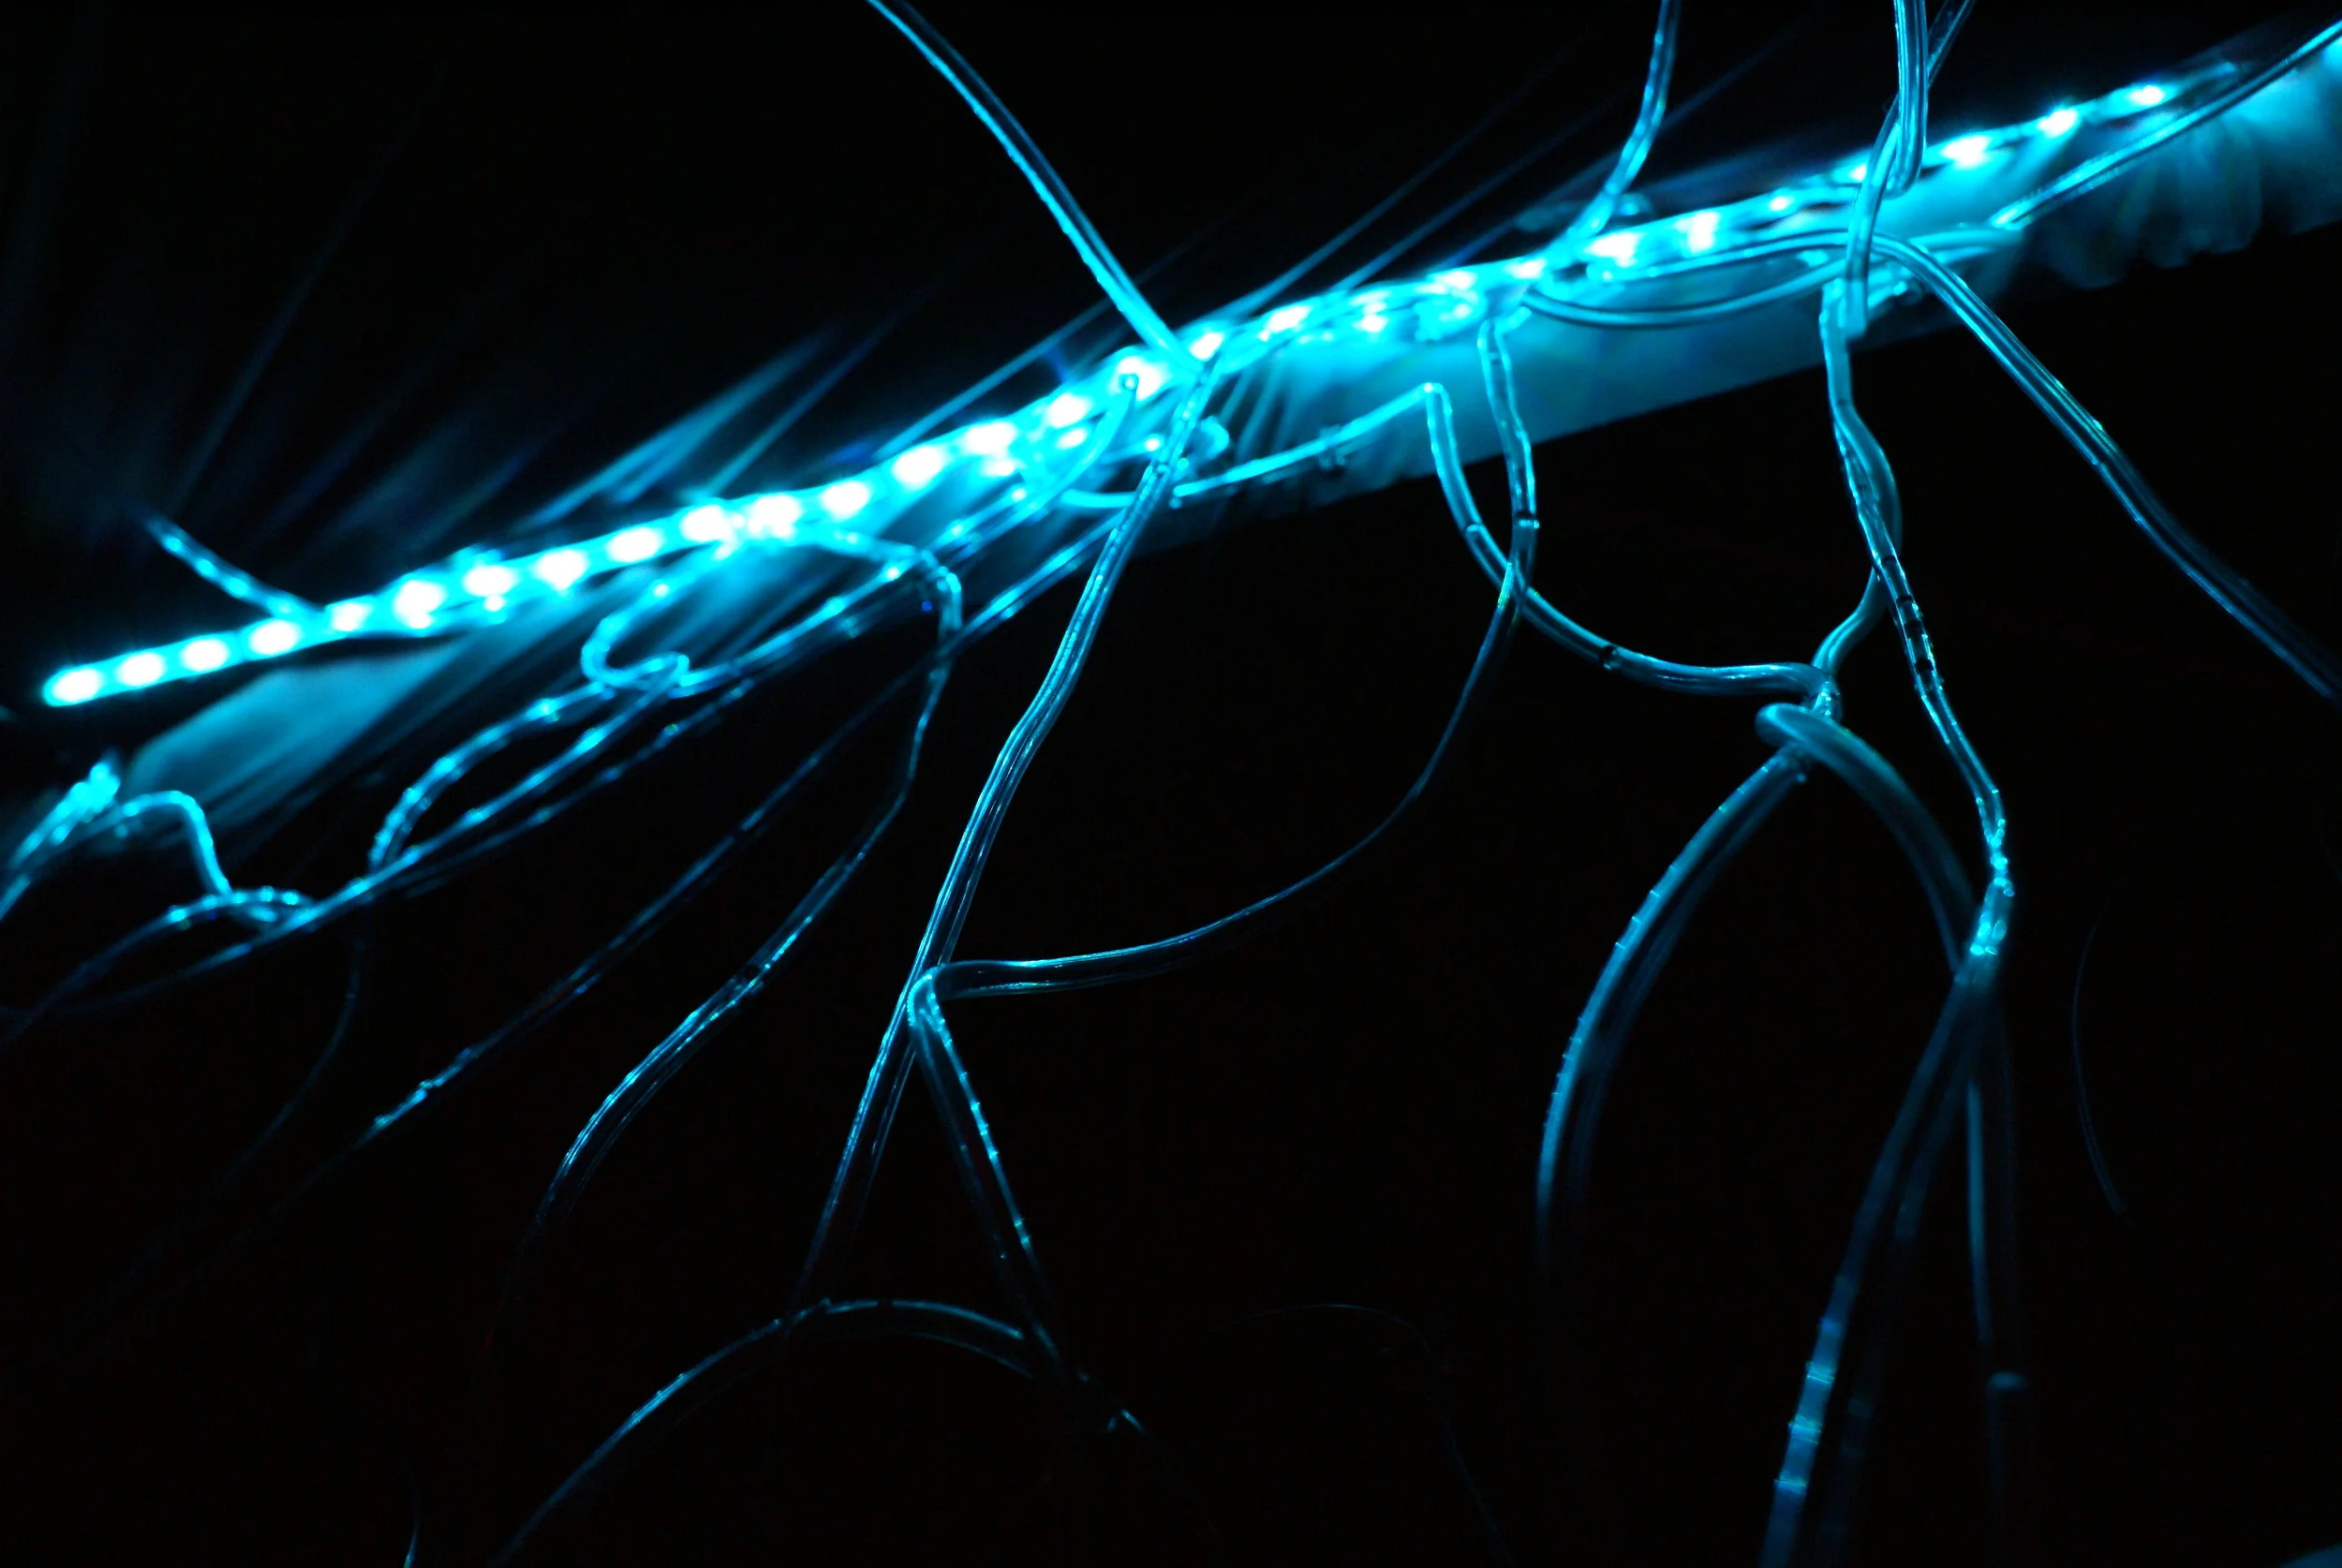
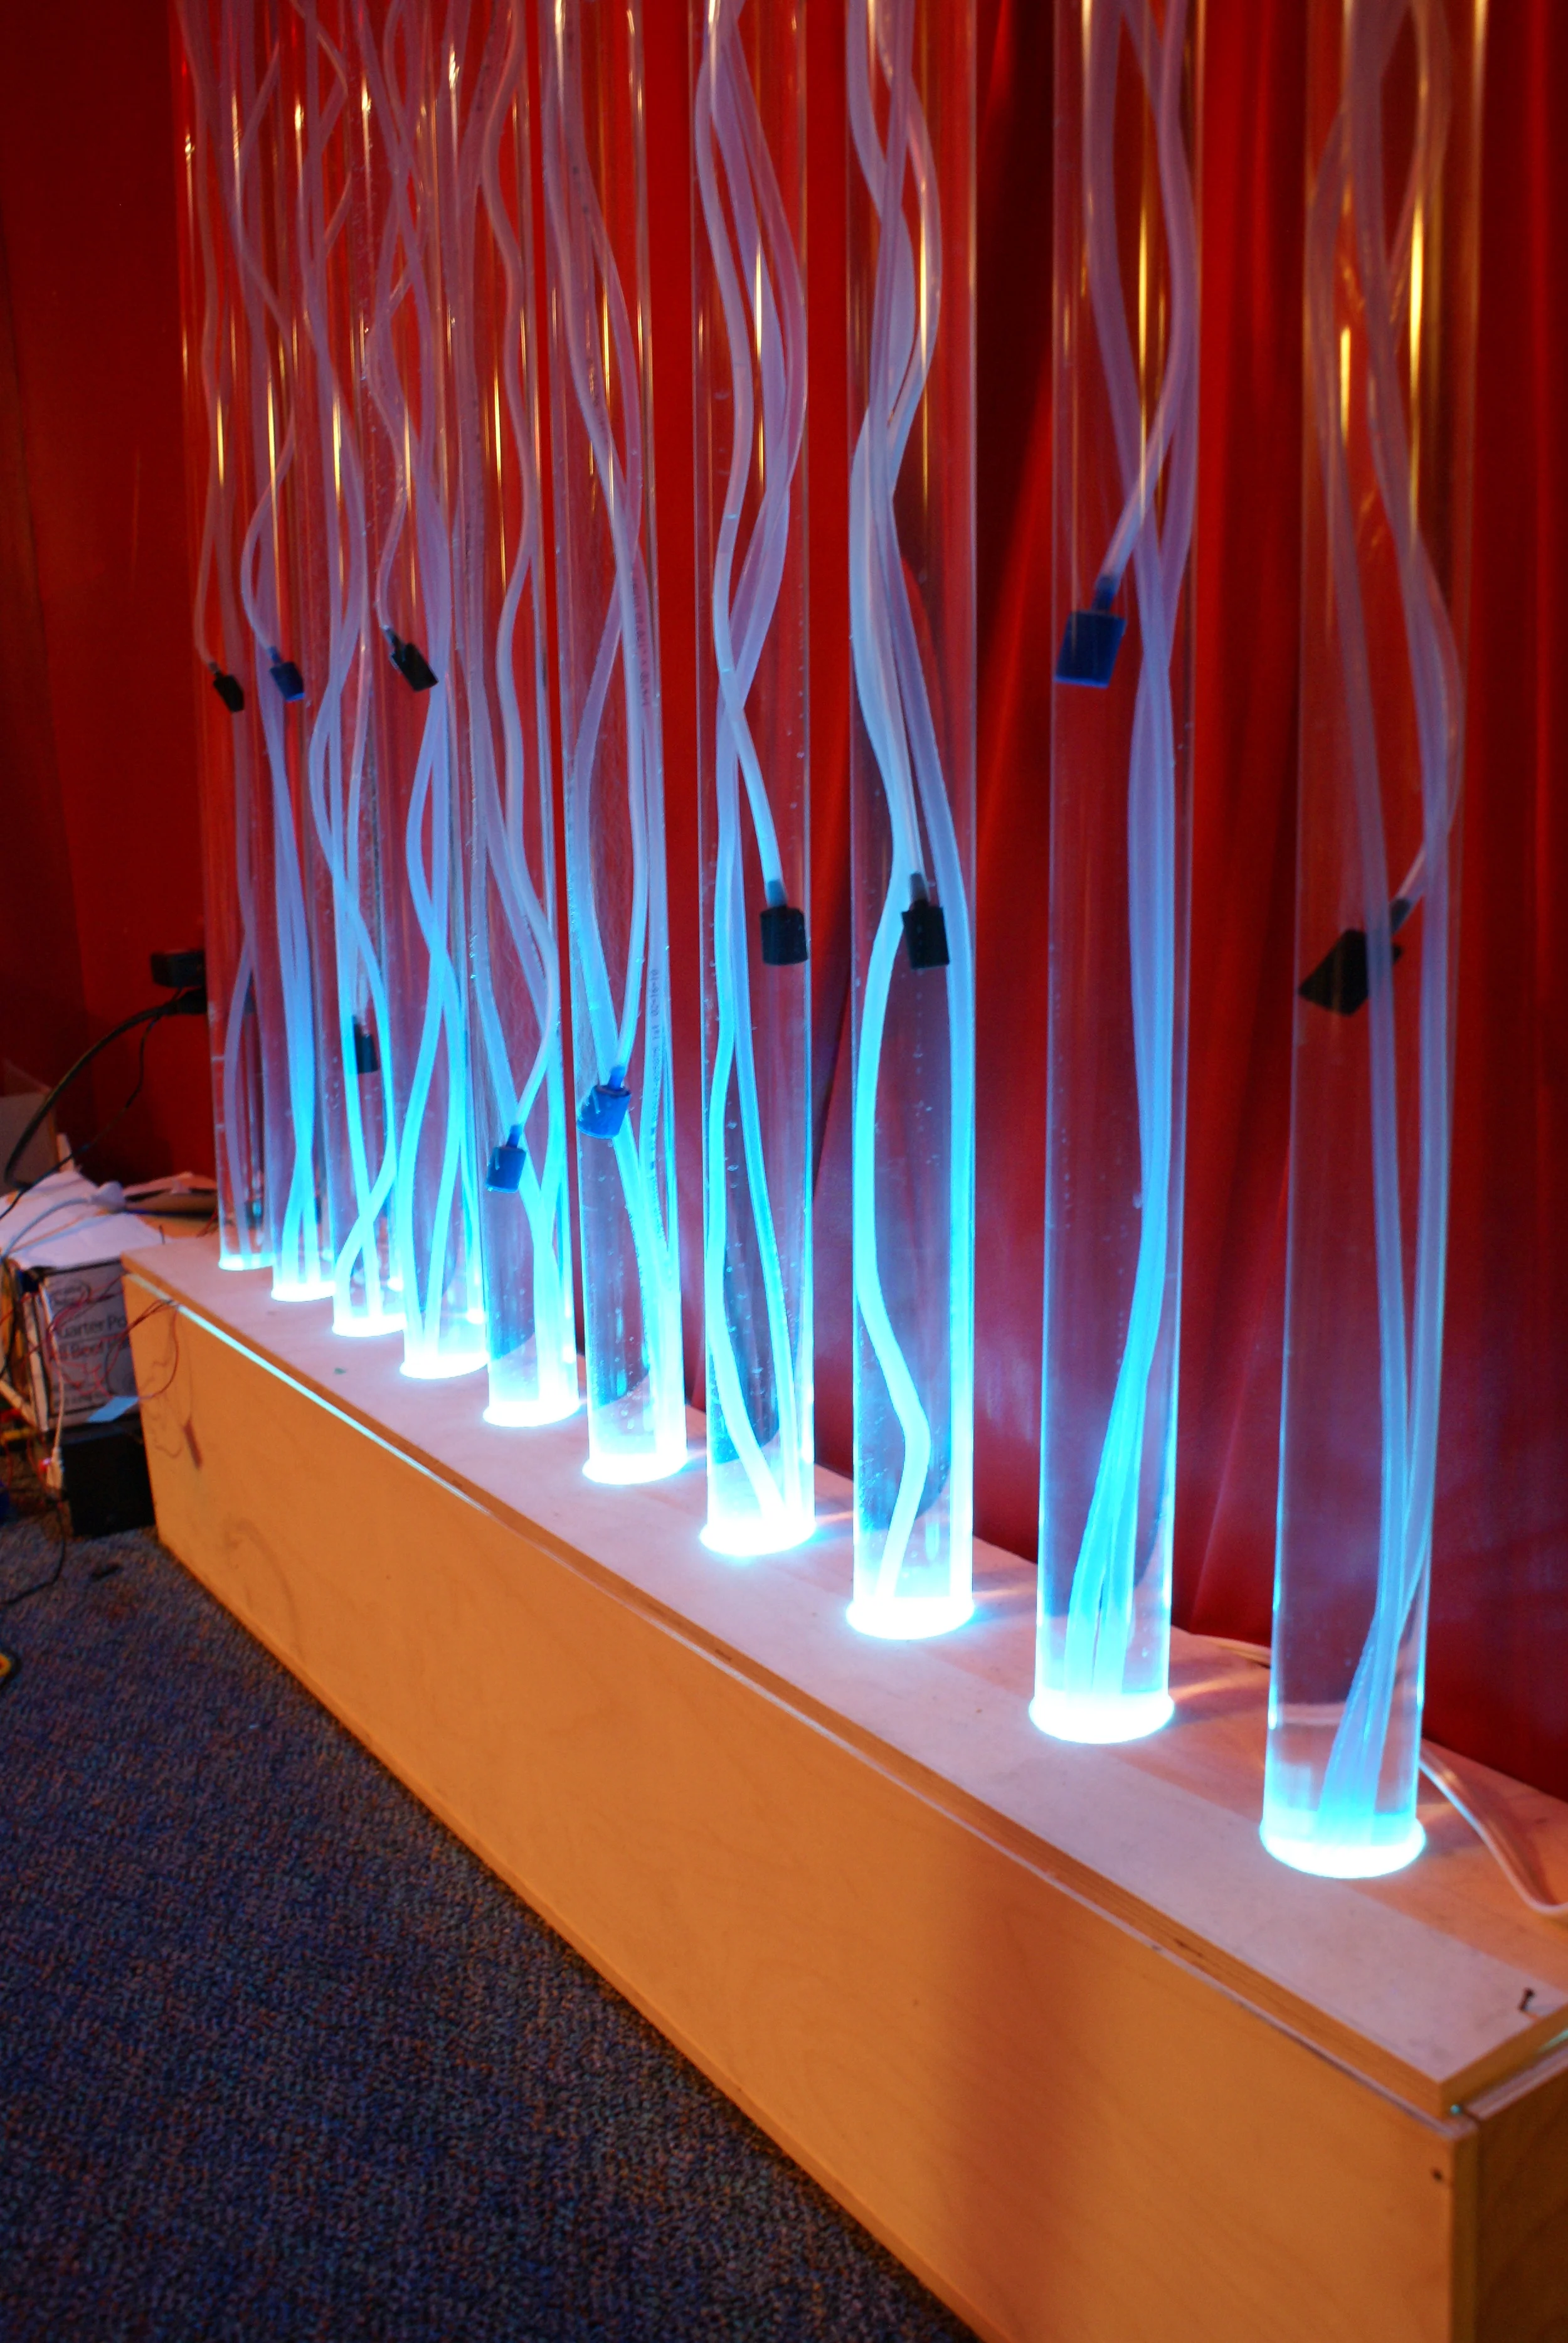
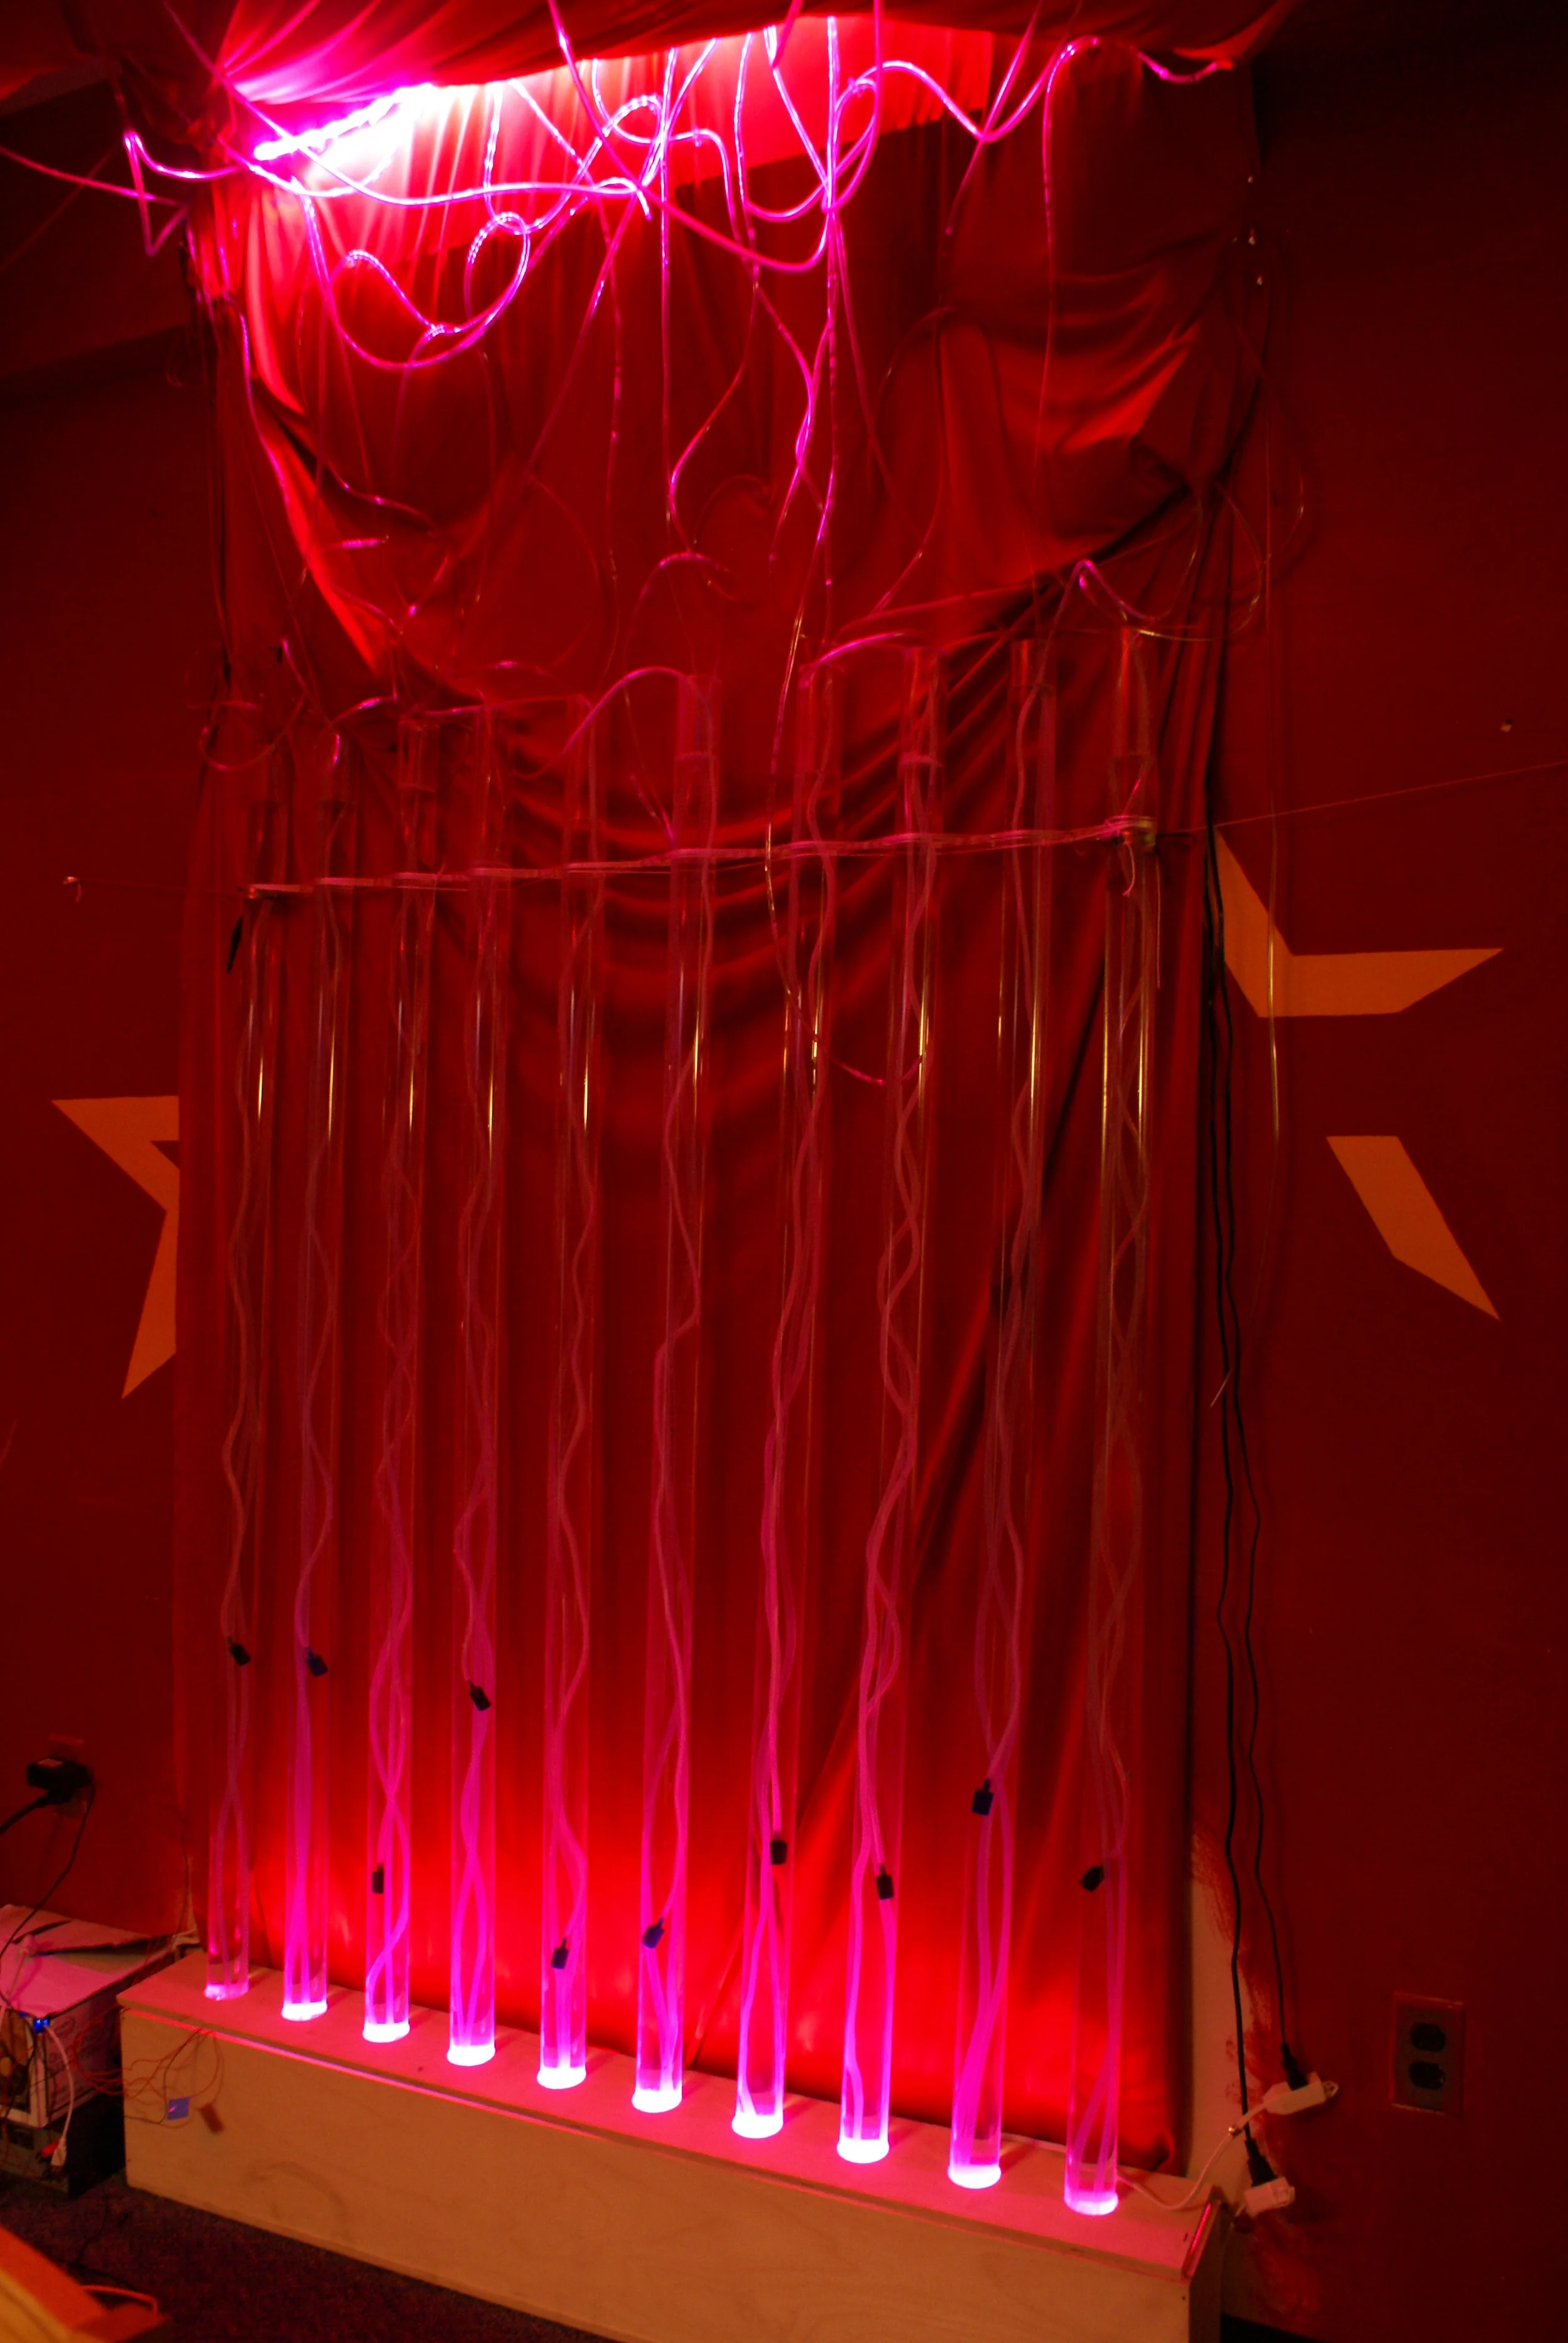
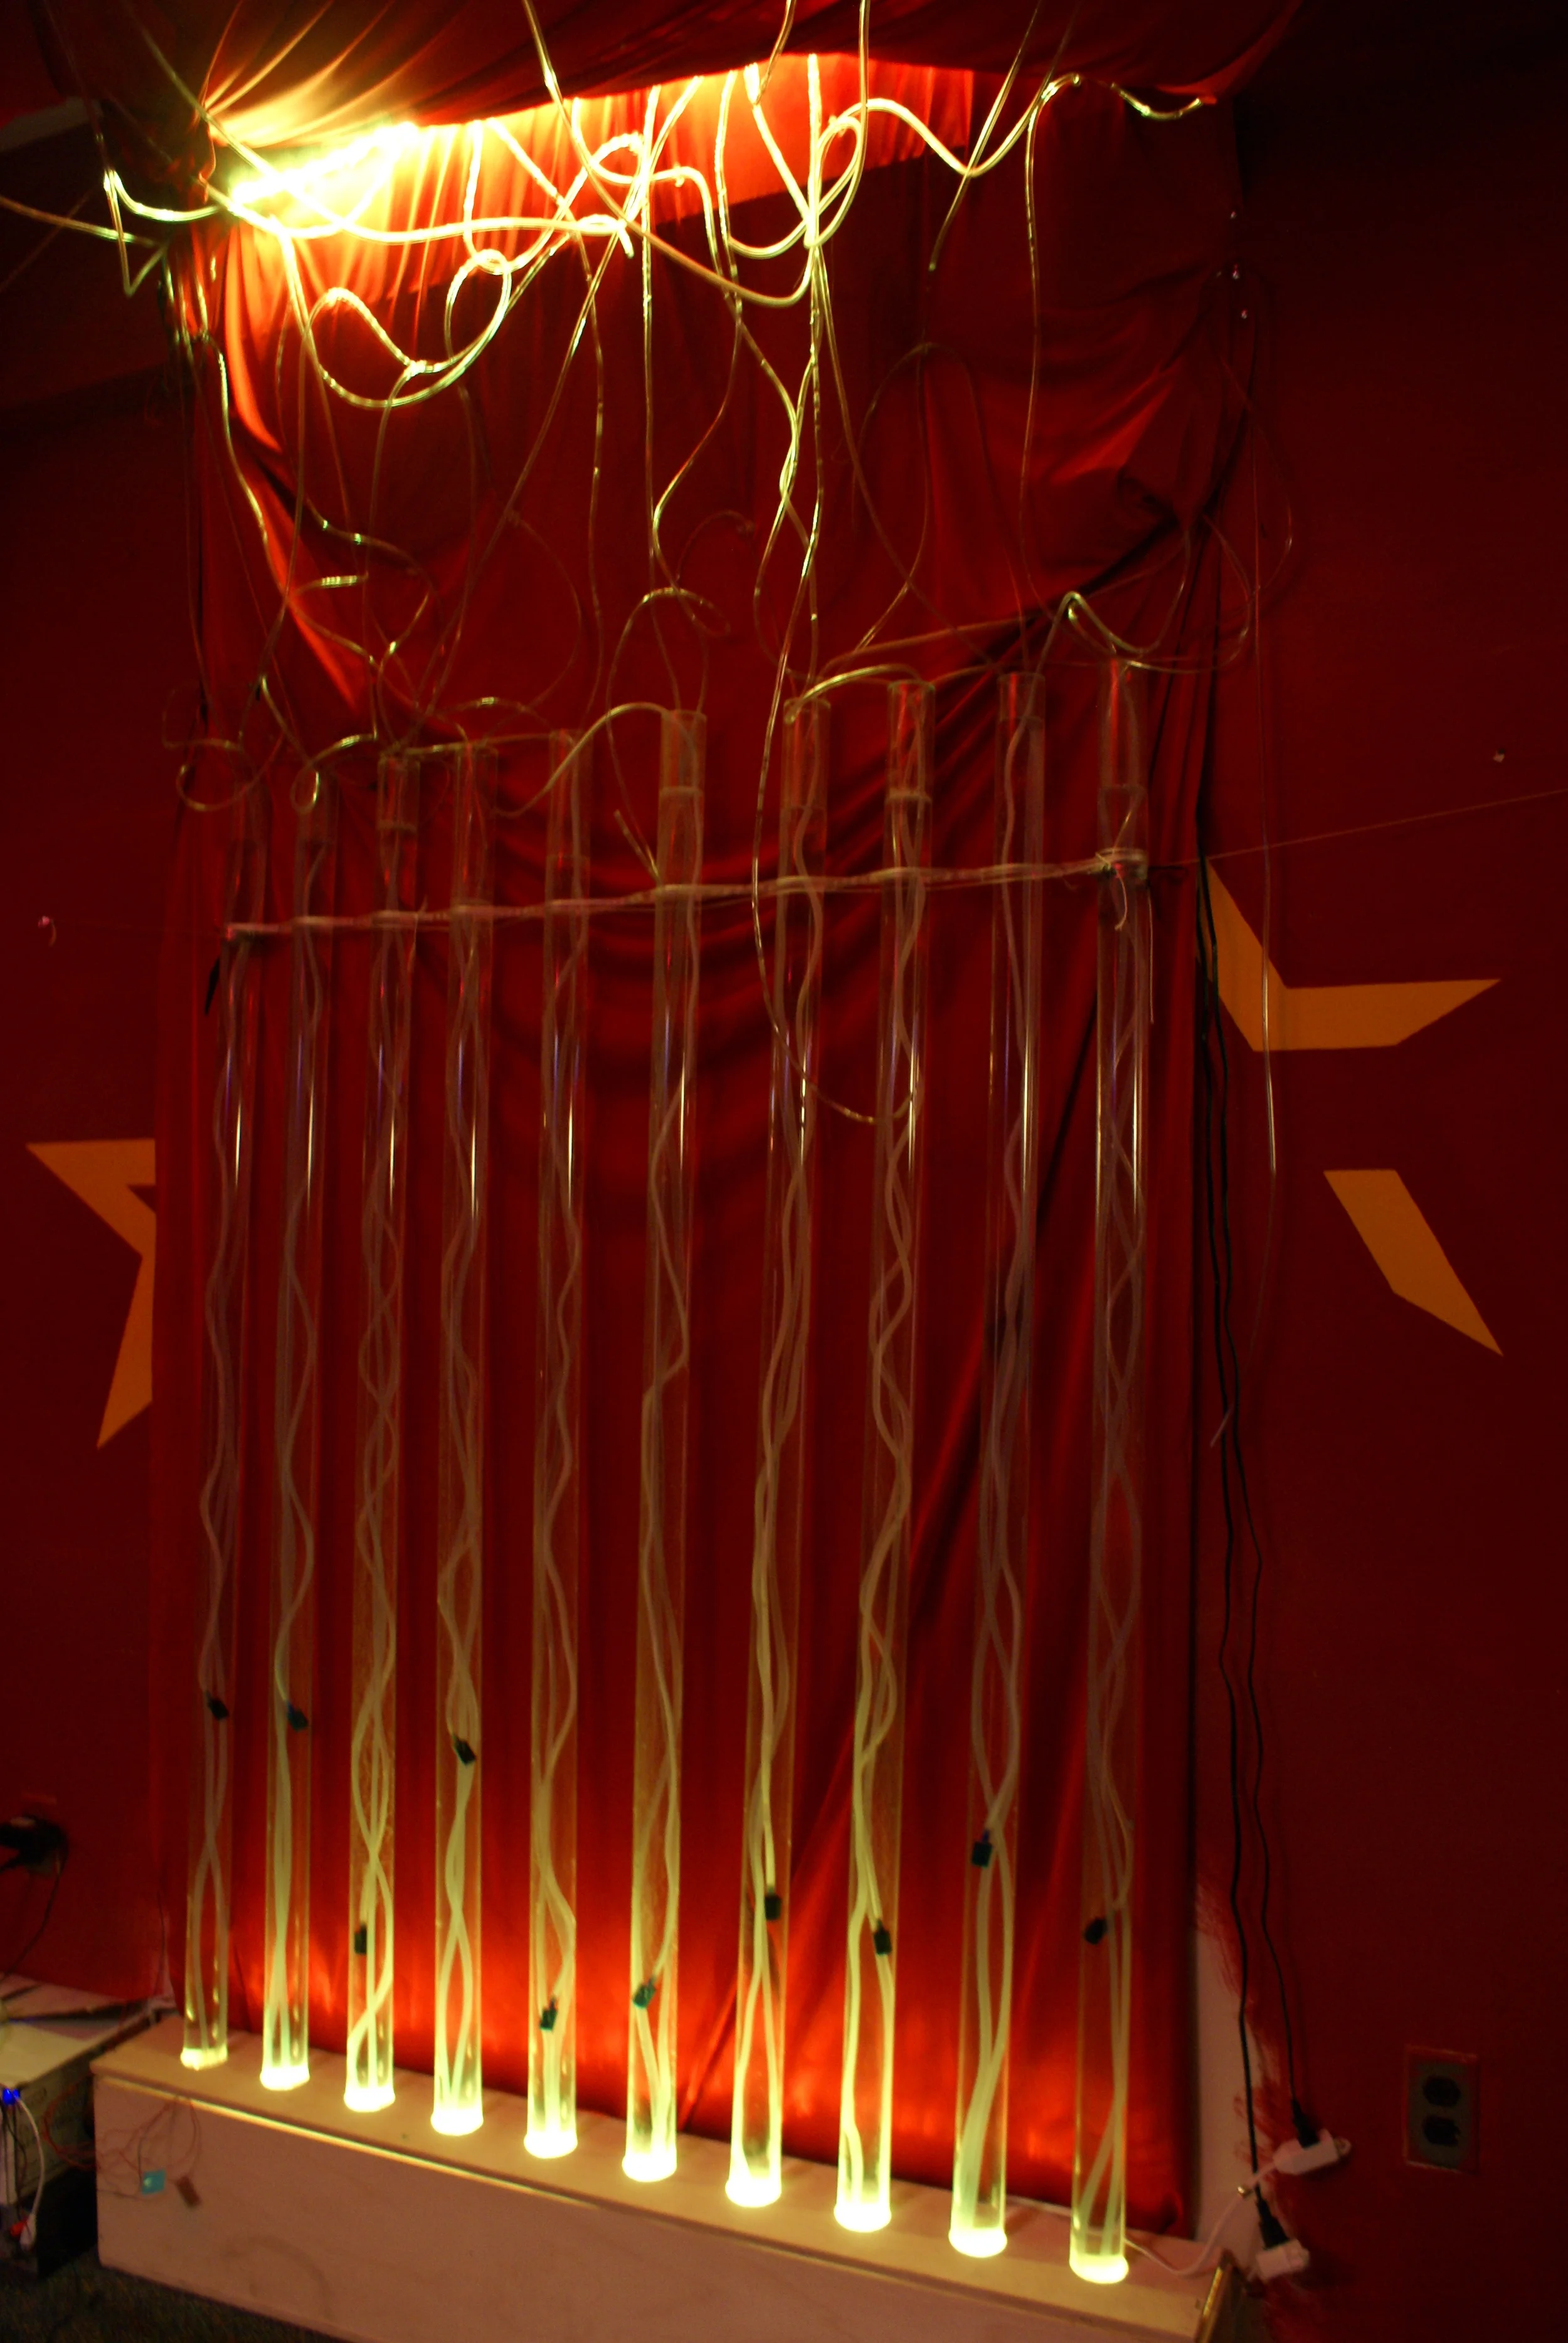
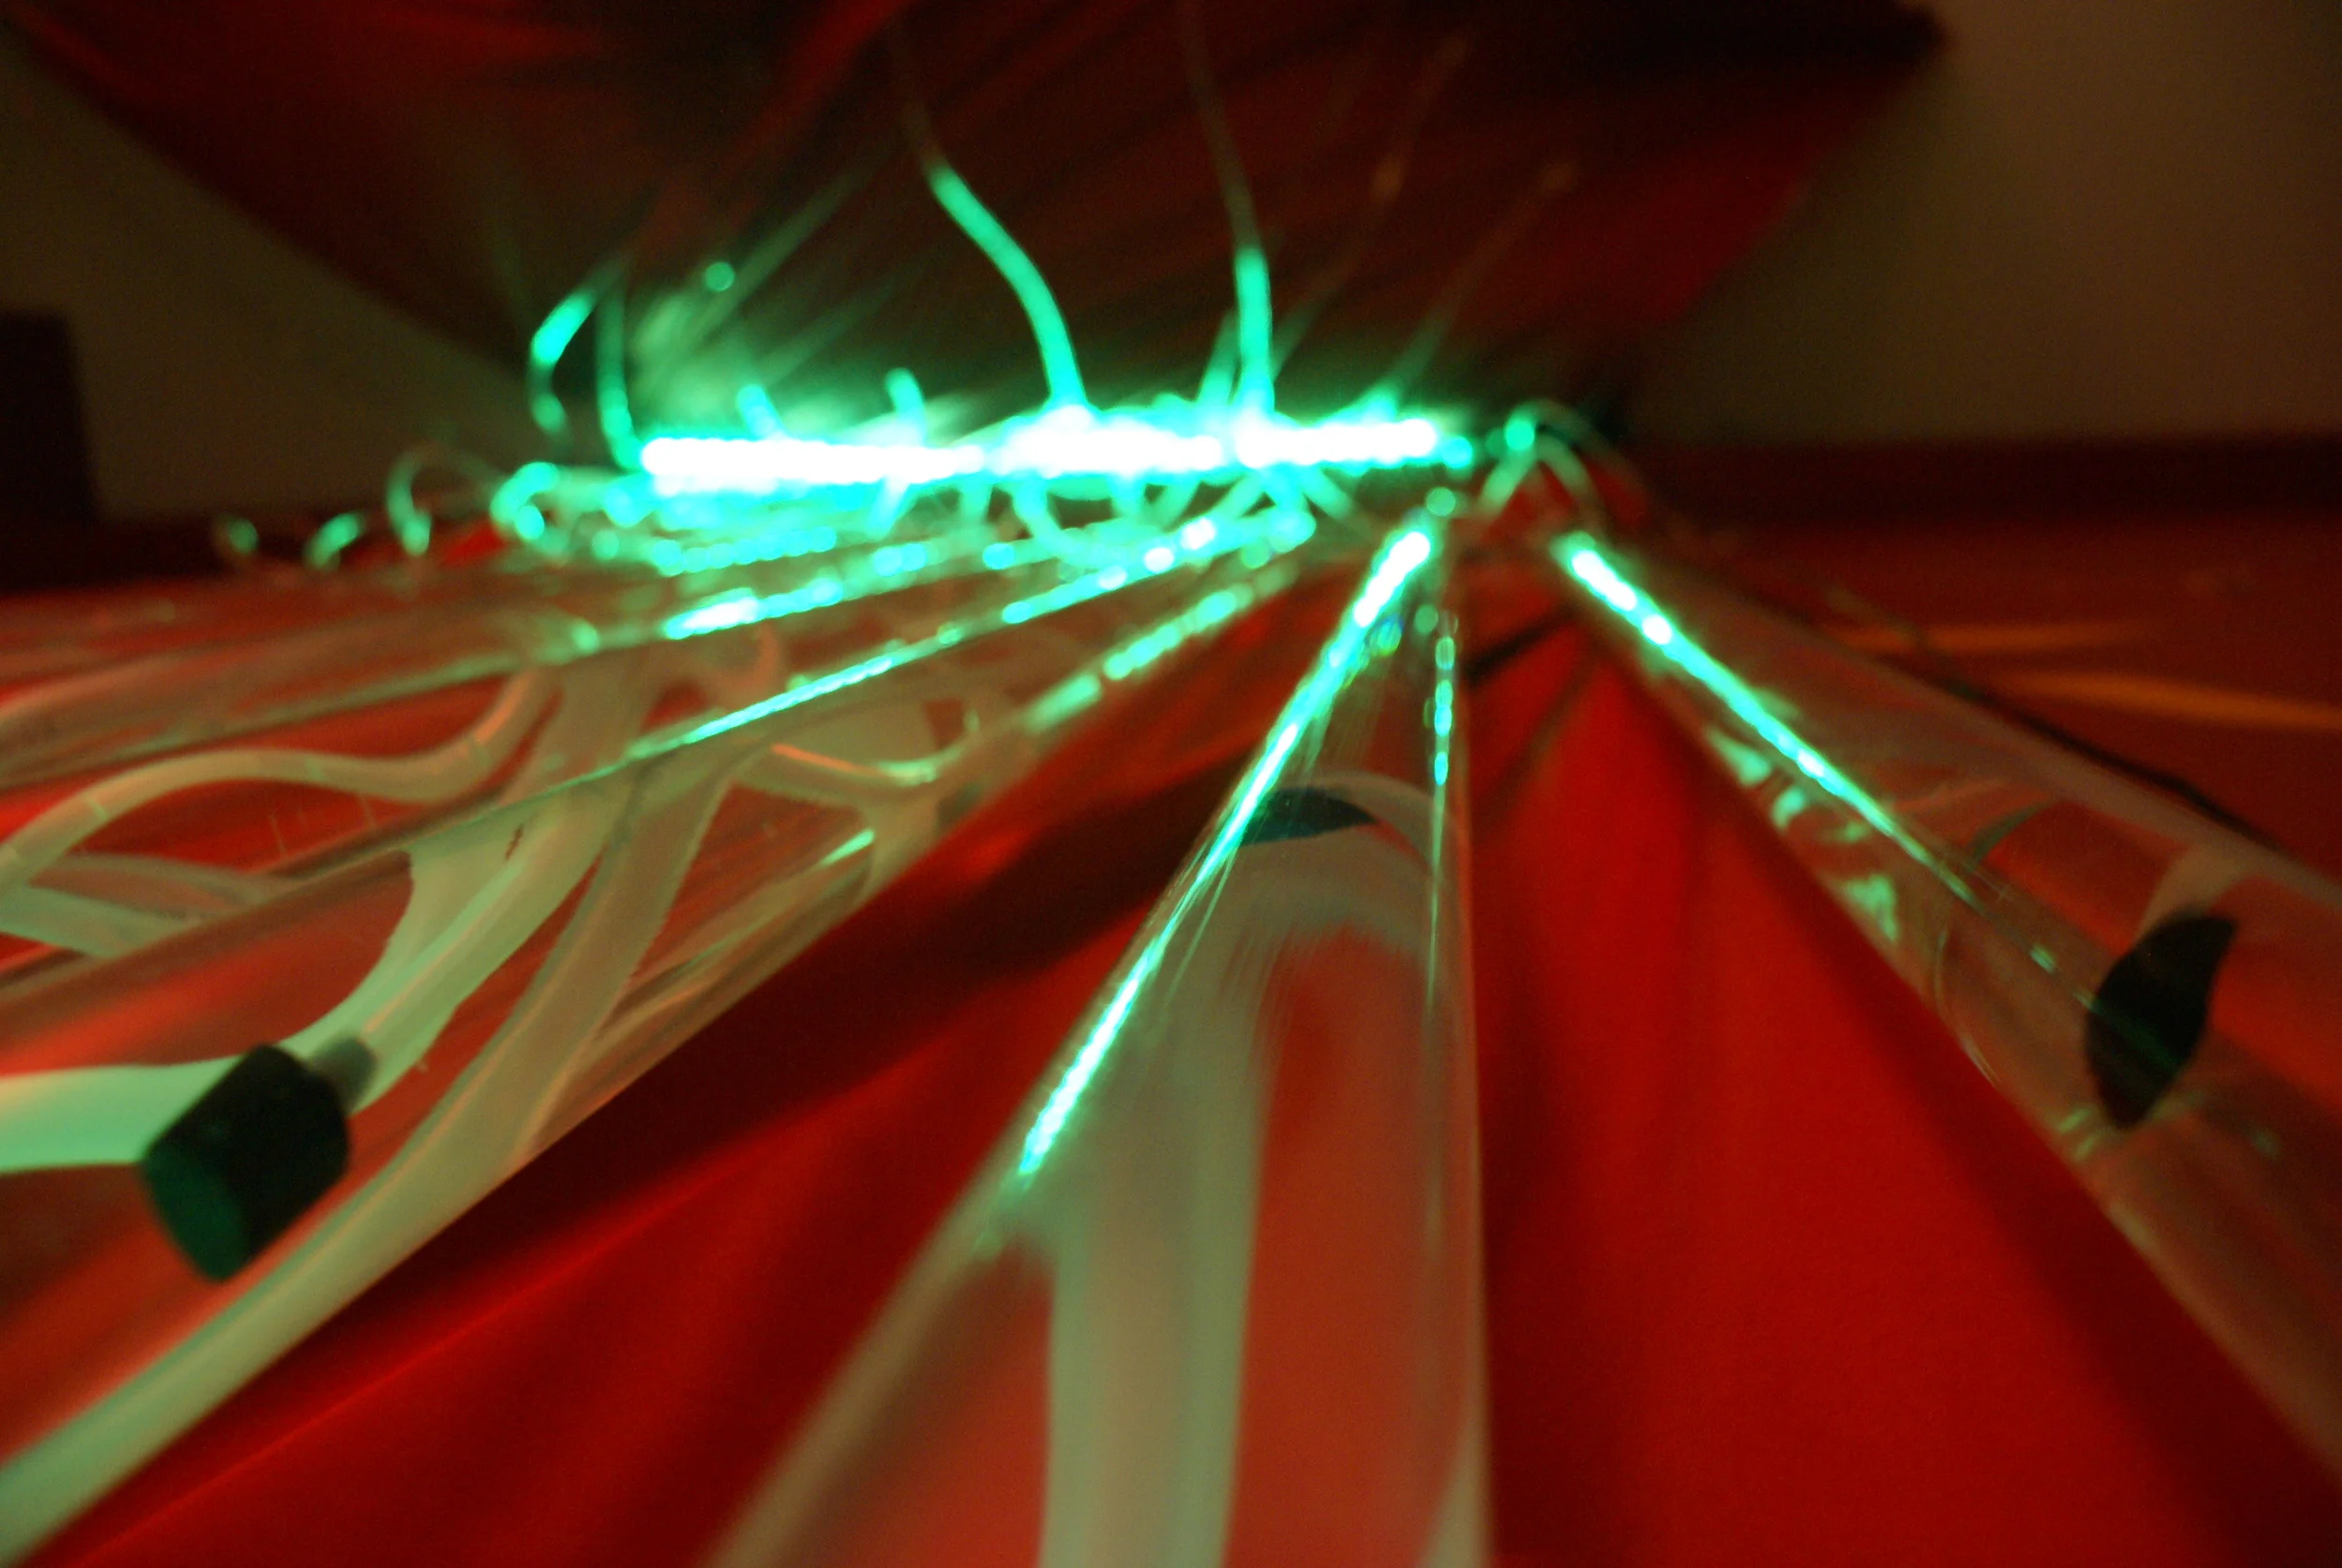
Synaesthetic Arboretum was an installation built in collaboration with Katy Gero for Steer Roast 2011. Our goal was to create a dynamic display that explored the intersection of art and engineering through the movement of water.

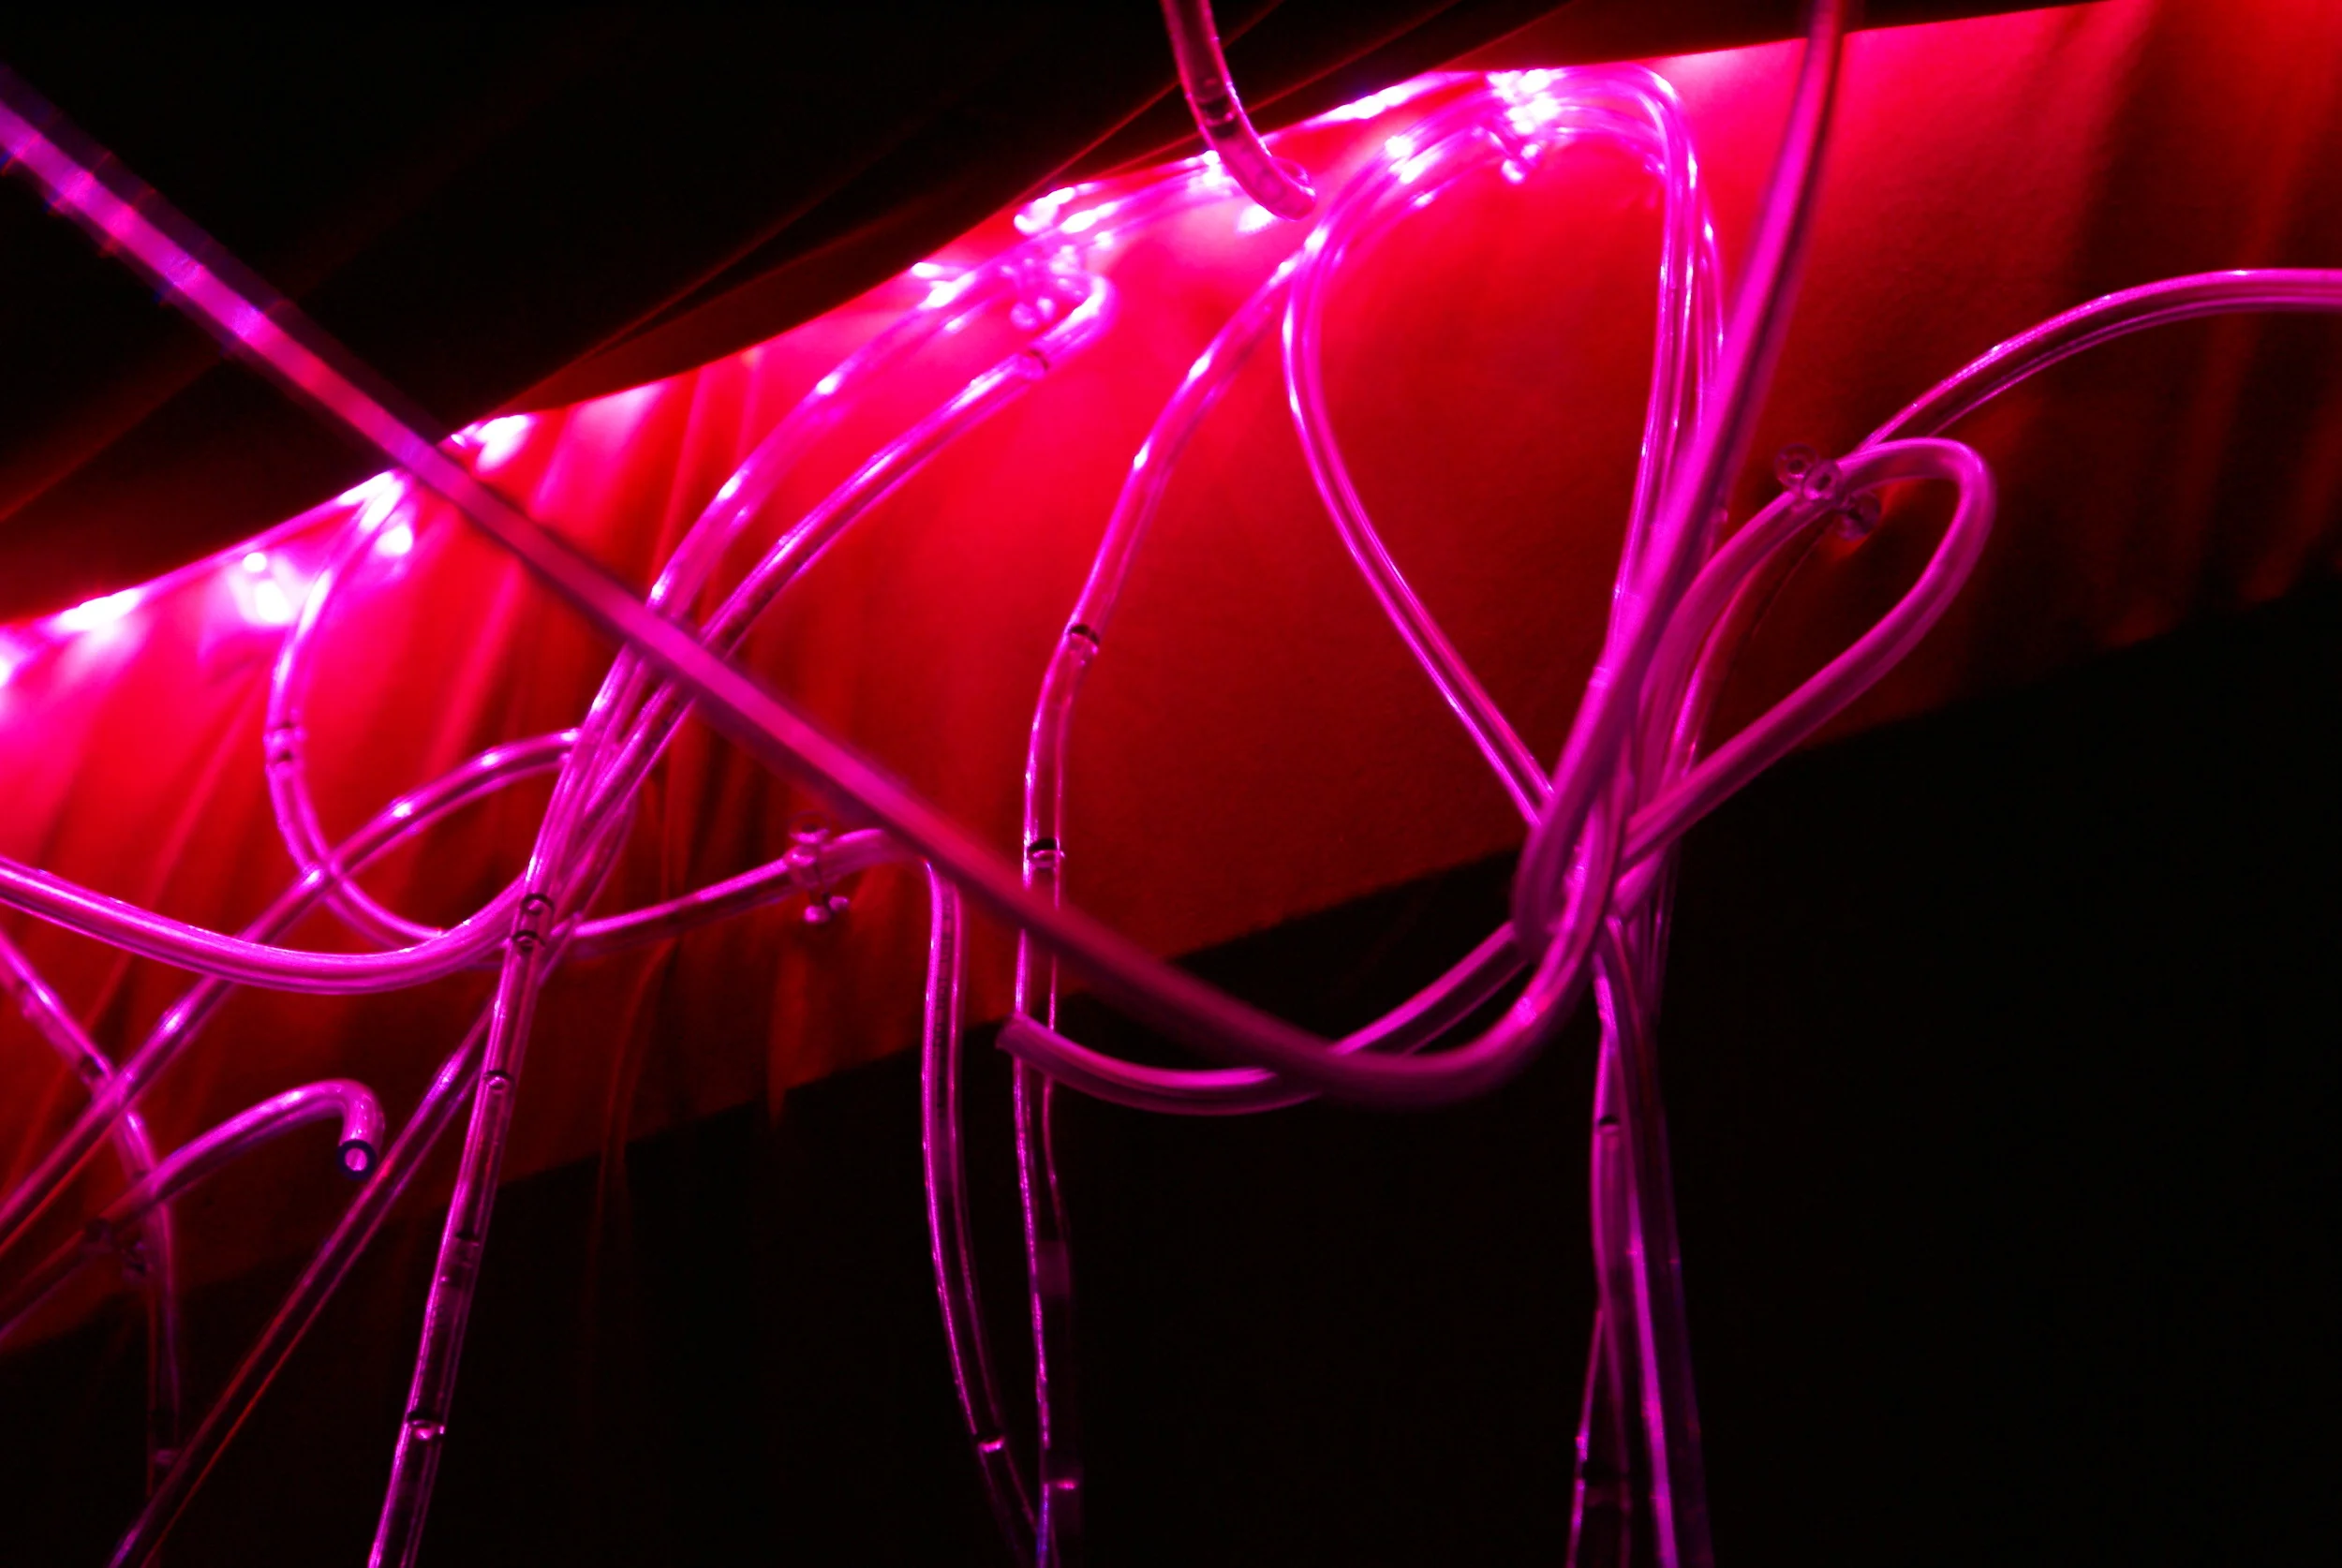
The installation incorporated ten vertical acrylic tubes filled with water and placed in a waterproof casing. Aquarium air stones were placed at the bottom of each tube to produce air bubbles. I designed a circuit to actuate the air pumps using a relays and a microcontroller. Programmable LED strips were placed inside the casing and at the top of the installation to highlight the movement of water through the sculpture.

This project was made possible through generous donations from the MIT Council for the Arts and LeafLabs LLC.

Radiant Acrylic

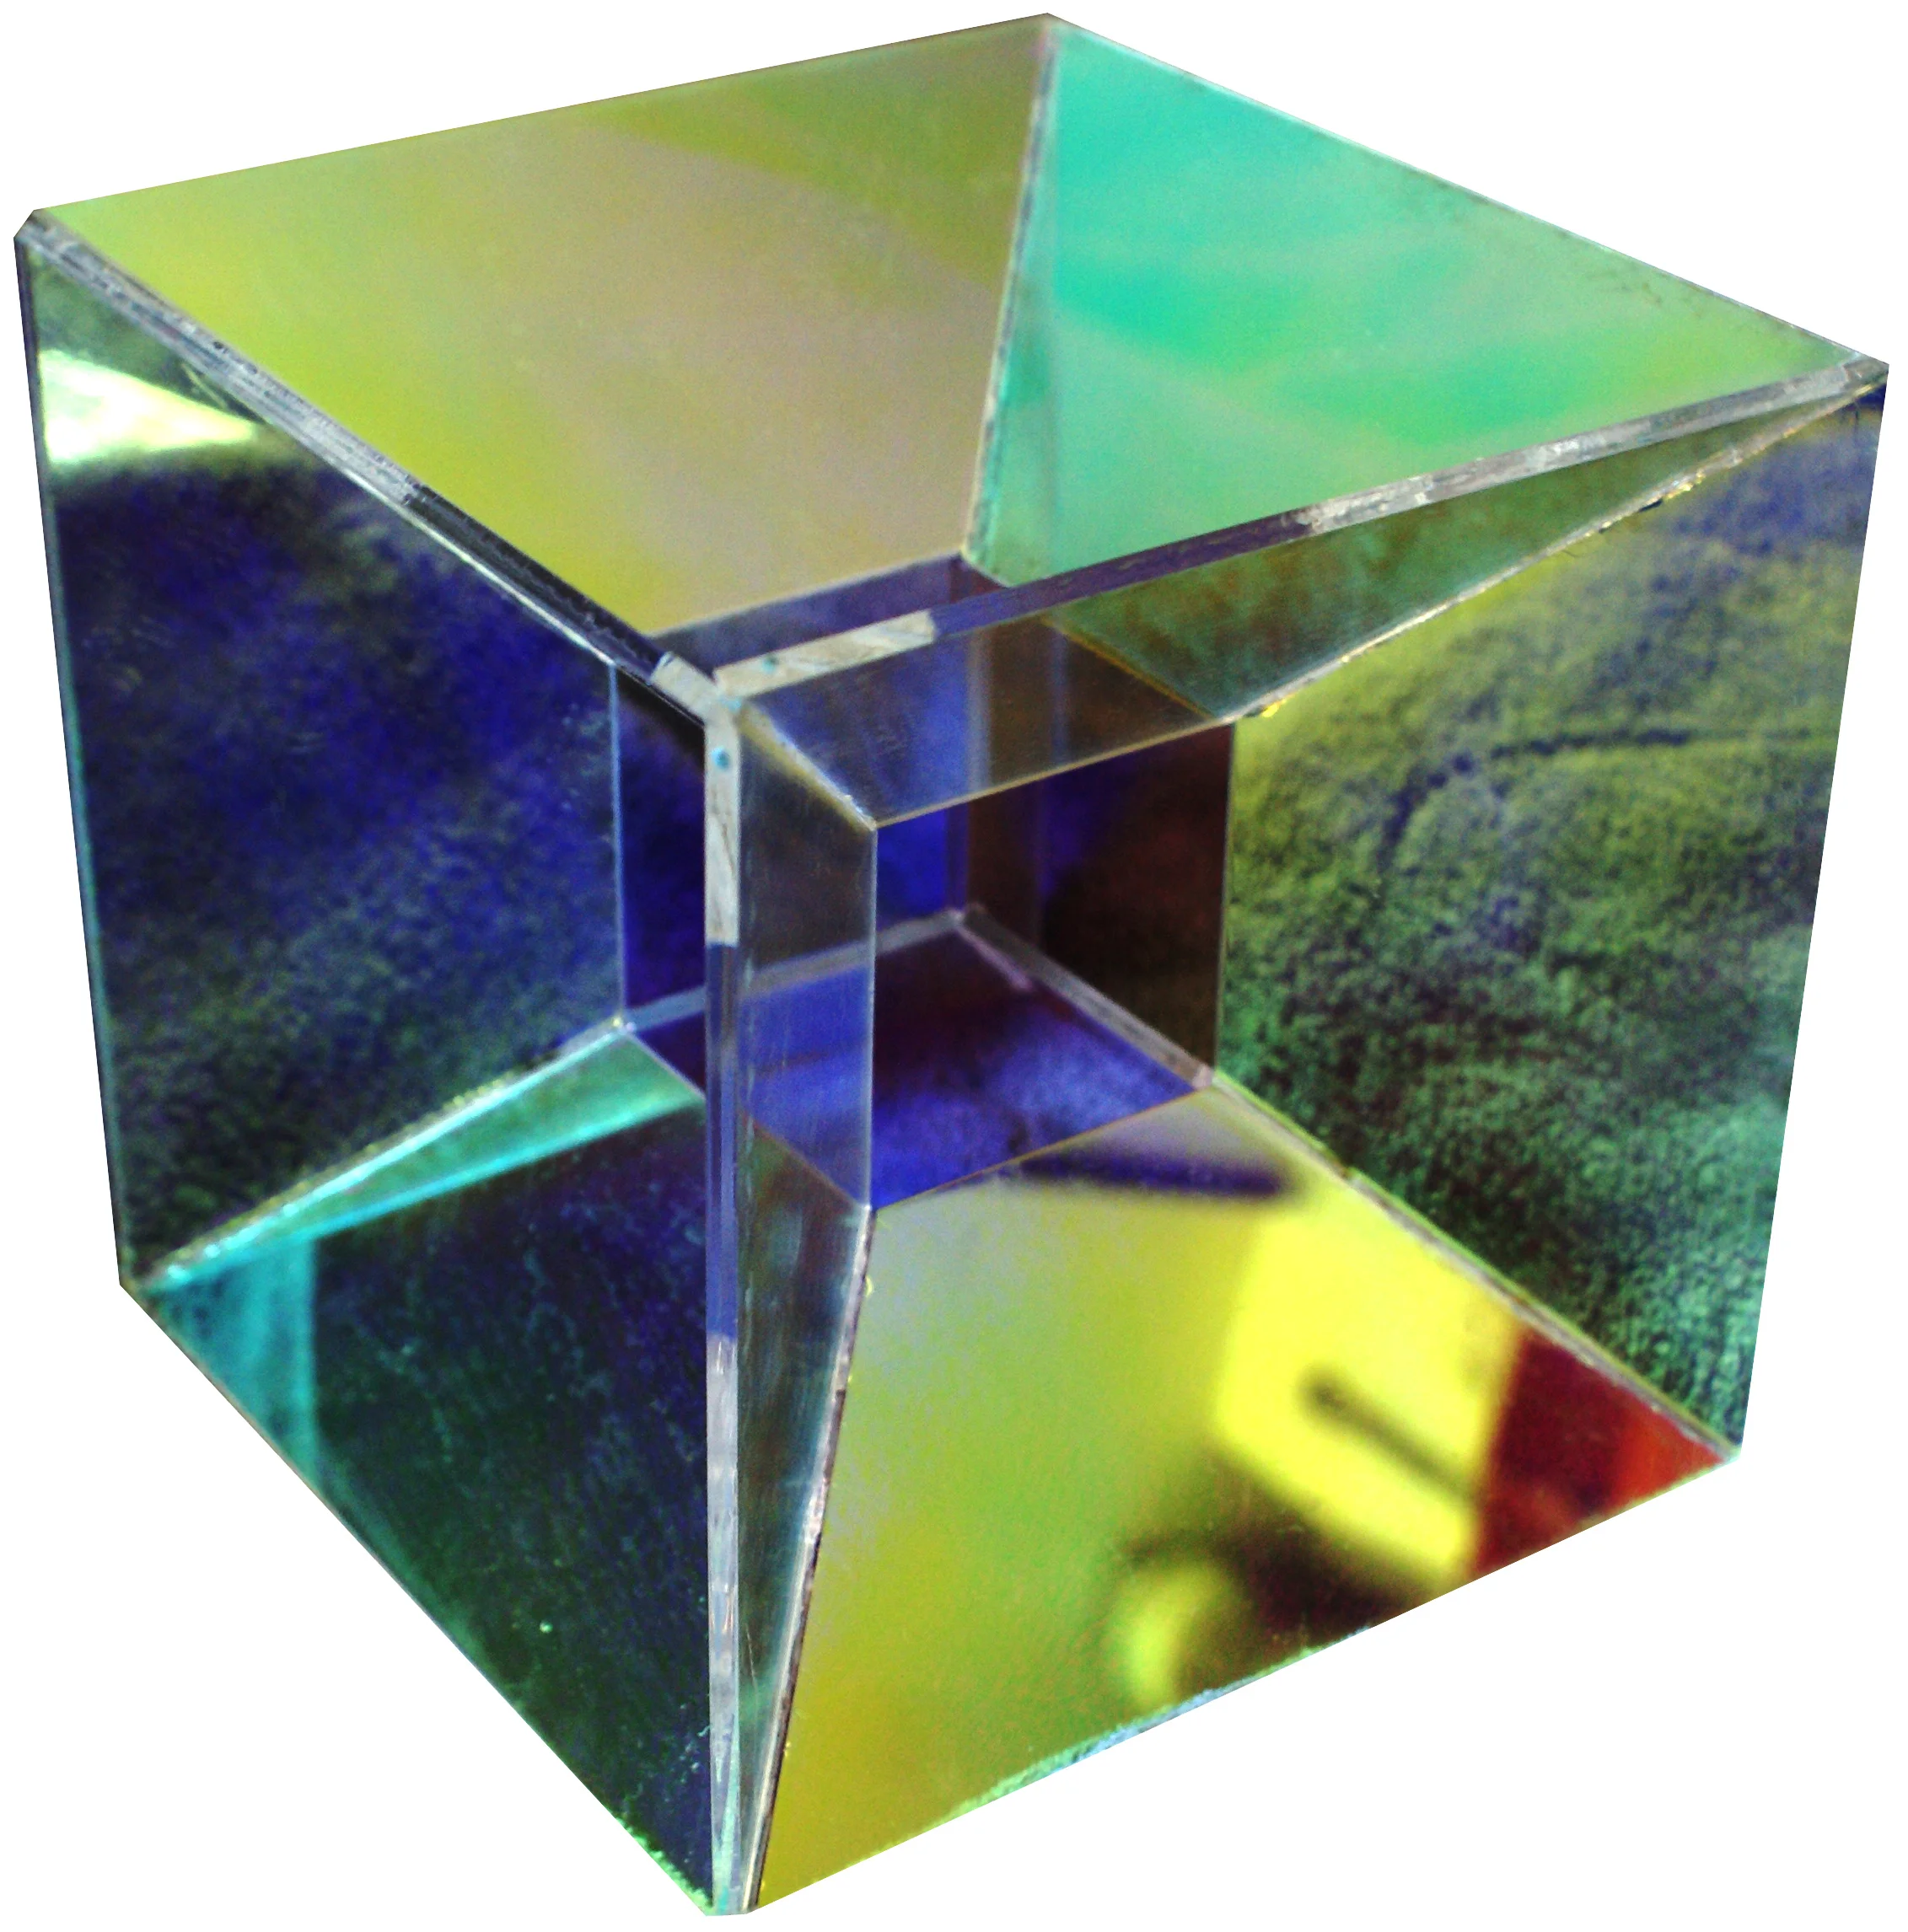
I've worked on a number of projects using PMMA-coated acrylic, which diffracts light in a unique way. Due to Bragg diffraction, the acrylic appears to be a different color depending on the angle at which it is held.

POLYHEDRA

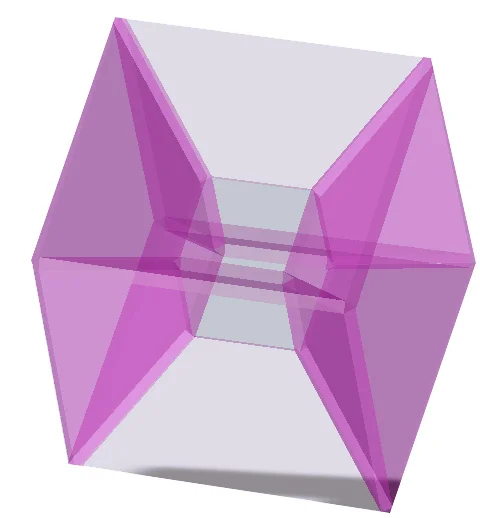
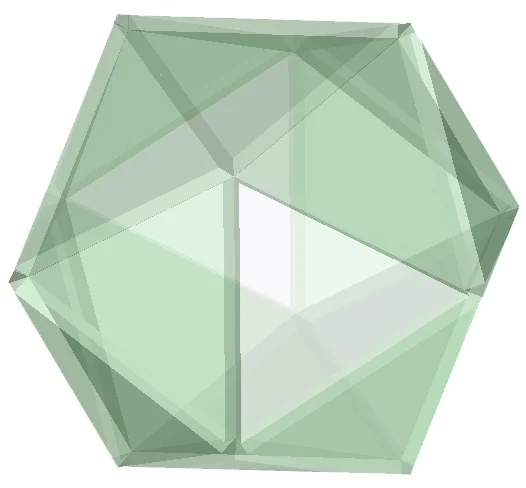
In 2010 I modeled and built polyhedra using regular shapes cut from acrylic to experiment with the way light interacts with PMMA faces set at different angles and the aesthetic differences between open and closed solids.

CHANDELIER

In 2012 I built a chandelier and hung it under a skylight where air currents and diffuse lighting produced a kaleidoscope of shifting colors and reflective patterns.

WalkerBot

WalkerBot was built for: 2.007 - Design and Manufacturing I. The class presented an "Az-Tech" design challenge where students had to build robots that scored points by either throwing a ball through a hoop or placing a codex at the top of a stepped pyramid. Additional constraints were placed on how robots could move; for example, extra points were awarded if the robot didn't use any wheels.

For this challenge, I built a 6-legged walking robot with an extensible arm that could pick up and place a codex at the top of the pyramid. Simple prototypes of the arm and leg mechanisms were built and refined before the finished product was assembled.

PingPong++

PingPong++ is a ping pong table that senses ball hit locations and displays projected visualizations based on the hits. I designed, machined and assembled a controller for users to switch between visualizations on the table, and programmed an Arduino microcontroller to run the controller. I also programmed a new visualization using Processing and designed and soldered a PCB to run the table.

I worked on PingPong++ as a research assistant under Xiao Xiao in the Tangible Media Group at the MIT Media Lab.

Telescope // when the ball hits a target it resolves into a star that forms a constellation

Telescope // when the ball hits a target it resolves into a star that forms a constellation

MirrorFugue

MirrorFugue is a set of interfaces on a piano designed to visualize the hand gesture of a remote collaborator. I designed and built a casing from wood and acrylic which integrated these interfaces into a single standalone system. The design had to accommodate both a large projector and a webcam positioned above the keys to record the user’s hand movements. 

I worked on MirrorFugue as a research assistant under Xiao Xiao in the Tangible Media Group at the MIT Media Lab.

Machined Paperweight

ppwt-web.jpg

As part of an exercise for 2.008 - Design and Manufacturing II, I machined an aluminum paperweight. The profile of the piece was turned on a CNC lathe and the face design was made using a CNC mill. 3D concept design was done in SolidWorks and 2D projections were imported into Mastercam to produce toolpaths that were run on CNC machines.