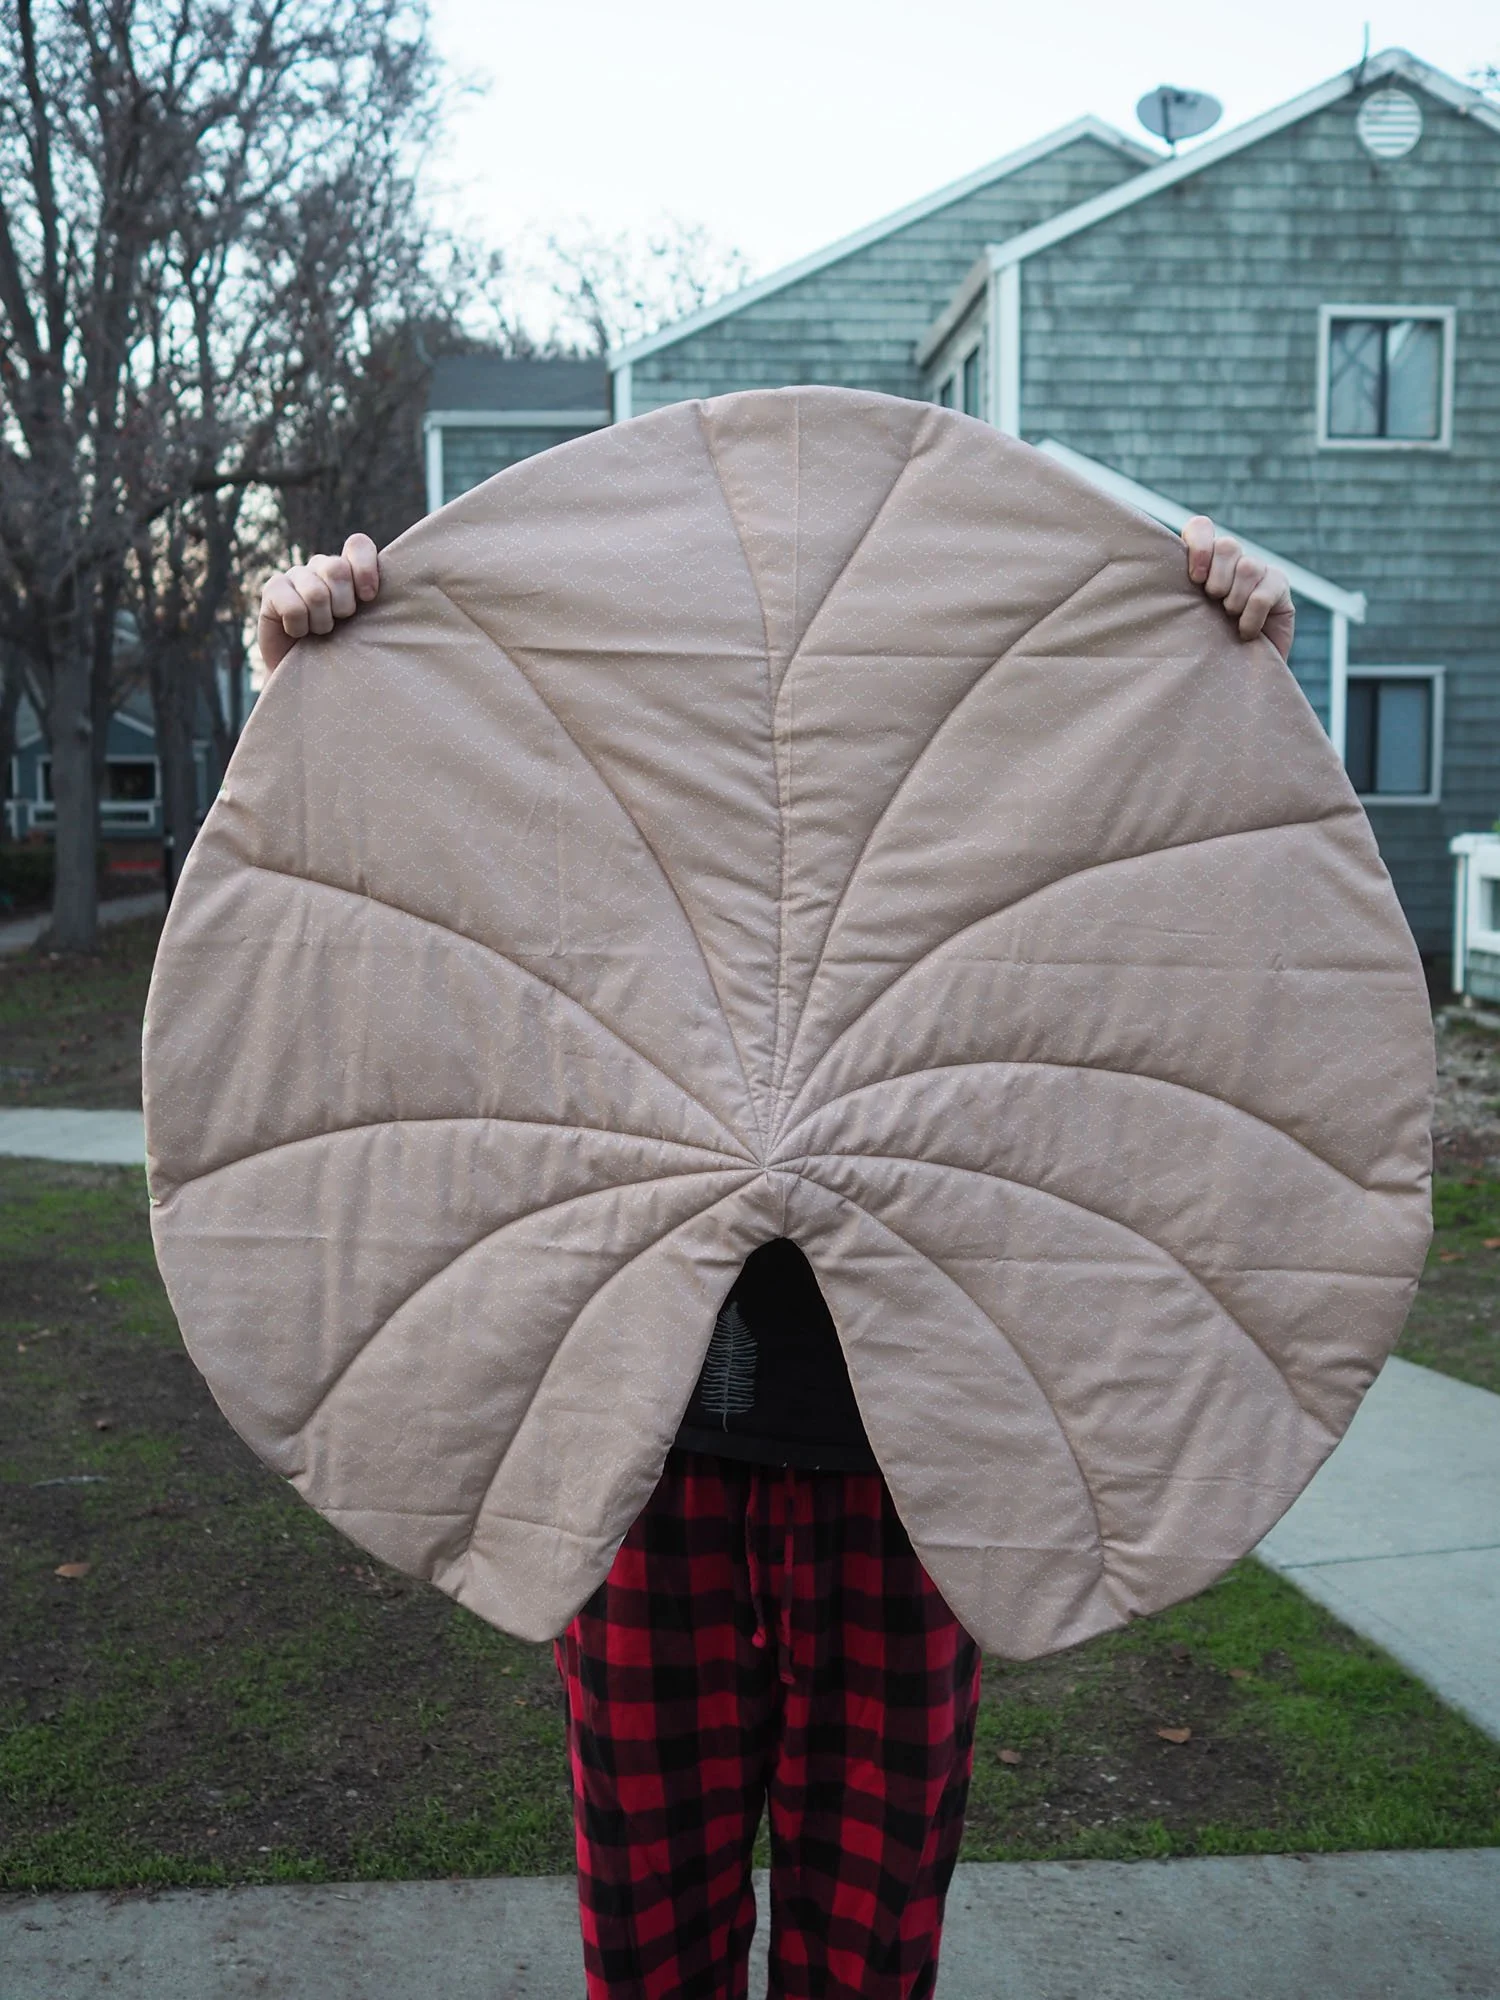
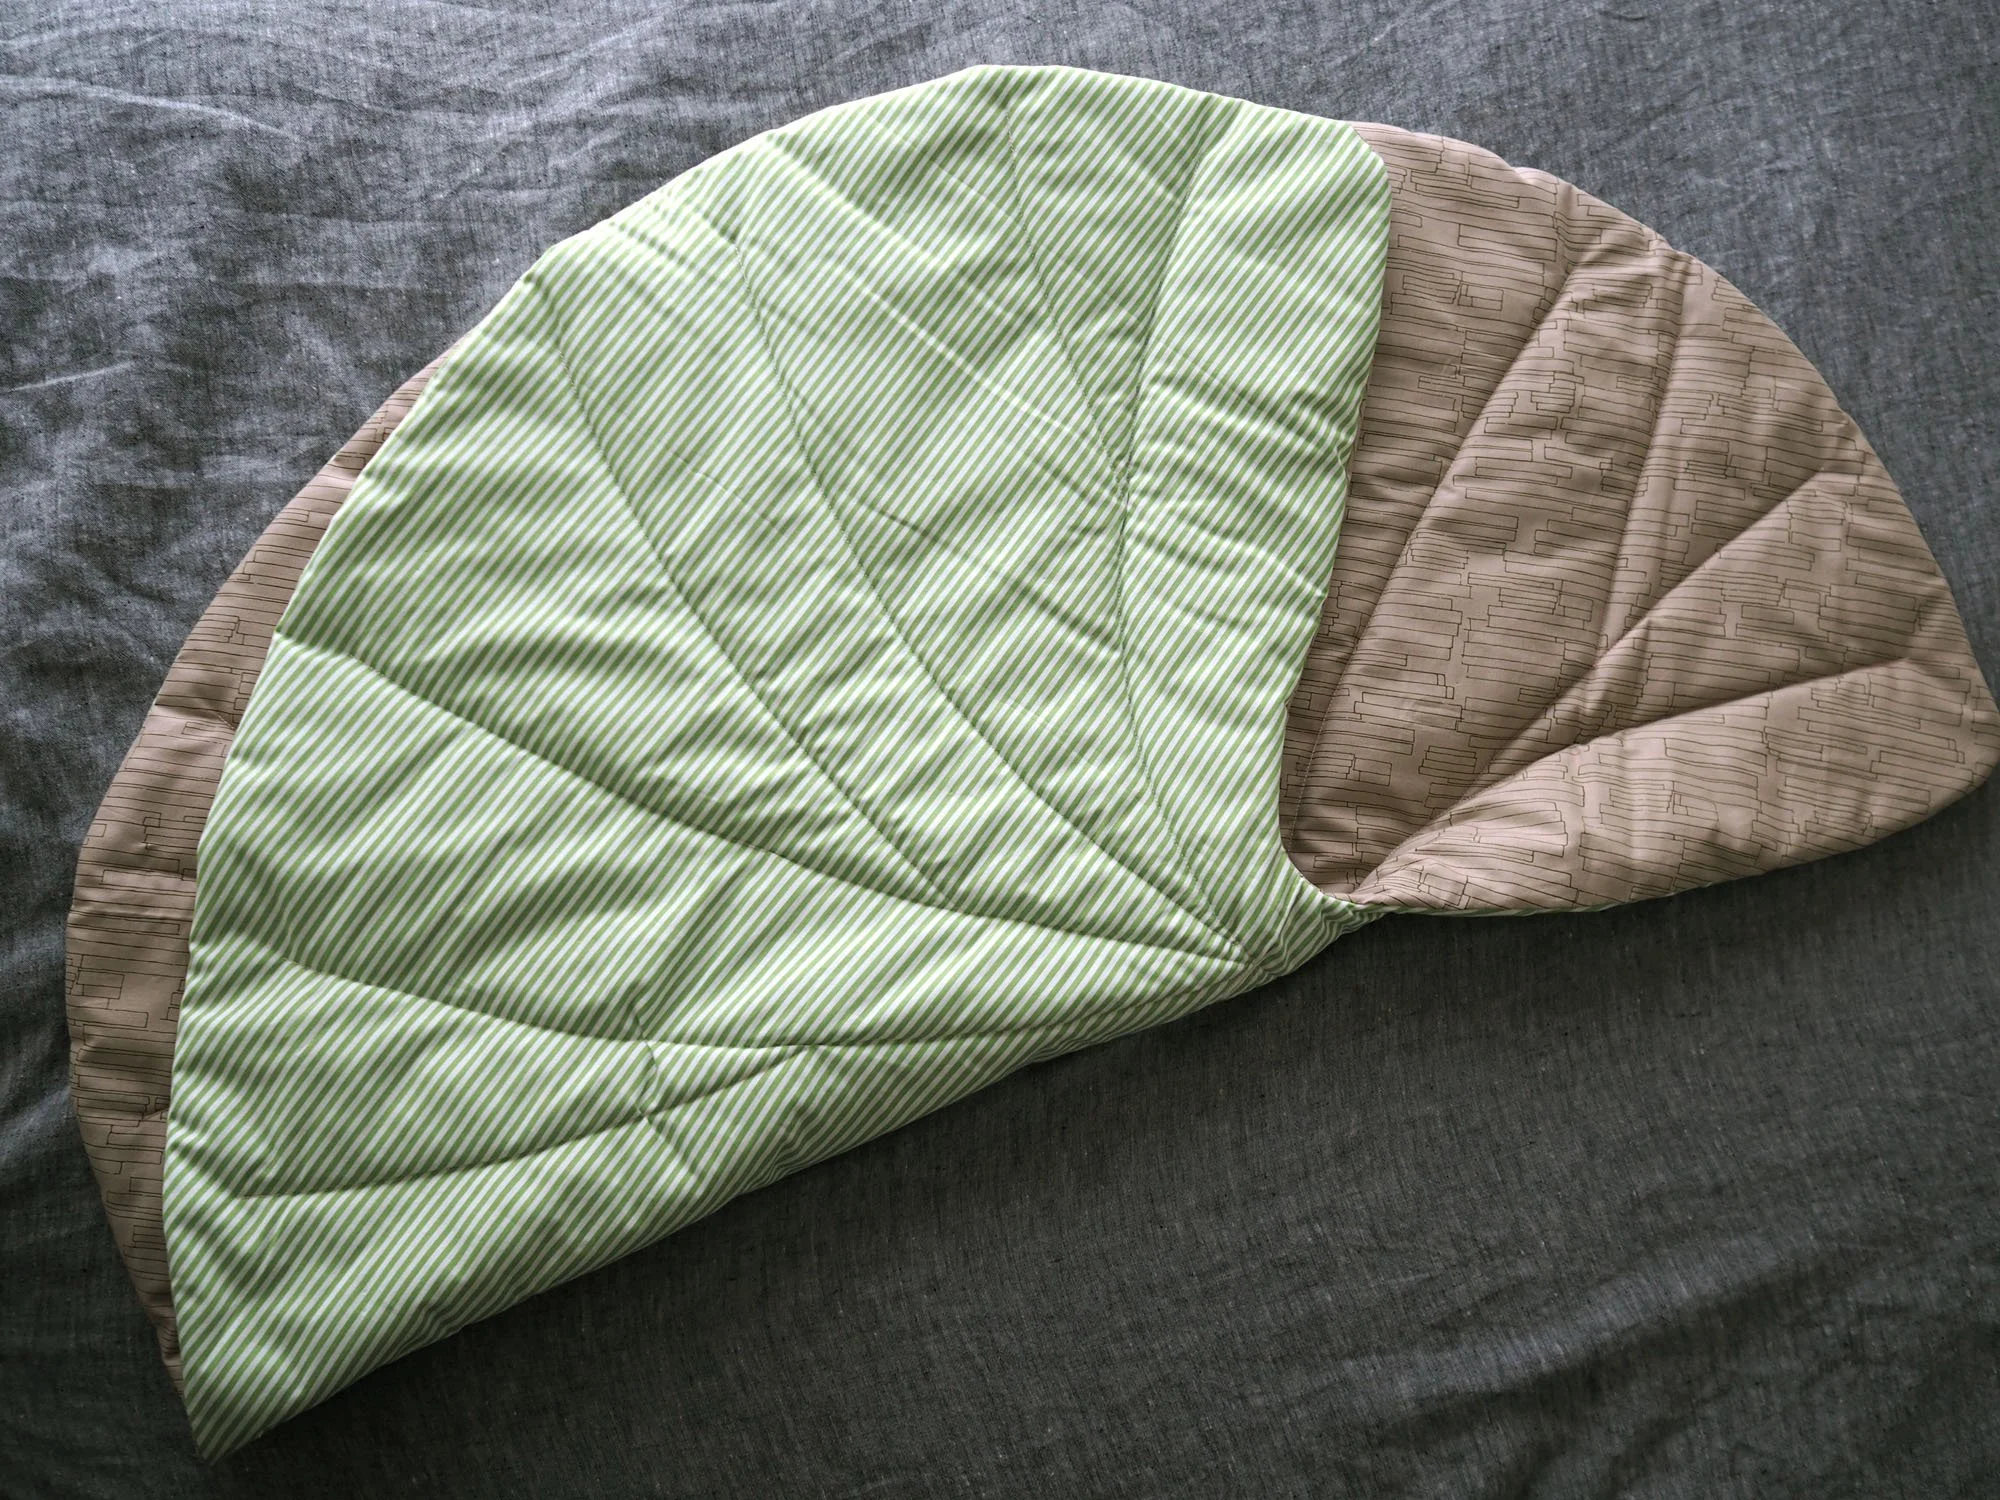
Lily Pad Mats

Pattern/Technique: Twig & Tale Lily Pad Blanket (from Tropical Leaf Blankets collection), large size

Modifications: None

Materials: 2 yds quilting cotton, 1 yd high loft quilt batting (bought a twin-sized high loft roll acrylic batting to make 2 lily pad blankets)

New skills: n/a

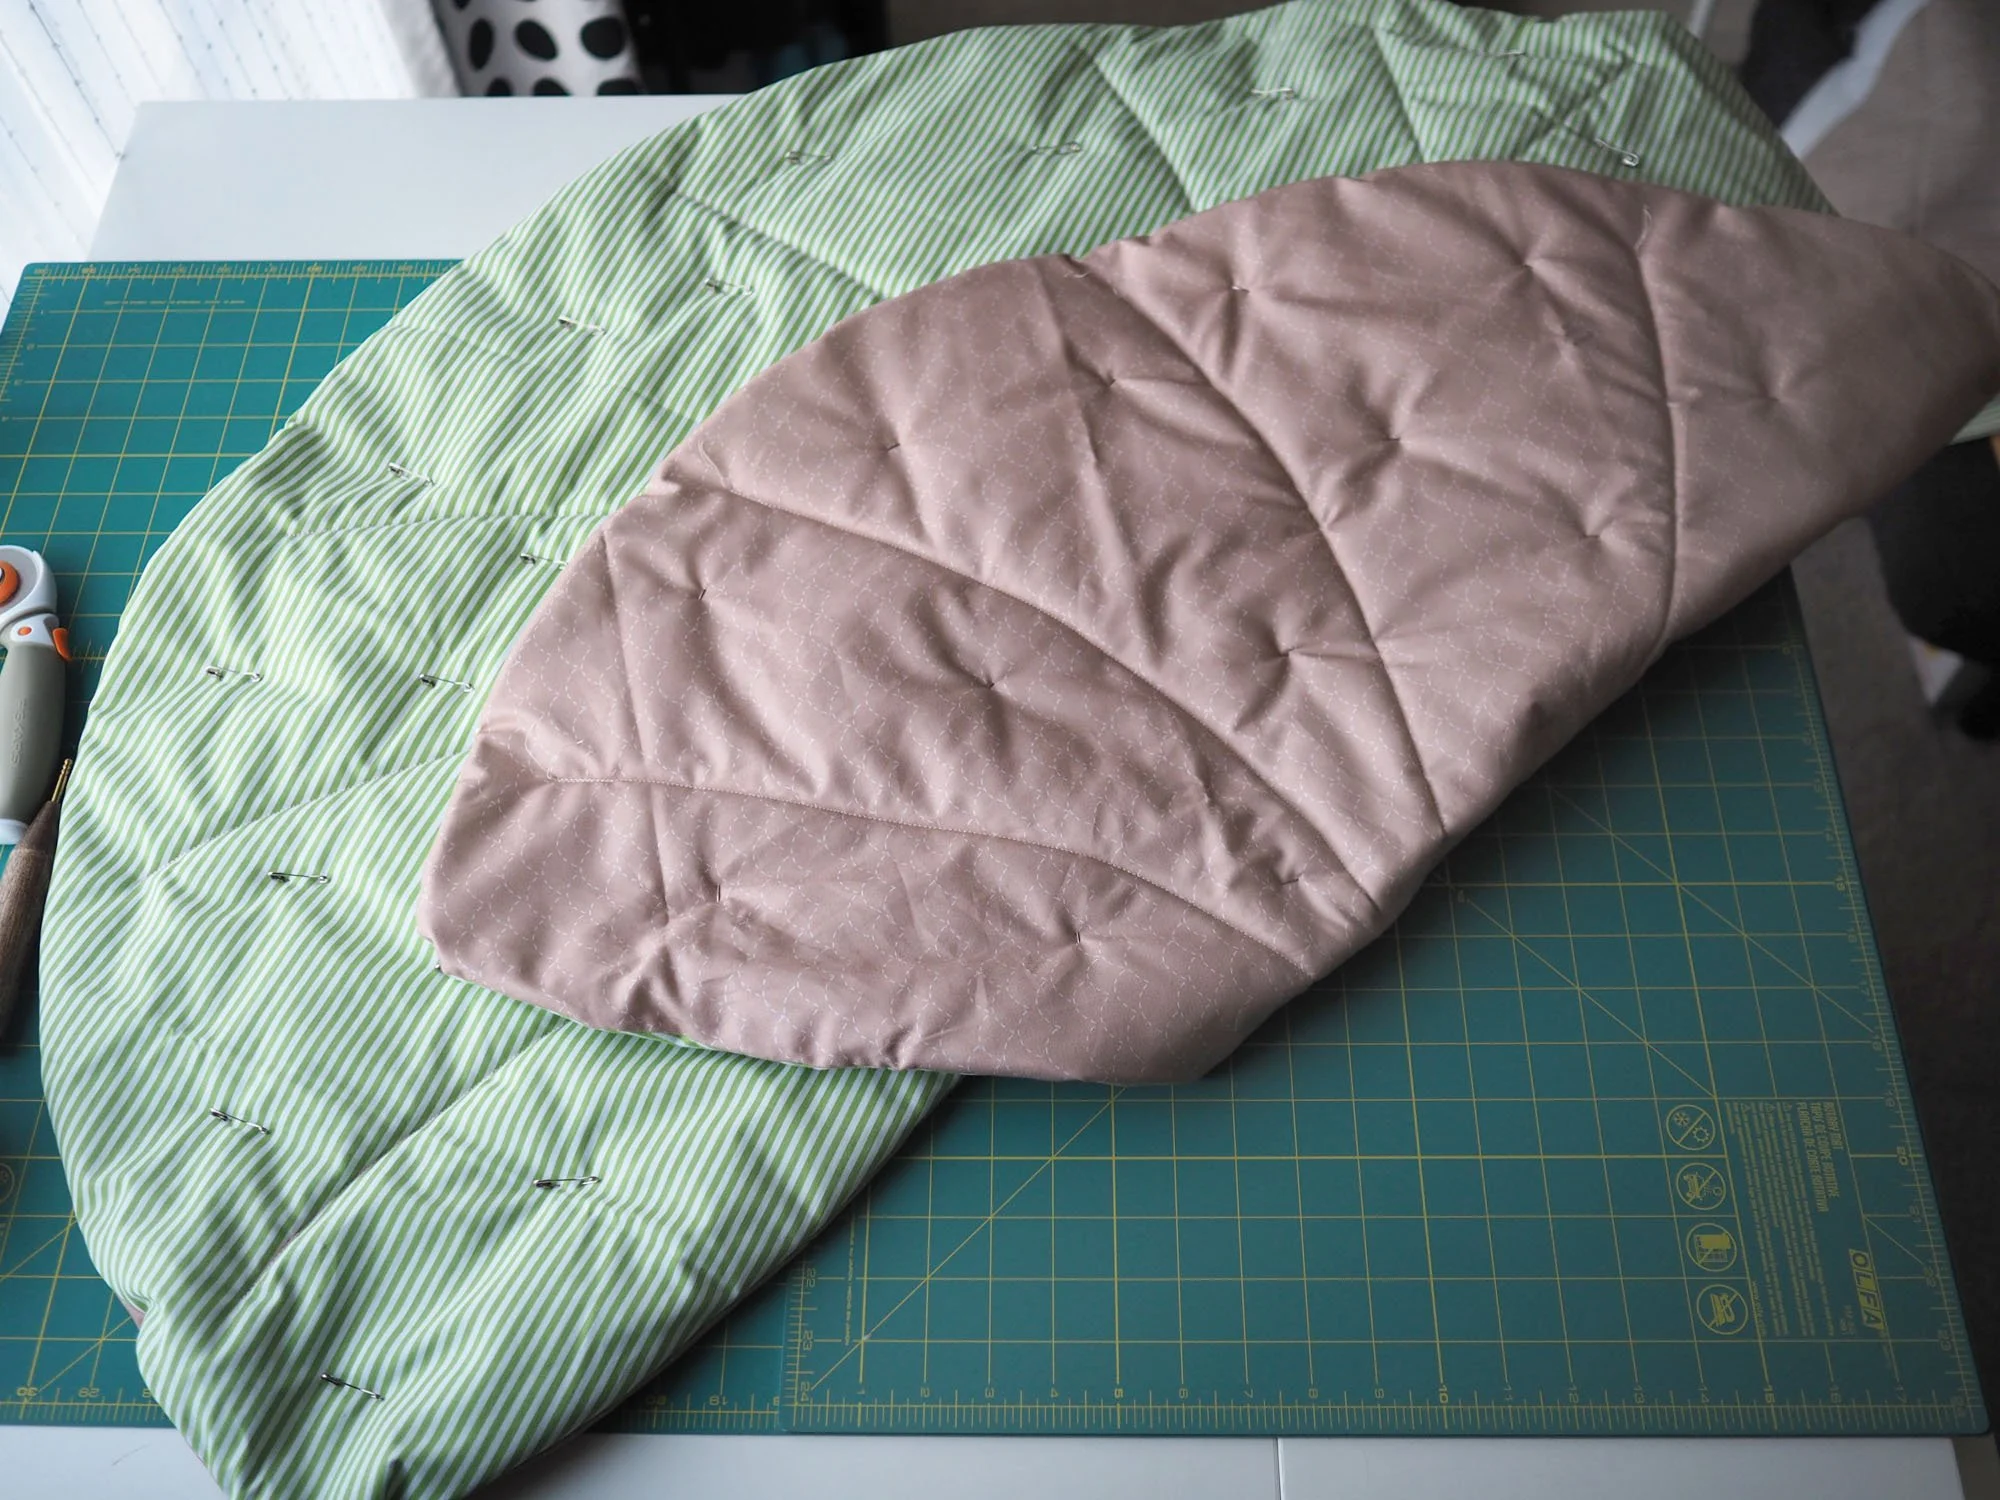
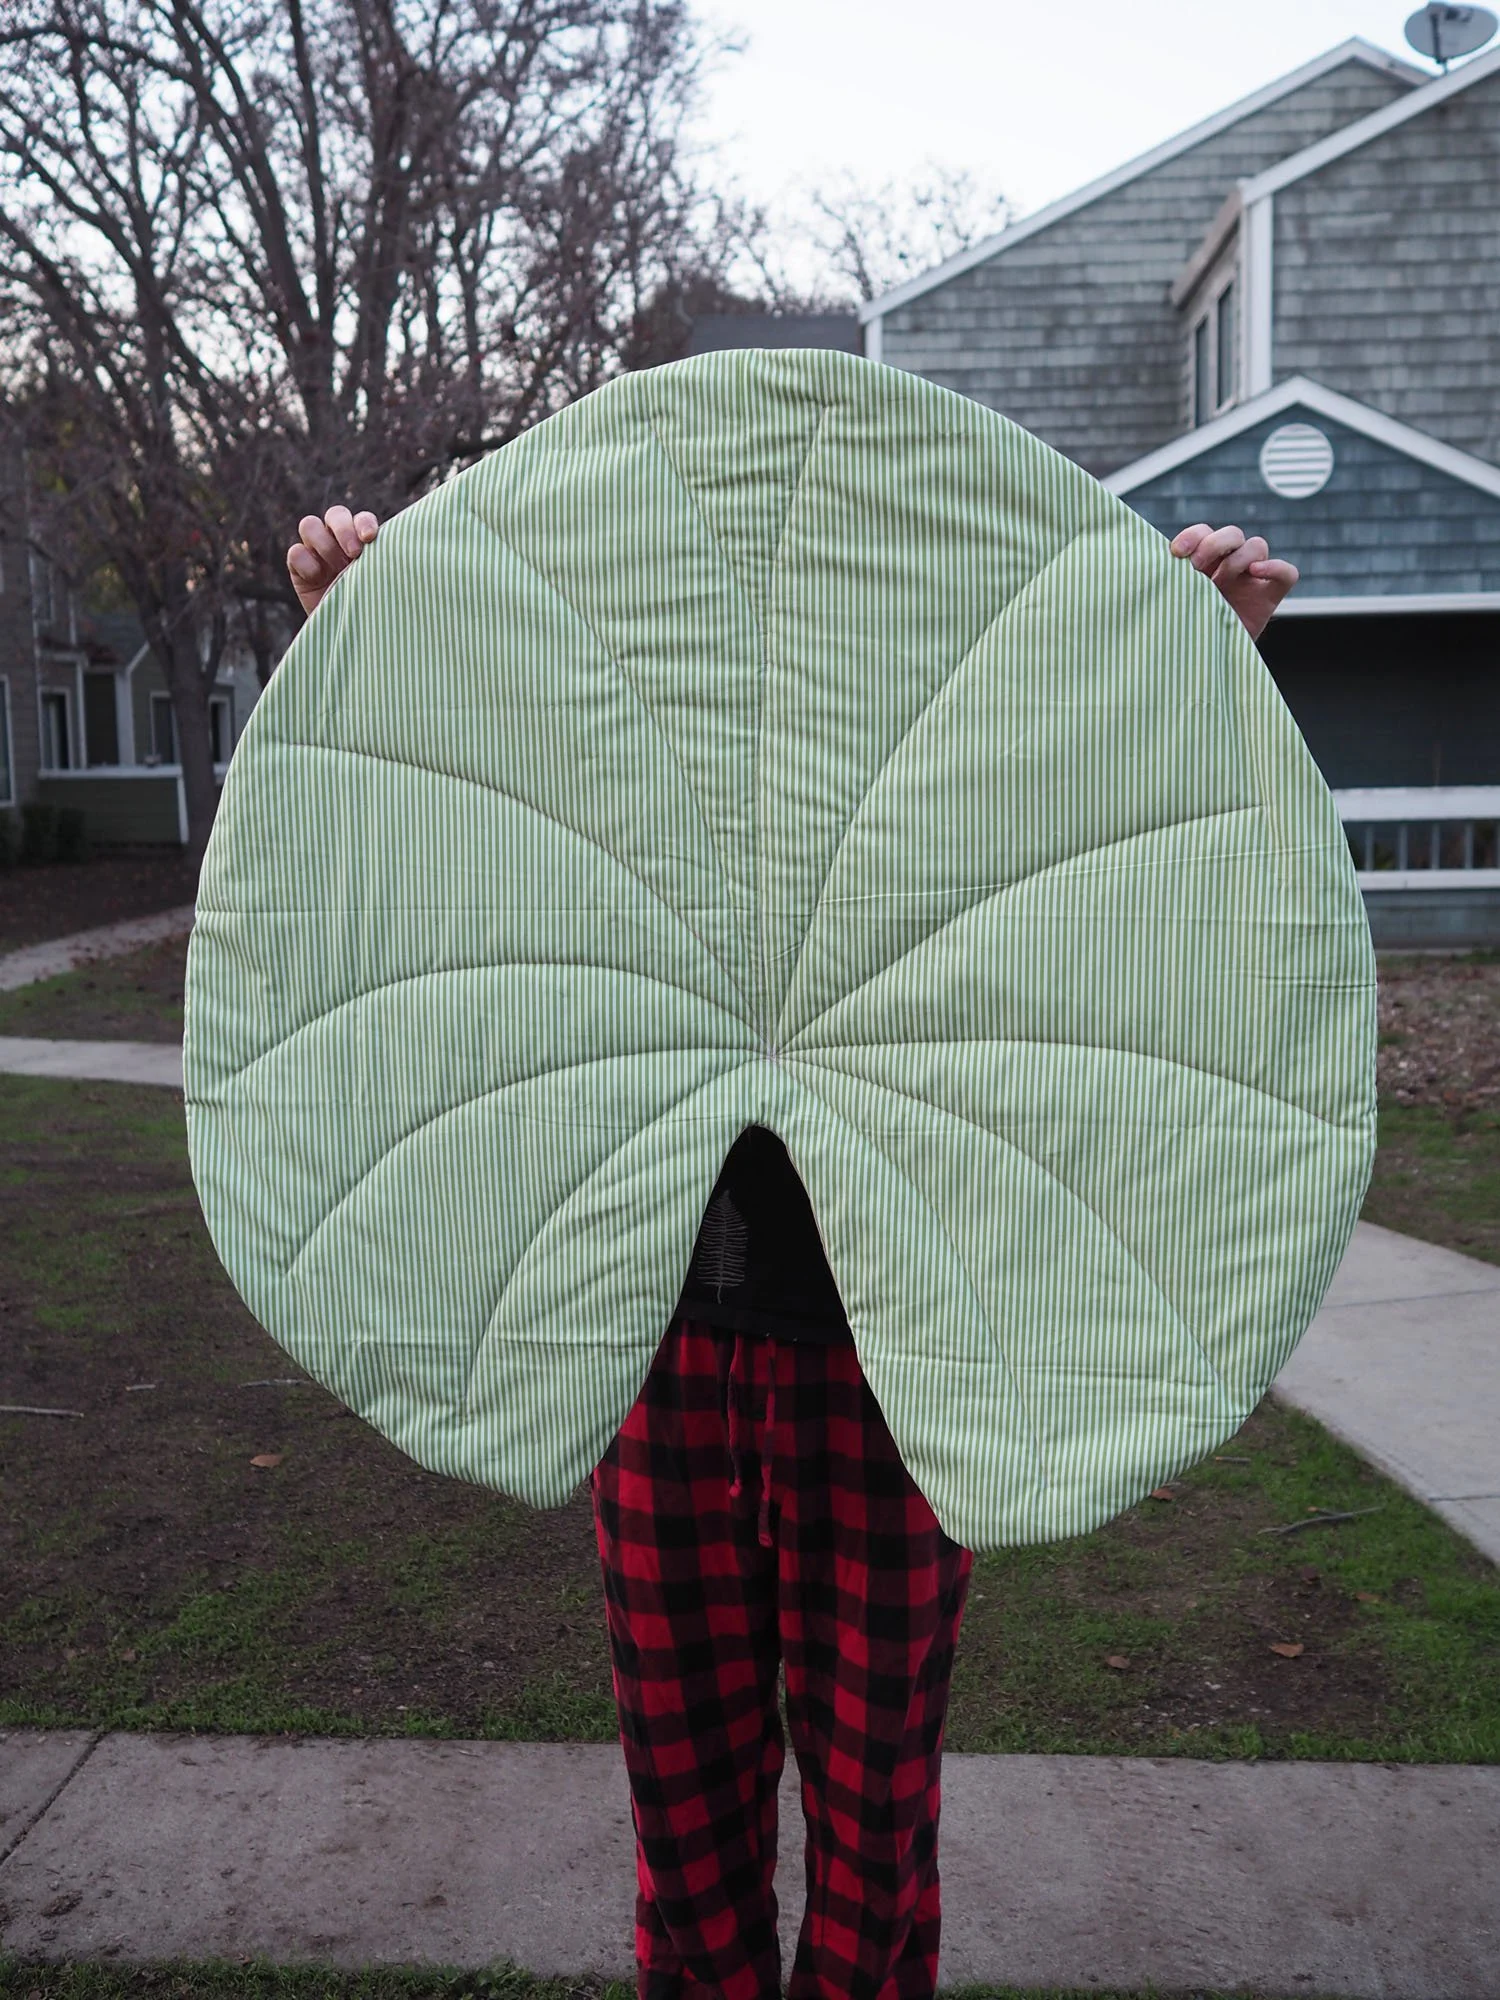
Lessons/Notes: After sewing the batting to the fabric layers (if I recall correctly, I sewed with the batting layer on top to prevent fibers from getting pushed into my machine), I used scissors to grade the batting so that it wouldn’t form a thick layer after turning the pad right side out. I also clipped notches around the tight curves to make a clean edge.

I didn’t use the template for the vein quilting, given the simplicity of the veins and the work required to make a template. Instead I used a chaco liner to sketch in veins and sewed over them.

While sewing the vein lines, I started at the intersection point with 5 0mm length stitches, then switched to a 2mm stitch and sewed toward the outside edge, backstitching for 1/2 inch then cutting the thread.

Bringing the bottom thread up to the top layer was extra important on this project, so that I didn’t end up with a thread nest at the intersection point of the veins.

What I'd do differently: I’m hopeful that the quilting lines are close enough to prevent the batting from bunching. If that proves to be an issue I’ll quilt closer lines in the future

Care: Machine wash, lay flat to dry
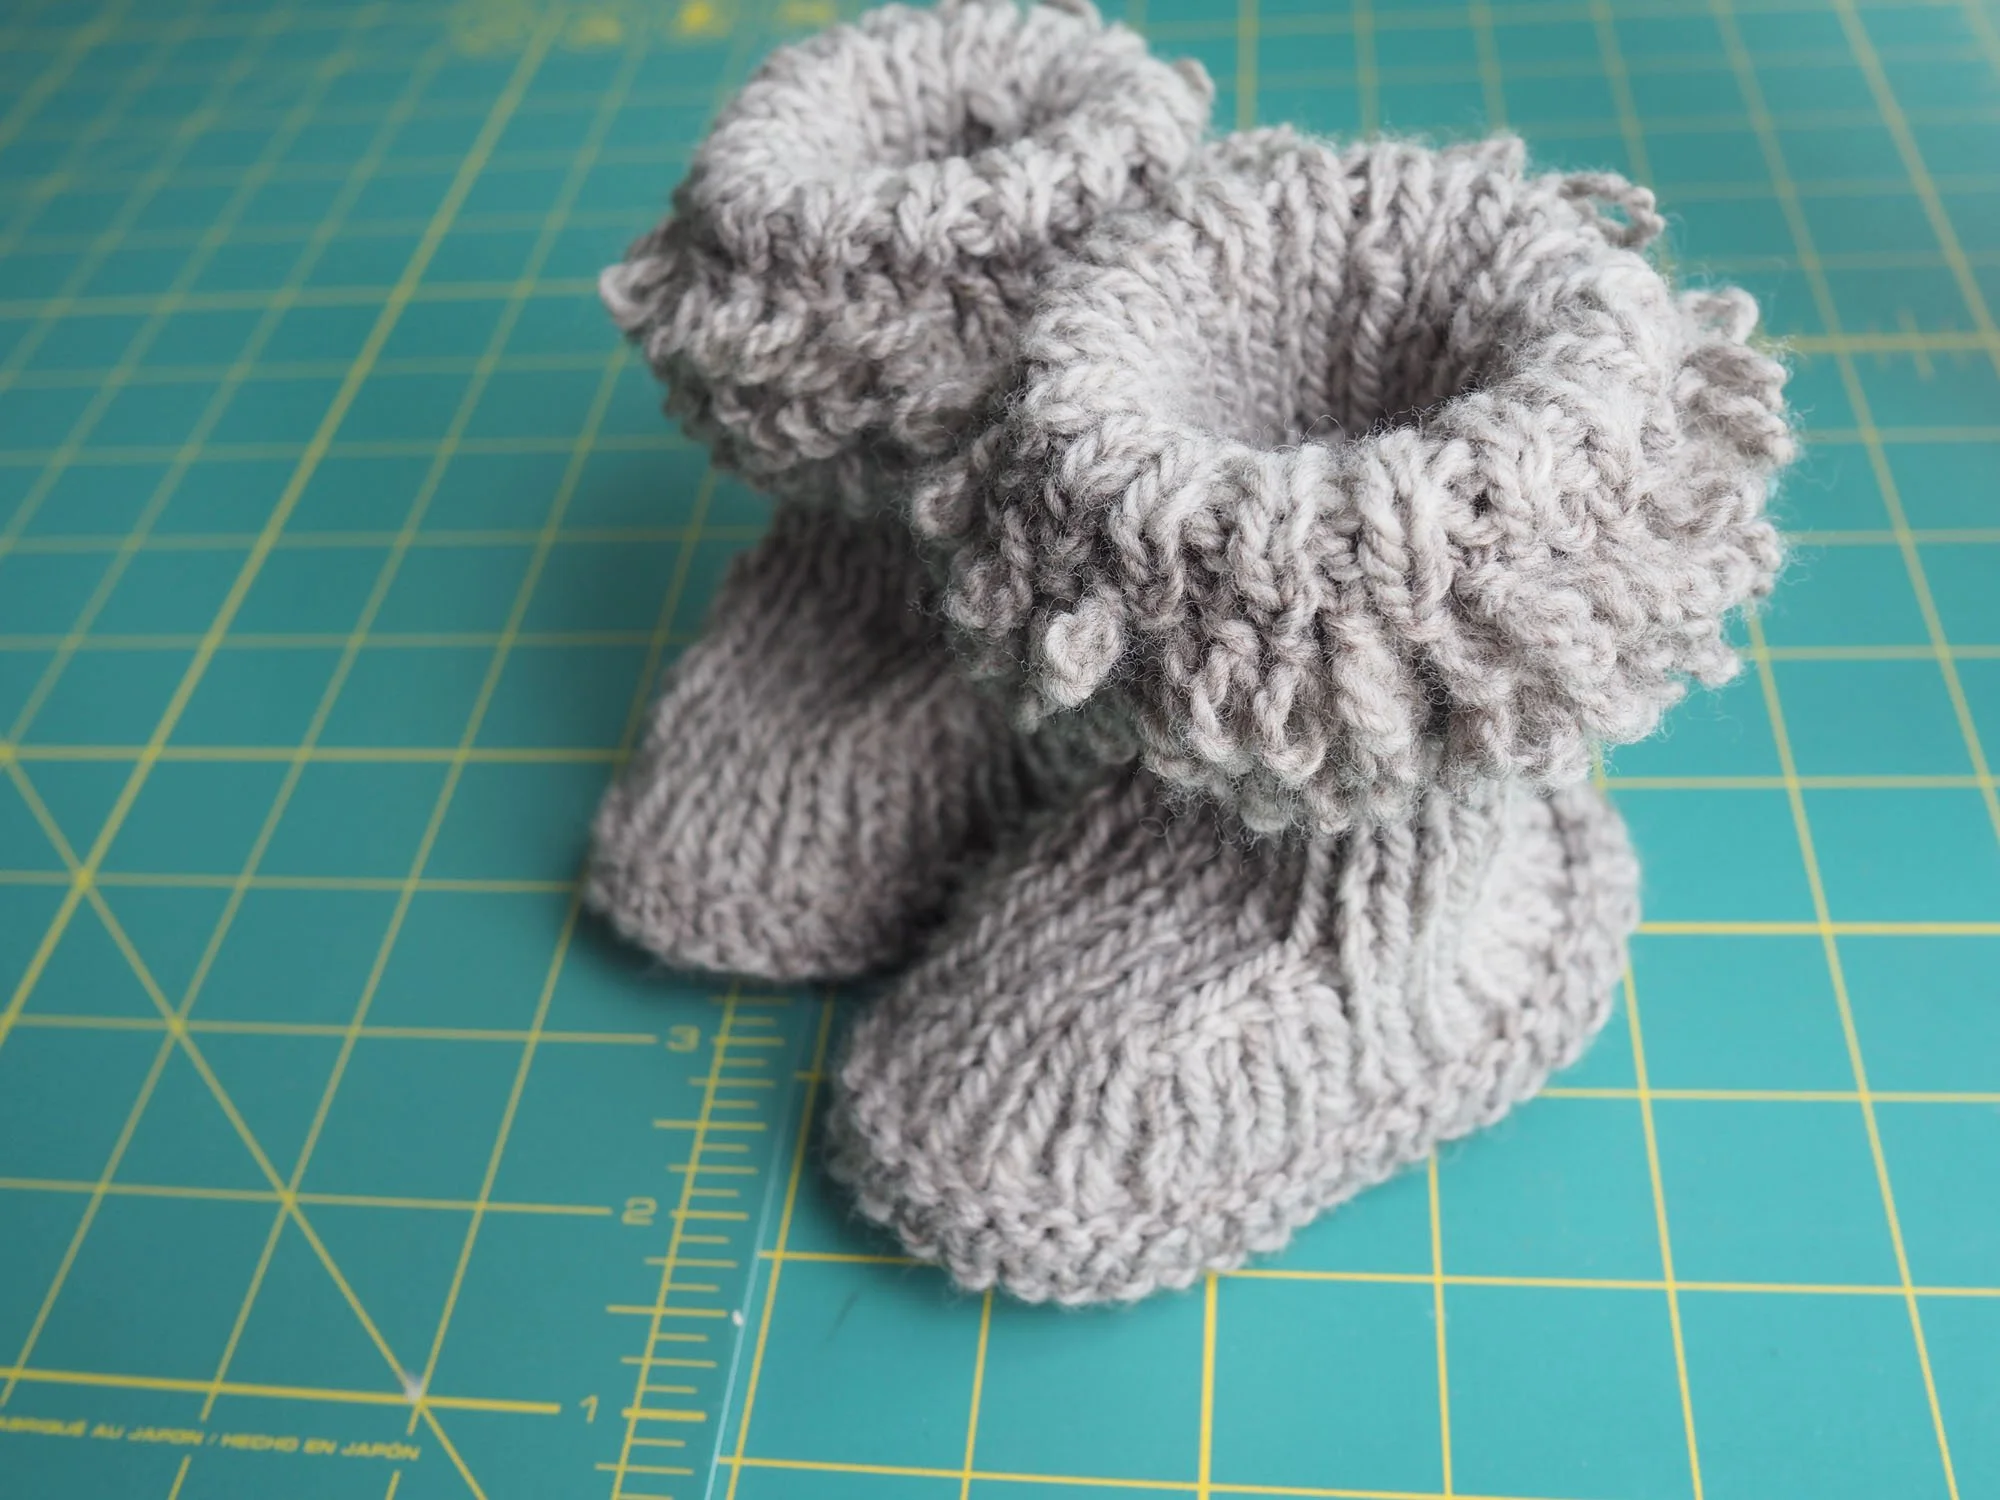
Grey Baby Booties

Pattern/Technique: Baby Boots by Appalachian Baby Design, size 6 months

Modifications: None

Materials: Mountain Meadow Worsted Laramie: 1 skein Medium Grey, 1 skein Dark Grey

US7 circular needle (diameter didn’t matter as the pattern is knit flat and seamed)

Pencil

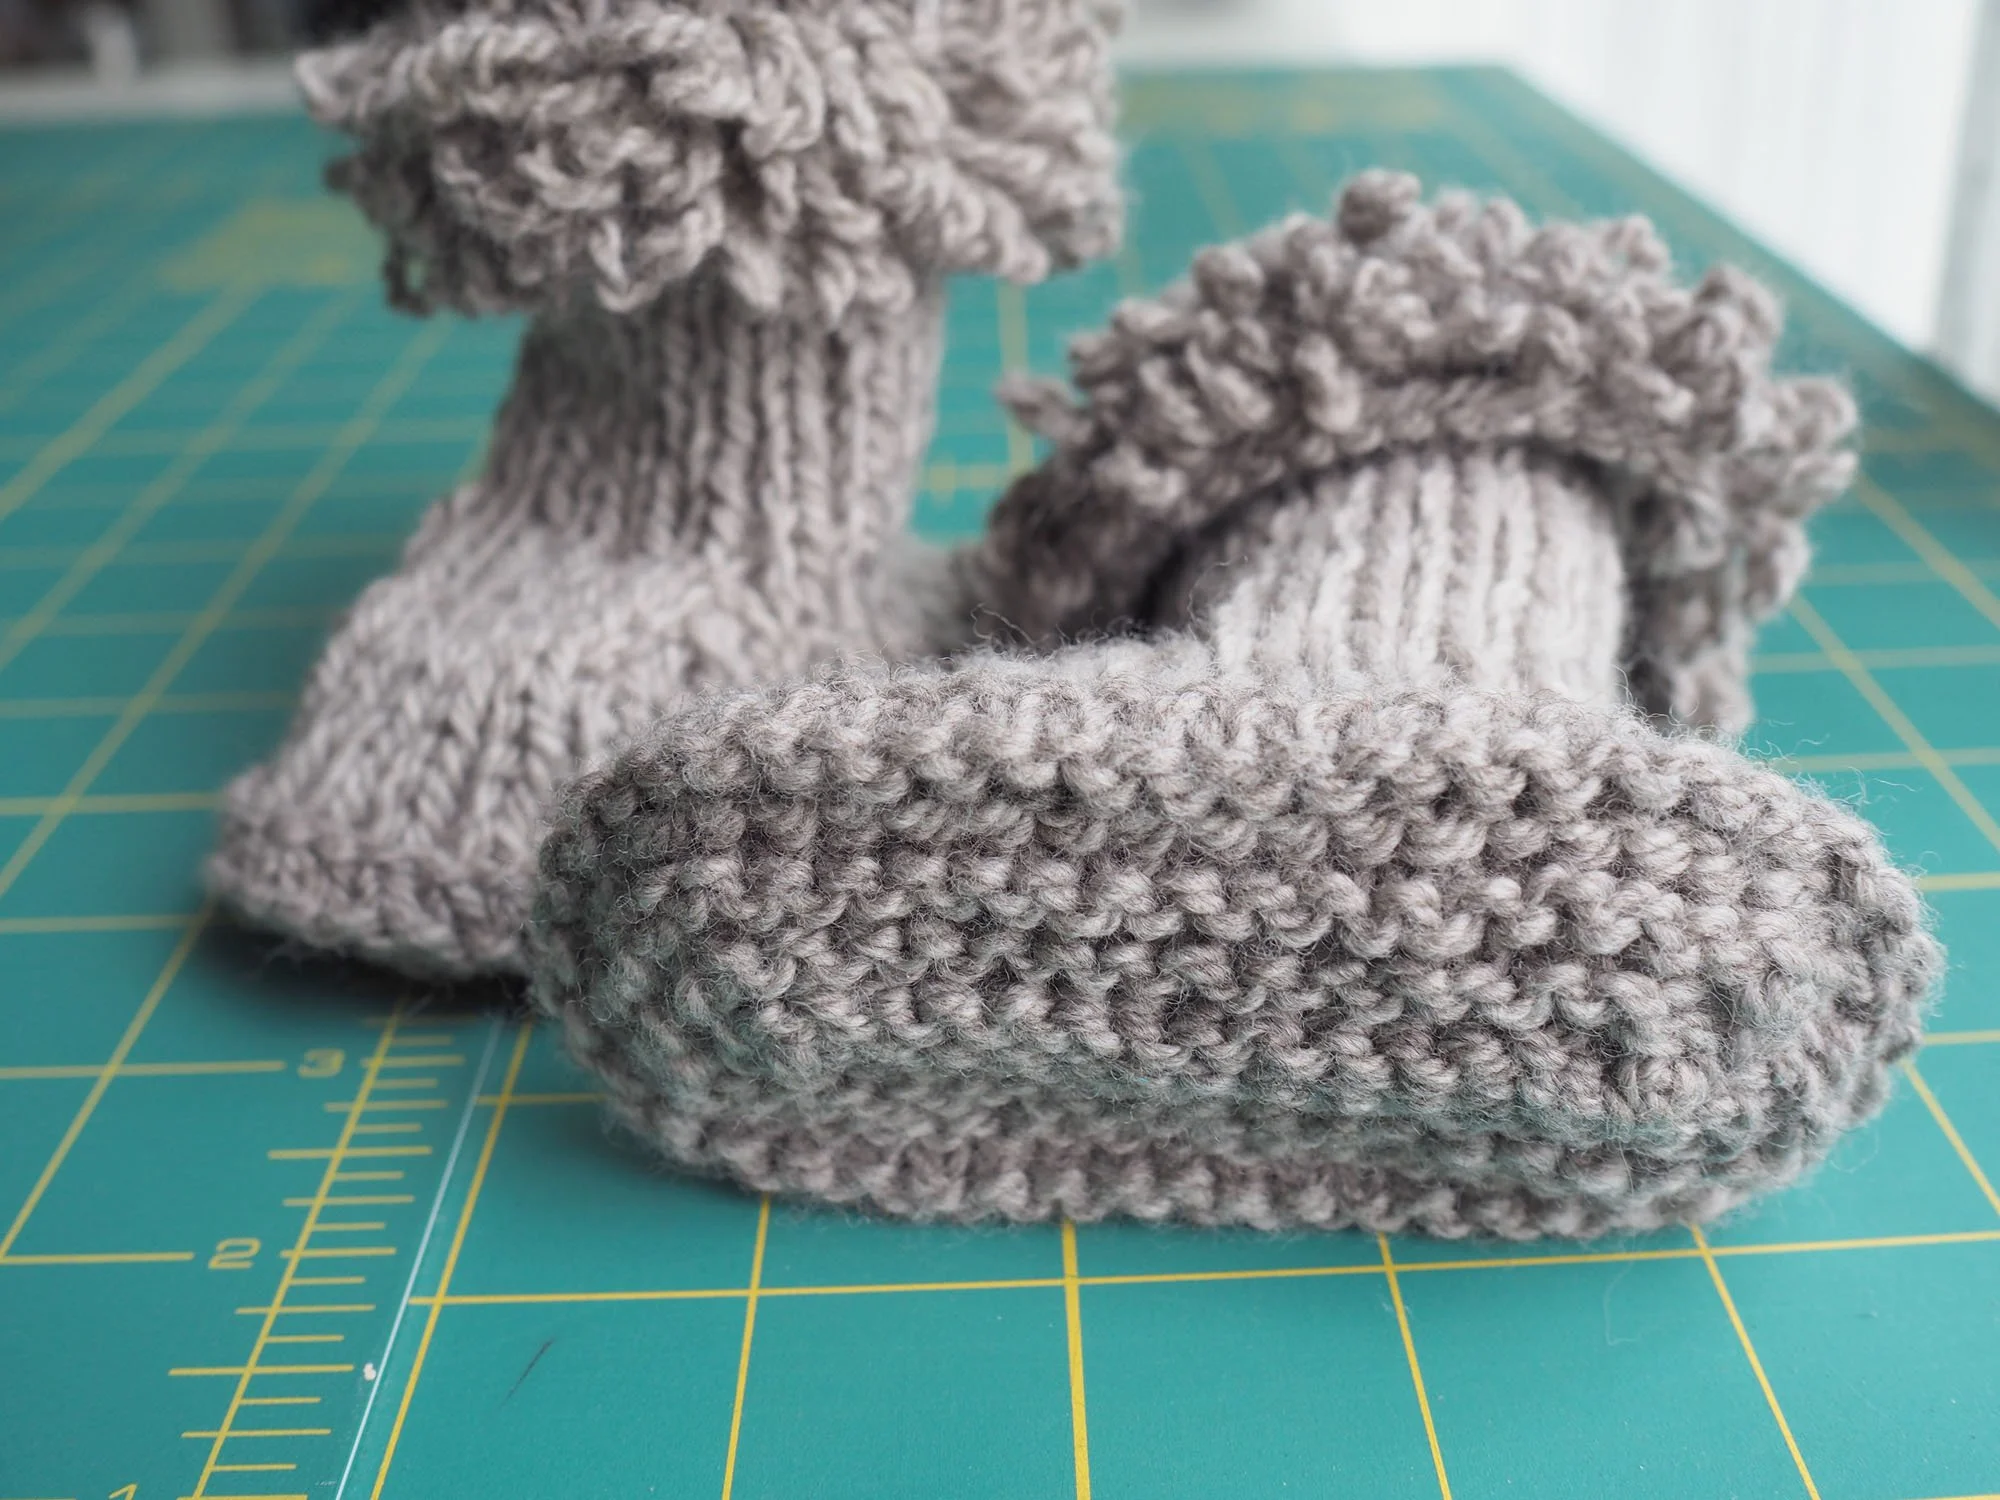
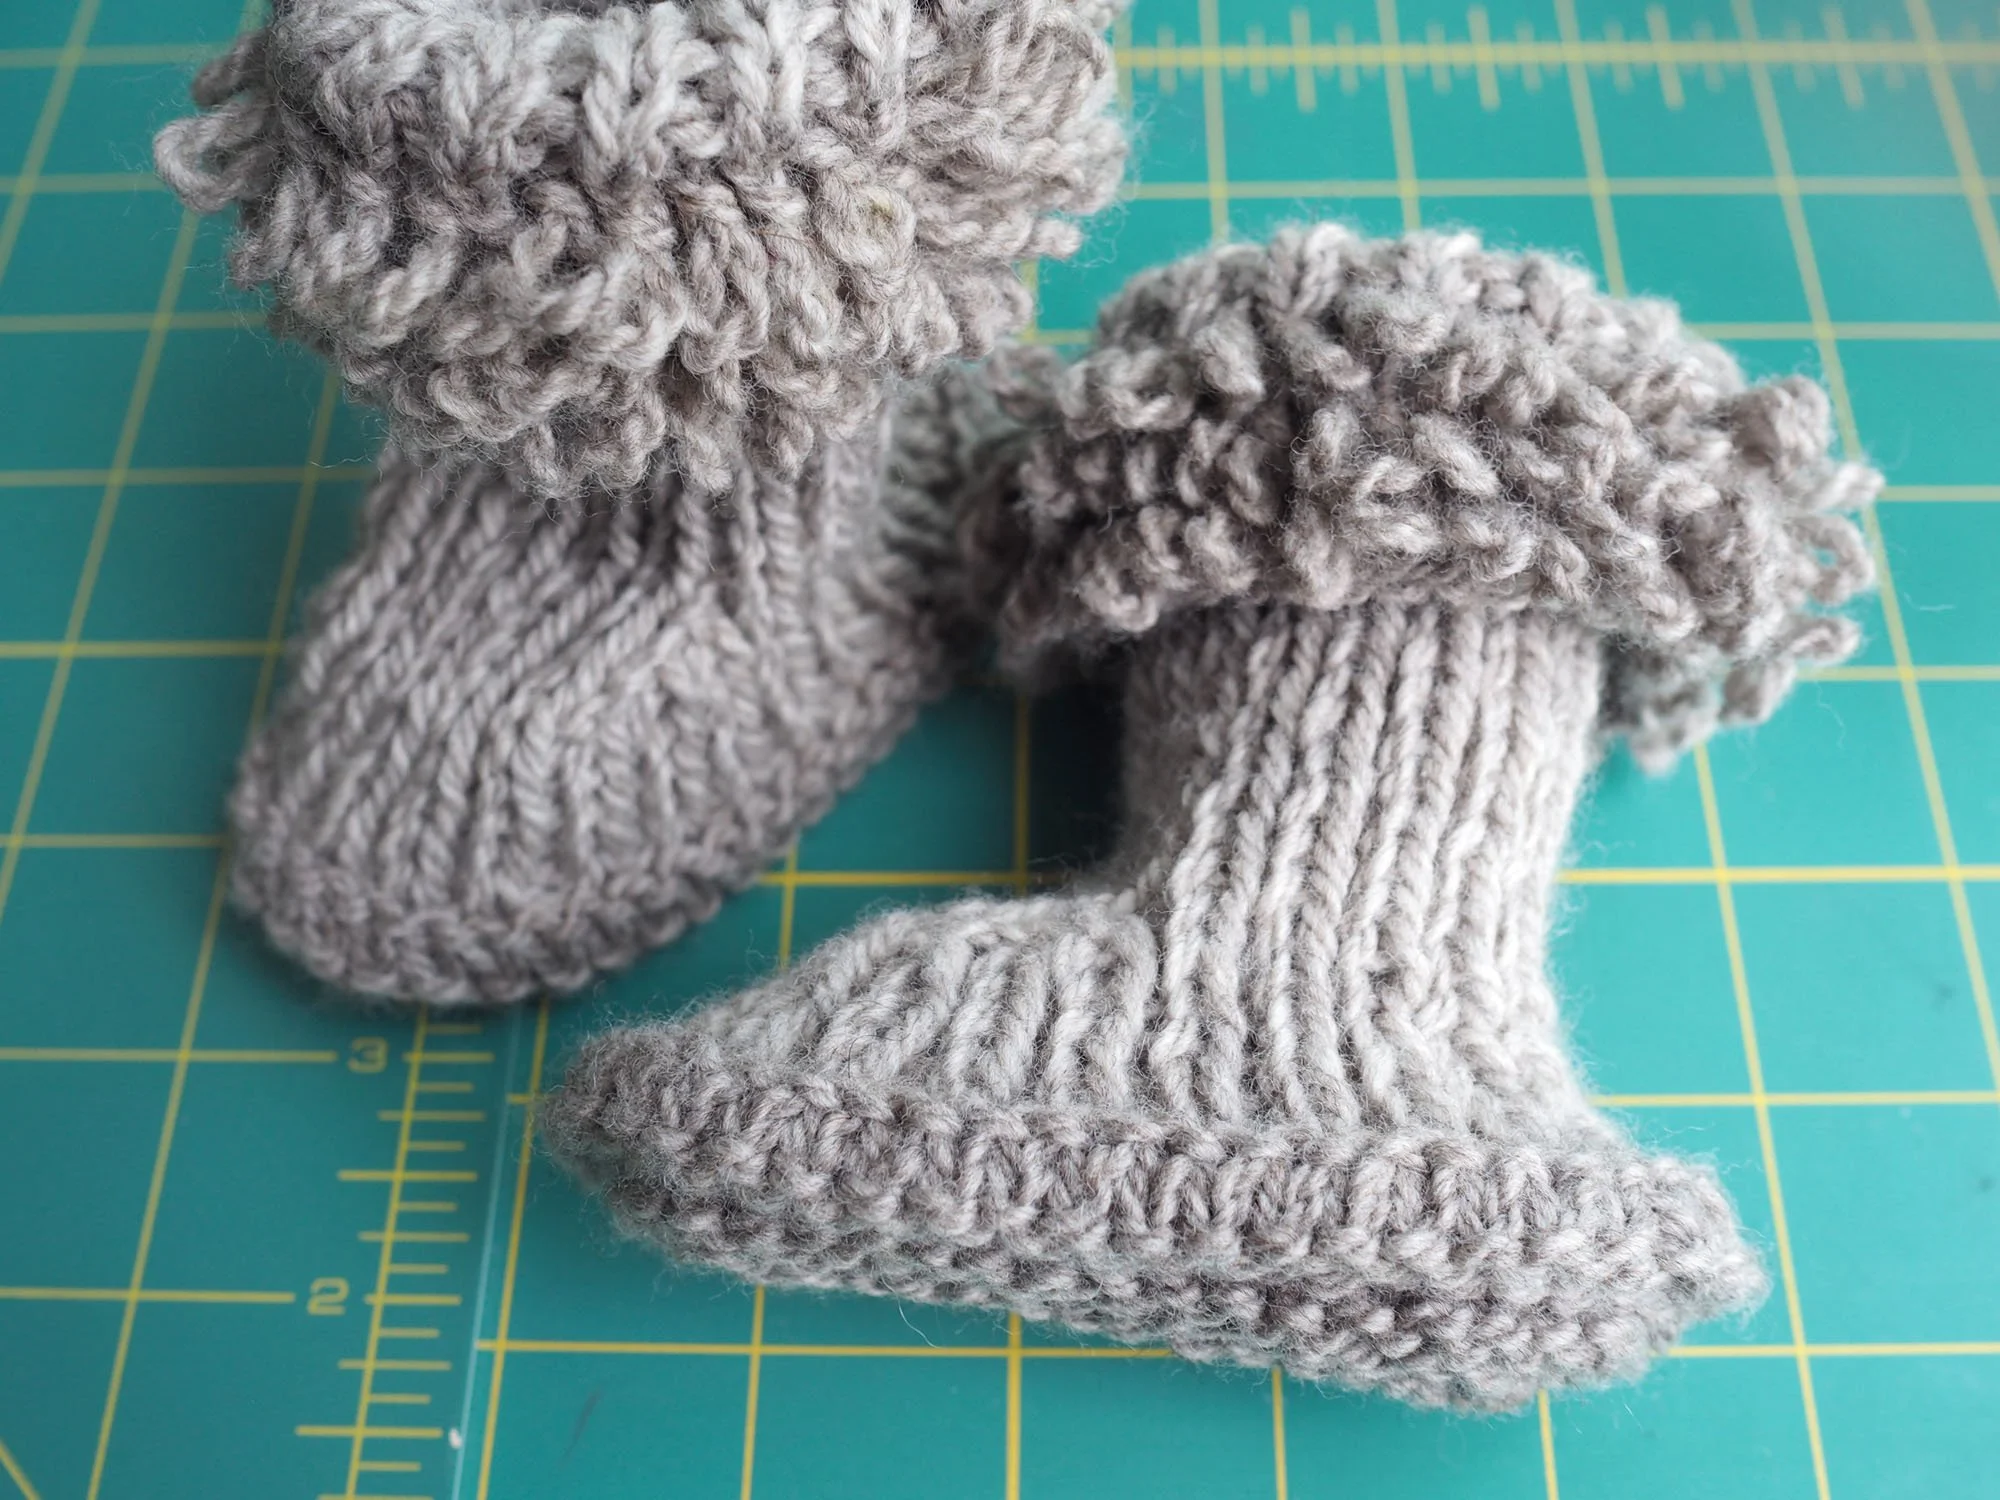
New skills: Loop stitch

Lessons/Notes: I was pretty impressed by the softness of the Mountain Meadow yarn, especially for a 100% wool. I’d consider this a contender for a future sweater project.

The loop stitch was a bit tricky, but I found that getting even loops was easier if I kept a few stitches on the pencil at a time (I think I ended up carrying up to 11-12). Then after purling the next row, I pulled at the loops once more to stretch them out and really lock them in place.

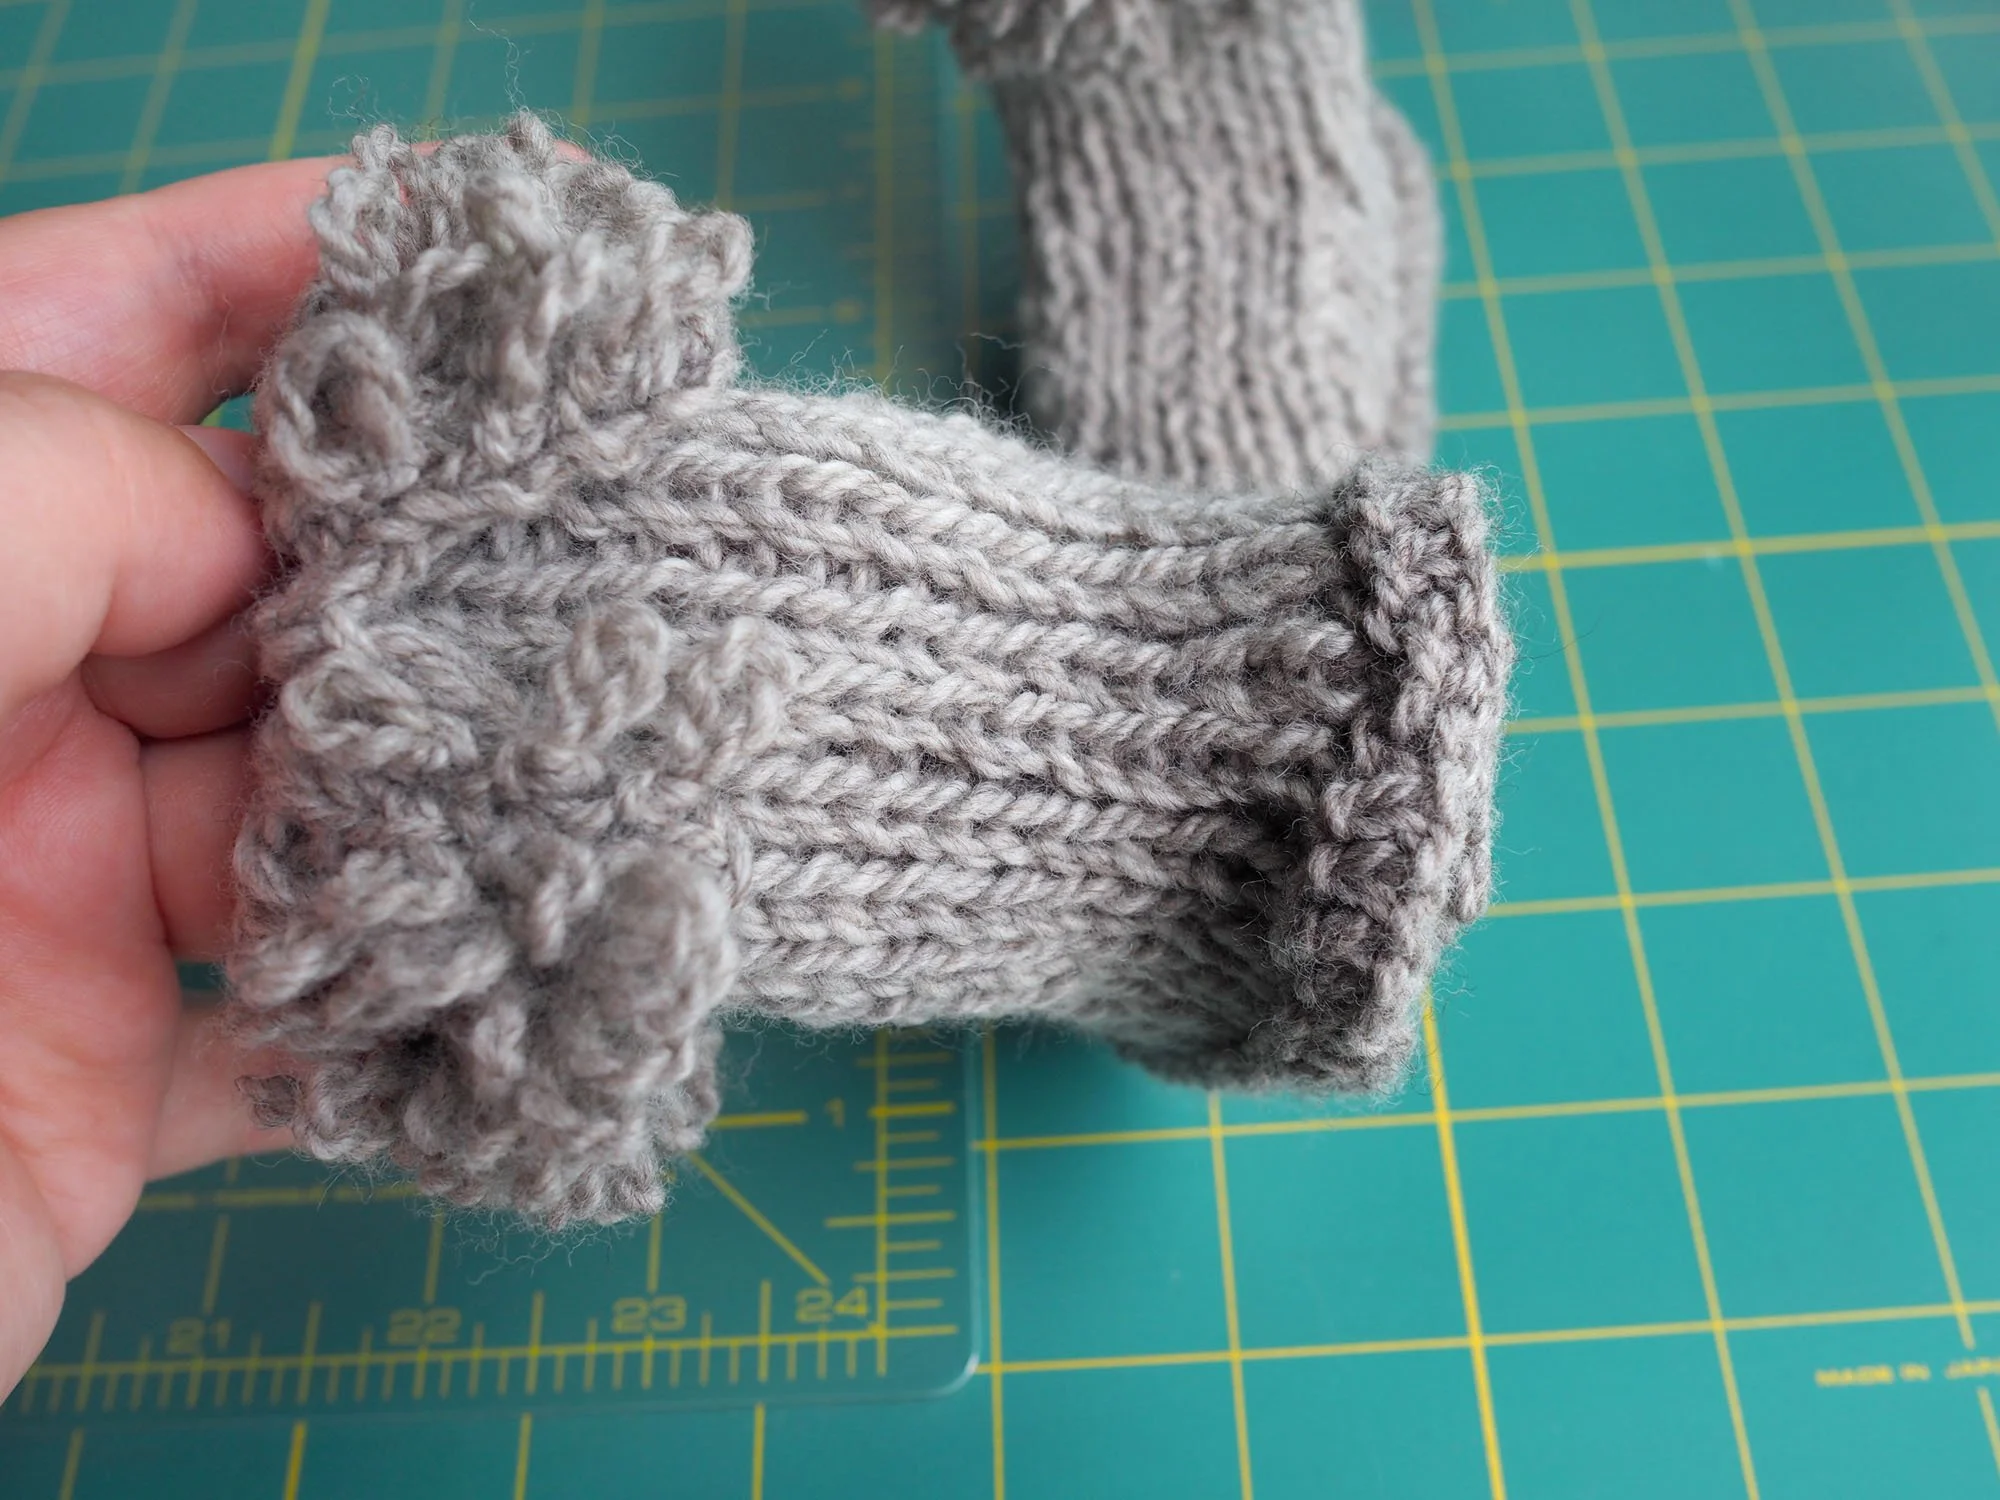
On the instep section where you pick up and knit, I tried picking up and knitting into the edge stitches (leaves a visible line on the front of the work) and picking up 1/2 stitch from the edge (leaves a purl row / negative space on the front of the work). I found that the edge stitches were easier to pick up and the line blended in nicely with the rest of the ribbing.

I had to think a bit about how to knit in to the bar of the garter section to make the sole, but I figured out that it was a pretty standard pick up and knit, where you go under the bar with your active (right) needle, wrap the yarn and pull it through. It also helped that all of the bars I was knitting into were the contrast color.

I ended up using the tails from the color swaps to seam the sole and back of the boots, which was super handy. As per the pattern, I didn’t seam the dark grey loop section at the top of the boot. When seaming up the back of the boot I used a mattress stitch, which gave me a neat stripe of 2 knit stitches that is a pretty cute contrast to the 1x1 ribbing.

What I'd do differently: My soles were a lil wonky when I seamed them and I would have been happy if they were a liiiiitle neater. I suppose if I were really finicky I’d also do a SSK for one of the decreases on the sole to make them symmetrical, but I’m trying to get over those perfectionist tendencies (It’s literally on the bottom of a foot - nobody’s going to see it)

Care: Hand wash, dry flat