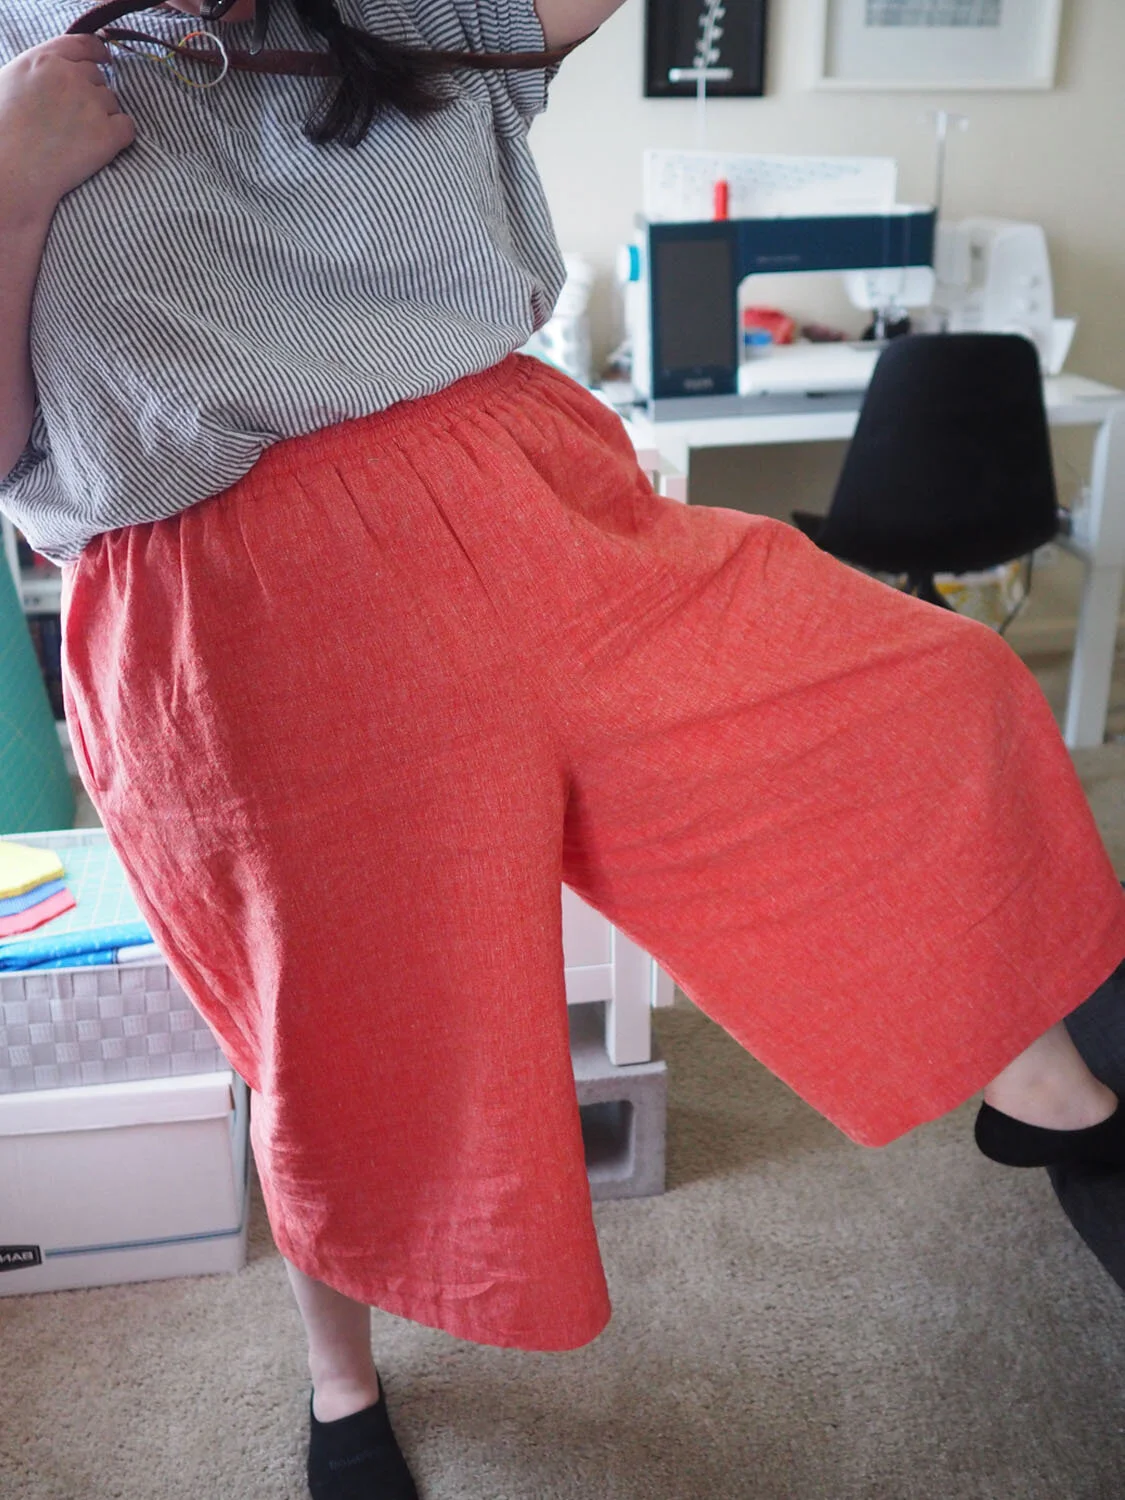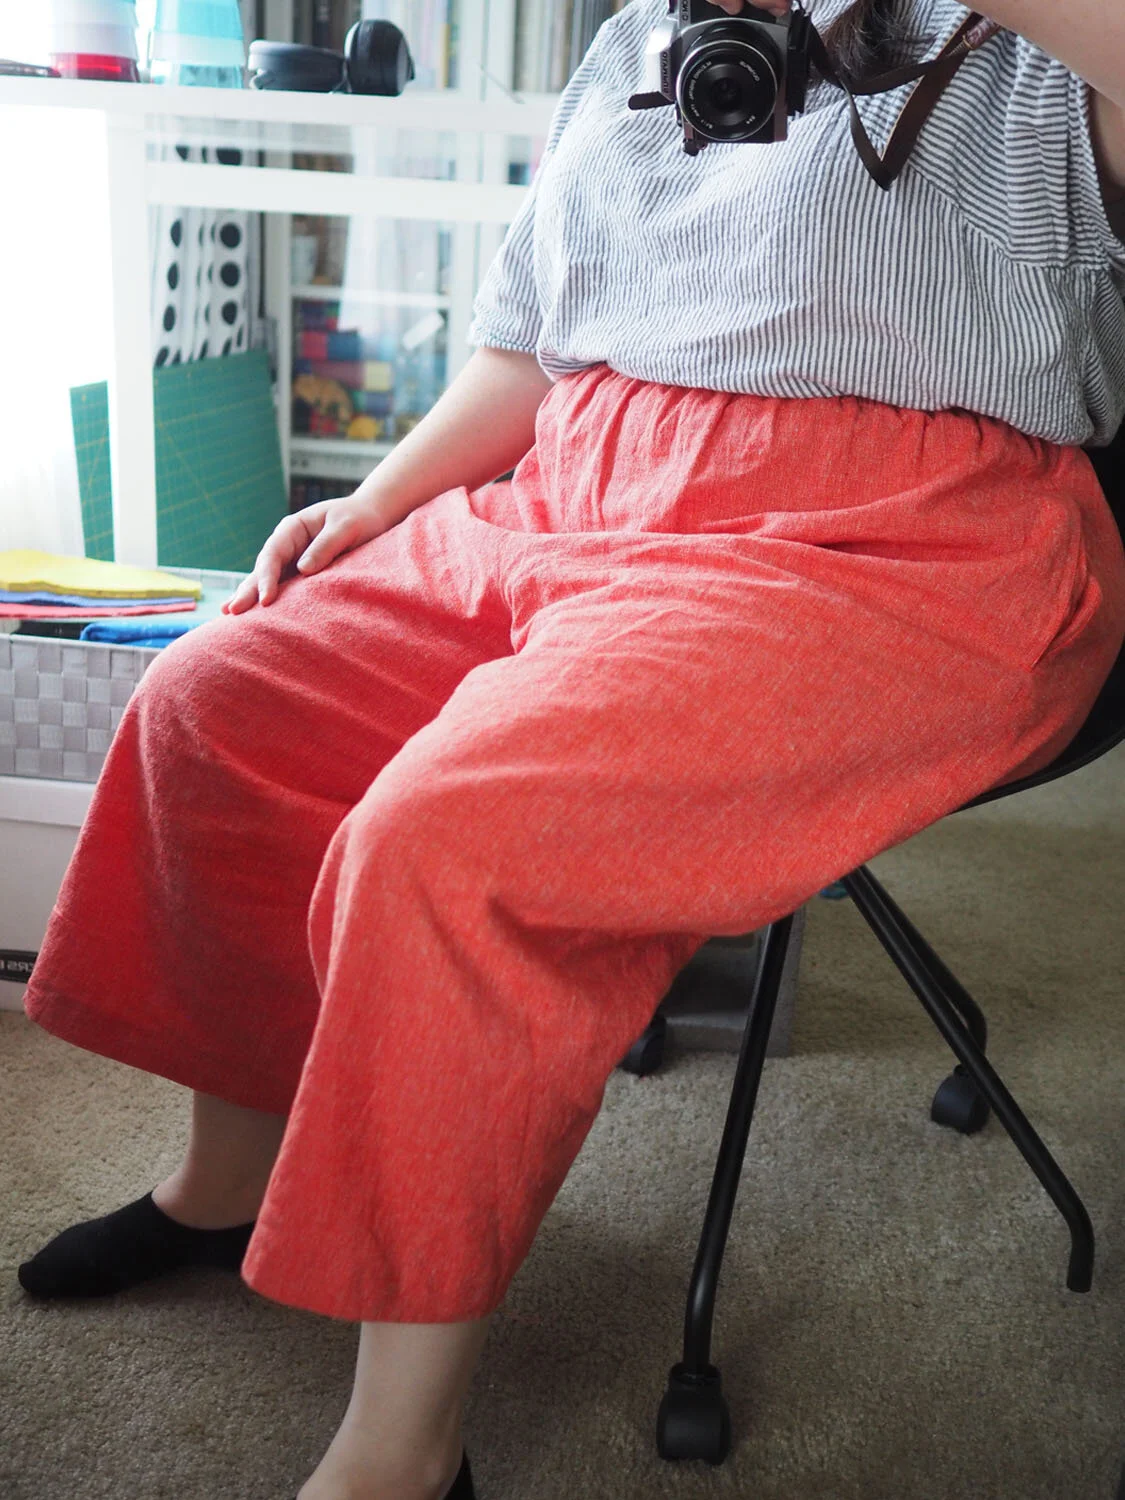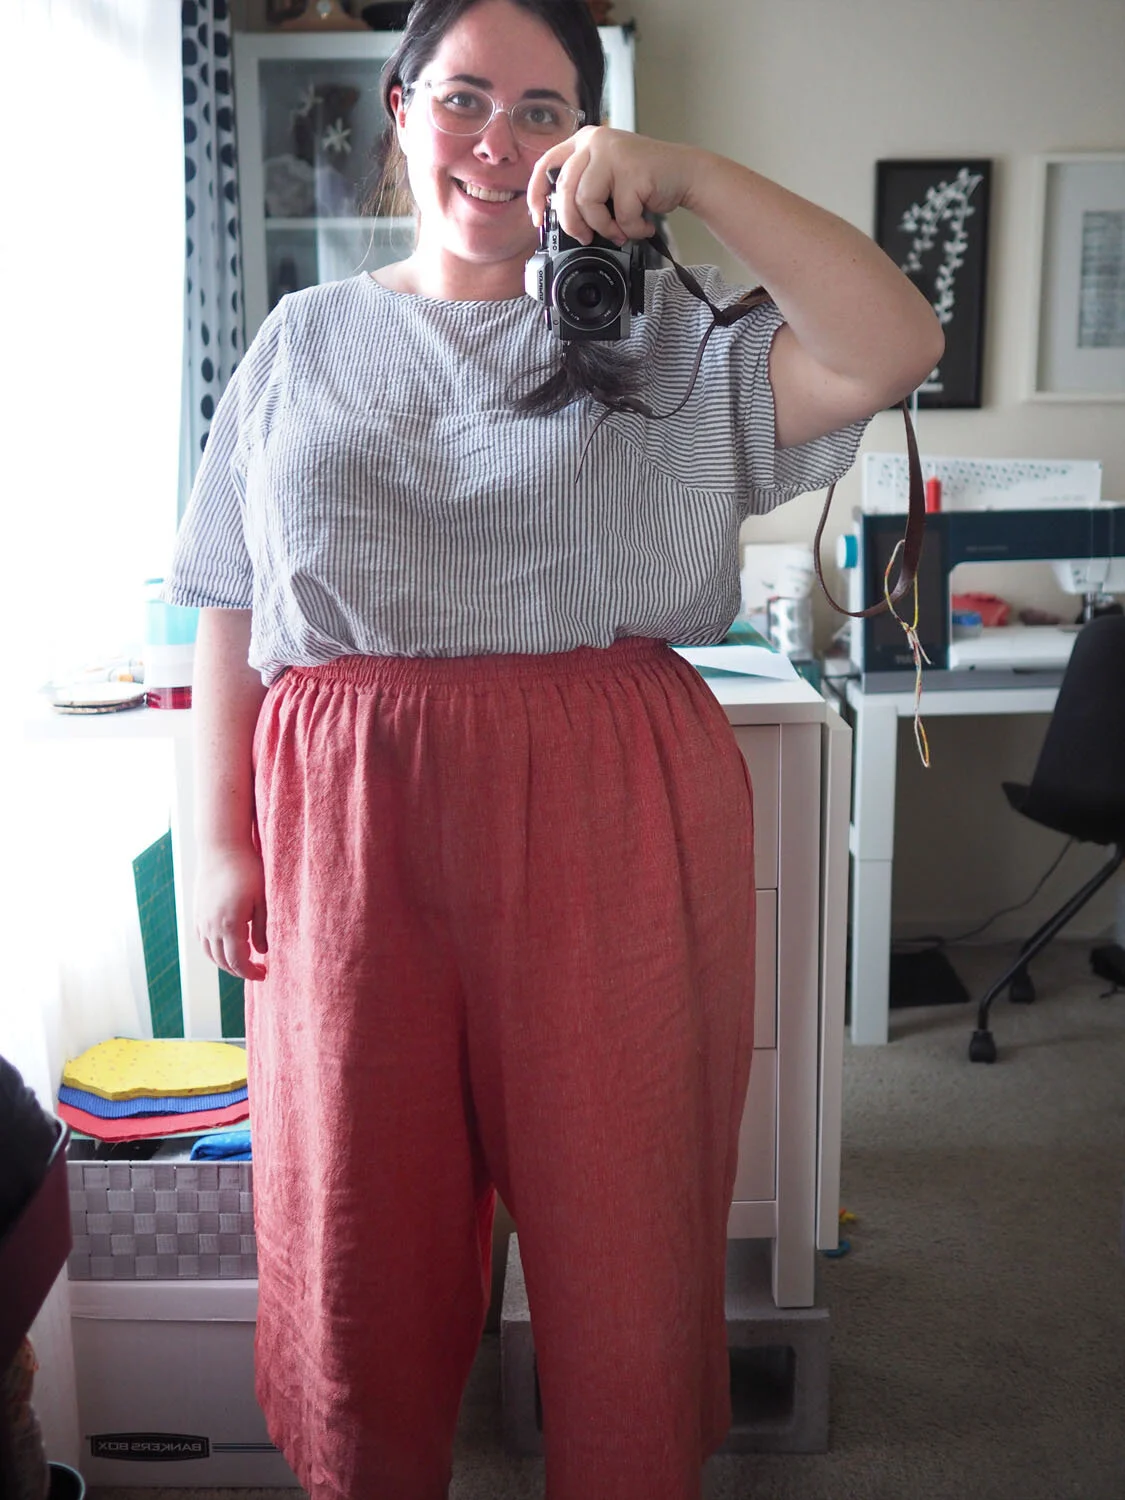
Pattern/Technique: Ninni elastic waiast culottes by Named
Modifications:
Used Zanzibach tutorial for inseam pockets rather than the method suggested in the pattern (saved to Drive for posterity)
Top-stitched the waistband at 1/2" and 1" from the top edge
Fabric width wasn't long enough to cut the waistband in one piece, so I cut it in 2 pieces and added 3/8" seam allowance on one end to compensate. Positioned the seams at the sides of my hips so that I wouldn't have a seam in the middle of my stomach while bending/sitting. I graded the extra seam and basted it down so that it wouldn't get caught when threading the elastic. I also marked a small arrow on the waistband so that I'd feed it in the same direction that the seam is pointing.
Materials: Used 2.5 yds of Kaufman Essex Yarn-Dyed Homespun in Flame (12 inches left). Stitched with Aurifil 2255 50 wt, using 70/10 universal needle.
New skills: Inseam pockets, bartacks
Lessons: When making a top-stitched waistband, the top-stitching will stretch out the elastic slightly, so it's important to pull the elastic extra snug when sizing it. The waistband felt comfortable with a 32 3/4" of elastic at my natural waist, so I reduced the circumference to 30 3/4" to compensate for the stretching during topstitching. The finished garment feels good - not too tight. (NB: I should measure the final waistband circumference to see if my shrinkage estimate was accurate.)
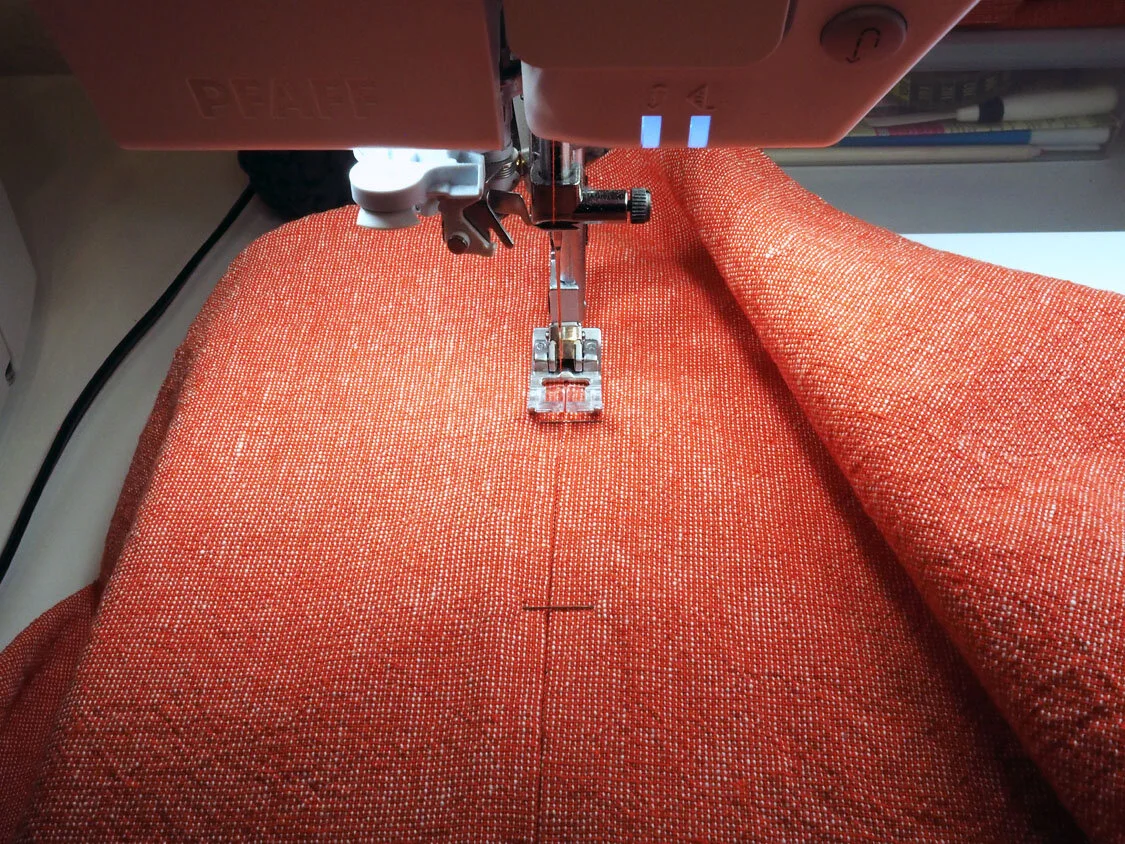
Step 1 of the inseam pocket tutorial says to sew the pocket fabric to the pants, sewing 1mm from the ironed groove. Because it’s hard to see the groove from the inside of the garment, I pinned everything secure so that the pocket slit was closed, and flipped the garment over to the right side so I could use the groove as a guide (and offset the needle to 1 mm). I repeated this on the front and back (changing the offset from + to - as needed), and achieved a really clean result. See inline for process shots.
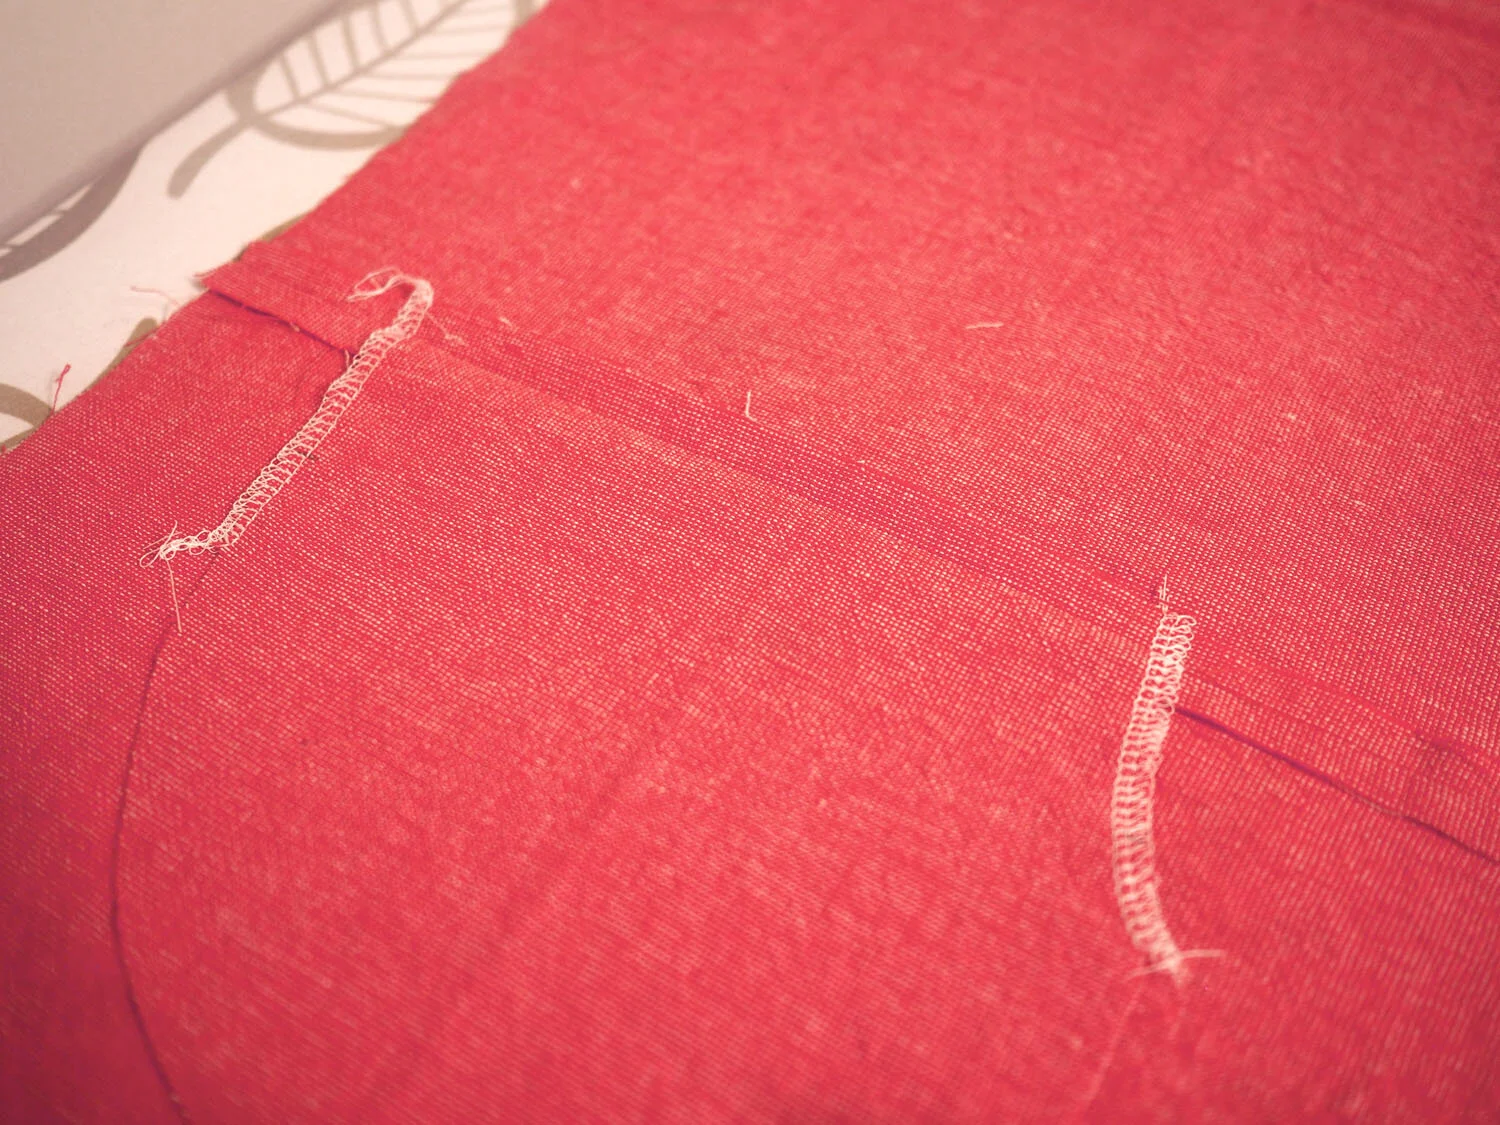
Adding bartacks is a useful way to reinforce fabric around inseam pockets, h/t to the tutorial above for providing a picture of bartack elements, which led me down this path. My sewing machine has a built in bartack feature, which made adding them very easy. I positioned the bartacks toward the front of the pants to orient the pockets toward the front as well
I also added strips of interfacing at the pocket seams (as suggested by the tutorial) to reinforce them. I should keep this in mind for future projects because my inclination is to skip interfacing steps. (I did skip interfacing the waistband since I was making this in a woven fabric, not a knit as suggested by the pattern.)
I've always struggled with concave curves on my serger (specifically, the overlocking hanging off the edge of the seam) so I did some research and found this tutorial which suggests keeping the fabric feeding into the machine straight by scrunching the fabric to the left of the presser foot. It worked perfectly and I got my first good result while serging a crotch seam.
This was the first garment I cut on my newly raised cutting table (I put cinder blocks under all of the legs, raising the table by 8" for a total height of 37") and the added height is a game changer for my back. I still need to adjust for looking at pattern pieces from an angle while I cut them vs. leaning directly over top.
I took care to press all my side seams and keep them pointing the same direction while hemming - well worth it for a clean result.
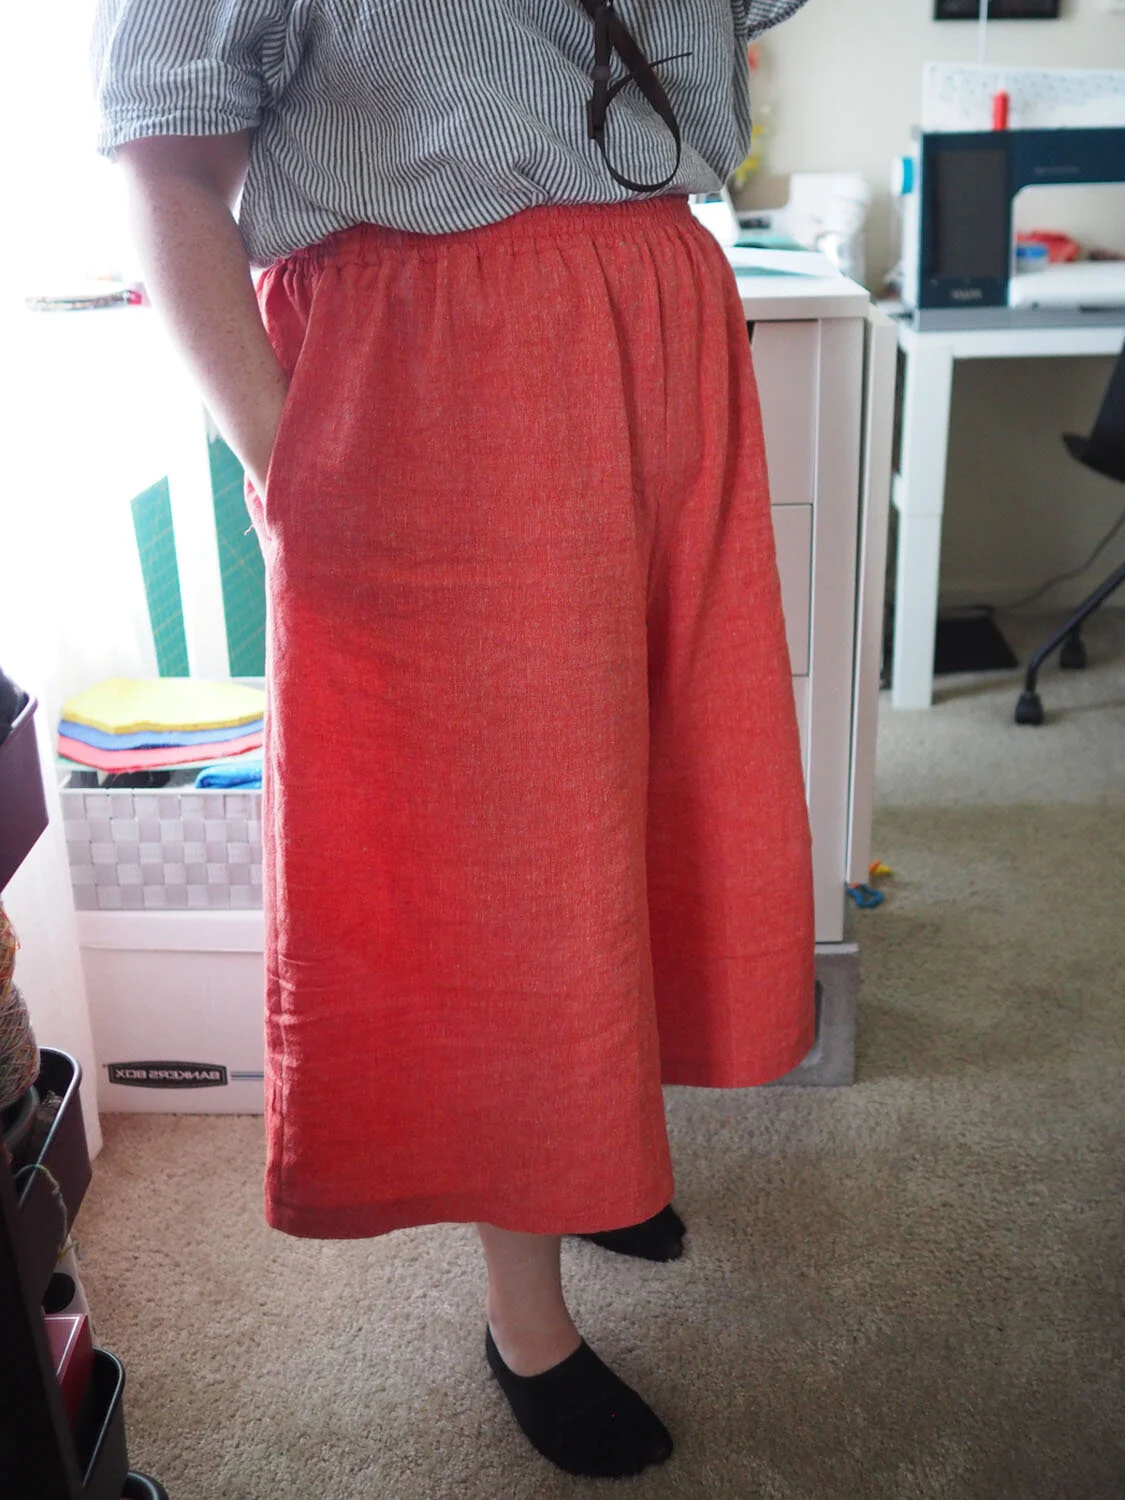
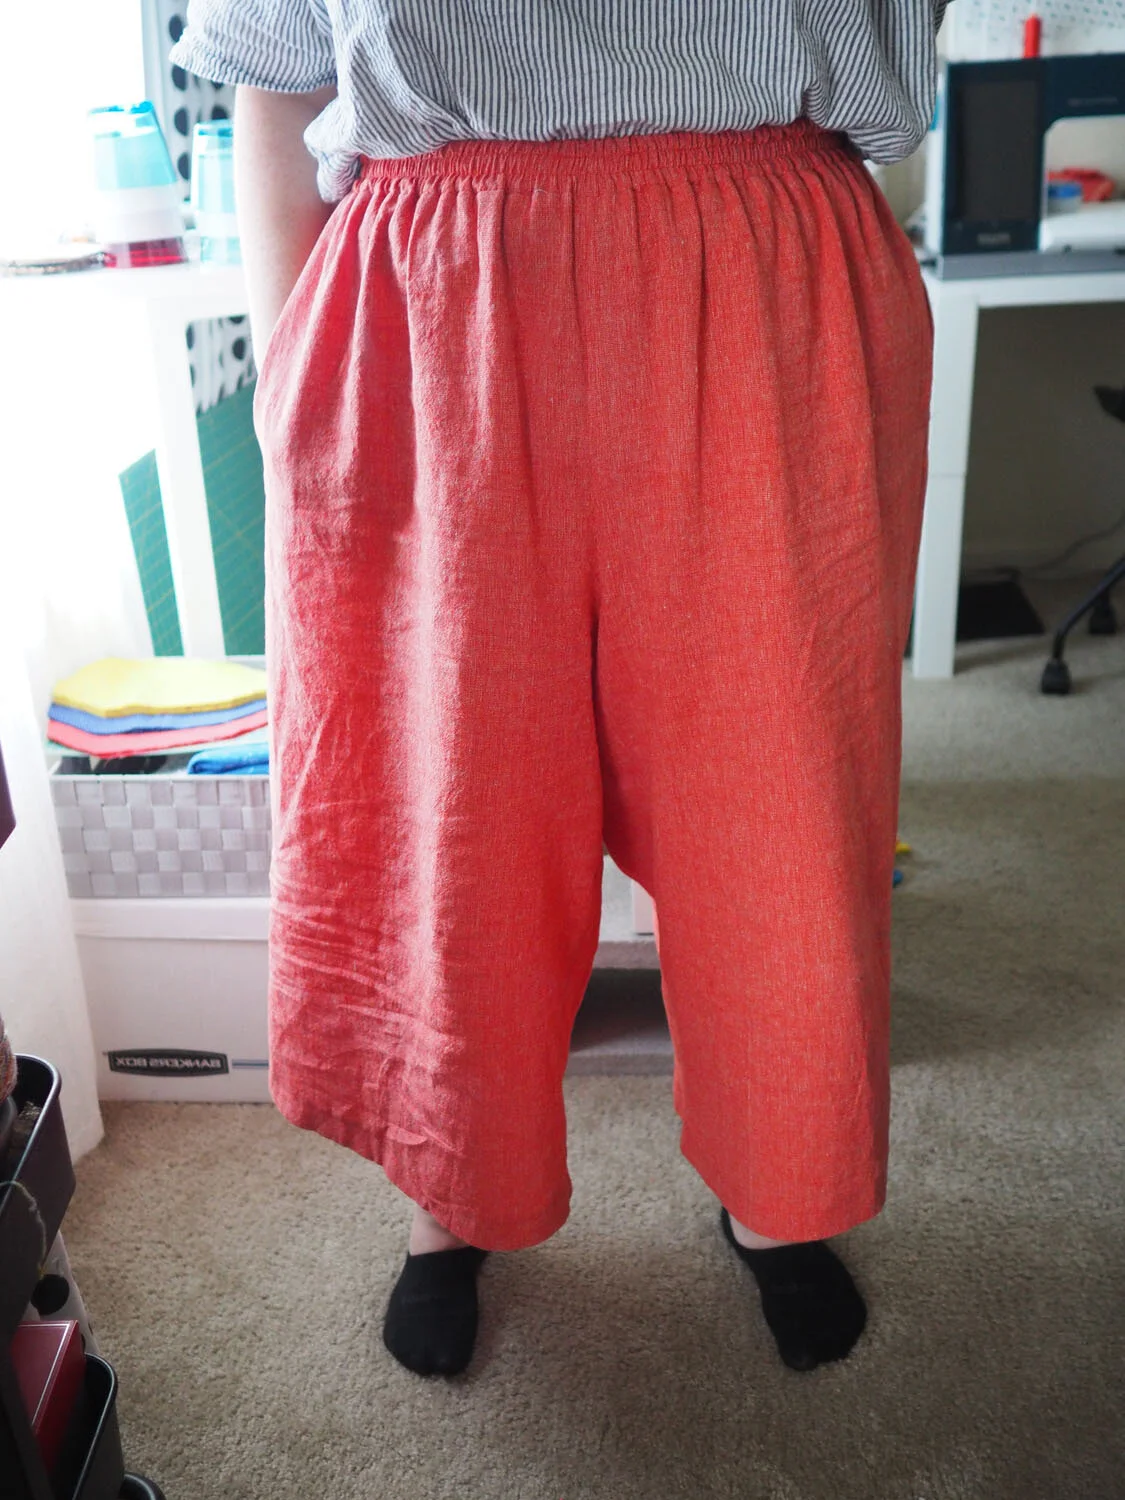
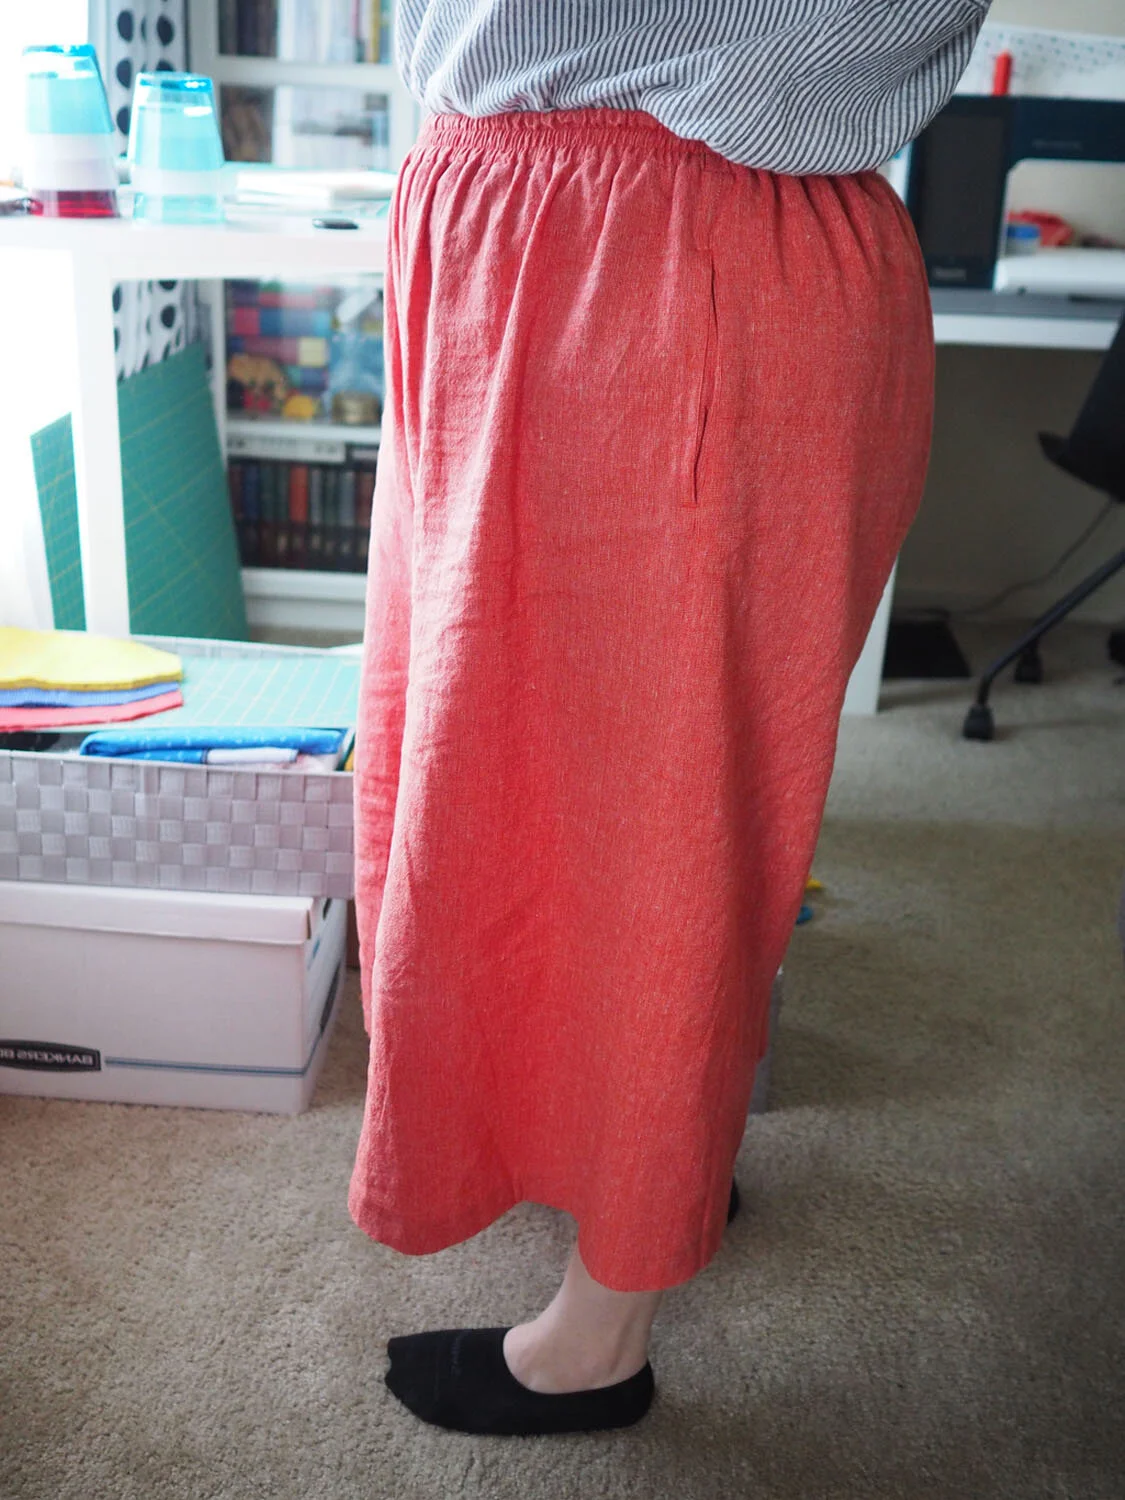
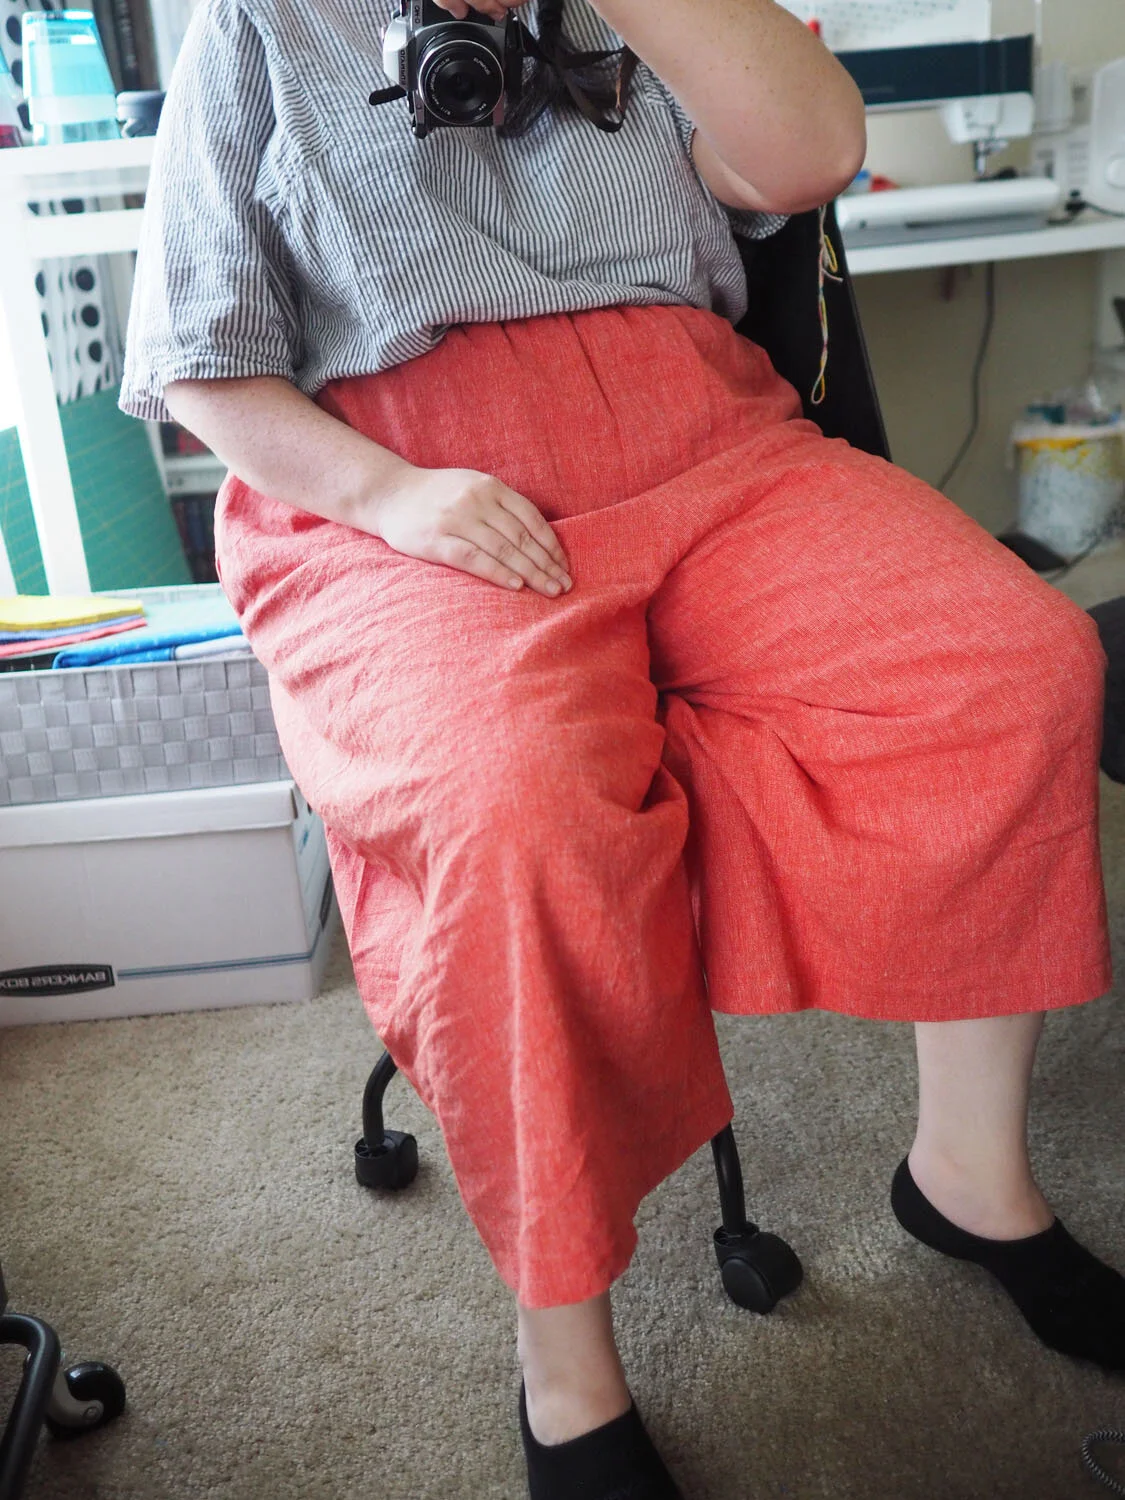
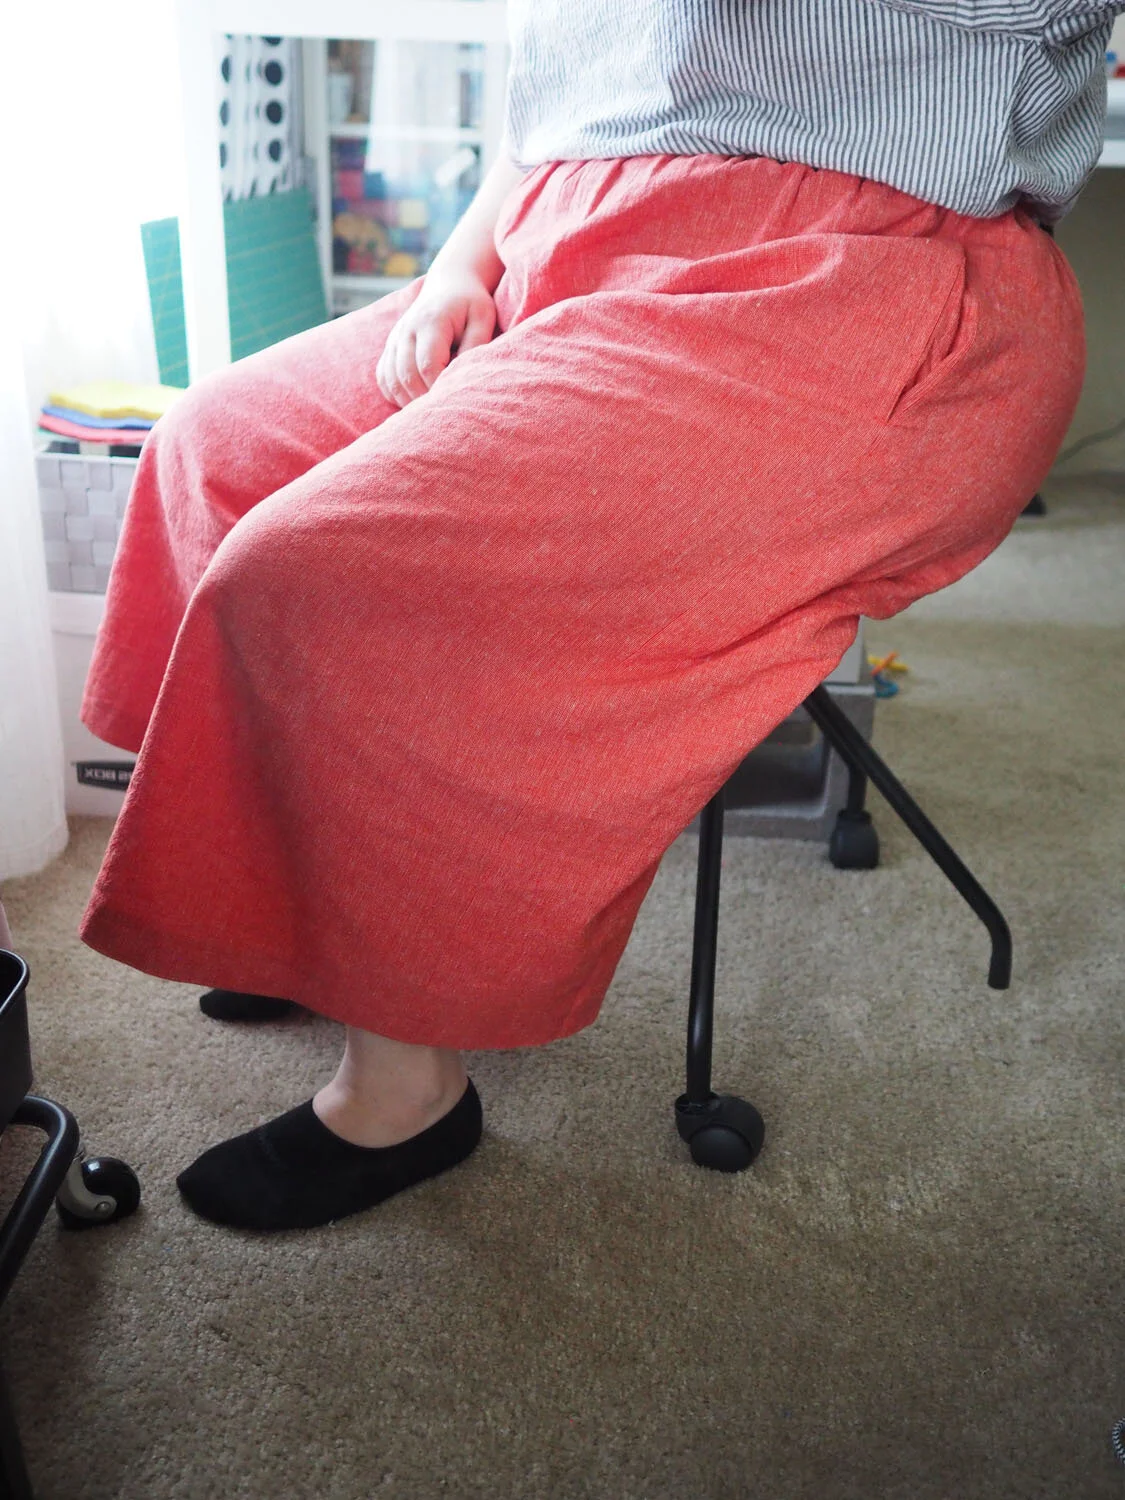
What I'd do differently: Overall I'm happy with how these fit, though I can see some opportunities for improvements:
There's a bit of extra fabric that bags out right above the bum
There's a slight drop crotch effect, which could be an issue if I'm wearing these while walking on a hot day. I haven't done any research on optimal crotch depth, so this is definitely an area where I can learn more.
Bigger pockets :)
Had a small oops at the back of the waistband while topstitching. I think what happened is that the elastic shifted (I used 1.25" woven elastic instead of the 1.375" called for in the pattern) so that it wasn't nestled in the top of the fold, and there was some extra fabric that bagged out between the 2nd row of top stitches and the seam where the waistband attaches to the pants. It's not too noticeable, but I should keep an eye out for this if I make these again.
I'd like to read more about topstitching, and where it's appropriate to add along seams. I really like the look of topstitching, but it seems to be the kind of thing that folks develop an intuition for when finishing a garment, rather than being explicitly mentioned in pattern instructions.
Care: Machine wash cold, delicate cycle. No bleach. Tumble dry low.