Linen Bandana

P1160088.JPG

Pattern/Technique: Self-drafted, cut 24"x24" square of scrap linen. Used a rolled hem foot to finish the edges with a narrow rolled hem.

Materials: Grey stripe 100% linen, purchased from Joann Fabrics

New skills: Using a rolled hem foot

Lessons: I definitely didn't know what I was doing here. According to the instructions (which I didn't read before using this foot):

If needed, press only the beginning of the hem to 2, 3 or 4 mm wide, depending on the size of your foot. Place it flat in the groove under the foot and sew, pulling the cut edge of the fabric into the scroll of the hemmer. Lower the foot and continue sewing while holding for a few stitches. Lower the needle into the fabric to hold it in place. Then raise the presser foot, keeping the cut edge up in front of the foot.

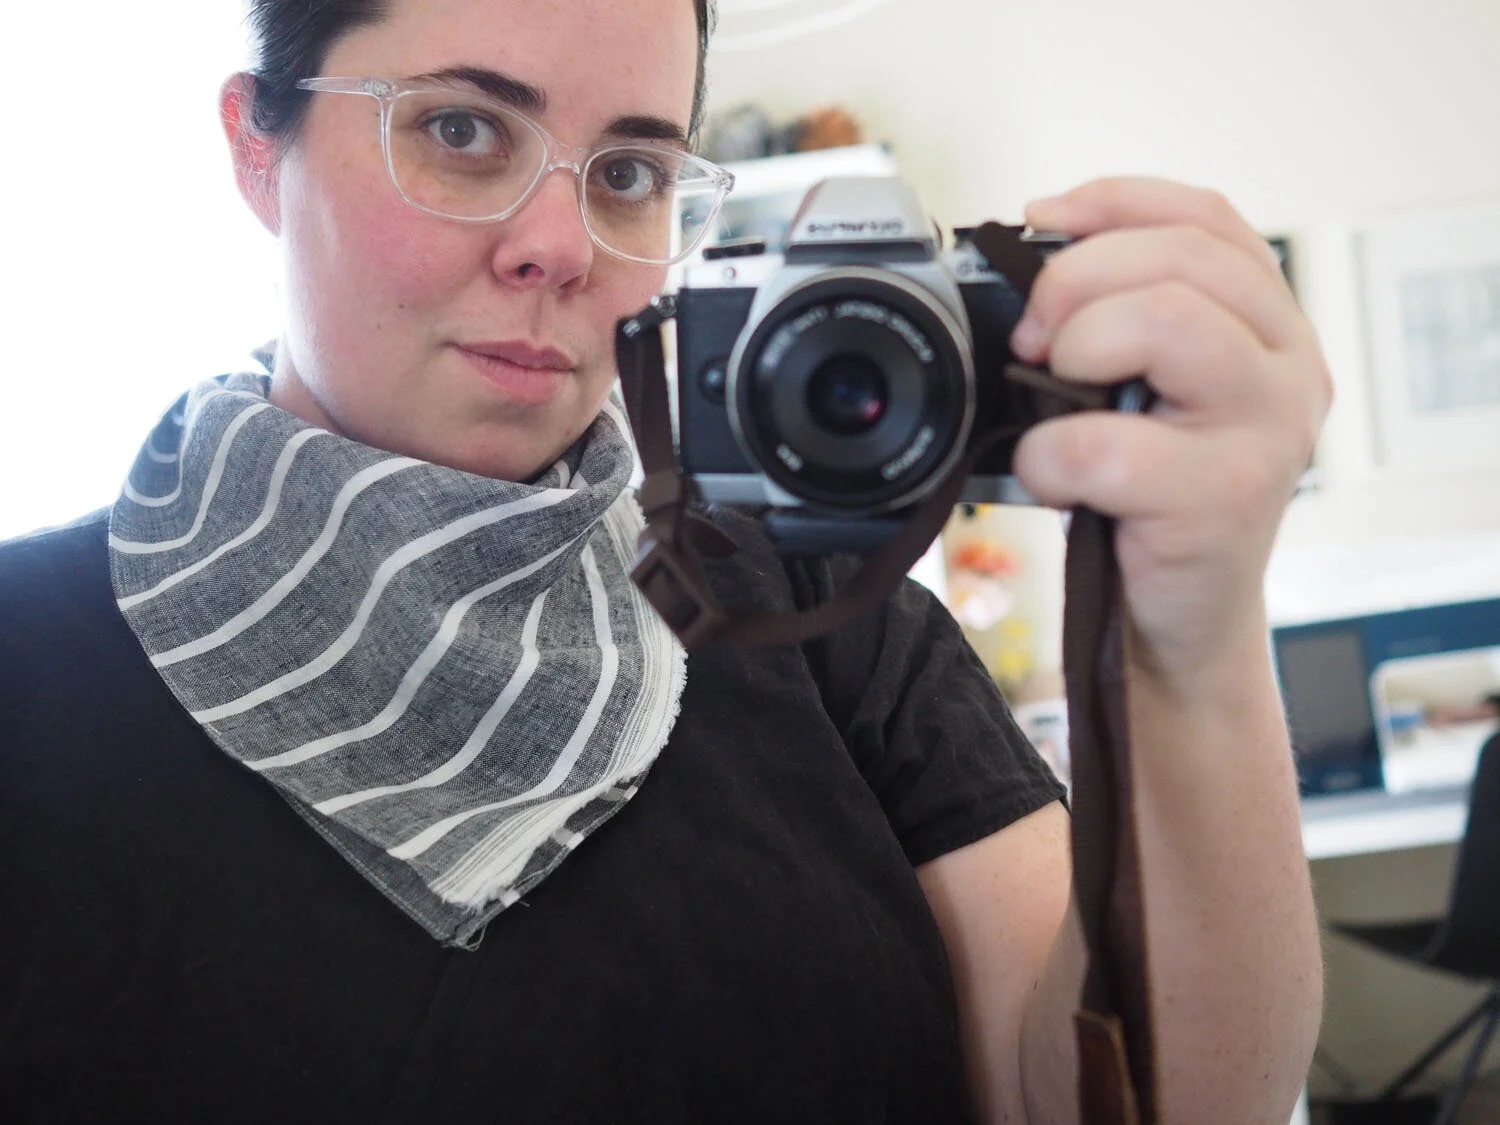
As it was, the linen I was using seemed to require pulling it quite far to the right to get enough curling for a proper rolled hem. It looks pretty good in the middle of the fabric, but at the ends (where I was starting the roll) there are some frayed edges where the edge didn't get completely rolled under.

What I'd do differently: Sew a few test swatches the next time I use this foot. I wasn't looking for a perfectly clean result on this project because it was an experiment, but if I retry this on a project where I want to eliminate fraying I'll work on improving my technique.

Care: Machine wash cold, tumble dry low.

Fremont Bag + Leather Keychain

ID: A waxed canvas purse with leather hardware and wool front pocket sits on a futon. A leather and brass keychain hangs from a d-ring on the purse handle.

This was a quick make (well, 2 days because I'm a slow sewist) that was immensely satisfying because I got more practice with zippers, linings, and hardware and created a finished object that looks so good.

Pattern: Fremont bag kit (black waxed canvas and leather with brass hardware) with Pendleton exterior pocket expansion by Klum House. Leather Keyring kit in black by Klum House. Sewed with Gutermann polyester all-purpose thread in Black.

NB: The clarity and detail in Klum House patterns is seriously impressive. They anticipate problems and help you troubleshoot (like having a front pocket that's a little longer than the front exterior panel) and provide helpful tips to make the sewing process easier.

New skills: installing chicago screws

Lessons: Wool can be shifty/stretchy while sewing, so adding woven fusible interfacing will stabilize the fabric and prevent it from stretching.

A bi-level edge stitch foot (or a stitch in the ditch foot) are really helpful for making beautiful, straight edge stitching. Setting the needle position at 3mm will produce a lovely 1/8" seam allowance.

When boxing out seams at the bottom of a bag, pull out the fabric at the center of the bag to help align the raw edges of the box seam.

I got the best results with rivets using a regular hammer (heavier, so generates more force) and hammering on our crappy lino-covered concrete floors, and taking care to make sure the rivet was aligned vertically to prevent it from shifting / going crooked while hammering. Using a few light/medium taps on the lino sets the rivet without causing unsightly crimping from the post going into the cap.

3/32" punches are far easier to use than a 3/16" punch--the latter takes a lot of force to make a hole in 2 layers of fabric.

Use a bakelite mallet when striking the top of metal tools to prevent them from getting damaged.

The Klum House pouch was an excellent starter project before getting into the Fremont. It was a great way to practice all of the necessary skills before applying them to a larger (more expensive) kit.

When making a boxed bag bottom, an excellent technique is to mark the boxes, then sew the seam around the outside edge of the bag, backstitching over every box mark to strengthen the seam and prevent it from fraying while forming the box.

Fanning seam allowances (i.e. positioning them to opposite sides) is a great way to reduce bulk.

What I'd do differently: I maybe could have been a little fussier when positioning the front pocket so that I'd have a perfectly symmetrical pattern. (It was slightly longer then the front exterior panel, so I just lined up one edge and trimmed the other edge with the rotary cutter.) It's a very minor thing and really doesn't bother me.

Care: Spot clean

ID: A flat lay of the tools, fabric, and hardware I used to make the purse.