Knot/Twist Pillow

A

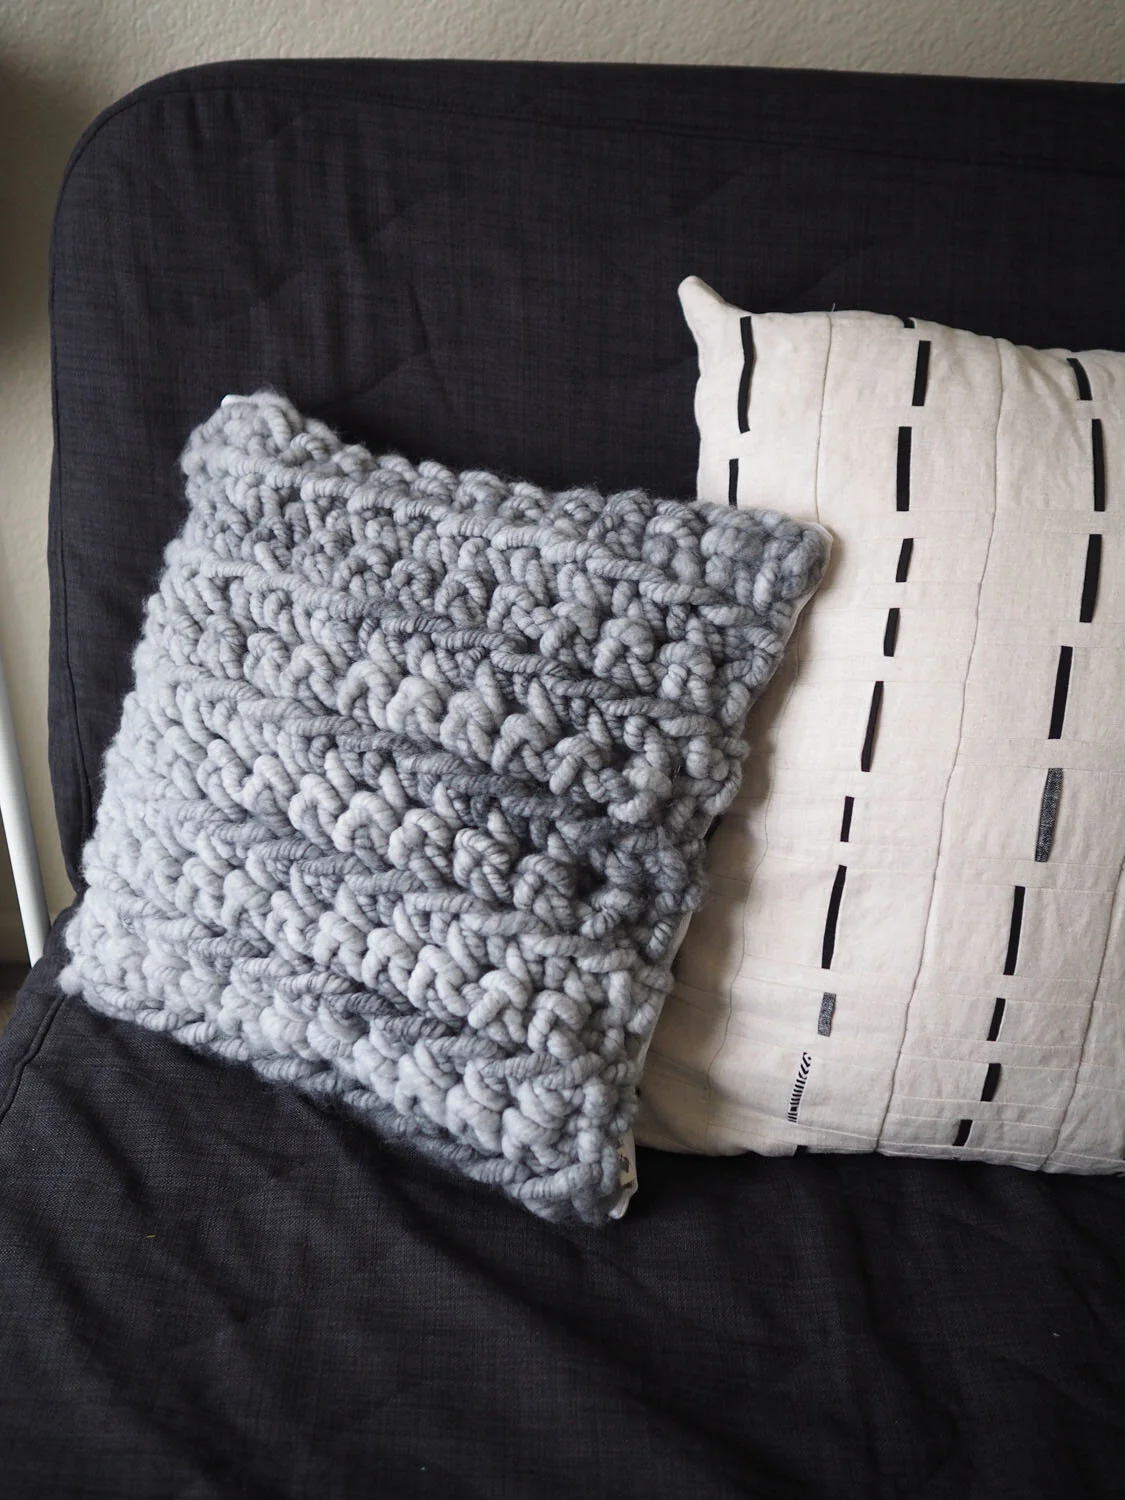
The crochet part of this pillow was a breeze, but the sewing part was a slog at first. Luckily I picked up a few tricks along the way and by the end I daresay I was really enjoying the process!

Pattern: Knot & Twist pillow kit by Love Fest Fibers

New skills: n/a

Lessons: The crocheted panel is quite heavy, and seemed short by about 1/2"-3/4" compared to the size of the pillowcase but luckily it can be stretched into the correct shape. I did this by using a running stitch (through the pillowcase and the crocheted panel) about 2-3 inches in from the edge to thread baste the crocheted panel to the pillowcase. (I started out basting using a whip stitch which was really inefficient and messy.) After basting, then use a running stitch around the edge of the pillowcase to secure the crocheted panel around the edges.

What I'd do differently: Nothing.

Care: Spot clean

Alphabet Sampler

ID: A perspective photograph of intricately embroidered letters on a piece of linen fabric.

There’s a variant of the 80/20 principle that states that it takes 20% of the time to finish 80% of the work, and the remaining 20% of the work will take 80% of the time. And this piece is the embodiment of that principle. It took a few weeks but I’d finished everything except the last row of letters. And then I ran out of steam and it languished for months. Being on vacation finally brought the brain cycles I needed to get over that last hump and now it’s done. Whew.

Pattern: Alphabet Sampler kit by Purl Soho in Flax.

New skills: Myriad embroidery stitch techniques

Lessons: Ironing the finished piece with a pressing cloth will flatten the backing fabric without distorting or flattening the embroidery floss, or causing the dye to run.

Getting even stitches takes lots of practice but one can use the grid of woven fabrics like linen to cheat. If using this method it’s important to start with a squared piece of background cloth.

Remove the embroidery hoop at the end of a stitching session. Keeping the cloth in the hoop for long periods of time may distort the cloth permanently.

Clover chacopens are awesome, just be sure to test it on fabric before use.

Use a good quality hoop, like Frank Edmunds. Darice hoops are prone to cracking under repeated tensioning.

Be careful to not move the iron while transferring an embroidery pattern (go up & down, not side to side) or the transferred lines may be fuzzy or shifted. Transfer marks will fade over time—keep this in mind if you aren’t going to work on a project for a few months. :)

What I’d do differently: For my first large embroidery project I’m pretty happy. I’m also just glad it’s finally done.

Care: Spot clean

ID: Intricately embroidered letters on a piece of linen fabric.