Pendleton + Waxed Canvas Pouch

P1010055.JPG

I’ve been really excited about Klum House making kits and bought this little pouch as a dry run for a larger bag I’m planning to make.

Pattern: Waxed canvas pouch kit by Klum House

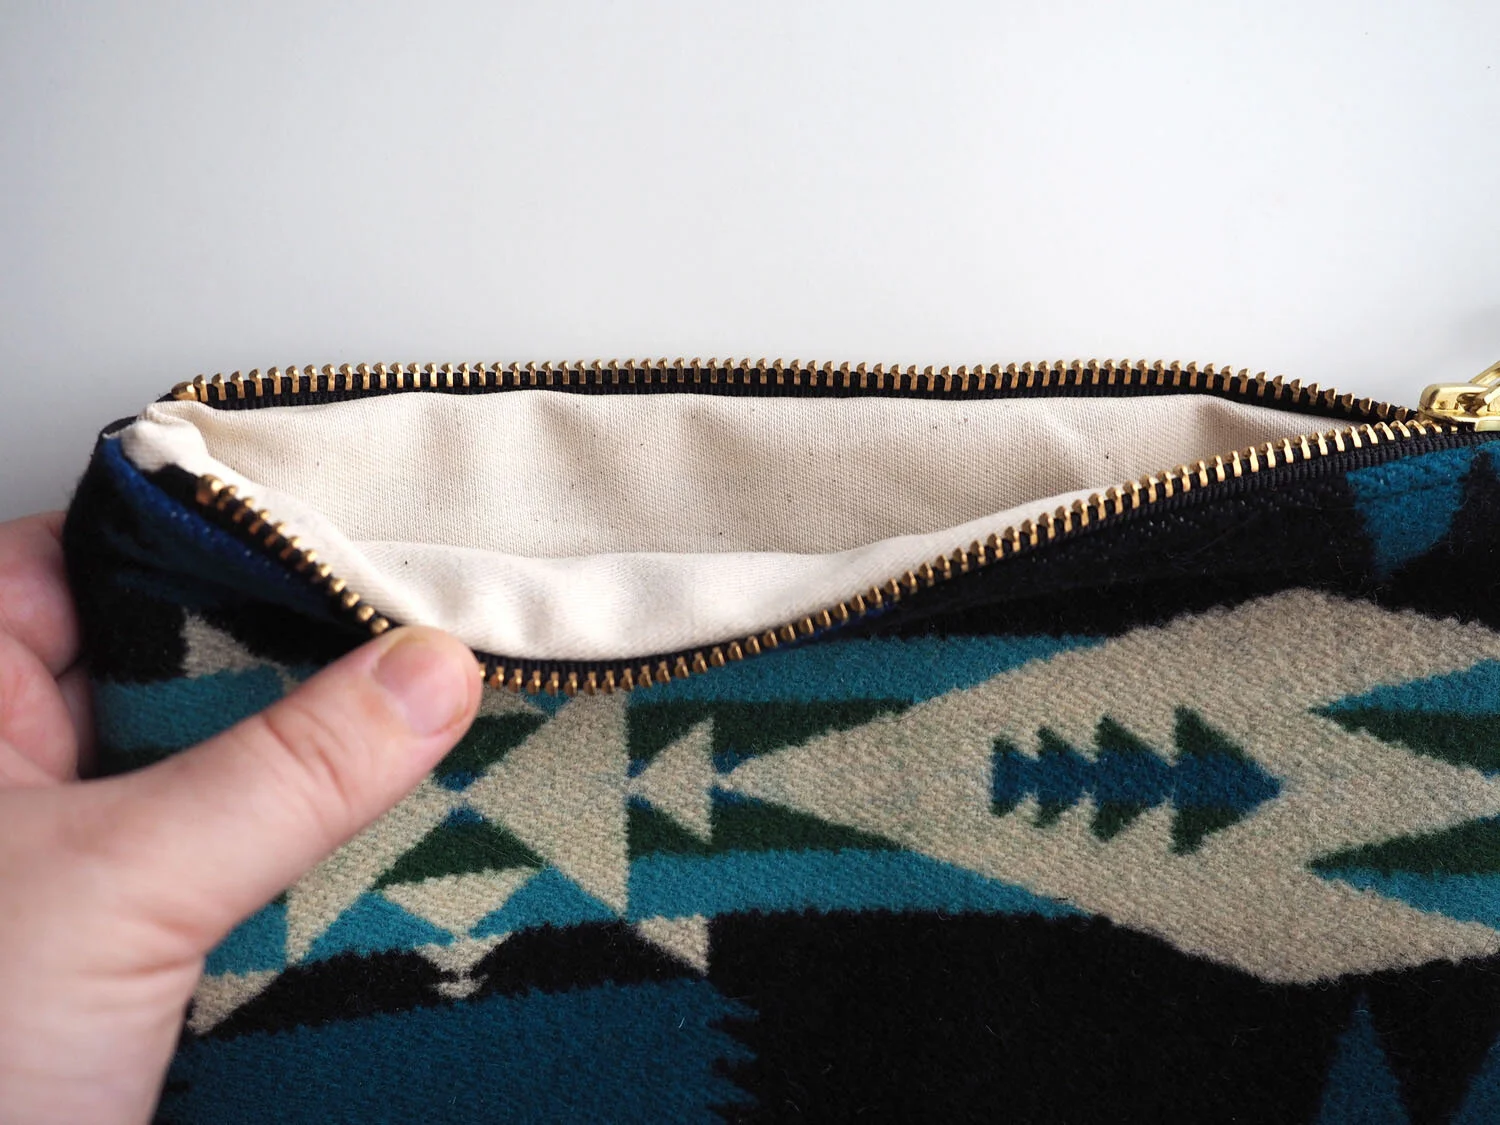
New skills: Installing a zipper, sewing a lining, bagging out a lining

Lessons: Folding the edges of the zipper tap will create a cleaner finish.

Use only fine pins or wonder clips to hold the edges of waxed canvas as large pins will damage the material and compromise its water resistance.

Make sure the zipper is open before sewing in the lining, or it will be a huge pain to bag it out (you’ll have to open the zipper from the wrong side inside the bag.

Move the zipper out of the way while sewing the zipper tape—it can get in the way of the presser foot and cause the tape to be distorted.

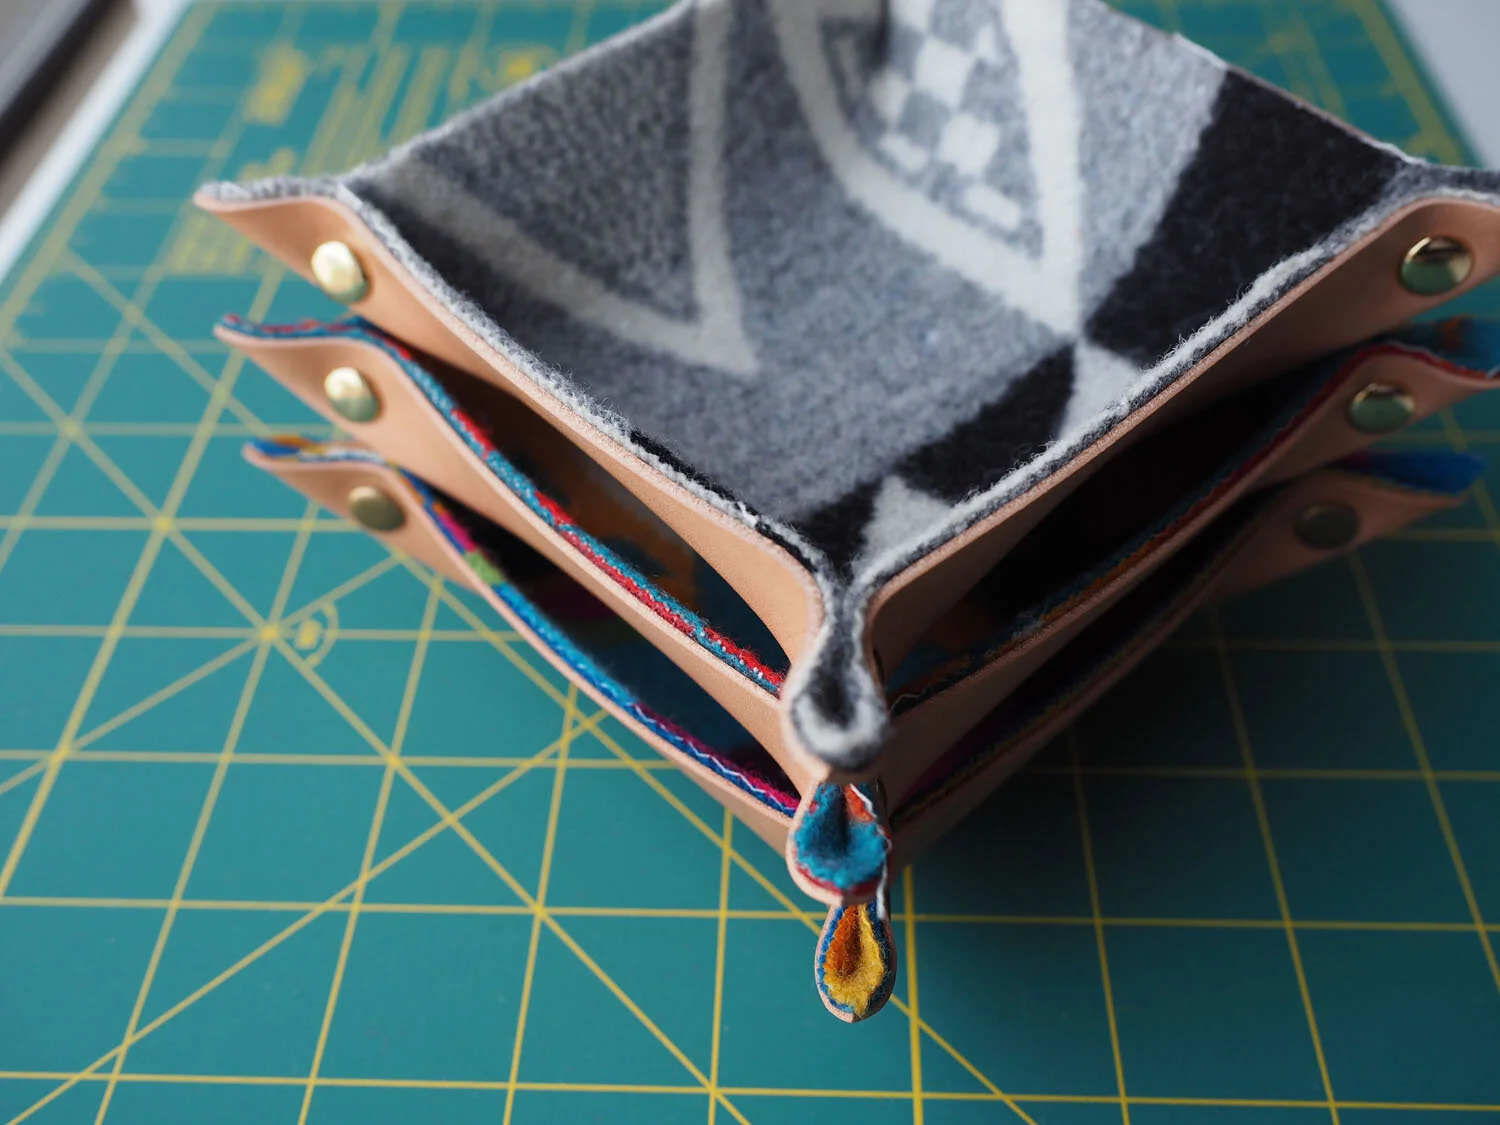
What I’d do differently: I tapped the rivet a little bit aggressively so it has a small dent.

Care: Spot clean

P1010058.JPG


Leather / Wool Valet Trays

P1010094.JPG

Pattern/Technique: Wool/leather valet tray kit by Klum House. (Instructions)

Materials:

  • 5x5 inch piece of 2-3 oz vegetable tanned leather (punched with 3/32" drive punch at 1" x 5/8" at each of the 4 corners)

  • 5x5 inch piece of Pendleton jacquard wool

  • (4) double cap rivets (8mm stem)

  • Eco-Flo leather weld glue

  • 3/32" drive punch for punching holes in leather

New skills: setting double cap rivets

Lessons: Setting the rivets was tricky, and I ended up with a quite a few offset rivets. A few things I learned in the process:

  • One resource mentioned they got better results by hammering on the cap end with a series of light taps

  • I got better results with a hammer than a bakelite mallet (the mallet requires using a rivet setter and anvil). Because it's heavier, the hammer transmits more force per strike, and sets the rivet faster.

  • Hammering on a hard, solid surface is important. However, hammering on the sidewalk outside will make your rivet and leather dimpled from the concrete surface texture. I got the best results by setting rivets on the linoleum (which is on top of concrete) next to our front door. Yay for living in a rental.

  • Preventing rivets from getting offset while setting seems to come down to having well-aligned holes and trying to make sure you're hammering the rivet straight up and down.

Leather weld will "soak in" to the leather and get tacky pretty fast. Use a flexible plastic spreader to keep spreading it around into an even layer.

Take care not to get leather weld near the punched holes. The Klum House video provided instructions to cut off 1/4" from each edge of the tray so getting glue all the way to the edges wasn't critical, but I tried my best to get it close to the edge, and had good results from doing that. 

An awl was an effective tool for making rivet holes in the wool panel.

What I'd do differently: I was a little surprised by how much I like the antique brass hardware. It's a little more muted/subtle than the bright gold of the regular brass, and is a look I really like. I'd seriously consider using it on future bags/projects.

P1010048.JPG
P1010103.JPG