Colette Cowl

MVIMG_20191231_090126.jpg
MVIMG_20191231_090148.jpg

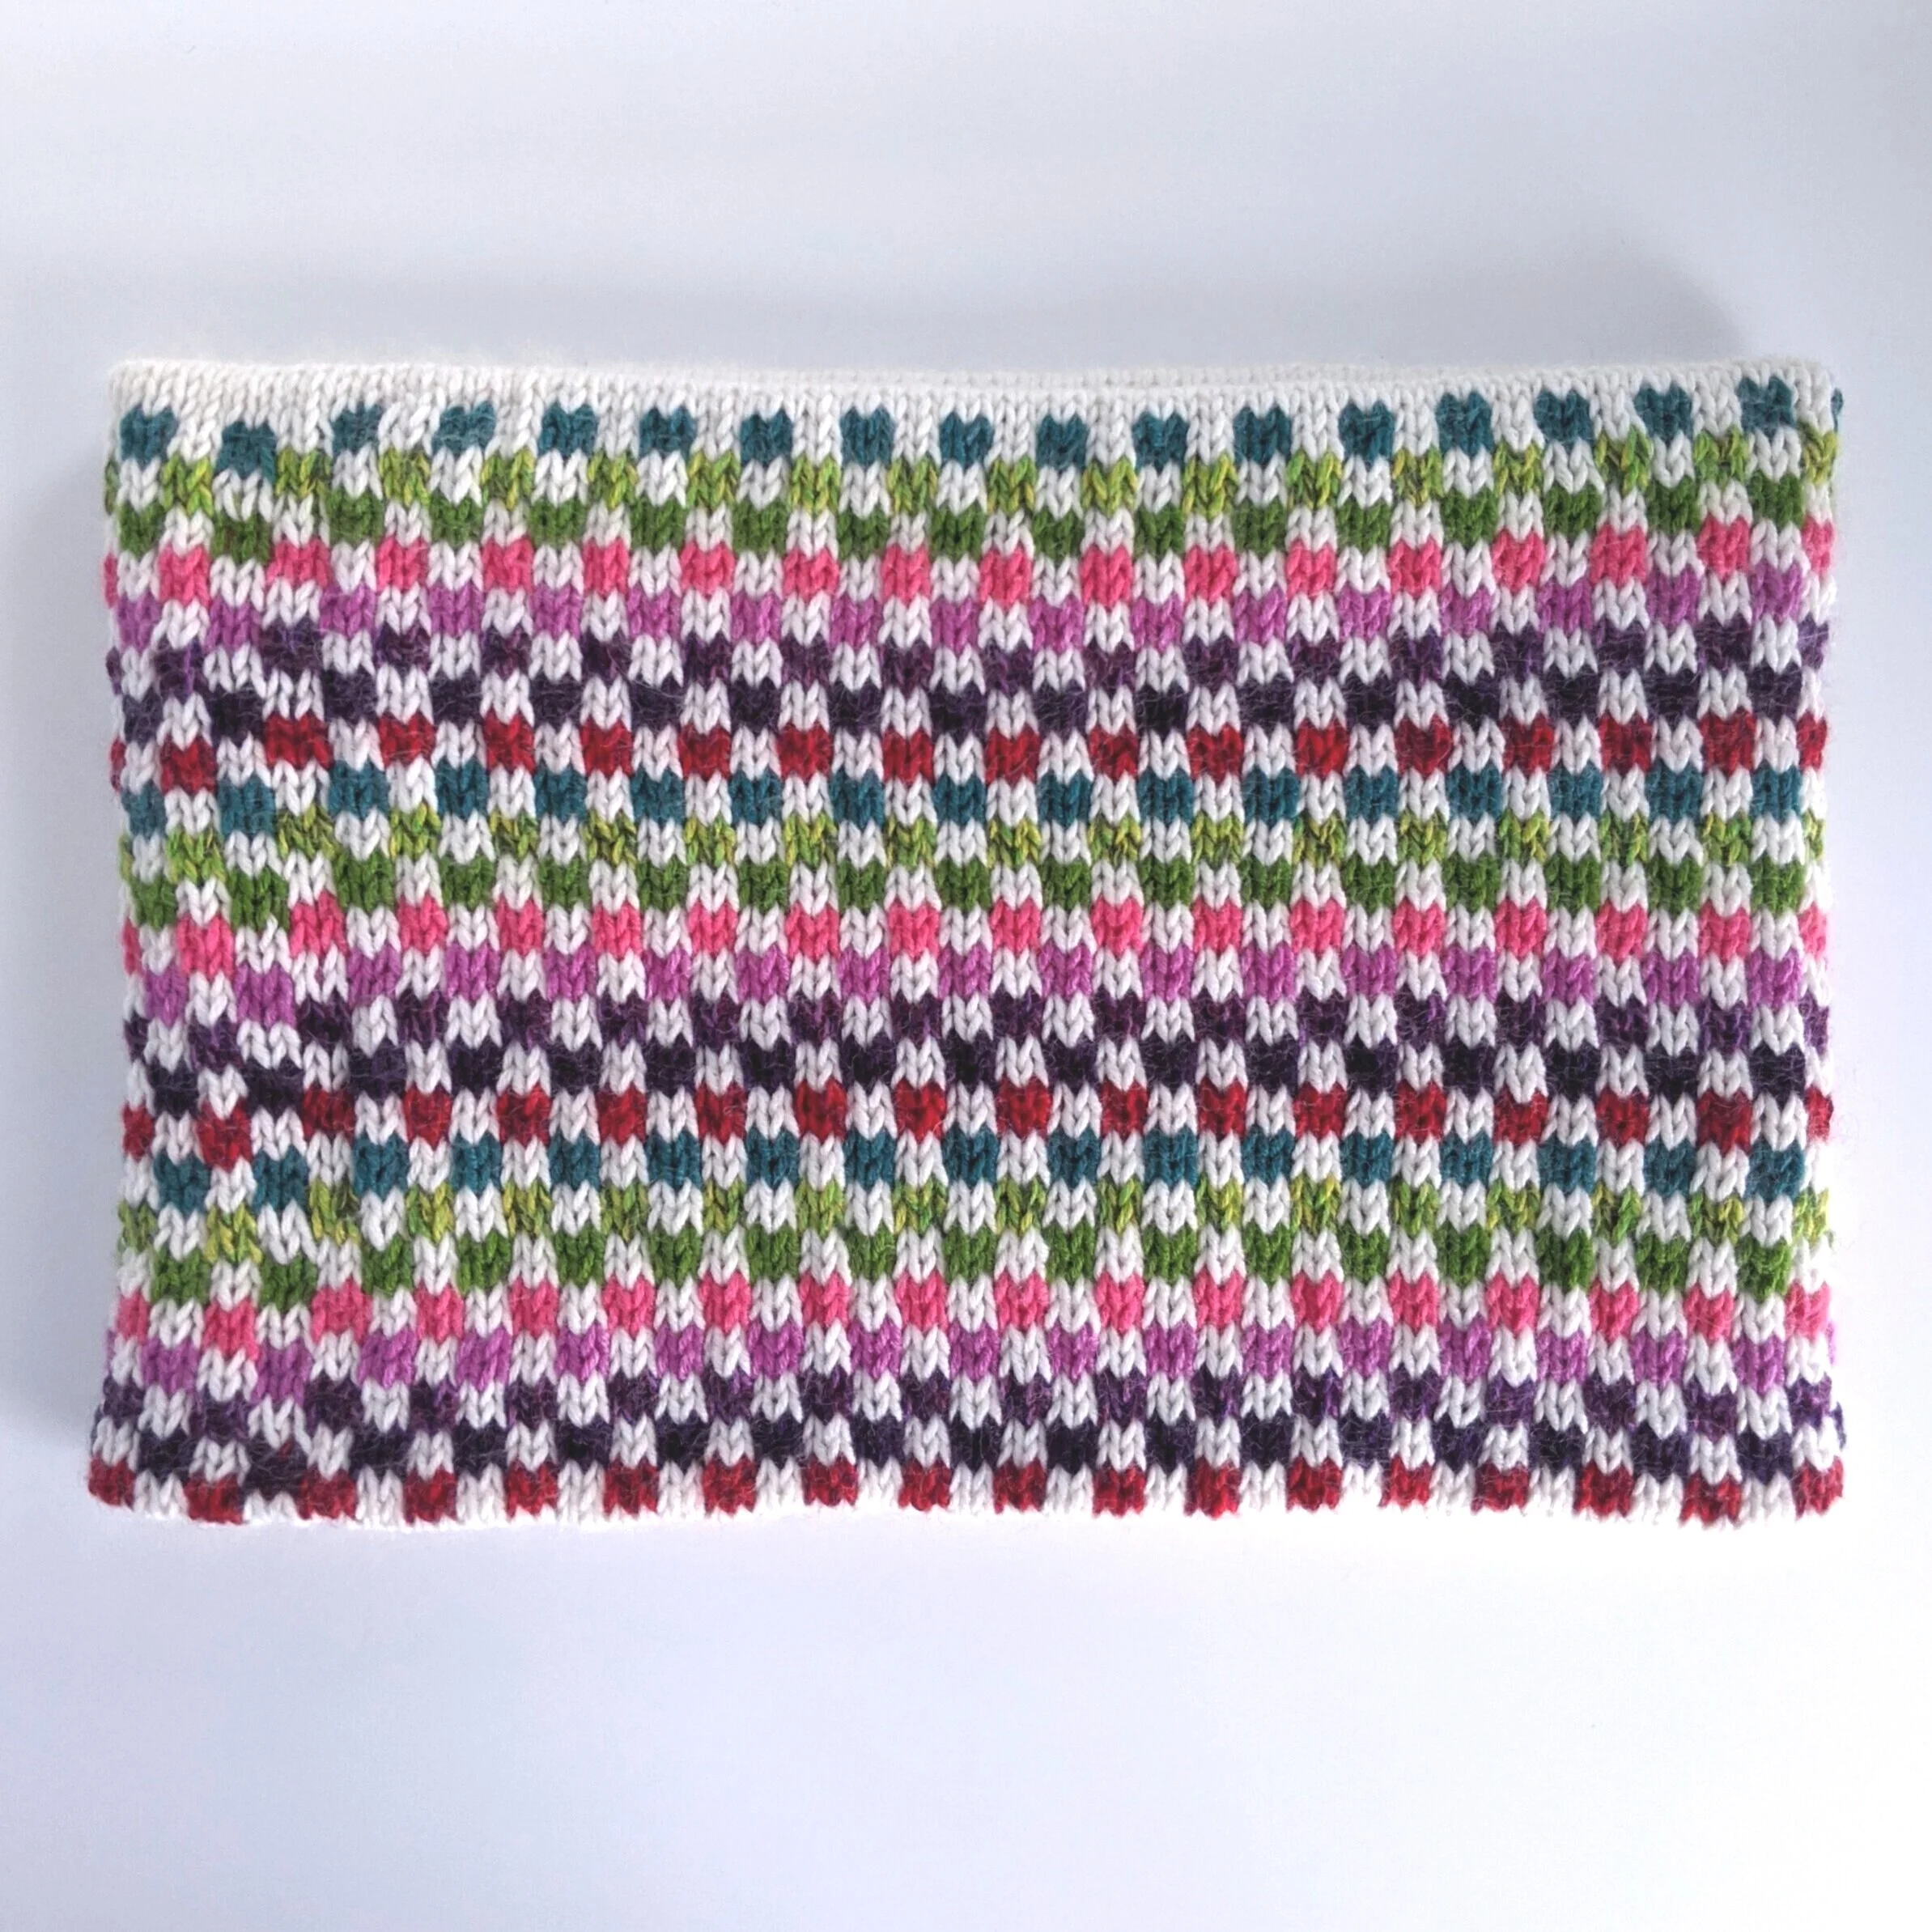
"Some [projects] are to be tasted, others to be swallowed, and some few to be chewed and digested." With apologies to Francis Bacon, this cowl was absolutely the latter. This is probably one of the most challenging knitting projects I've tackled and took nearly 3 years to complete. I'm a big fan of the FO and my mom (to whom I gifted it) was thrilled, but I'm not sure if I'll be making another any time soon.

Pattern: Colette cowl knit in Lux Adorna artists palette. Used size 7 16" circular needle.

New skills: Kitchener stitch

Lessons: Save learning two-handed fair isle for smaller projects like hats. I knit just over half the cowl knitting two-handed, but getting correct tension while learning continental was so hard and I wasn't having fun. I frogged the part of the checked section I was working on (I was already done the hearts), and restarted using English only and switching my working yarn. Much faster / more comfortable.

A tail 4x the circumference of the cowl left just enough to Kitchener stitch all the way around.

Using some vinegar while blocking works to prevent the dye from bleeding.

By thoughtfully sewing in ends (pulling the tail away from the previously knit section, and taking care to sew into colored blocks instead of white ones) the gaps around the seam stabilized and looked very clean on the FO.

What I'd do differently: Something weird happened at where I'd joined my round while Kitchener stitching. I did my best to clean it up, but it's still a little wonky. I want to spend more time practicing this technique. Otherwise, I'm very happy with the changes I made midway through the project – they saved a lot of pain and regret down the line.

Oak Leaf Wreath

IMG_20191231_091140+%281%29.jpg

This Christmas I tried my hand at making a wreath of paper oak leaves for my mom. While I've made a fair few leaves from crepe paper, I'm an absolute beginner to wreaths. Cue research, experimentation, and a healthy dose of winging it. In the process I also learned a valuable lesson about handmade gifting: I'm no stranger to frantically finishing handmade gifts, but this year was particularly crunchy and I finally decided to cut my losses and gift it in "kit" form. That gift to myself paid dividends - one less thing to do in the pre-holiday rush, and an excuse to spend a few quiet hours crafting with one of the most important people in my life. The result: a beautiful FO imbued with the memory of quality time well spent.

Technique: Leaves were made using techniques learned in Lynn Dolan's workshops using Carte Fini metallic gold crepe paper. I freeform cut the lobes on the leaves to get more variation so the leaves would be more natural-looking. Each leaf was glued to 20ga floral wire cut into 4-5inch lengths (I purchased floral wire from Save on Crafts and cut each wire into thirds). To make the wreath, I affixed the leaves to a 12" macrame hoop (h/t to Lia Griffiths' Metallic Paper Wreath tutorial for the idea) by wrapping the stems with gold crepe and then wrapping them to the wreath form.

New skills: Mounting leaves to a wreath form. Working with metallic crepe paper.

Lessons: The metallic coating causes glue to take much longer to dry, and is more susceptible to tearing while wrapping. For the leaves, after I glued along the seam I let them set overnight to give the glue more time to adhere.

I ended up using about double the number of leaves I estimated, luckily I'd planned on making 2 wreaths so I didn't run out.

What I'd do differently: Next time I'd like to try adding acorns, and maybe using fewer, larger leaves. I might also experiment with laminating gold and copper crepe using fusible webbing, although I'd proceed with caution given my challenges with glue and metallic crepe.